Desserts

Decadent and Simple Peanut Butter Cup Pudding

For when you want more than just one candy.


We would really like to call this recipe something more specific, but that would risk running afoul of some copyright laws. We like to think our favorite candy manufacturer would give us a green light, but better safe than sorry. Imagine, if you will, a familiar orange wrapper with yellow letters and the fantastic peanut butter and chocolate treat it contains. And now you can see what we want to call this recipe, but cannot. 


Chances are, if your imagination is strong enough (or your stomach empty enough), you can now also taste exactly what we were thinking of. Sorry. For what it's worth, this pudding is a pretty close approximation. And you probably don't even have to run to the store for anything! Phew - candy crisis avoided (narrowly).


You'll need a lot of milk, some peanut butter, some baker's chocolate, sugar, starch, butter, vanilla and a bit of chill time for this recipe. You'll only be actively working on it for five or ten minutes, because the fridge will do the rest for you - provided it's working, of course. If it isn't, please see our contact information at the bottom of this post.


Ingredients:

1/2 cup sugar

3 Tablespoons corn starch

1/4 teaspoon table salt

3 cups milk (full fat works best)

2 Tablespoons butter

2 Tablespoons baker's cocoa

3/4 cup peanut butter (we recommend smooth; crunchy is terribly difficult to whisk)

1 tablespoon vanilla extract


Tools:

Pan, whisk, fine sieve or sifter, measuring cups and spoons, heat-proof bowl that is also safe to move to the refrigerator (so, plastic, most likely), something to cover the bowl (a lid, foil, an overturned plate, etc.).


For starters, use a bigger pan than you think you need. Go for at least a two quart pan. We know, three cups of milk doesn't sound like a lot, and you're certainly not adding a whole lot of volume to it... But keep in mind that milk foams. Plus, you're going to be vigorously whisking this in a few steps. So to save yourself from having to scrub scalded milk off the stove later, just use a bigger pan. Trust us on this one.


Measure your milk, sugar, salt and starch into the pan. In order to avoid lumpy pudding, you may wish to sift the corn starch into the milk. It's optional, but we don't think anyone really wants lumps of starch in their pudding. When you're done, don't toss the sieve or sifter into the sink for a wash yet - you'll probably want it again later.


Turn the heat on under the pan and bring it up to medium. Your goal is to get the milk mixture to foam aggressively and begin to boil, but you don't want to allow it to scald (scalded milk is great for hot chocolate, but will negatively affect the taste of the pudding). Stir it frequently while you wait for it to come up to boil. If you see the foam around the edge pan starting to brown, lower the heat a notch. It'll take longer to come to boil, but you want uniformity, not speed here.

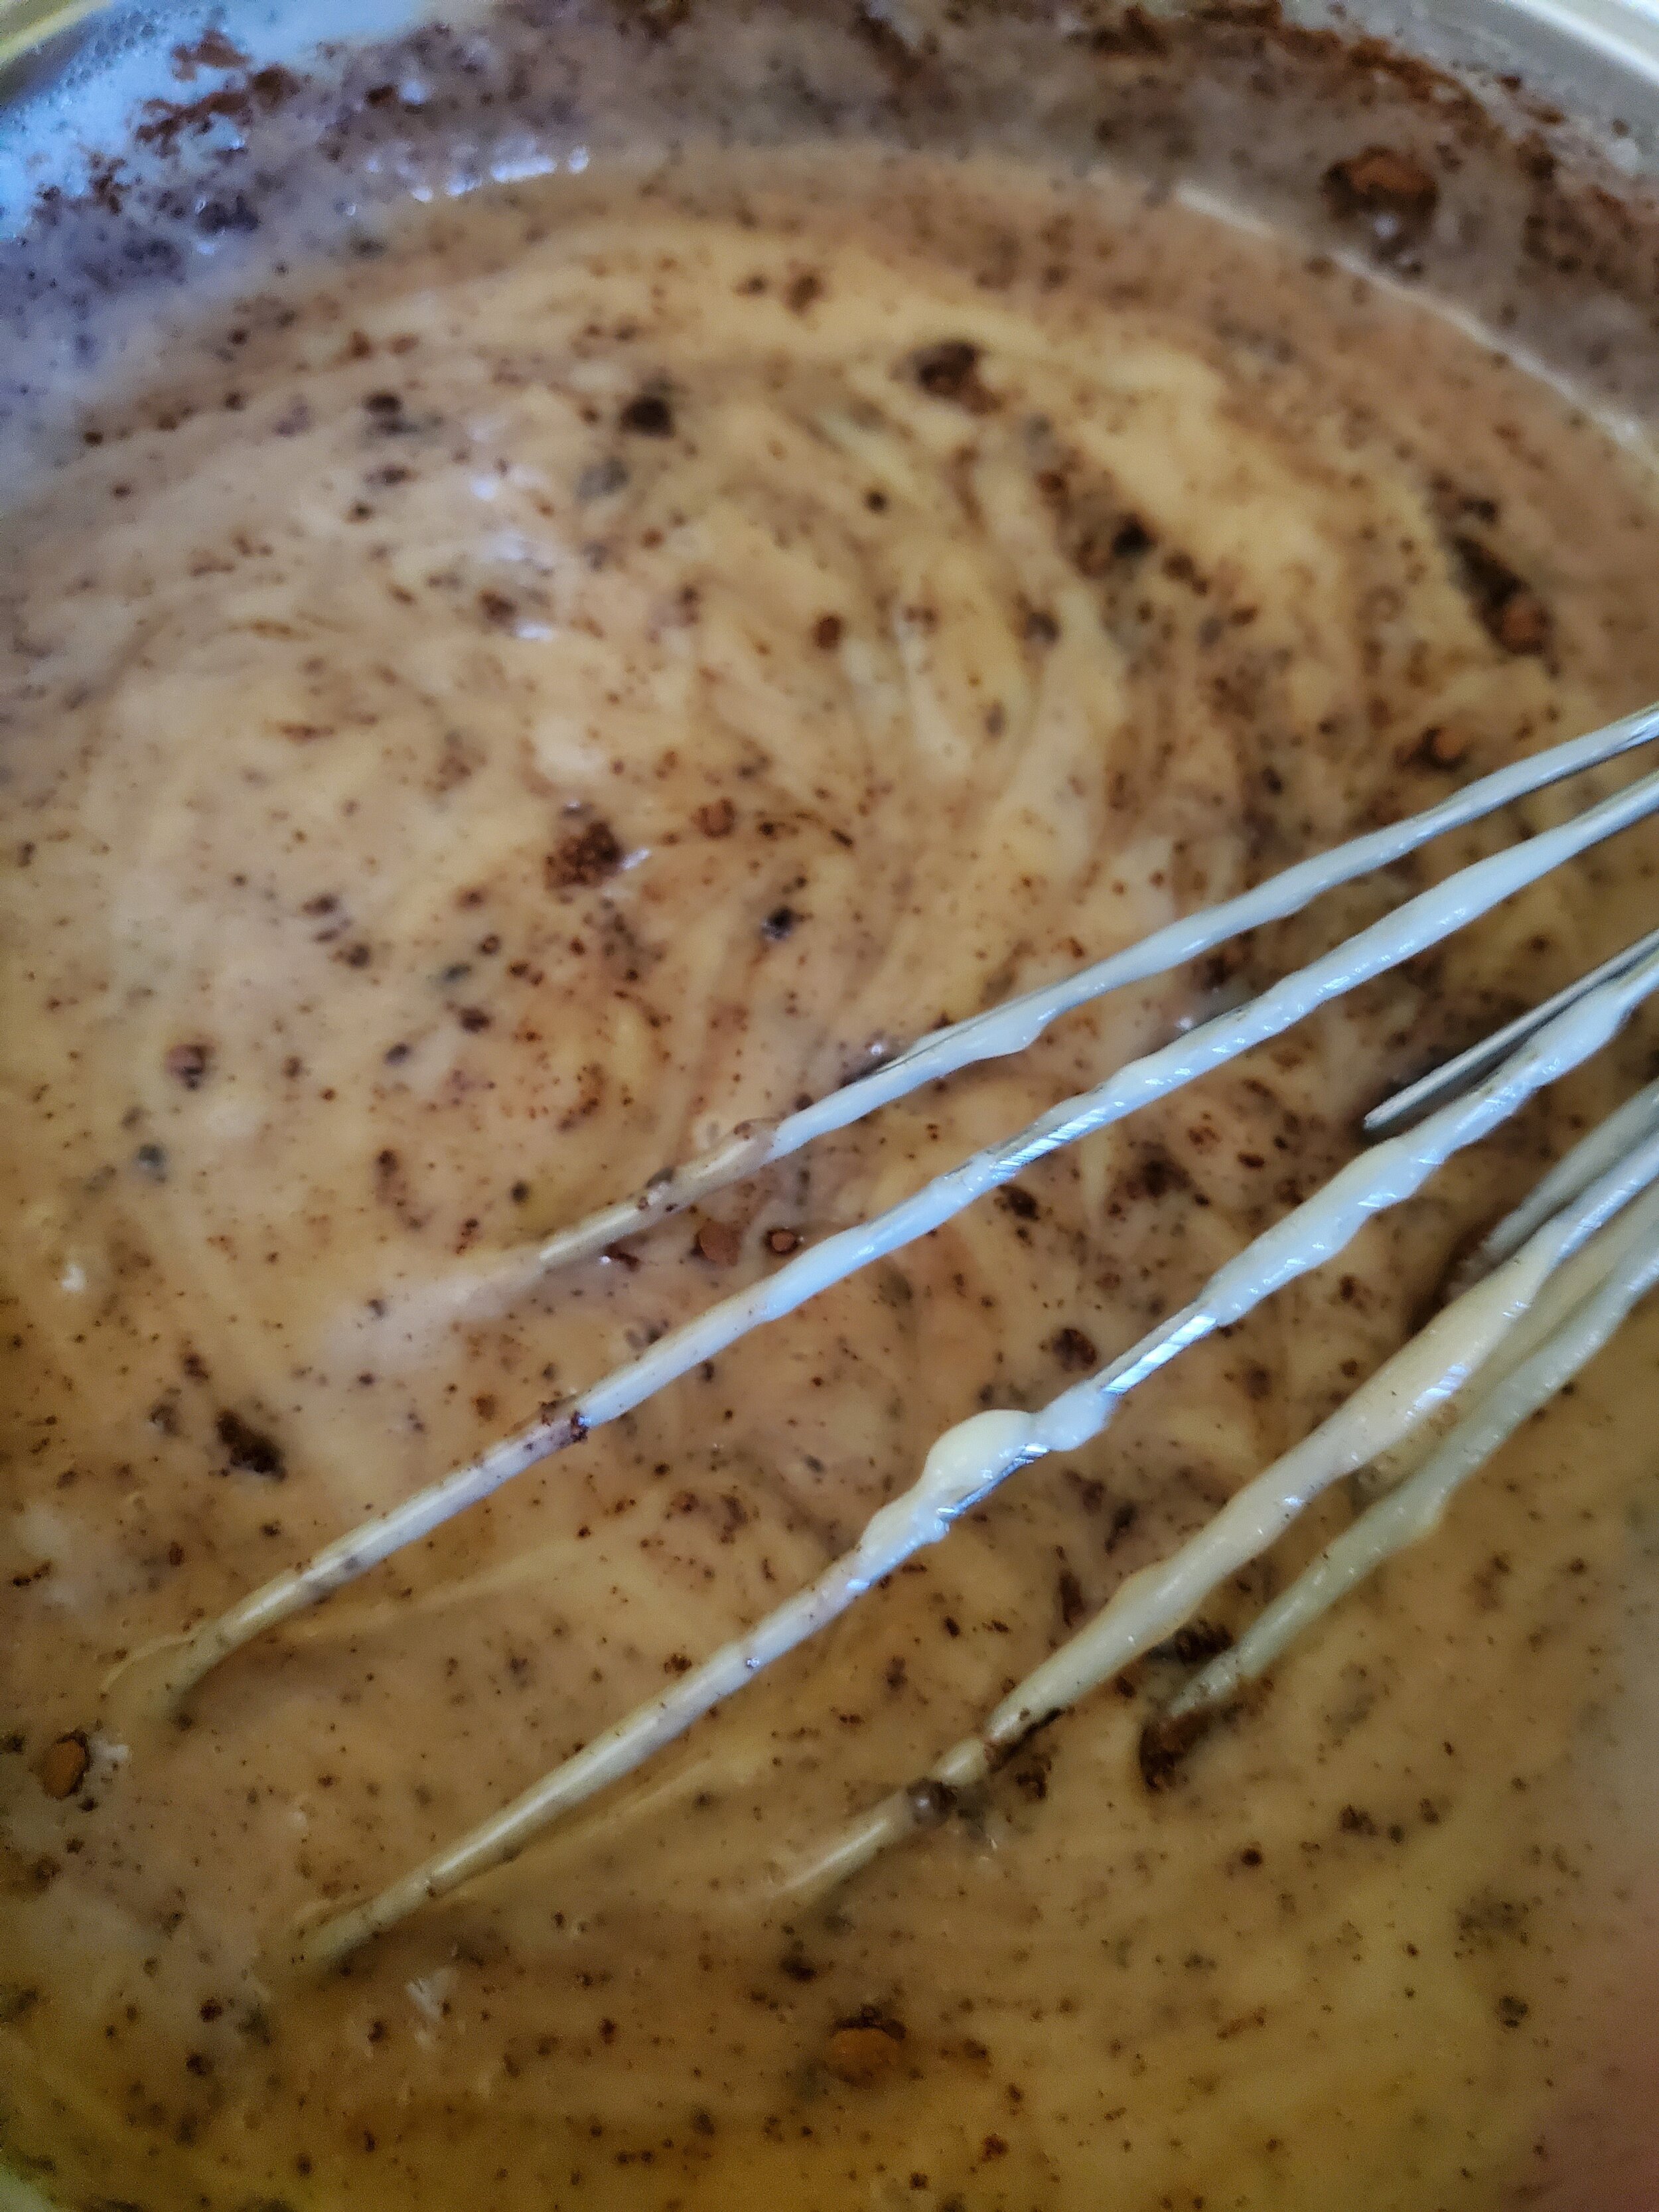
Foaming milk, all ready for the next step.


Once you have it up at a foamy boil, take the heat all the way down as low as it will go and whisk /constantly/ for a minute or two. Don't let it rest here. You can stop whisking when you see the whisk leaving tracks in the foam that take more than three seconds to fill back in. If you get past the two minute mark whisking constantly, and you still don't have a visible track from the whisk when you slow down, turn the heat back up, simmer it another minute, and then try again. This step is a big deal for getting the pudding to set later, so please don't be tempted to cut a corner. If you're really, really struggling, you can add another half teaspoon of corn starch - but stop at half a teaspoon!


After you've achieved the ideal texture, pour or sift in the baker's cocoa. This is why we mentioned that you might not want to put the sieve up for a wash yet - cocoa tends to form little lumps. (We kind of like the cocoa lumps, though, so we leave them alone. Not sifting makes it look a little like the cookie bits in cookies and cream ice cream.)

Adding in the cocoa, and look! it does look like cookies and cream


Once the cocoa has been mixed in, turn the heat completely off. Drop in the peanut butter, butter and vanilla extract. Whisk until it's all thoroughly incorporated.


Whisking room temperature peanut butter is no easy task. If you'd like, you can melt it in the microwave before pouring it into the milk. That will make it easier to stir, but you have to be extra careful to heat it only just barely enough in the microwave. Melting is the goal, but even a few seconds too long on high can burn the edges and make them solidify. Solidified, scorched peanut butter will not make tasty pudding (although it's actually pretty good as an ice cream topping, believe it or not. Also, we clearly have ice cream on the brain today).


Once you've reached the point where it's all one color and you're no longer turning up hidden pockets of peanut butter, you're good to put it into that heat-proof bowl (or perhaps portion containers), cover it with plastic wrap, foil or a lid, and tuck it safely into the fridge to chill. It will take a couple hours to set up completely, but once it does, you have dessert ready to go.

Peanut butter cup pudding, all ready to go in the fridge.


We know your kitchen is going to be full of the smell of peanut-buttery goodness, but the wait is worth it. Go do something while the timer counts down. Maybe you could let us know over on Facebook what you thought of this recipe. When the timer has gone off and you’ve dished up the pudding, you can top it with a couple of different things. We like keeping it simple, a little bit of whipped cream and some chocolate syrup is all this needs for us. For kiddos, you might add some sprinkles though, or you could add in some fruit preserves. We’ve heard that strawberry or grape make a good addition. You can even use the pudding as layers for a trifle if you want to get really fancy. 


Remember up top how we mentioned your fridge not working? Heaven forbid that’s the case not that it’s officially summer, but if so, we can help. We’ve got the knowledge and skill to fix all of your major appliances, from your trust refrigerator to your dryer and anything in between. Just give us a call at ((214) 599-0055) or set up an appointment on our website. We want to help keep your home running smoothly, even when the heat is driving the world crazy. 


Some other articles we think you might like. 


Double Chocolate Guinness Cupcakes 


Easy As 1-2-3 Christmas Cookies 


Easy as 1-2-3 Christmas Cookies

Great for Gifts, Parties, Or Just You!


There are just under two weeks until Christmas. In fact, last we looked at a calendar, there are twelve full days until Christmas Eve... At which point the kids are likely going to start commenting that Santa needs some cookies.


In our house, it's tradition that the cookies for Santa are always homemade. The recipes and quantities may change from year to year - and honestly, sometimes we just get caught up in the rhythm of measure-knead-roll-cut-bake-cool-repeat, and end up making way too much.


So, for us, cookies are also Christmas gifts for the other households in our family. A little tray or box of handmade treats is also a cute, enjoyable and inexpensive long-distance (or socially-distanced) way to tell someone else you're thinking of them in this unconventional holiday season.


If homemade cookies sound a little out of your league, don't fret. These aren't terribly difficult. They're among the most crowd-pleasing recipes we know, and they are extra easy to personalize.


We'll start with a go-to favorite: Almond Puff Cookies. We've been making this recipe for almost fifteen years now, and it has never failed to impress. They're soft and fluffy, almost cake-like in texture when fresh. These don't really lend themselves to decorating with royal icing like sugar cookies because of the way they puff. A quick egg wash is often all we do to jazz them up. We like to cut these into bell, star and ornament shapes and wash them with different colors, but we've also included a handful of other decorating ideas your family might enjoy.


Almond Puff Cookies


Ingredients:

5 cups all-purpose flour

2 cups white sugar

1 1/2 c butter, unsalted, melted

4 eggs

2 tsp almond extract

1 tsp vanilla extract

2 tsp baking powder

1 tsp salt


Egg Wash (optional)

1 egg (well-scrambled) per each color you intend to make

2 drops food coloring per color

1 teaspoon water per color


Alternative Decoration Ideas (optional)

Sprinkles

Powdered sugar

Slivered almonds

Sweetened coconut flakes

Melted chocolate drizzle


Example of egg paint on cookies in autumnal red and orange

An example of what the egg paint can look like.

Tools:

Mixing bowls (2), rolling pin, cookie sheet(s), cookie cutter(s), small dishes for egg wash (divide by color), pastry brush, cooling rack, space to make a mess (100% not kidding here, especially if the kids are assisting)


Instructions:


Sift together your flour, sugar, baking powder and salt in one mixing bowl.


In the other mixing bowl, whisk together your extracts, eggs, and cooled melted butter. We do NOT want to cook the eggs quite yet, so please allow your melted butter to cool a little before this step; ideally it's still liquid, but not scalding hot.


Knead together the contents of both mixing bowls. If you feel like the dough is a little too stiff, feel free to add a tiny bit of water to it, but don't go overboard. Too much liquid can't be undone, and a wet dough is very difficult to cut into shapes.


Once you've established a nice lump of dough, squish it down into the bottom of the mixing bowl and put the whole thing in the fridge for about 15 minutes. We like to use this fifteen minute break to start making the egg washes, but if you chose another decoration, you're free to relax for a few.


After your fifteen minutes are up, start preheating the oven to 400.


While the oven heats, turn out your dough onto the counter and roll it to about a quarter inch thick. If you feel like there's not enough room on the counter for the whole ball of dough, divide it and toss half back into the bowl for now. Save yourself the headache of having to pull dough out of the backsplash or from under that knife block you couldn't find another place to put (no, we've never had this happen to us - gee, why do you ask?).


Grab the cookie cutters (the objects, not the little minions you may or may not have clamoring in the background). Either you or your helpers should cut as many shapes as you can from the dough you've rolled out, peel away the excess dough, and gently transfer the shapes to your cookie sheet. Be careful not to stretch or distort them during the transfer - if they're stretched, they'll bake up lumpy and uneven.


If you find yourself struggling with the process of transferring, you might consider rolling the dough out on a cutting board or a sheet of wax paper before cutting your shapes. Having an extra layer you can just pick up and flip over the cookie sheet sometimes makes it easier to get the cookies from Point A to Point B without creating oblong ornaments or lopsided stars. Another trick to try is chilling the cut shapes before moving them to the cookie sheet with a thin metal spatula. If you do use a spatula, try to find a smooth one without slots (as the slots risk tearing up the undersides of your cookies).


Repeat the rolling, cutting, and transferring of shapes until you're out of space on the cookie sheets, or out of dough, or out of patience, whichever comes first.


Once your shapes have been arranged on the cookie sheet, you've reached the ideal time to add an egg wash. Use your pastry brush to lightly coat the tops of your cookies with the color of choice. Try not to use too much, just cover it with a thin layer. You don't want it to puddle around the edges on the cookie sheet, as that gets messy and difficult to clean later.


If you're not doing an egg wash, coconut flakes and slivered almonds will hold up well in the oven, and even toast a bit - but sprinkles will lose some of their color to the moisture in the dough, and that color will leak all over the cookie, so it's better to add them, the powdered sugar, or the chocolate later, after the cookies have been removed from the oven.


Bake your cookies 5-8 minutes at 400 degrees. You'll know they're ready to leave the oven when the edges are golden, the centers are puffed up, and the egg wash (if you used it) is set and shiny.


The cookies are still very soft at this point, so allow them to cool for about two minutes before you move them from the cookie sheet to the cooling rack, where they'll finish setting up.


Should you want to do any further decorating, let the cookies cool about ten more minutes on the cooling rack to ensure they're fully set and ready to be moved about (or boxed up for giving).


After you’ve tried out this week’s recipe, consider letting us see? We would love to get pictures over on our Facebook page to see how your cookies turned out. 


If on the other hand you need your oven fixed, or any of your other major appliances, we can help. Just call us at ((214) 599-0055) or make an appointment over at our website. We aim to be the most reliable appliance repair in Addison and the surrounding areas, and we want to keep your home running smoothly. Whether that’s an oven that won’t heat right for making cookies, or a washing machine that won’t drain right, we’re here to help.

Cookie dough with stars cut out by a child


Celebrating Pi Day with Rhubarb Maple Meringue Pie

Today we celebrate Pi Day! No, not Pie day, that is January 23rd and we were rather sad when we saw that we had missed that one. 


pi-1453836_1920.jpg

“First and foremost, Pi Day is a celebration of the mathematical constant, π (pi), or 3.14159265359.”  You can see that the first three numbers are the date that we celebrate it on, if you’re writing the date 3/14.  


I know, I know, it’s math, and you are here for food. But! Don’t leave yet!


 Thankfully many people have made the association between Pi and pies. If Pi is used to work out the diameter of a circle, it naturally lends itself to pies of all sorts. Not just the sweet variety, but pizza pies too! So many delicious circular foods to explore and 3.14 makes it all possible. 


Pi Day was first celebrated on a large scale in 1988. Larry Shaw, a physicist who worked at the San Francisco Exploratorium at the time organized the event, bringing together both the public and museum staff. The assembled marched around the circular spaces of the museum and then tucked into a bunch of pies, according to a piece by Newsweek. 


We’re joining in on the celebration with a recipe from The All American Desserts Book by Nancy Baggett for a delicious Maple Rhubarbe Meringue Pie. This sweet and tart mix makes a delicious combination no matter when you choose to share it.The mild, light meringue topping adds a slight sweetness, which helps balance the tang of the rhubarb and the richness of the pastry. And really, who’s to say that pi cannot be celebrated every time you bake a pie? 

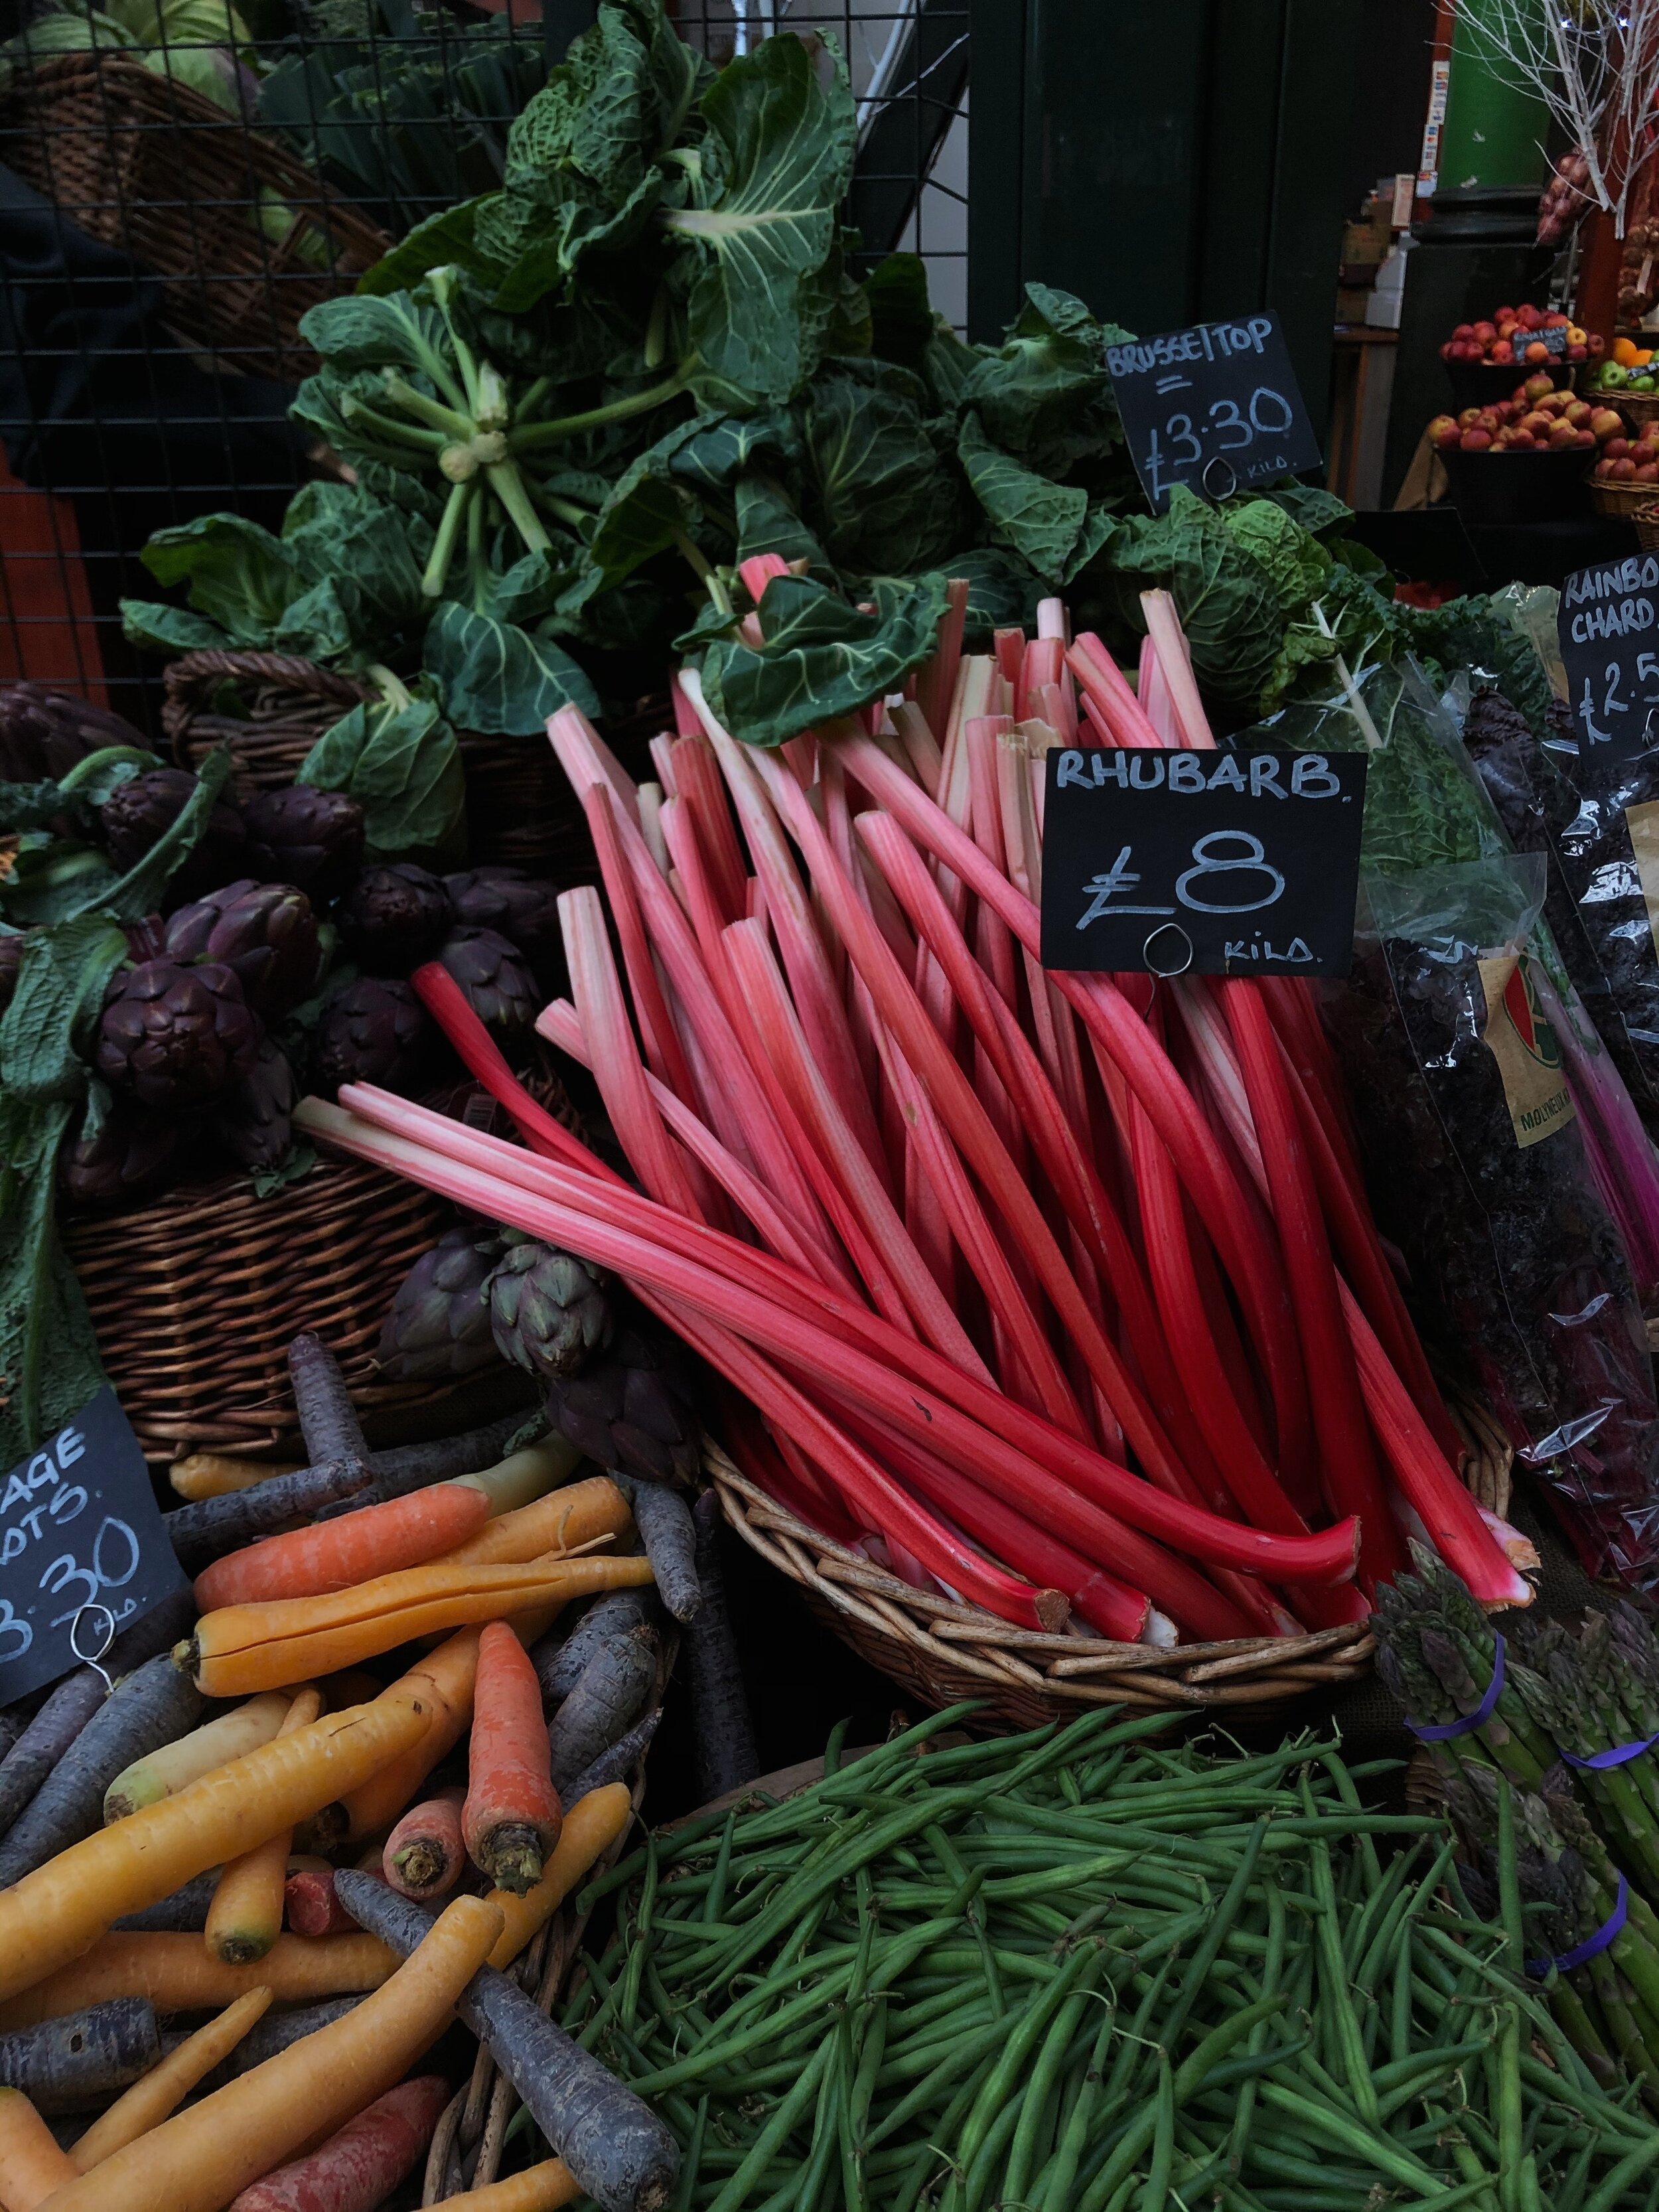
Bunches of rhubbarb and  purple artichokes at a market


Single crust All-Purpose Pie Pastry Dough

All purpose flour for dusting dough

Filling


4 ½ cups ½ to ¾ inch long pieces of rhubarb ( which is roughly 1 ½ to 1 ¾ pounds with the stalks trimmed) 

¾ cup granulated sugar (divided) 

1 ½ teaspoons fresh lime or lemon juice

¼ -⅓ cup orange juice if needed *

3 ½ tablespoons cornstarch

Pinch of salt

⅔ cup maple syrup, preferably light amber 

2 large egg yolks 


Meringue


4 large egg whites, completely free of yolk and at room temperature *

Generous ¼ teaspoon cream of tartar

Pinch of salt

¾ cup plus 2 tablespoons powdered sugar

½ teaspoon vanilla extract 


Rolling Out The Pastry

Lightly grease a regular 9-inch pie plate or coat with nonstick spray. 

If the dough is cold and stiff, let it warm up until slightly pliable but still cool to the touch. Generously dust it on both sides with flour. 

Roll out the dough between large sheets of baking parchment into a 13  inch round. Occasionally check the underside of the dough during rolling and smooth out any wrinkles. Gently peel off the top sheet of paper, then pat it back into place. 

Flip the dough: peel off the bottom sheet. 

Center the round, dough side down, in the pie plate. 

Gently peel off the remaining paper.

 Smooth the dough into the plate and patch any tears, if necessary.

 Using kitchen shears of a paring knife, trim the overhang to ¾ inch. 

Fold the overhang under to form an edge that rests on the lip of the plate.

 Finish by fluting with your fingers or pressing on the edge with the tines of fork. 

Prick the pastry all over with a fork. 

Loosely cover the pastry and place in the freezer for 15 minutes or  in the refrigerator for at least 30 minutes and up to several hours

Baking the Pastry

Position a rack in the lower third of the oven and preheat to 400 degrees F.

 Insert a large square of aluminum foil coated with the nonstick spray (or use non stick foil) oiled side down into the chilled shell, smoothing the foil over the bottom and sides and folding it out over the rim to cover the pastry. 

Fill the foil with dried beans, spreading them so they extend up the plate sides. 

Set the pie shell on a rimmed baking sheet. 

Bake for 25 minutes. 

Carefully remove the foil and beans from the shell. 

Continue baking for 5-10 minutes longer, or until the shell is nicely browned all over.

 If the edges brown too rapidly, cover with strips of foil (or a pie shield). 

Transfer the pie shell to a wire rack to cool. 

The pie shell will keep, covered at room temperature for up to 24 hours. 

Mixing Up the Filling

In a large nonreactive saucepan, thoroughly stir together the rhubarb, ½ cup of the granulated sugar, and the lime juice. 

Let stand, stirring once or twice for about ten minutes or until the sugar is mostly dissolved and the mixture looks wet. 

Bring to a boil over medium high heat, stirring. 

Cook, stirring until the rhubarb pieces exude some juice and just begin to soften but still hold their shape, about four minutes. 

Remove from the heat and let cool for about ten minutes. 

Put the rhubarb in a sieve set over a large glass measure. 

Press down hard on the rhubarb to extract as much juice as possible. 

You should have ½ to ¾ cup juice, necessary, and enough orange juice to yield ¾ cup.

Reposition the rack in the middle of the oven and preheat to 350 degrees F. 

Rinse and dry the saucepan.

 Put the remaining ¼ cup granulated sugar, the cornstarch and salt in the pan and whisk until well combined. 

Add the rhubarb juice, whisking vigorously until the mixture is completely smooth. 

Bring to boil over medium- high heat, whisking. 

Lower the heat slightly and cook, whisking constantly until very thick, smooth and translucent, about 1 minute. 

Remove from the heat. 

Vigorously whisk in the maple syrup until the mixture is completely smooth. 

In a small deep bowl, whisk the egg yolks until lightly blended. 

Pouring slowly and whisking constantly, add about ¼ of the maple mixture to the yolks. 

Add the yolk mixture to the saucepan, whisking. 

Cook over medium high heat, stirring constantly and frequently  scraping the pan bottom with a wooden spoon, until the mixture boils for a full 1 ½ minutes. 

Do not undercook, or the filling may thin out later.

 Stir the reserved rhubarb into the maple mixture. 

Cook, stirring just until the rhubarb is piping hot: the filling will be fairly thick. 

Cover and set aside. 


Whipping Up The Meringue

In a completely grease free and dry large bowl, combine the egg whites, cream of tartar and salt. 

Using a mixer on low speed with a whisk shaped beater if available, beat the mixture until frothy. Raise the speed to medium and continue beating until the mixture is smooth fluffy and opaque, but still too soft to hold peaks.

 (Check by stopping and lifting the beater)

 Immediately add the powdered sugar 2 tablespoons at a time, beating for about 20 seconds after each addition. 

Add the vanilla. 

Raise the speed to medium high and beat for 2 minutes, scraping down the sides of the bowl as needed. 

Raise the speed to high and beat for about 1 minute longer or until the meringue is fluffy and stands in firm but not dry peaks. 

Assembling the Pie

Turn out the hot filling into the pre-baked pastry shell. 

Set the pie on a rimmed baking sheet. 

Spread half the meringue over the filling, making sure the meringue touches the pastry all the way around.

Top with the remaining meringue, mounding it in the center. 

Attractively swirl the meringue with a table knife or the back of a large spoon. 


Time to Bake! 


Bake for 12 to 17 minutes or until the meringue is evenly tinged  with brown all over. 

For even browning, rotate the pie from front to back after six minutes. 

Transfer the pie to a wire rack.

 Let cool for at least two hours and preferably three or four hours before chilling or covering to minimize any beading of the meringue. 

The pie will keep, covered, at room temperature for up to twelve hours (some beading may occur after the first few hours) or refrigerated for up to 2 days.  The crust will soften with longer storage. Let come to room temperature before serving. 

Additional Notes

For the orange juice, make sure that you have it on hand, but don’t measure it out until you’ve seen if you need it or not.  


For separating egg yolks and whites, check out this video here! It’s really easy this way, and you’re less likely to end up with a punctured egg yolk than if you did it using the shells. (Although if you can do it that way, go you!) 


Rhubarb has a lot of juice that can make the bottom of the pie soggy and gross. The rhubarb is briefly boiled ahead of time with sugar to release those juice. That is then drained off, reduced down and cooked with the rest of the filling. 


If you don’t want to fuss with making pastry dough, or prebaking one, you can always pick up a premade one at the supermarket. 


So that’s our contribution to Pi Day! Let us know what some of your favorite pies are over on our Facebook page! 


If you notice during this process (or before or after haha) that there are issues with your oven, reach out! We can send one of our technicians to come out to you based on your schedule and help get your oven back in tip top shape! 

Monkey Bread, Monkey Brains, Pull-Apart Bread, It All Tastes Good!

Welcome to this week’s recipe post! We’re digging into one of our blogger’s favorite and most versatile recipes, Monkey Bread! This recipe is so versatile you could easily make it for every meal in a day. (Although whether that’s particularly healthy is something we’ll leave to you to decide. ;) ) 


Monkey bread as a sweet dessert  has actually been around in the US for only a short period of time. Prior to that it was a treat known to Hungarian families as arany galuska or “ golden dumplings.” However, we said only the sweet version. The savory version of this dish has been in America, since 1884 when it was known as “Finger Rolls”. 


“Common names for pieces of dough baked together in a pan include bubble bread, bubble loaf, jumble bread, pull-apart bread, pinch-me cake, pluck-it cake, monkey puzzle bread, monkey brains, and monkey bread..Despite the name, there are no primates in this bread. According to conventional lore, the fanciful term comes from its appearance – pieces of dough placed next to and on top of each other, the baked bread said to resemble a barrel of monkeys. .”   

 
Gooey, Delicious Monkeybread, this is a treat for all ages.

Gooey, Delicious Monkeybread, this is a treat for all ages.


Ingredients 

½ cup granulated sugar

2 tsp ground cinnamon

3 cans (12 oz each) refrigerated biscuit dough

8 Tbsp or 1 stick butter

1 cup packed light brown sugar 


Instructions

Preheat the oven to 350* F. Then grease a 12-cup Bundt or tube pan with butter, oil or cooking spray.  


In a medium bowl, whisk together the granulated sugar and cinnamon. 


Cut each of your biscuit rounds into 4 quarters and dunk them in the cinnamon sugar, making sure all sides are coated. Layer the wedges in the prepared pan. Make sure not to press them together too tightly or you’ll have some difficulty pulling them apart later. (and that would just defeat the fun.) 


In a small saucepan, melt the butter over low heat. Add the brown sugar and continue  stirring until melted. 


Pour your sauce over the dough, making sure to spread it evenly. 


Bake until golden brown, 45-55 minutes. If you see the monkey bread beginning to brown too quickly, cover it with foil. 


Let the bread cool in the pan for 5 minutes, then invert onto a plate. 


Best served warm so that it’s nice and gooey. 


Tips 


The Bundt pan or tube pan is needed so that the heat spreads evenly through all of the dough and cooks rather than leaving the center balls raw. 


You can also make this the night before, and stop after you’ve poured the sauce over the bread. Then place it in your fridge overnight, allowing the dough to soak up the sauce further. This also allows for an easy treat the next morning, without need for lots of prep. 


The base idea of this recipe, taking biscuit dough and layering it, can be used in SO many different ways. People have come up with all sorts of sweet and savoury ideas. We collected some of our favorites to give you ideas on what can be done with this nifty recipe. 


From Celebrating Sweets we have  a Caramel Pecan Monkey Bread. Caramel + Pecans. We cannot wait to make this one in our own kitchens! 


Over at Dessert Now, Dinner Later they’ve got a delicious looking recipe for Apple Fritter Monkey Bread


And for our final sweet recipe, we’ve got a Baklava Monkey Bread recipe from the Happier Homemaker that has us absolutely drooling.  Baklava! But in tiny pull apart pieces! This one is also closer to the original Hungarian arany galuska given the walnuts. 


Moving over to the savory side of things we’ve got recipes for every meal you can think of.

Breakfast? Try Focus Recipe’s Sausage, Egg and Cheese recipe. 


Need a snack? Try Little Dairy on the Prairie’s Cheesy Bacon Ranch recipe. (That name is so cute!) 


Are you looking for dinner or something easy for a game night? Check out this recipe from The Girl Who Ate Everything for a Pizza Monkey Bread.


Looking for something fast, easy and still nice enough to serve to your boss? Check out  this recipe from Five Heart Home for Savory Herb & Cheese Monkey Bread. 


Wrapping It Up

 Thanks for checking out our recipe this week! Let us know what versions you’ve tried down below. Now that we know how versatile this recipe is, we want to hear from you just how many varieties you’ve tried. 


And remember, if something is going on with any of your appliances  we want to help. Whether it’s some of our posts here on the site, or needing a trained technician to take a look, Appliance Rescue Service is here for you.

A Valentine's Treat- Butterscotch Pretzel Pie

With  Valentine’s Day coming up we thought we’d go a slightly different route to the normal “chocolate everywhere!” Not that we don’t love chocolate, but it’s nice to have variety in the kitchen, right? This week we’re putting together a butterscotch pretzel pie. You can make this as a surprise for someone or you can make it with them for a sweet way to spend time together. 

 
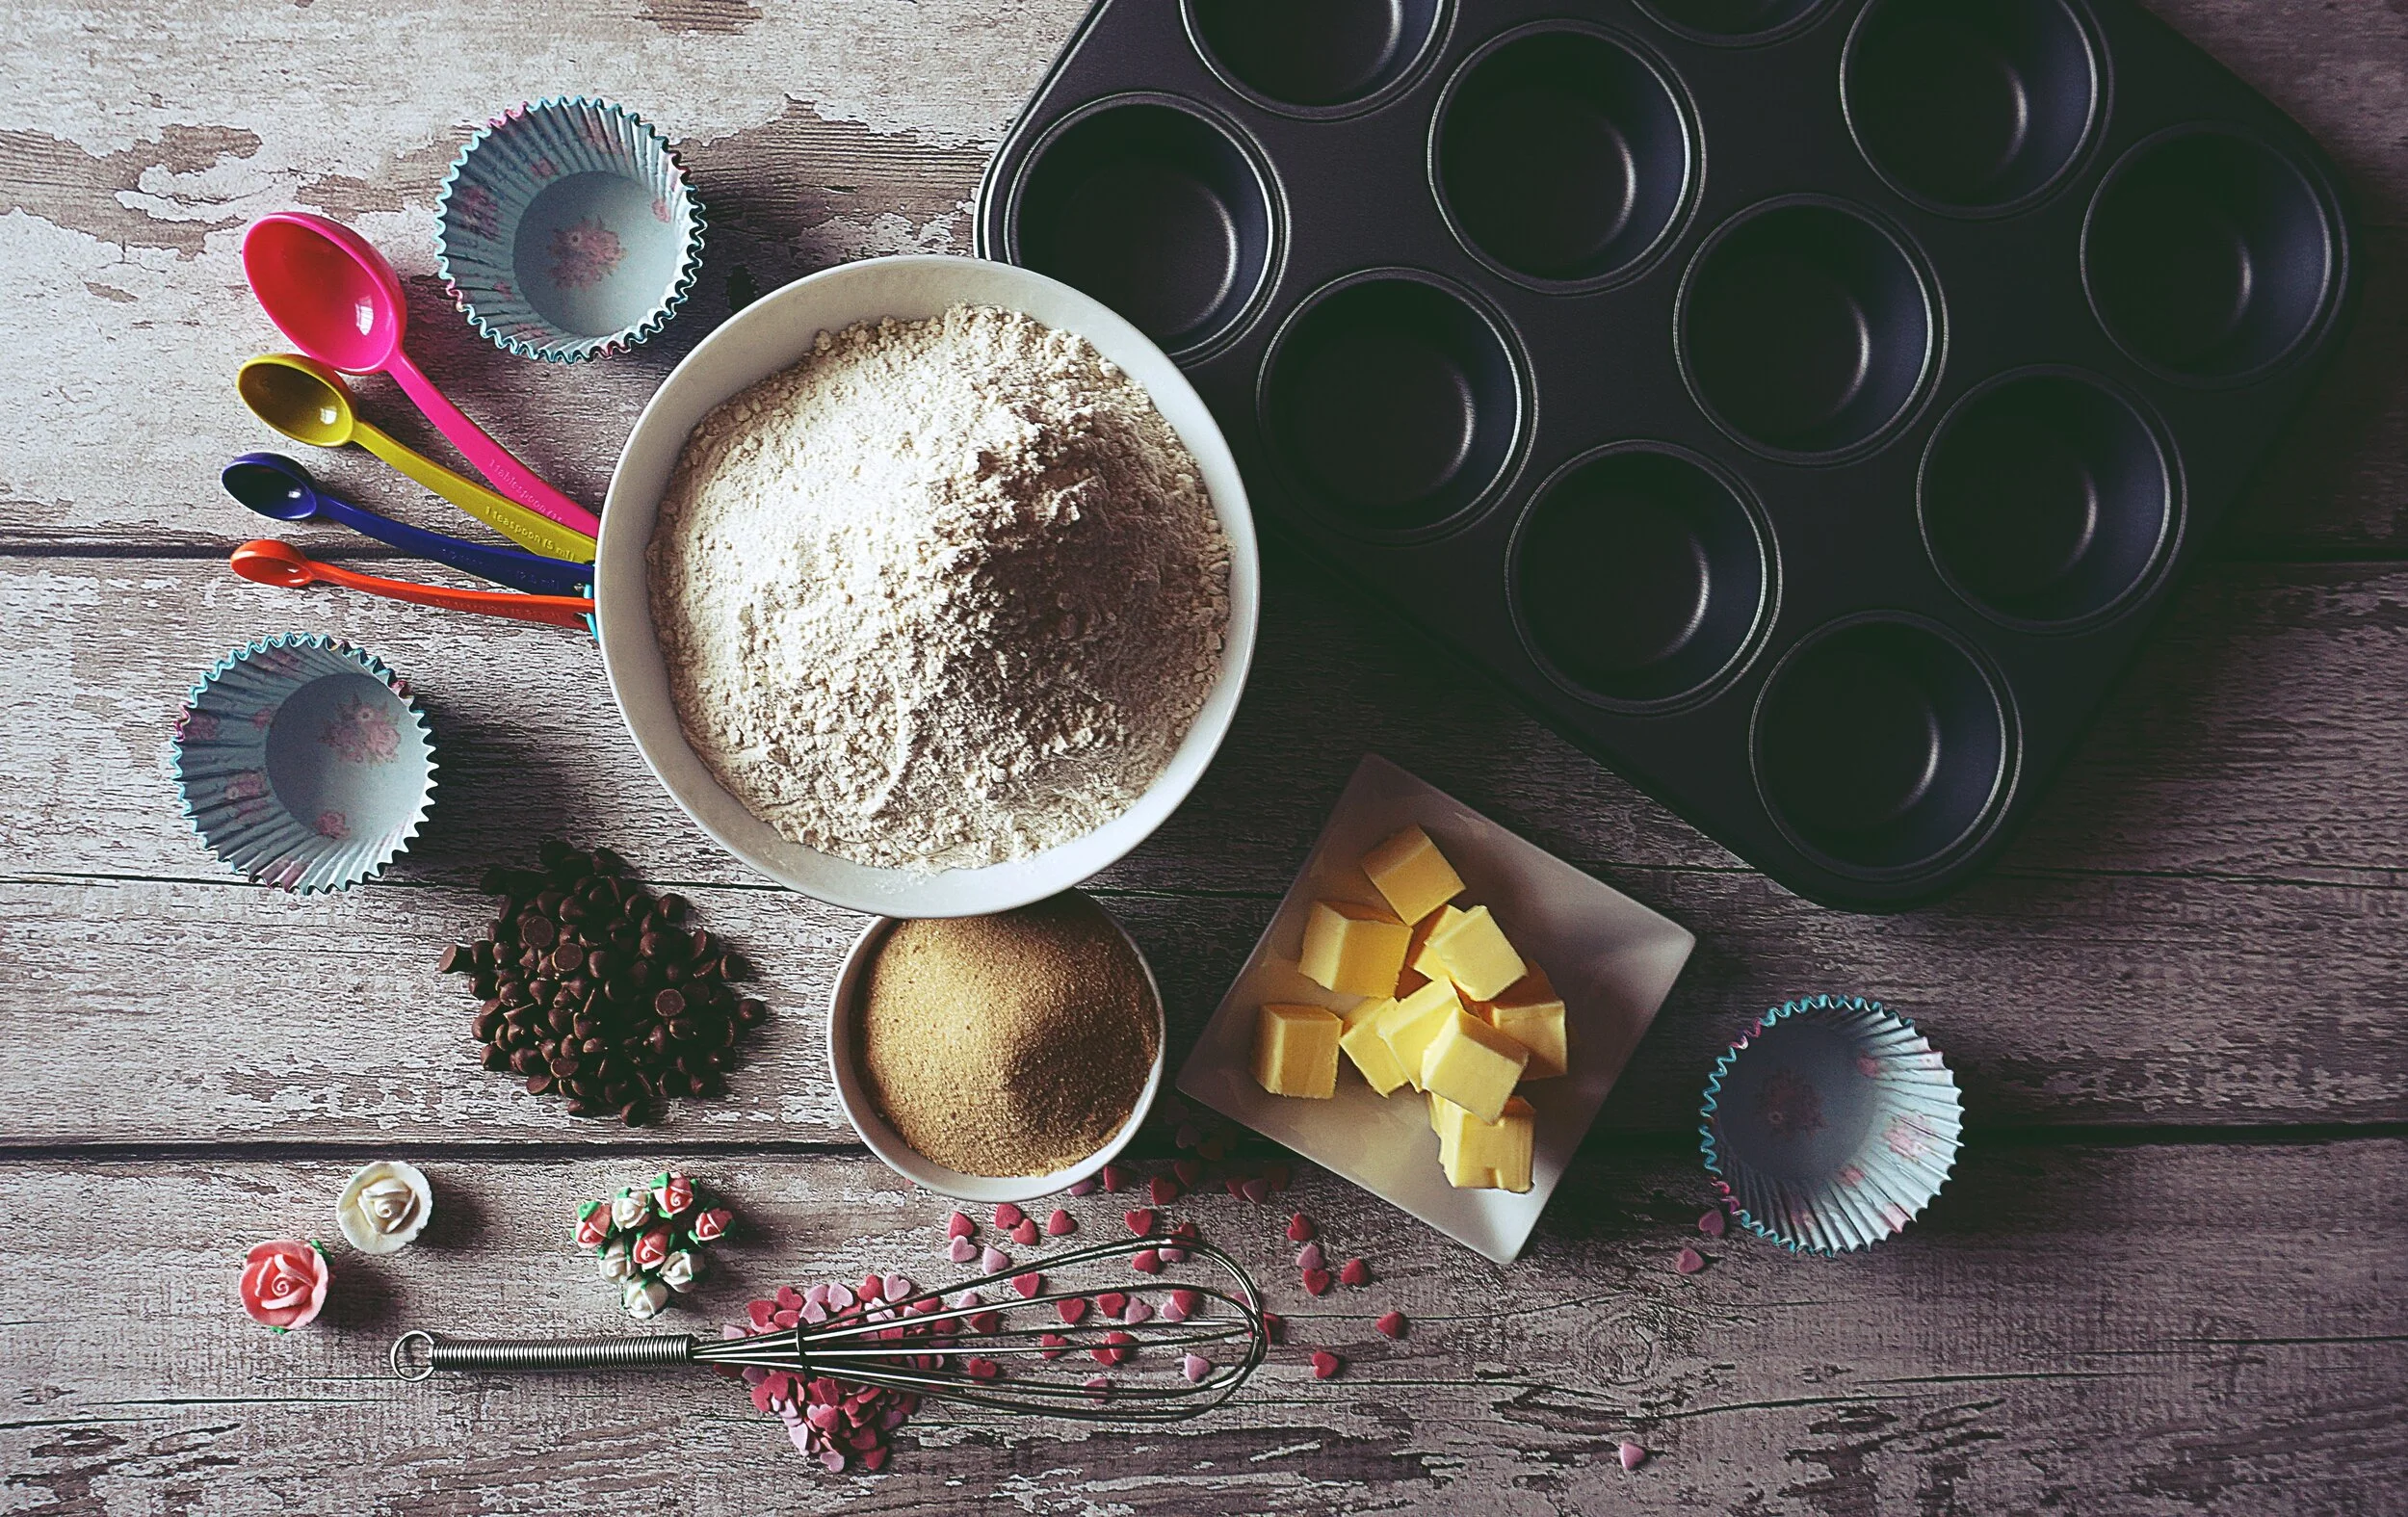
Baking supplies and tools
 

Ingredients 

Crust

¾ cup pretzel crumbs

¾ cup graham cracker crumbs 

2 Tbsp granulated sugar

6 Tbsp (or ¾ stick) butter, melted


For the crust, you can alter amounts of pretzel to graham cracker crumbs if you want the crust sweeter or saltier. 

Filling 

¾ cup packed dark brown sugar

¼ cup cornstarch

Pinch of salt

3 large egg yolks- room temperature

2 cups of whole milk

2 Tbsp cold butter, cut into small chunks

2 tsp vanilla extract

Topping

1 cup cold heavy cream

3 Tbsp granulated sugar 

Chocolate shavings 


Instructions

Preheat the oven to 350


Making the Crust:

In a medium bowl combine the pretzel crumbs, graham cracker crumbs, granulated sugar, and melted butter until they form an evenly moist, crumbly mix. Press the mixture evenly onto first the bottom and then up the sides of a 9-inch pie plate. Starting with the bottom is to make sure there aren’t any air pockets later. Bake until the crust is fragrant and firm, 8-10 minutes. Set aside to cool, although not in the fridge,  or things will get soggy. 


Making the Filling: 

In a medium bowl, whisk together the brown sugar, cornstarch, and salt. Add the egg yolks and ½ the cup of milk, whisking thoroughly to combine. 

In a large saucepan, bring the remaining 1 ½ cups milk to a boil over medium-high heat. Remove the pan from the heat. Whisking constantly, very slowly add the hot milk into the egg mixture. It should be a thin ribbon while you’re pouring. Keep whisking constantly so that you don’t scramble the eggs.  

Pour the entire mixture back into the pan. 

Cook over medium heat, stirring constantly until the mixture comes to a boil and thickens, roughly 3-5 minutes. Remove from the heat and whisk in the butter and vanilla until smooth. 

Pour the filling into the cooled pie crust and smooth the surface with a small spatula. Cover the surface entirely with plastic wrap to prevent a skin from forming. Make sure the plastic wrap is right up against the filling. 


Place the pie in the fridge until thoroughly cooled and set, at least 2 hours. 


Just before serving, make the topping.: In the bowl of an electric mixer fitted with the whisk attachment or using a handheld mixer, whip the cream and granulated sugar at medium-high sped to form soft peaks. 

Spread the whipped cream over the pie, shave chocolate over the pie and serve. Be prepared for people to be coming after you for the recipe afterwards, this pie is sweet, delicious and absolutely amazing. 


Tips 

When it comes to making crumbs, your best bet is to get two gallon size ziplock bags. The first one will almost certainly get torn apart by the salt and the sharp edges of the pretzels, while the second will keep the crumbs from getting all over your counter.  Pour in two cups of pretzels and mash with a rolling pin, or with a mallet. 


If you’re short on time, you can get away with using a premade graham cracker crust, but it won’t taste quite the same. Because of how sweet the filling is, the salt from the pretzels balances things out. What you can do though to add that is a sprinkling of sea salt over the topping before you add the whipped cream. 


When it comes to brown sugar, you need to work in stages. Fill the measuring cup you’re using and then scrape it off with a knife to level it. Now use your fingers or the back of a spoon to pack down the sugar. You should have roughly half of what you started with. Repeat until you have the amount you need. 


When you’re adding in the milk to the egg mixture you’re tempering the eggs. If you ensure that your eggs are at warm temperature before you start working with them, it will help to prevent them from scrambling when you add in the milk.  If you want to learn more about tempering you can check out here.   You can watch the full episode, or start at 2:17 to learn just about tempering. 


Let us know how your recipe turns out, we’d love to hear from you over on our Facebook page. 


And if you’re looking to learn more about how we can help you with your appliances, please let us know


Adapted From: Paula Deen’s Southern Cooking Bible.