Dinner

Impress Your Guests with This Easy-to-Make Apple Pecan French Toast Bake

Make Your Mornings Magical with This Rich and Delicious Recipe

Are you ready to elevate your breakfast game to a whole new level? Look no further than this scrumptious Baked Apple Cinnamon French Toast recipe. With a delightful blend of sweet, tart apples, warm cinnamon, and creamy custard-soaked bread, this dish is a breakfast dream come true. Whether you're preparing a special brunch for loved ones or simply treating yourself to a cozy morning treat, this recipe promises to fill your kitchen with irresistible aromas and your taste buds with pure satisfaction. So, roll up your sleeves , and let's embark on a culinary journey to create a breakfast masterpiece that will leave you craving more.


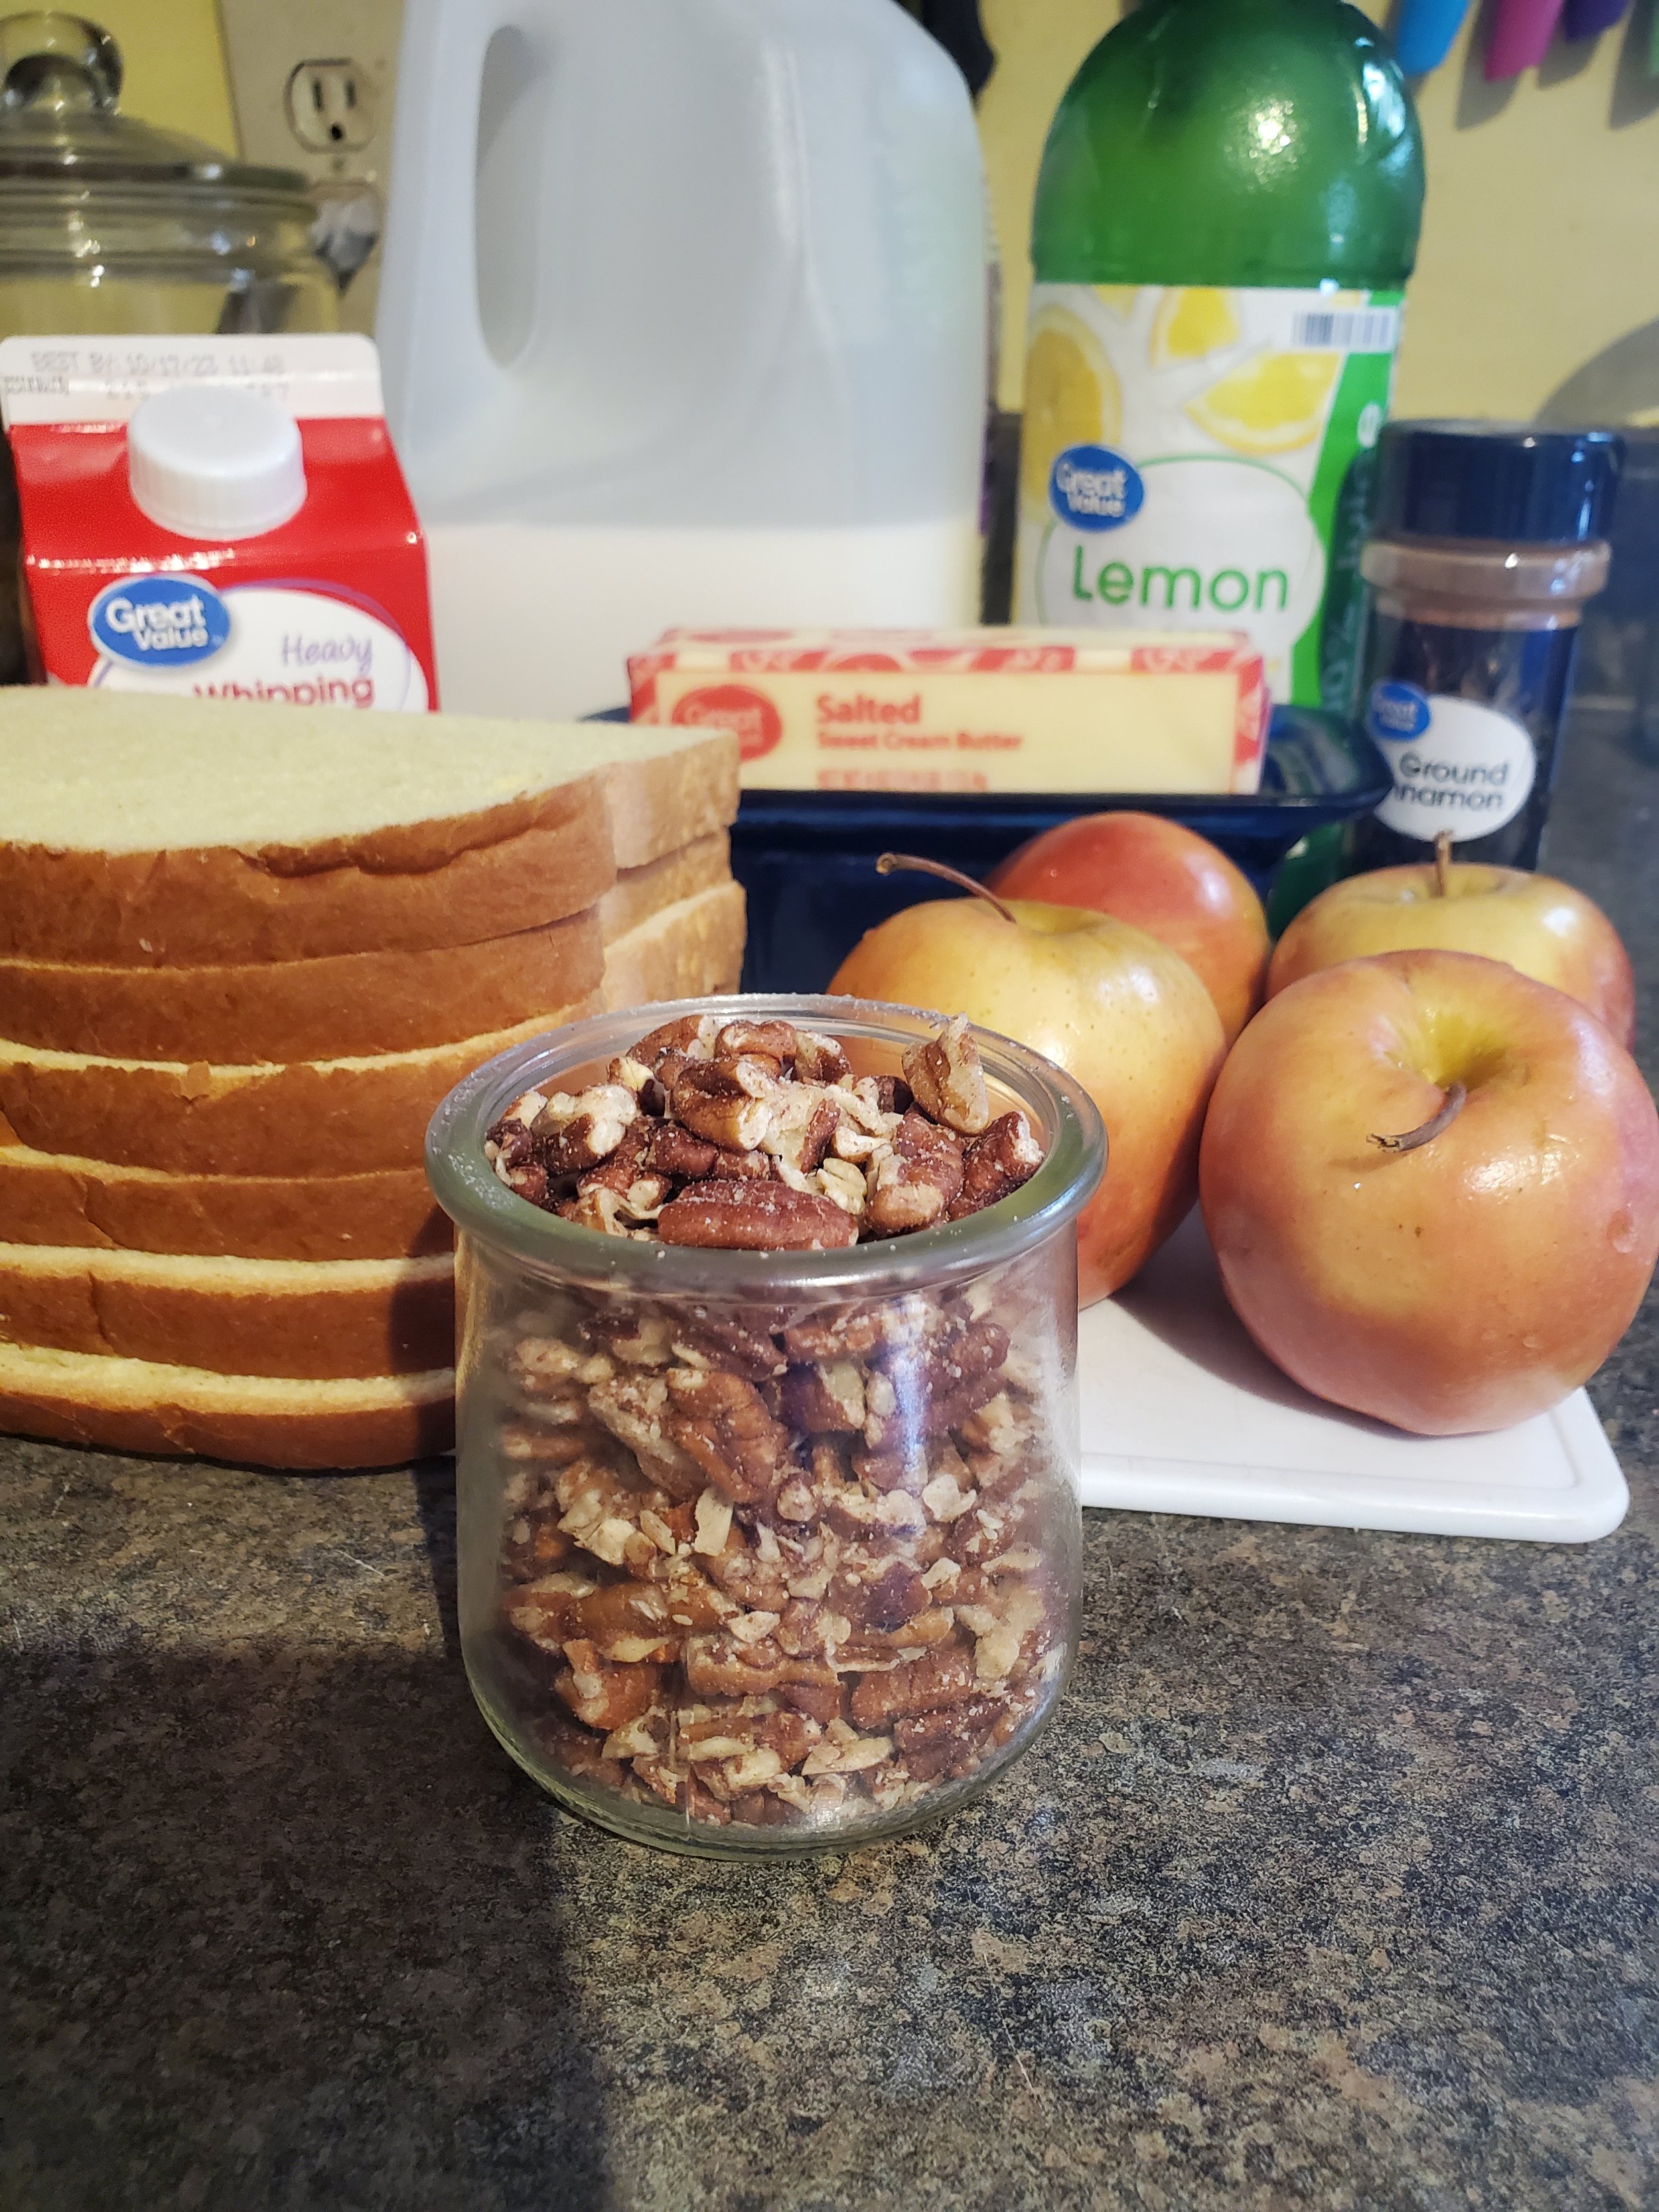
Ingredients:


4 or more apples

6-10 slices bread

2 tablespoons butter

3/4 cup heavy cream

3/4 cup milk

5 large eggs

1/2 teaspoon vanilla extract (optional)

2-3 tablespoons lemon juice

1/2 cup light brown sugar

2 teaspoons ground cinnamon

pinch nutmeg (optional)

1/2 cup chopped pecans


Tools:


toaster oven

cutting board

knife

frying pan

glass baking dish

small mixing bowl

shallow dish for dredging

fork(s)

measuring cups and spoons

slotted spoon

heat proof measuring cup


As always, begin with washing your produce! Those apples won't clean themselves, after all.


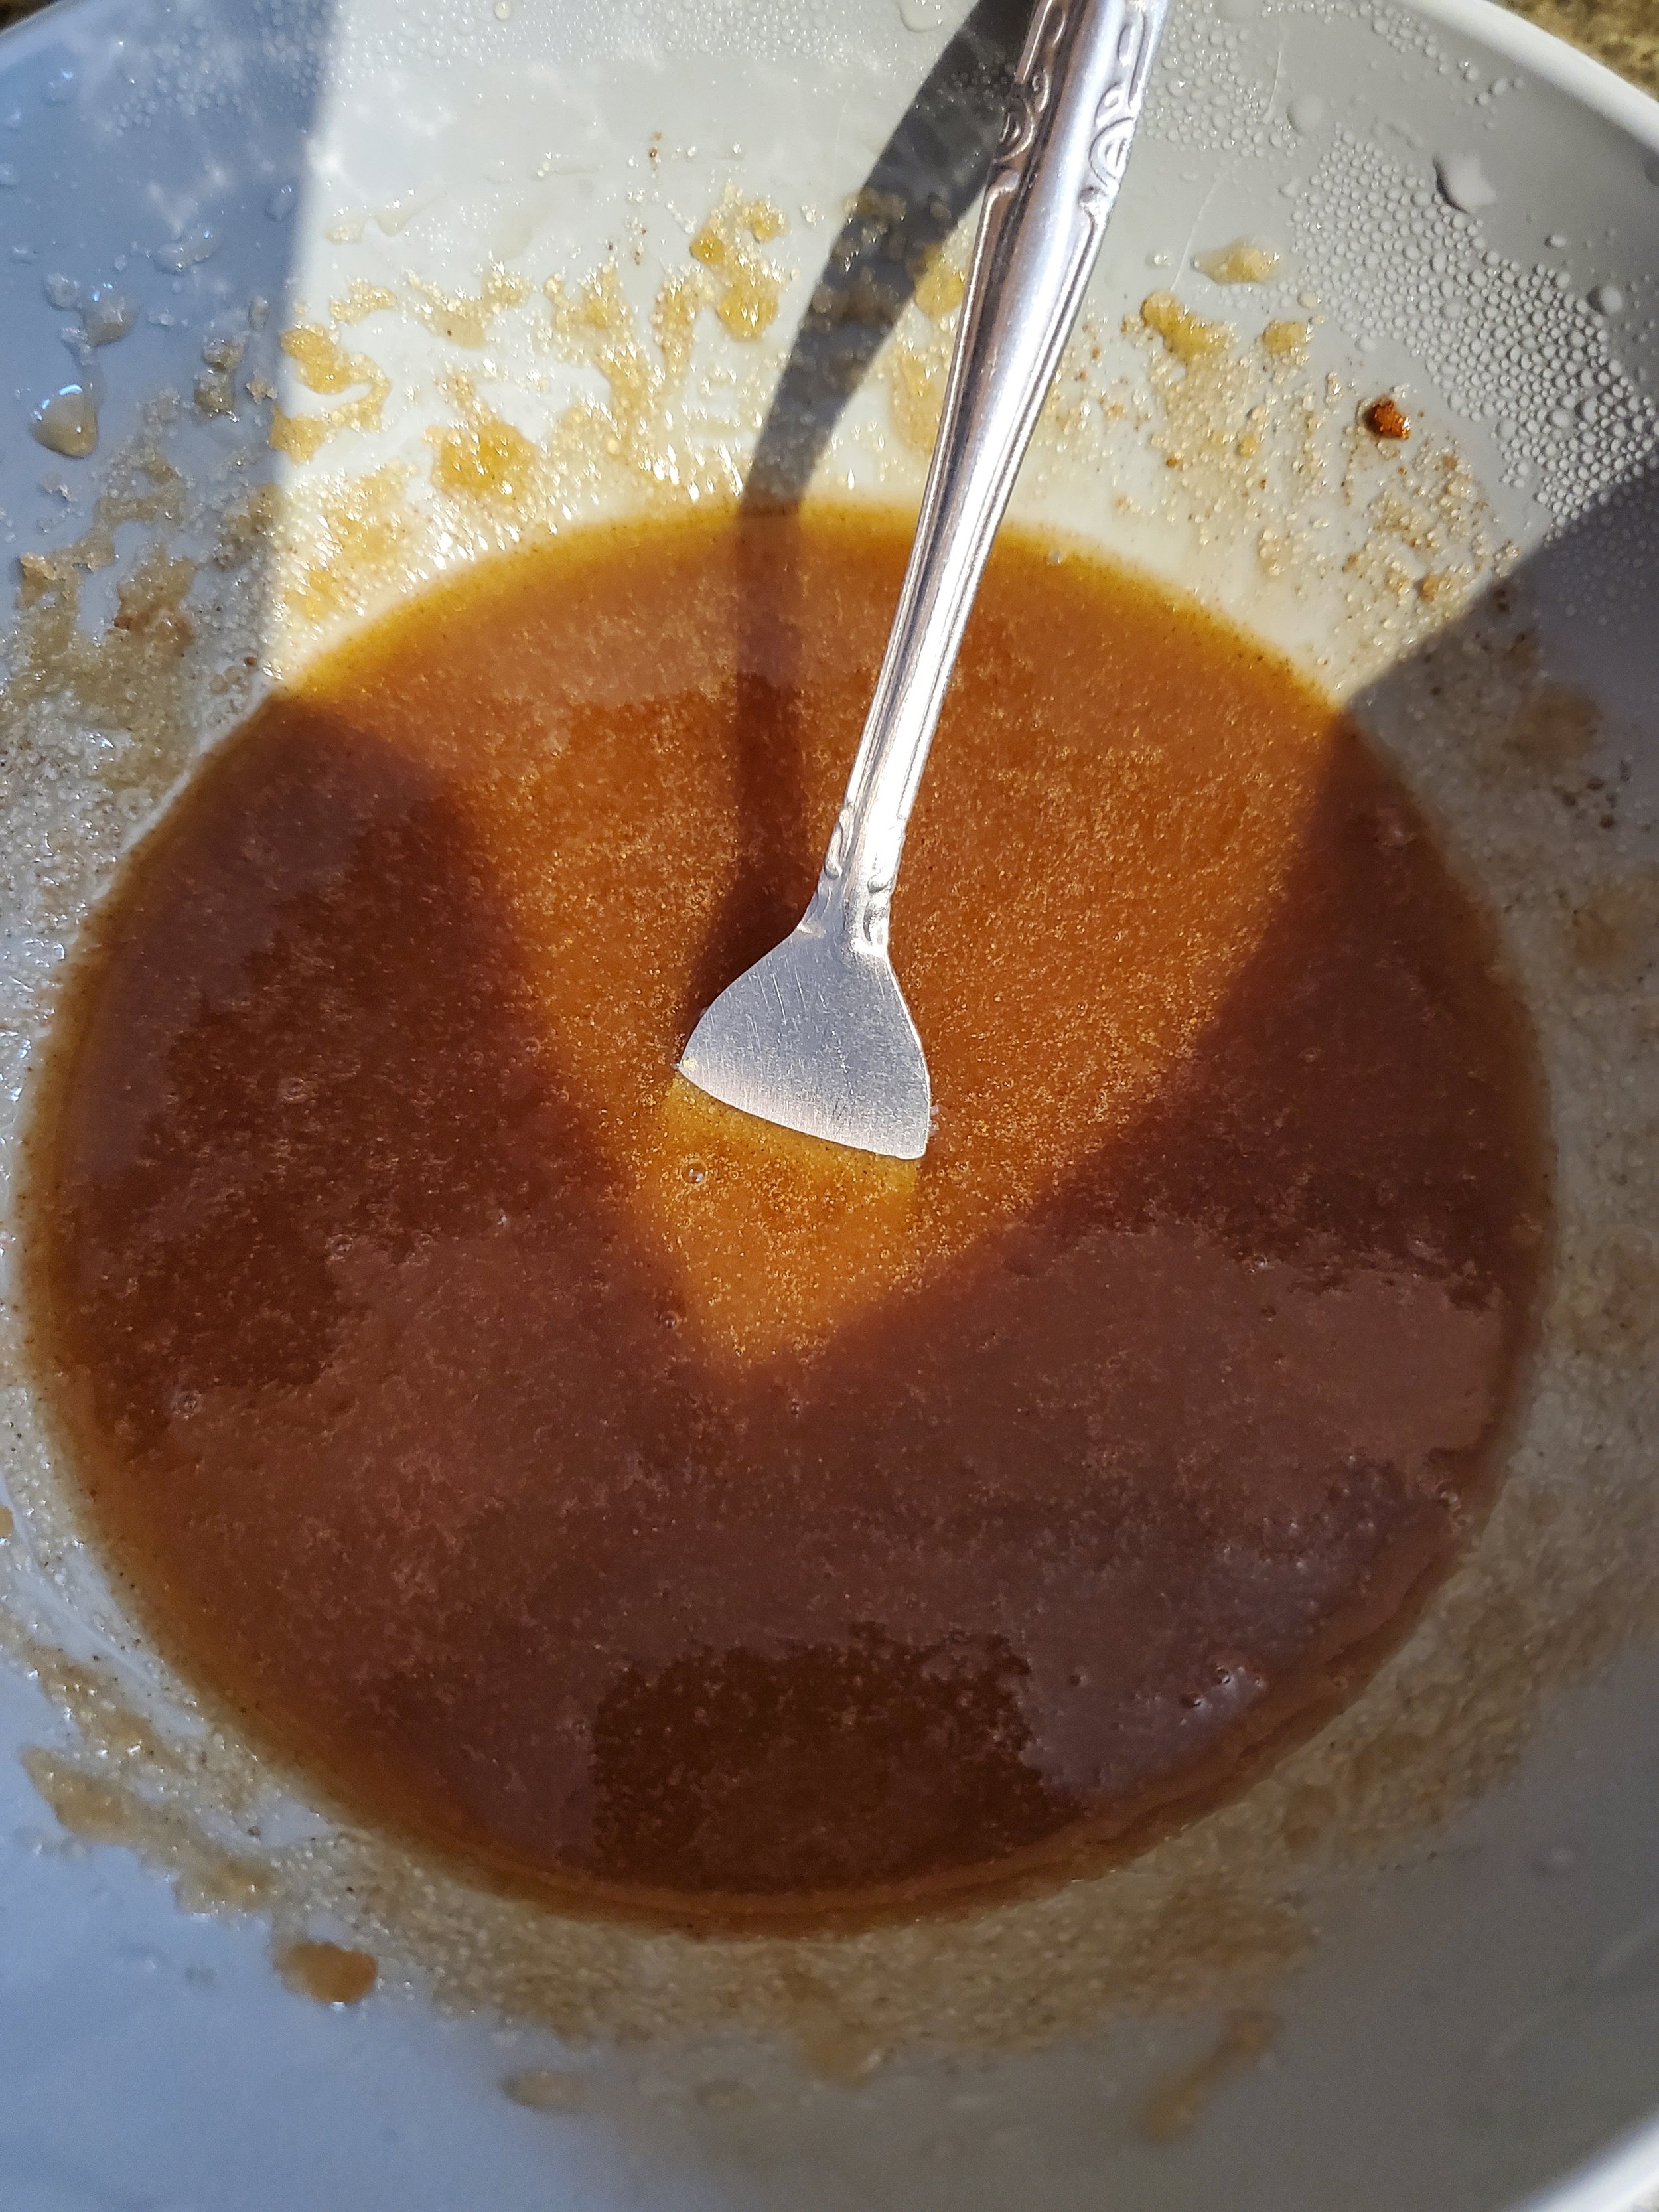
Measure your brown sugar, cinnamon and nutmeg (optional) into the small mixing bowl. Add two tablespoons of lemon juice and whisk until you get a thin, mostly mixed liquid. If it's still a bit thick, go ahead and add that last tablespoon of juice.


Core and cut your apples into no more than half inch thick slices. We used four apples, but feel like this recipe could easily accommodate twice as many. Adjust for your preferences, and if you do shoot for more apples, get a bigger frying pan or be ready to work in waves when it comes time to cook them.


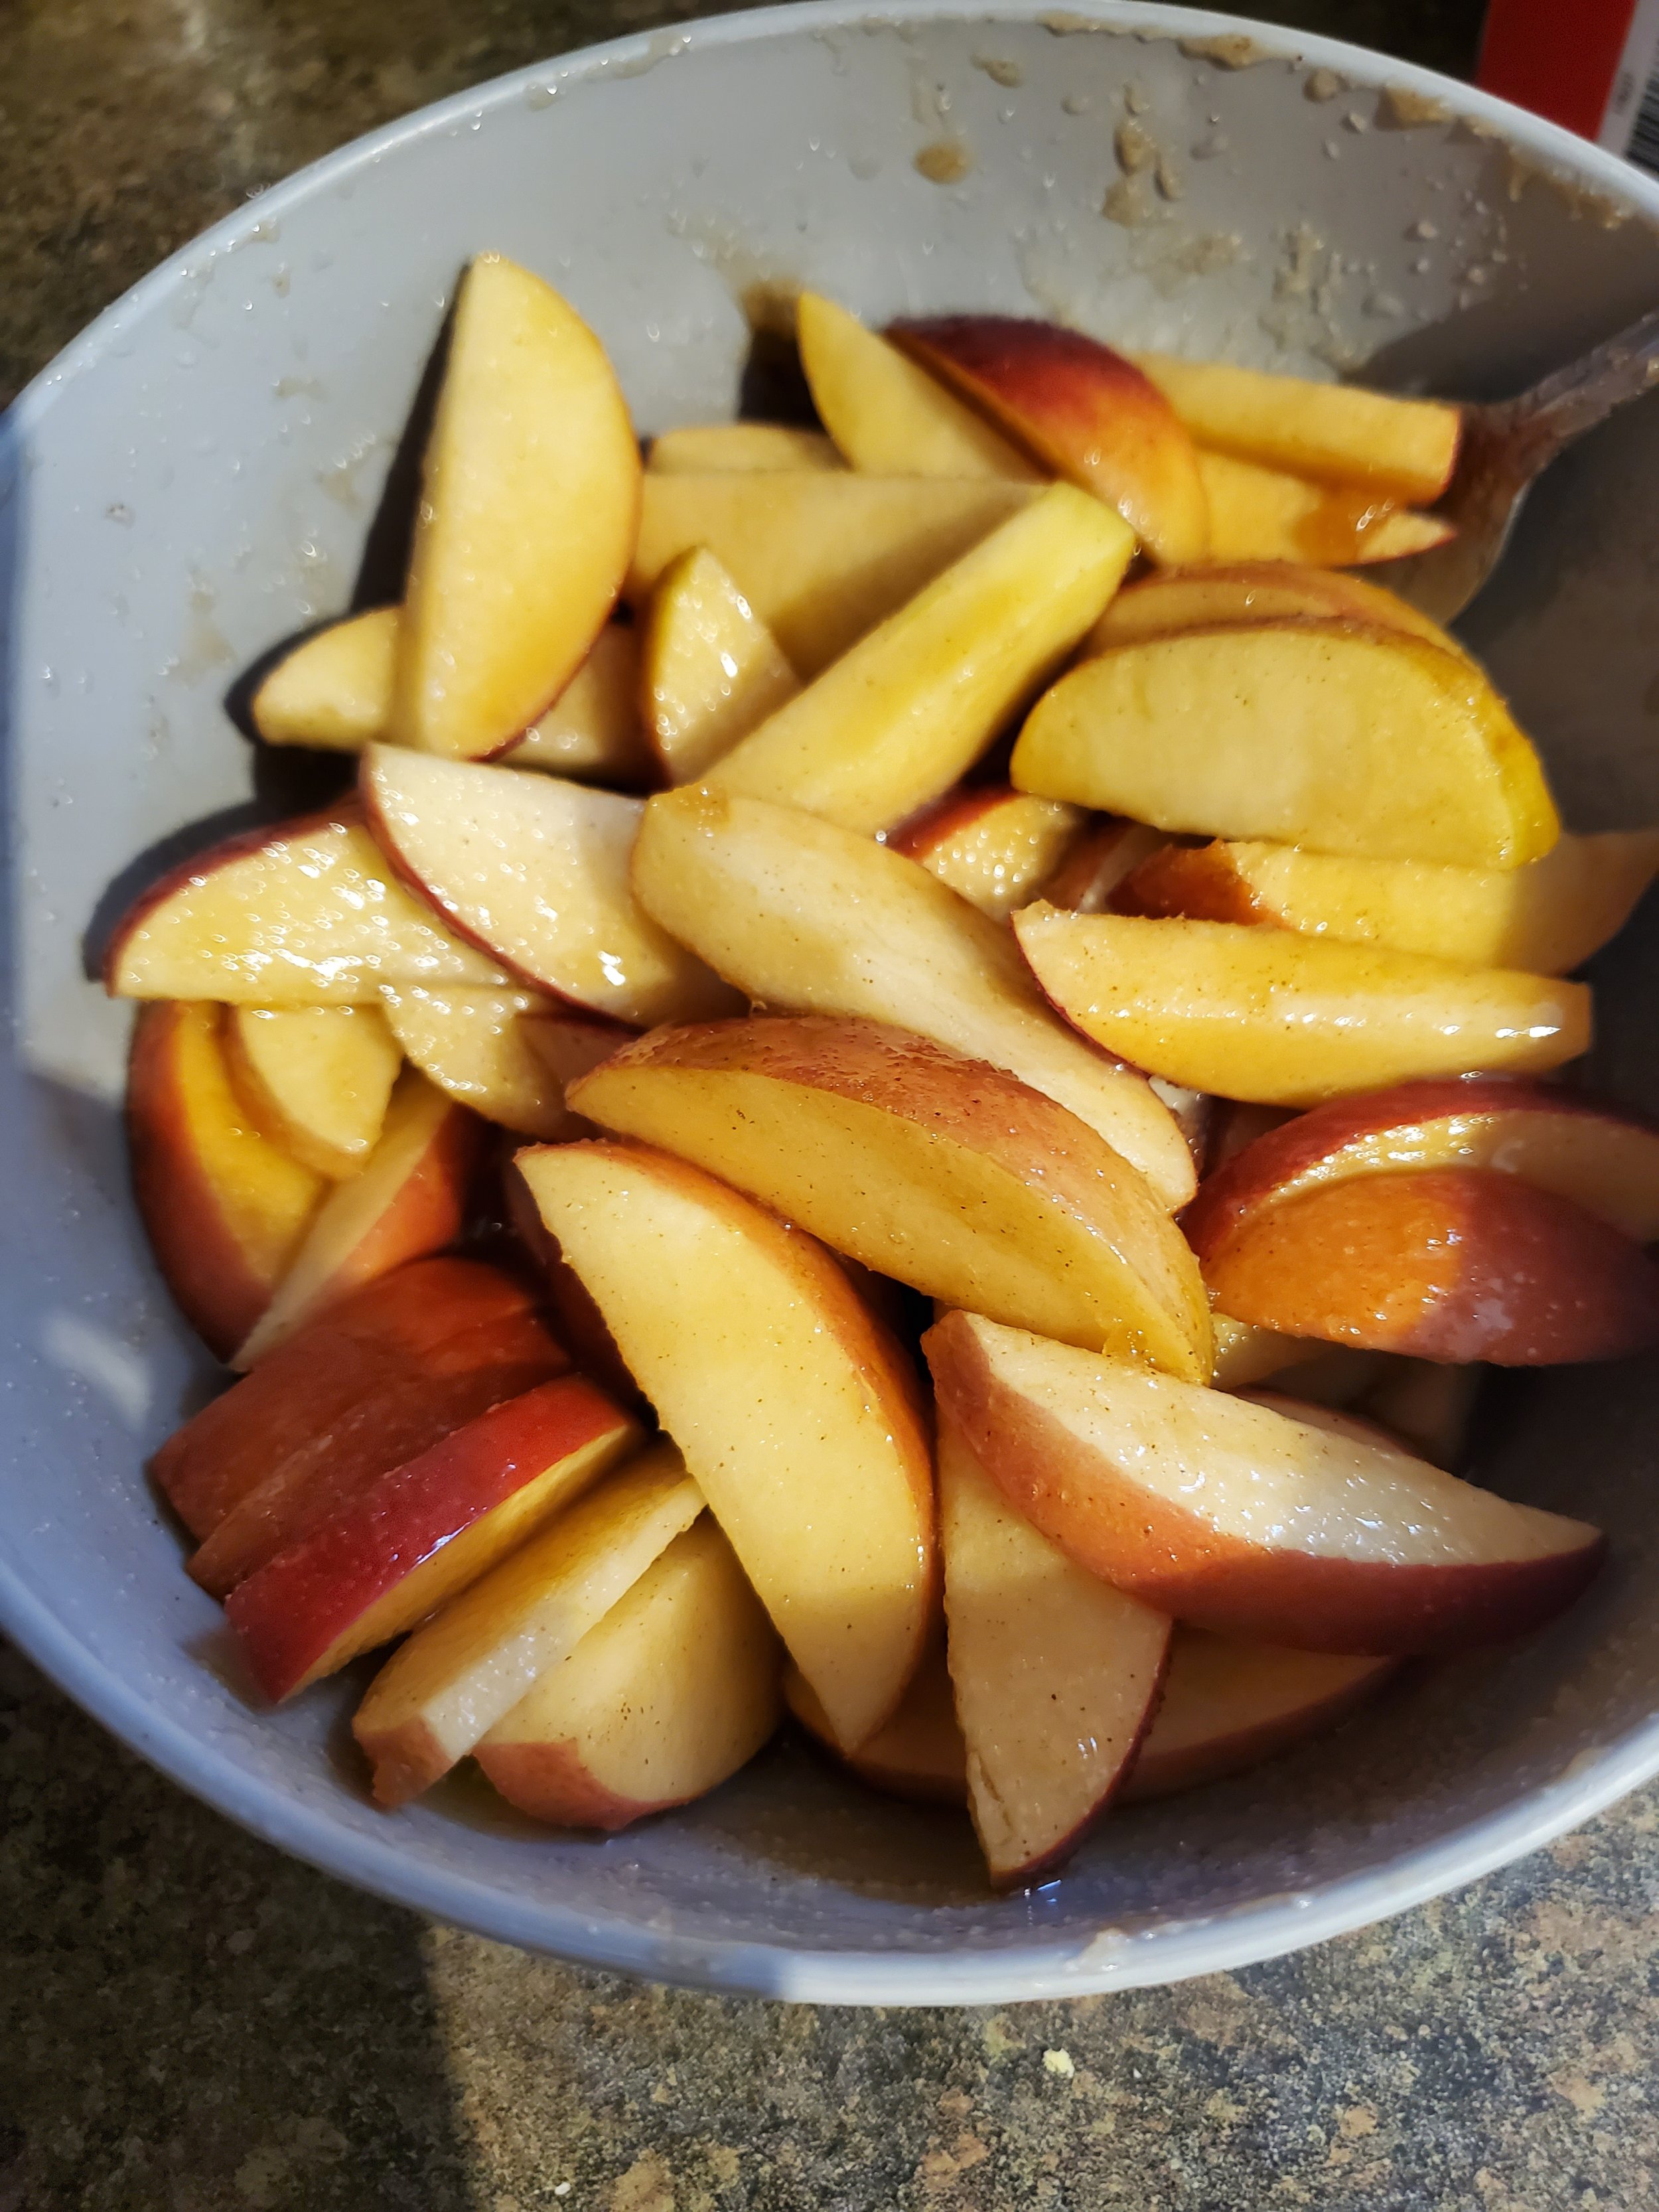
Dump your apple slices into the liquid and give them a good shake or toss to cover them. Let them sit there for a little while and move on to another task.


We split each of our large slices of bread in half in order to fit the maximum amount of bread into the toaster oven in one wave. This is totally optional; this step only exists because our toaster oven is not a standard size.


Whether you split your slices or not, toast them for at least two minutes. We want the bread to be slightly stiff in order to hold up to your eggy, custardy mixture in a minute.


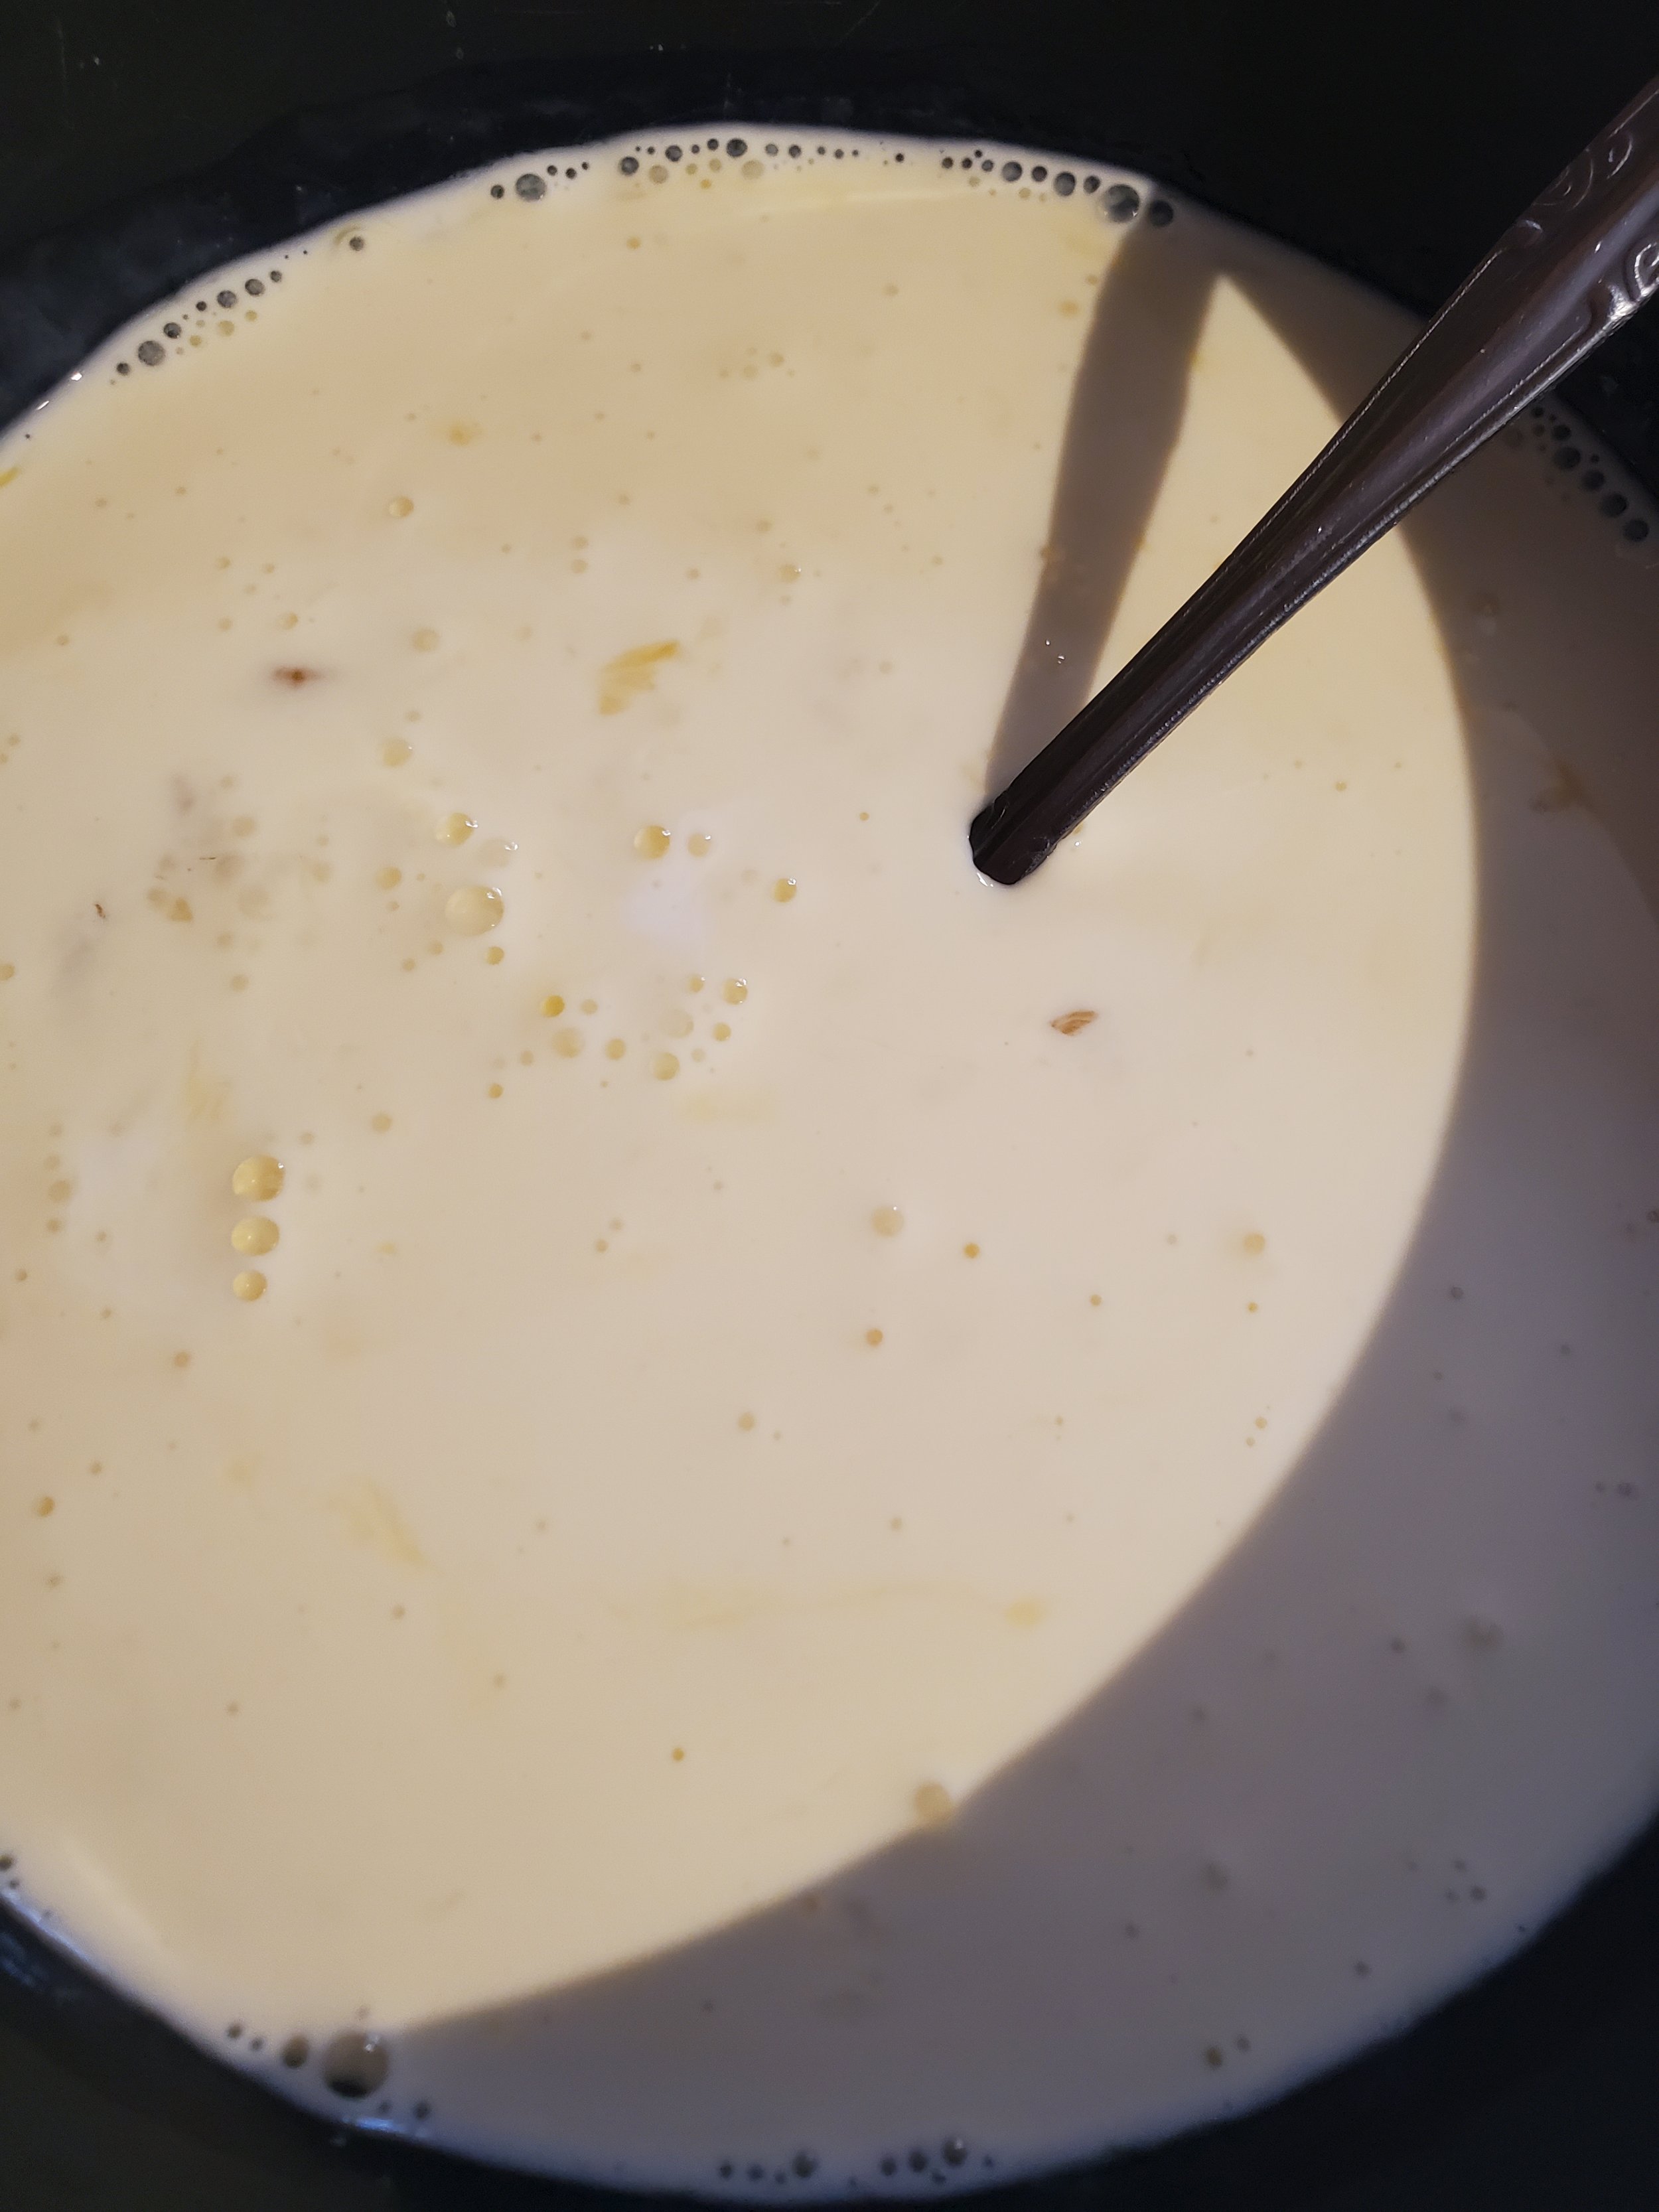
While your bread toasts, measure your cream and milk into the shallow dish and whisk in the eggs. Add vanilla at this stage, if you plan to use it. We like the extra sweet note, but not everyone does.


After your bread has been toasted, grease the bottom and sides of the baking dish and preheat your oven to 350.


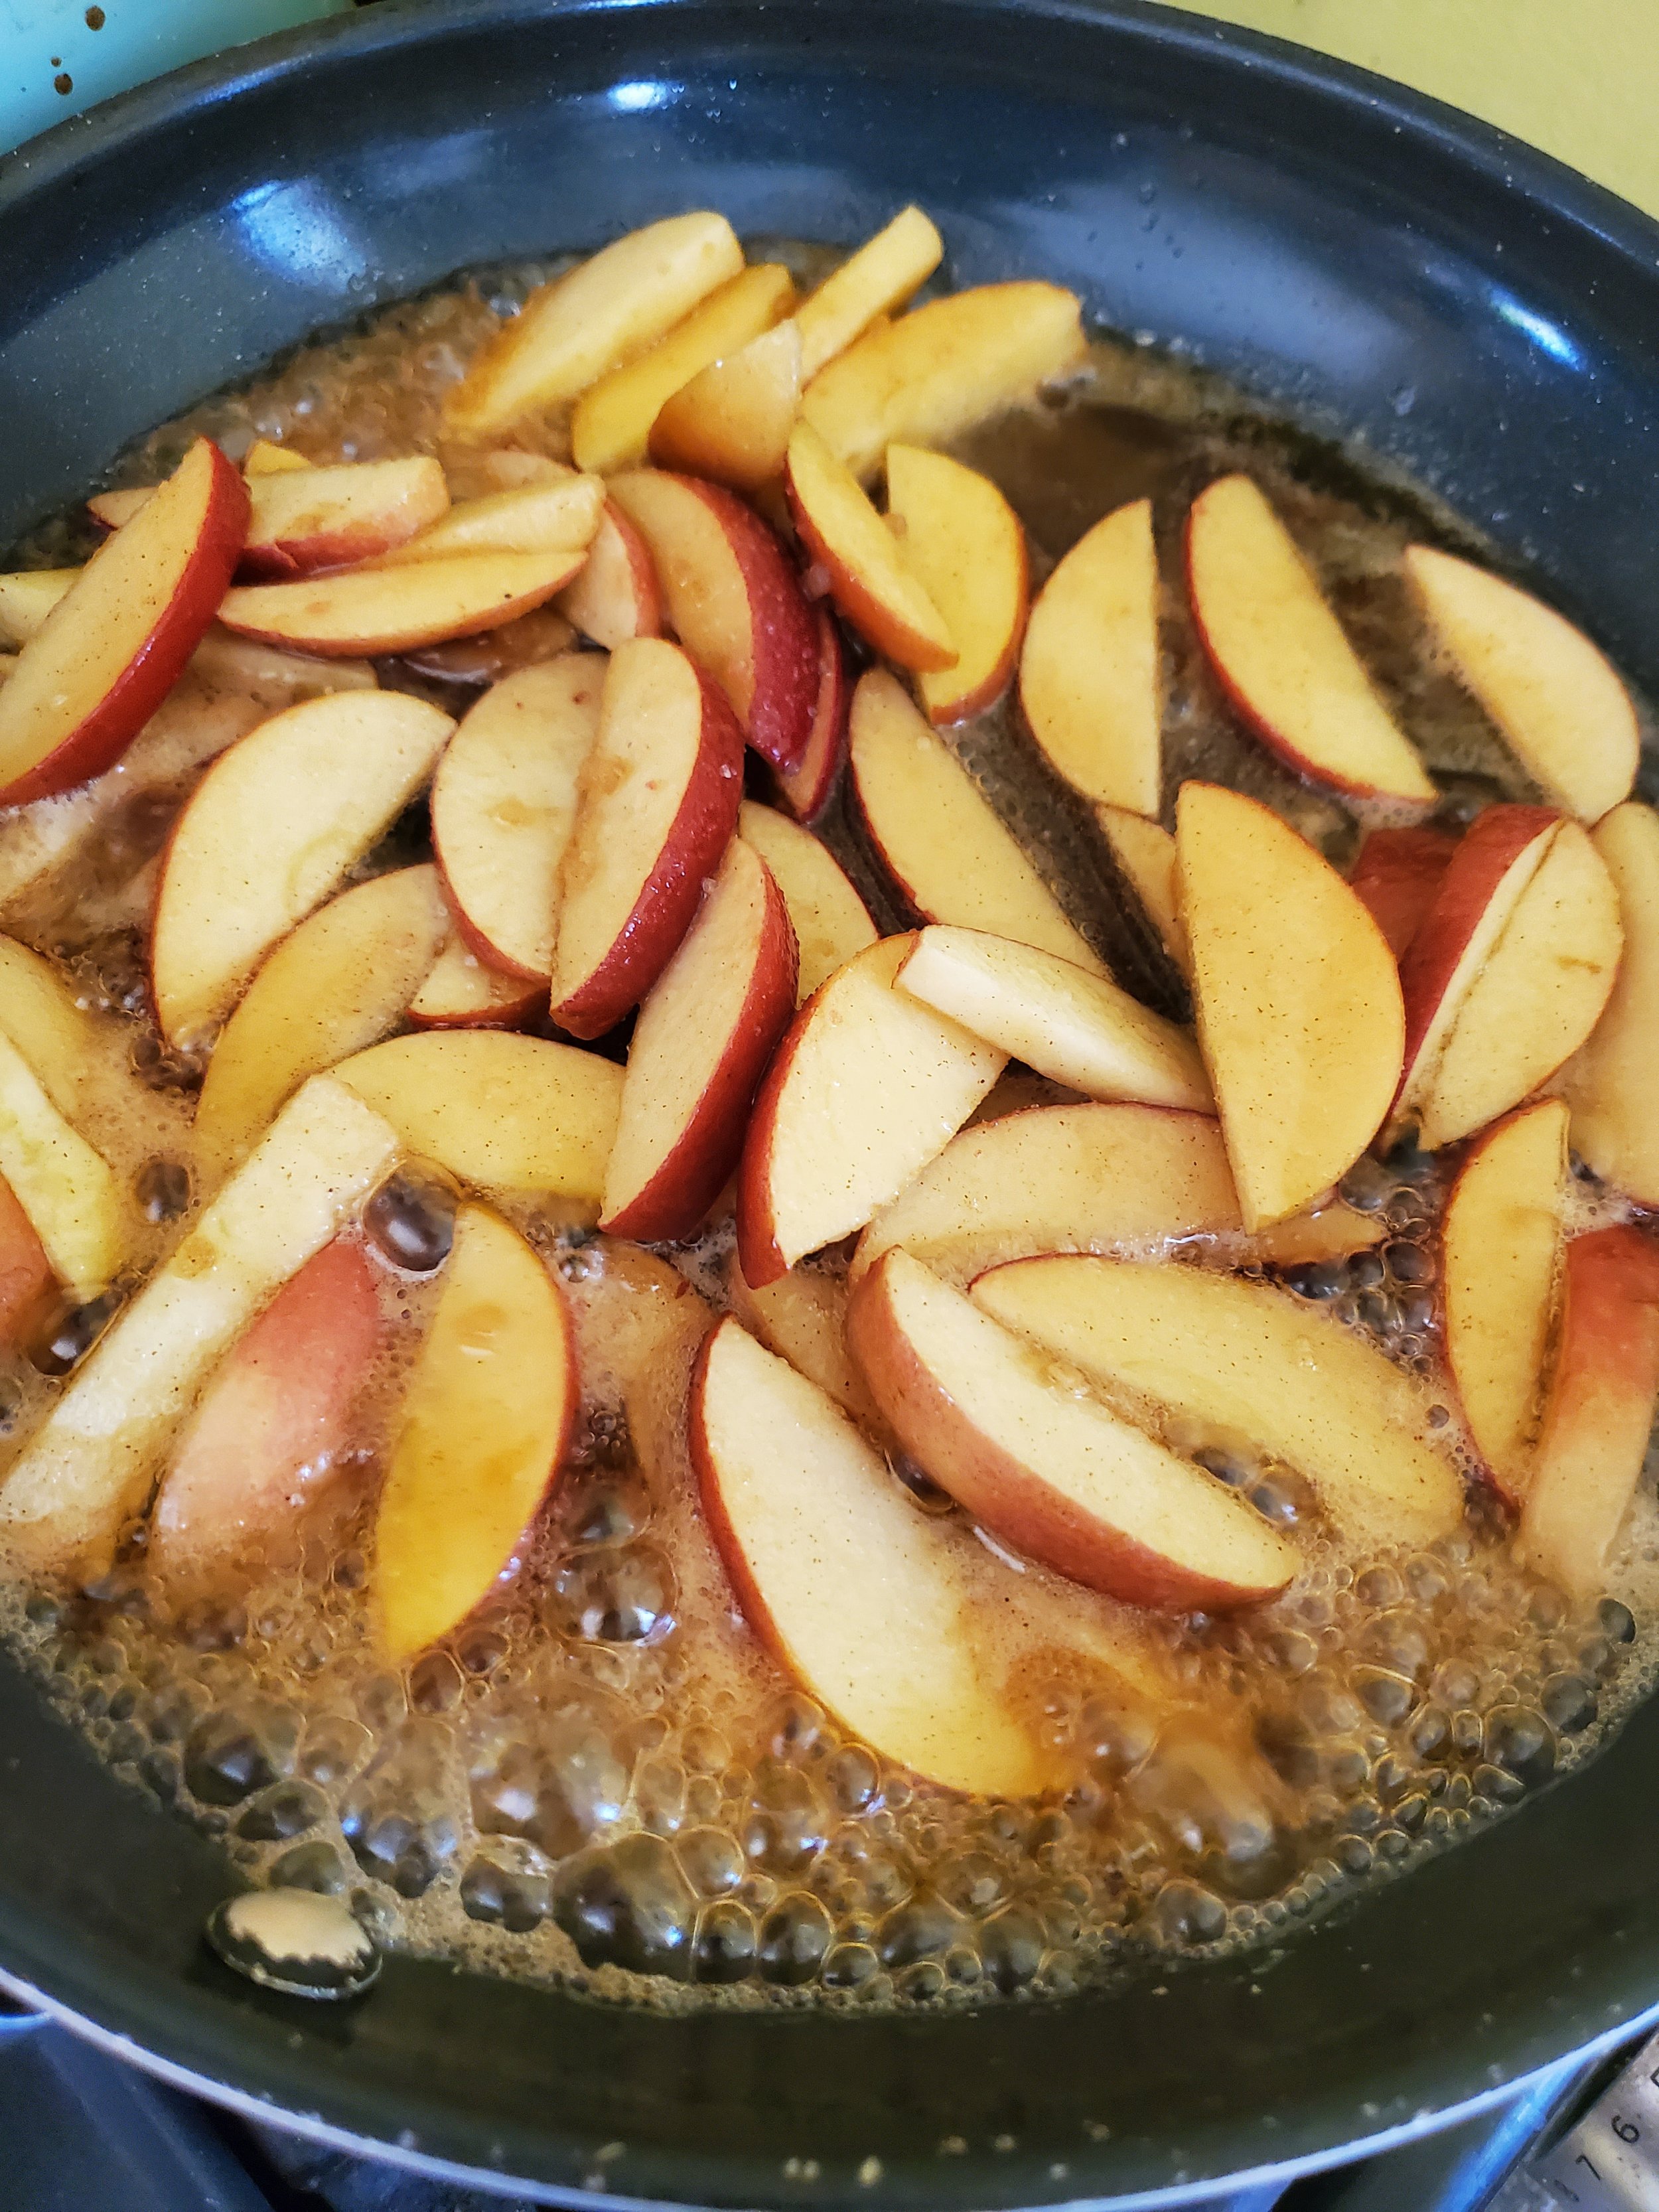
Those apples we told you to leave alone for a while? Go grab them. Melt the butter into the frying pan over low heat, then add all the apples and the liquid. Let them simmer for about five minutes on low. They'll begin to bubble around the edges; this is normal. Give a stir, flip them over, and let them go a minute or two more.


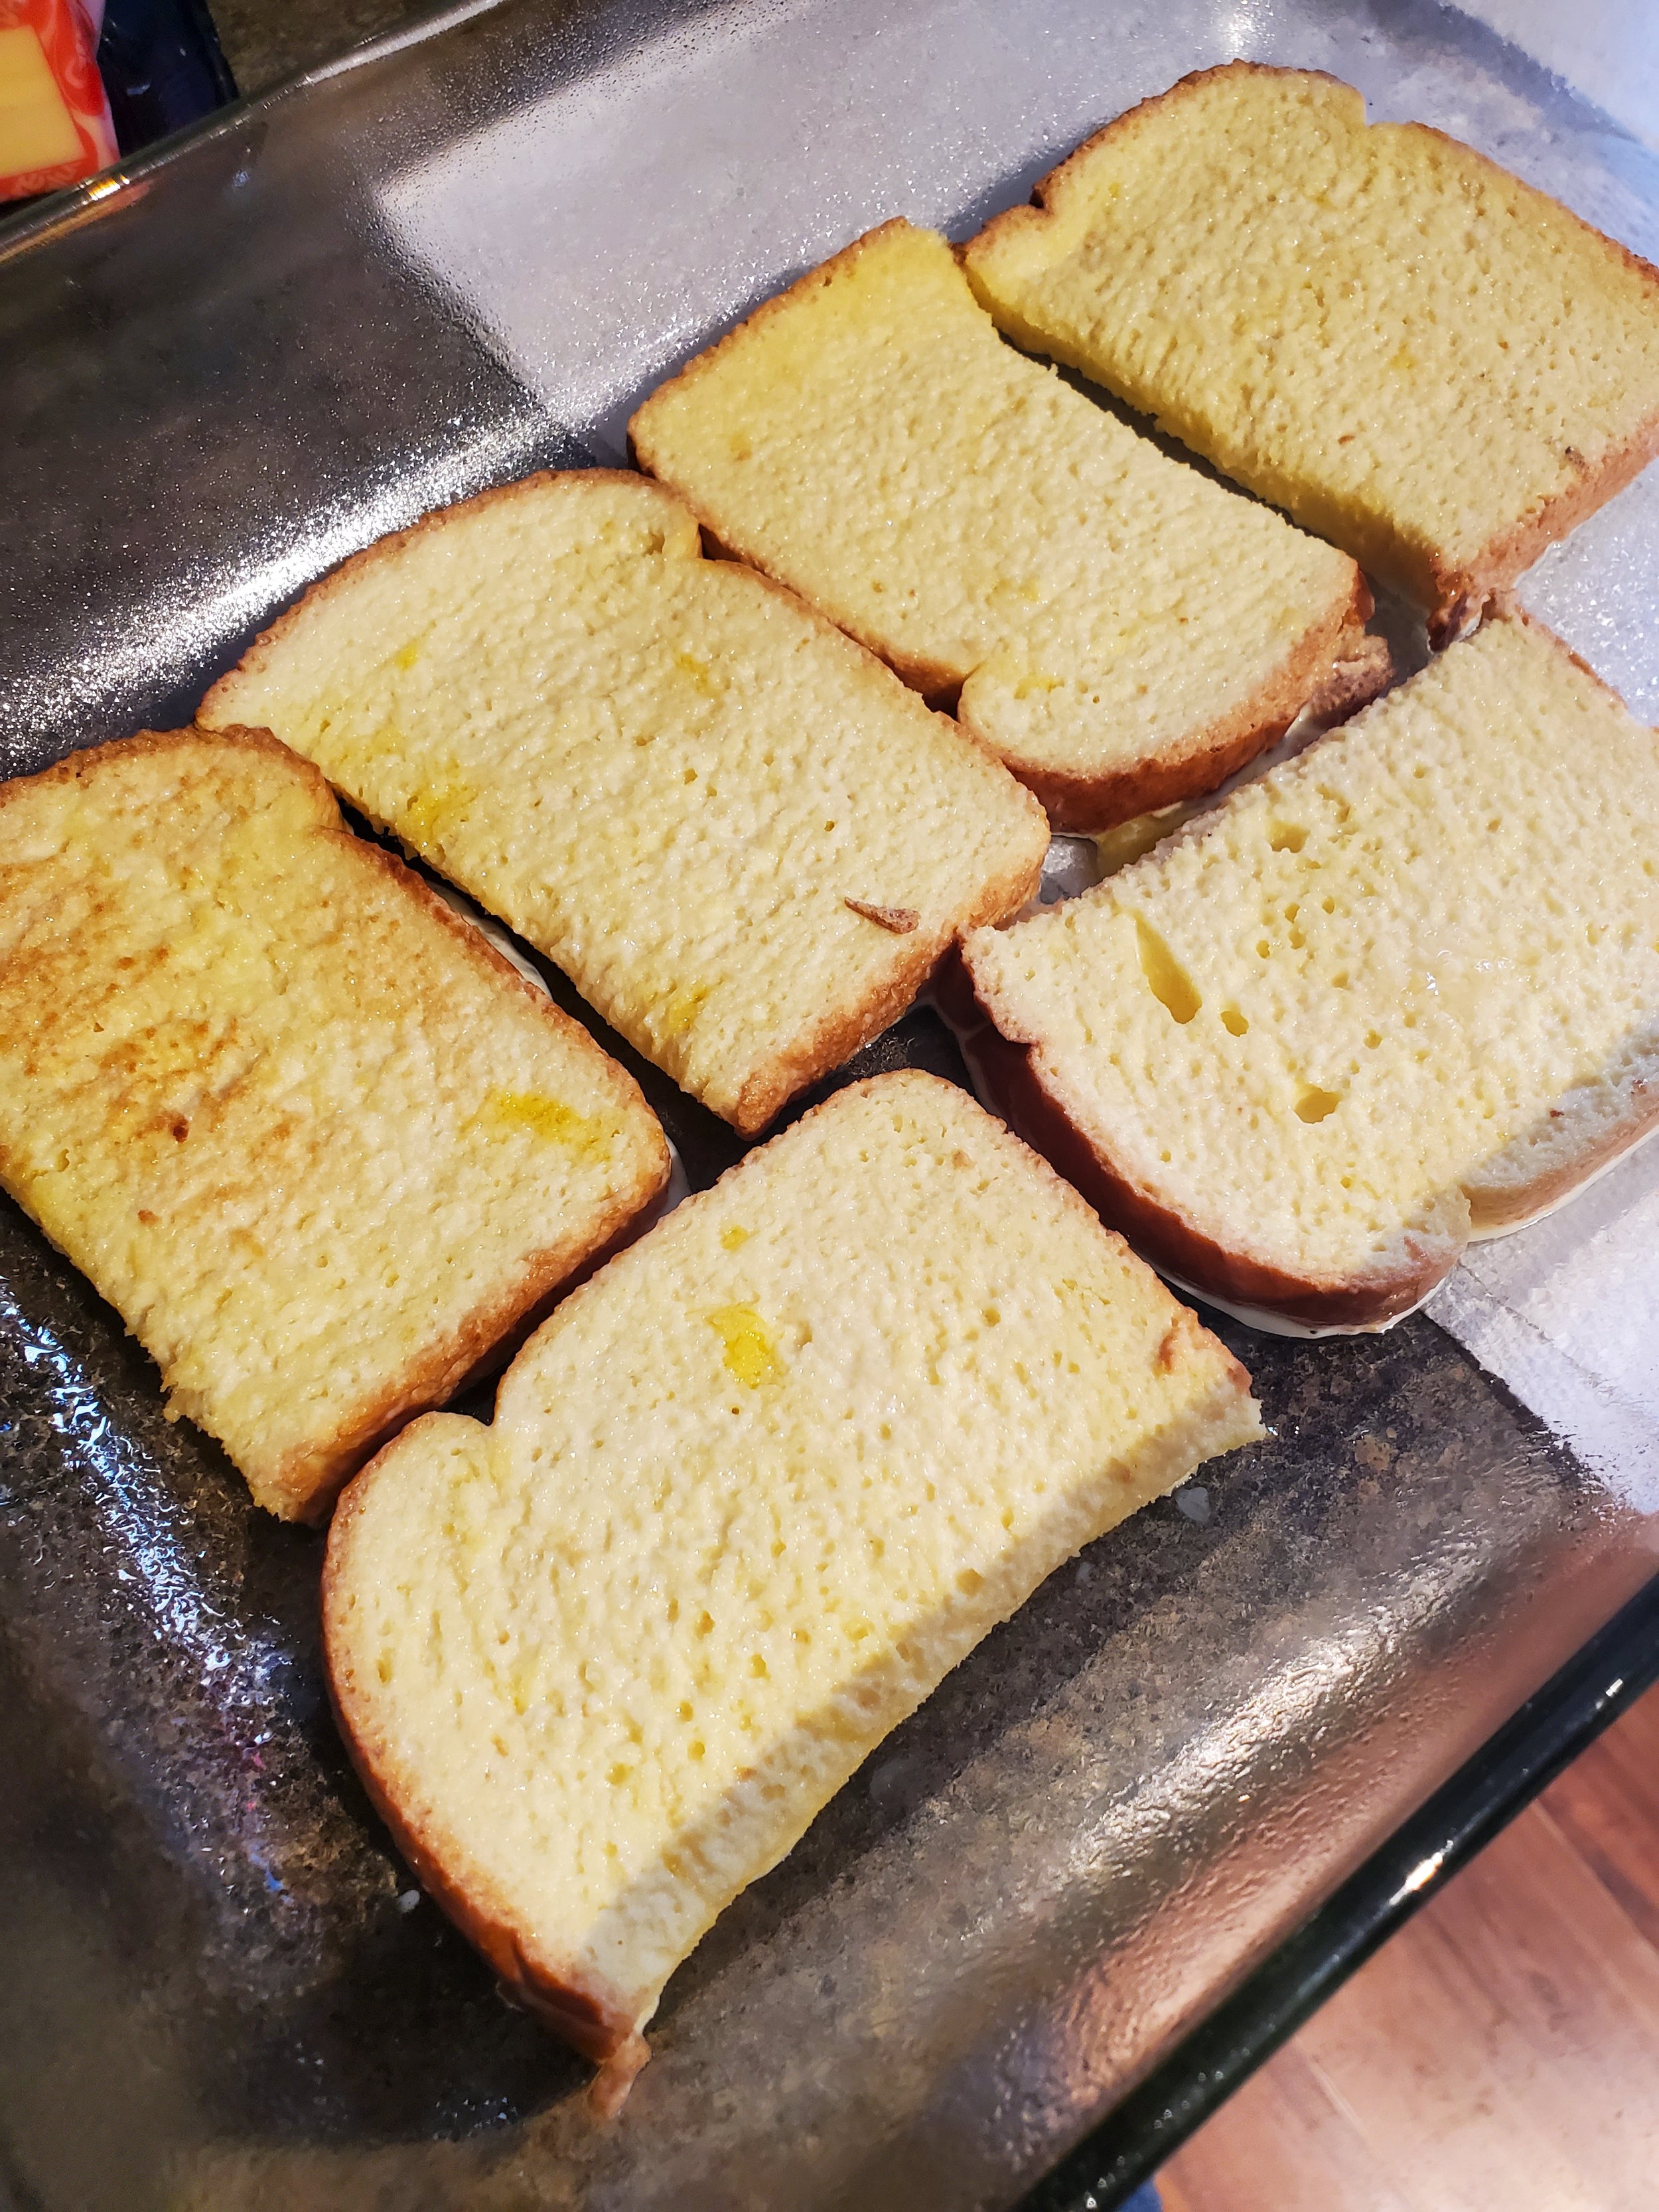
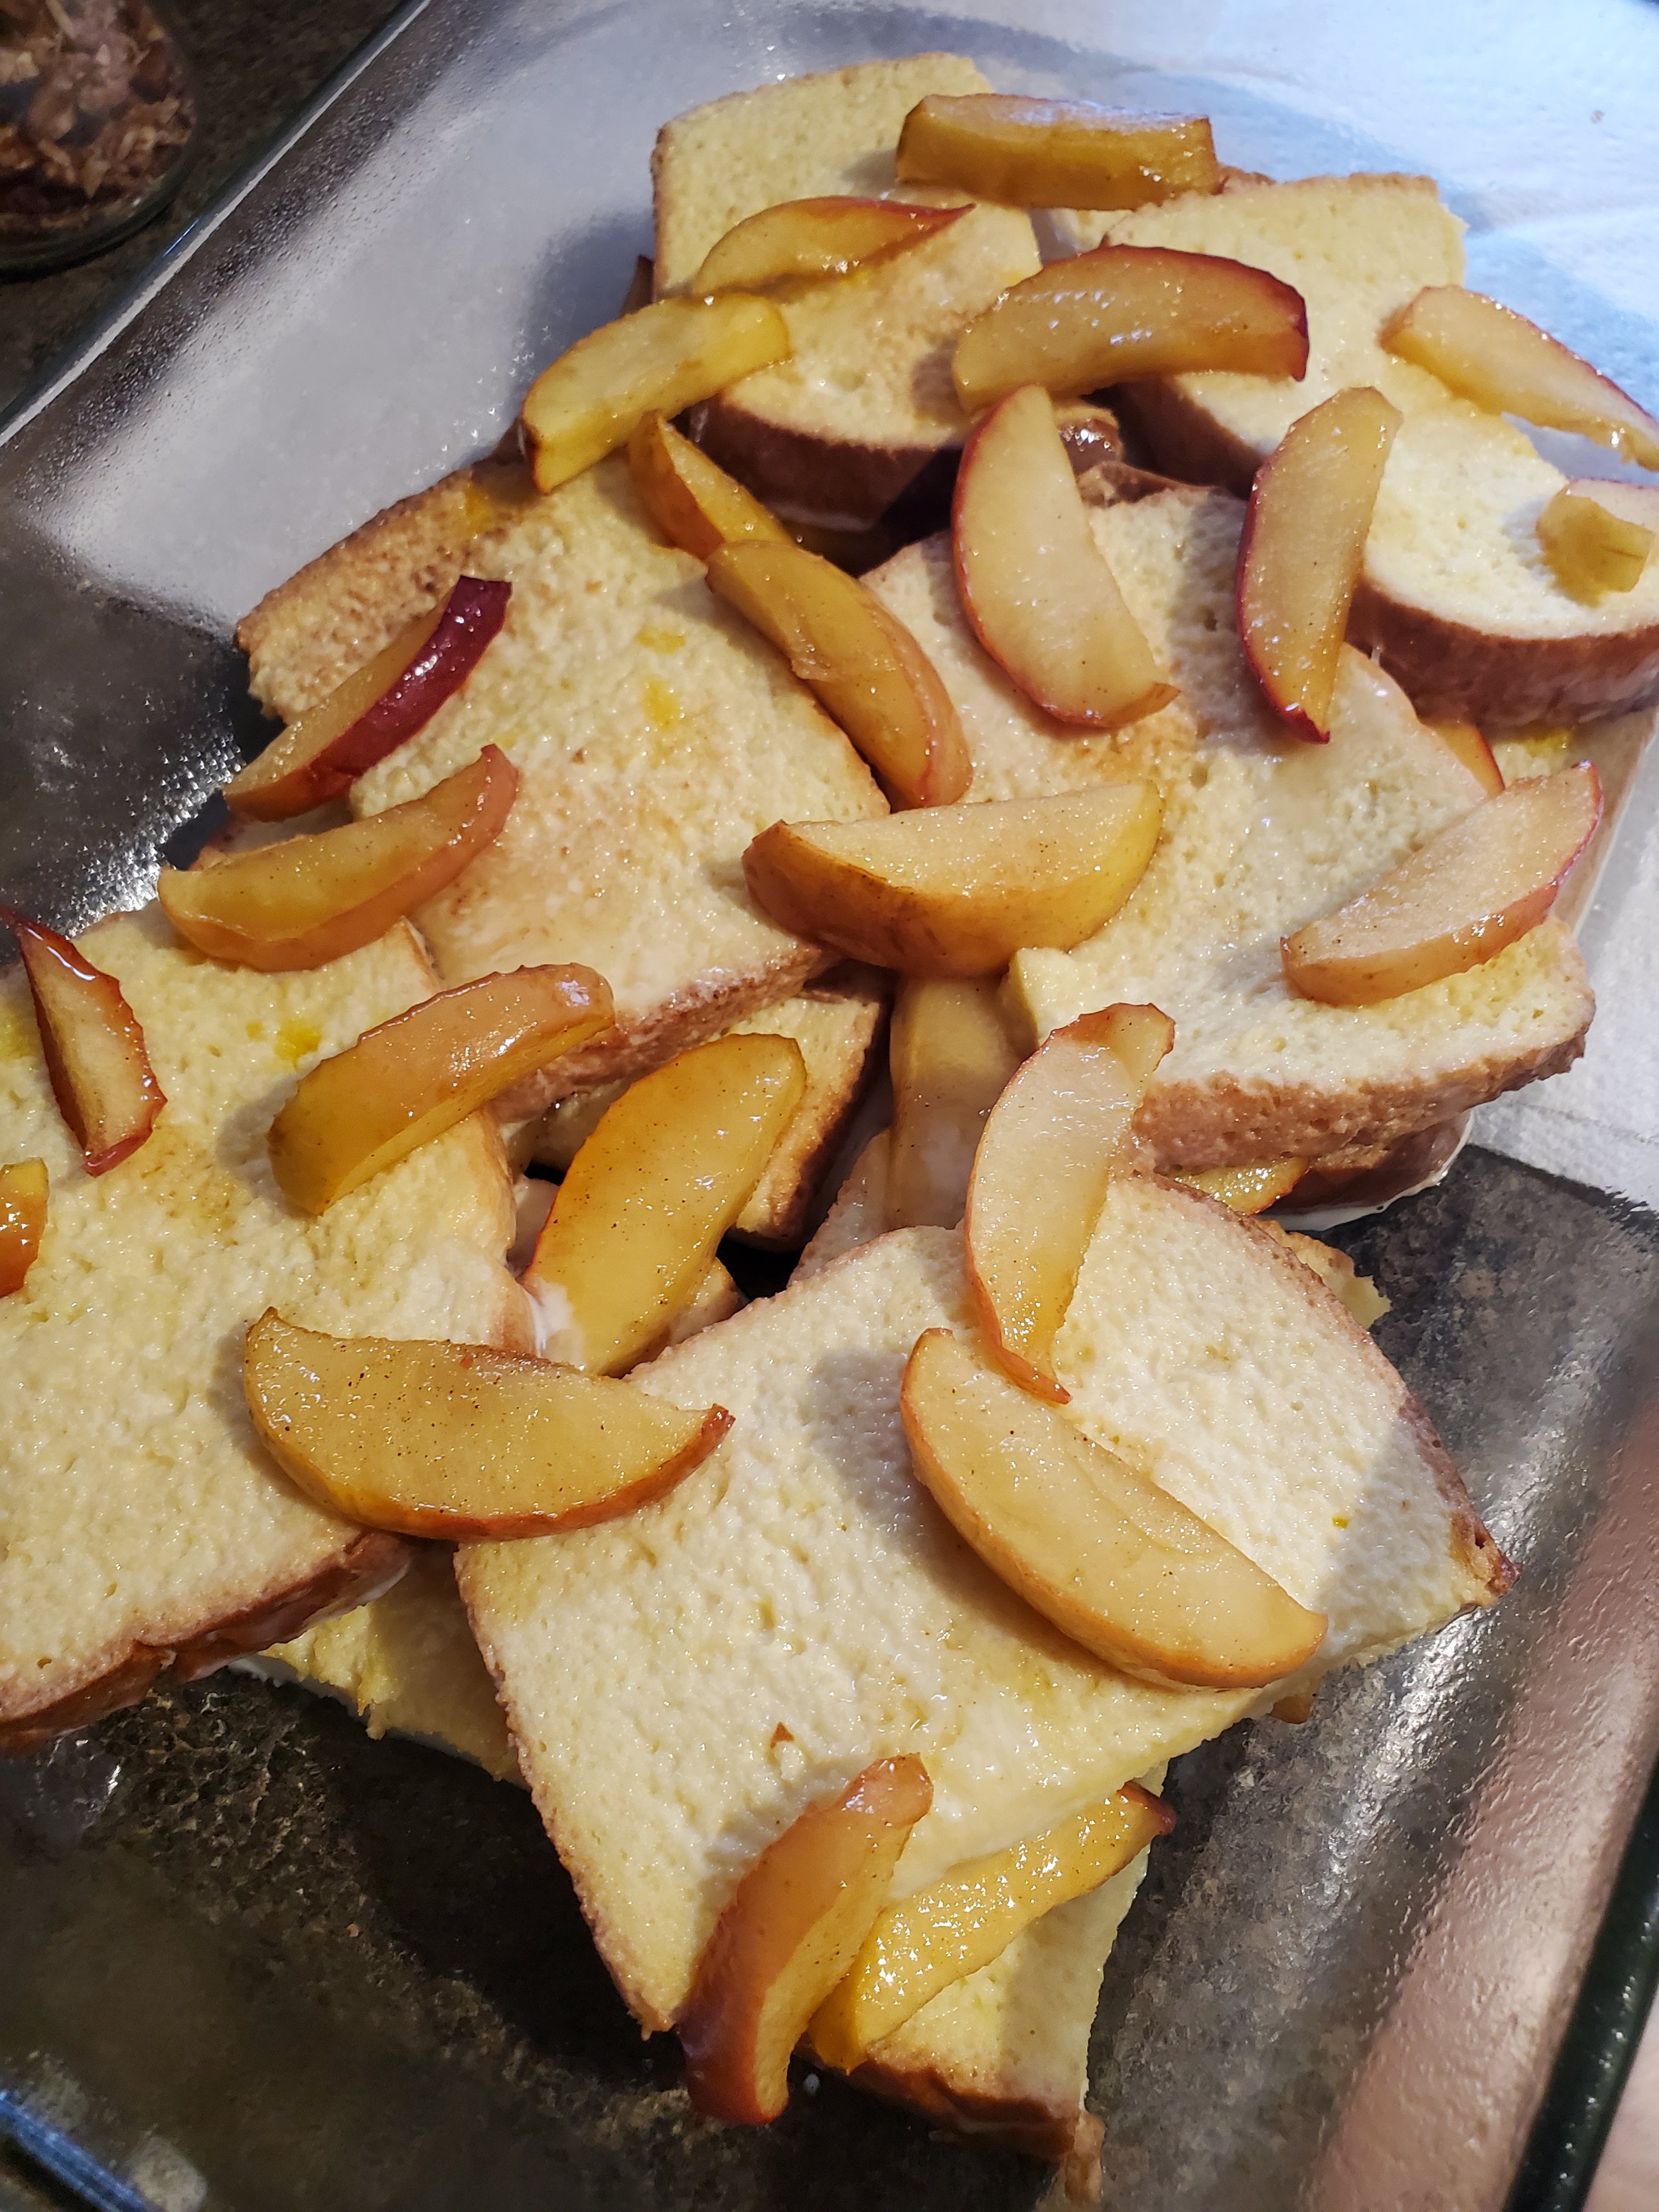
While the apples cook, dredge your toast through the egg mixture, fish it out with a fork, and plop a layer down in the baking dish.


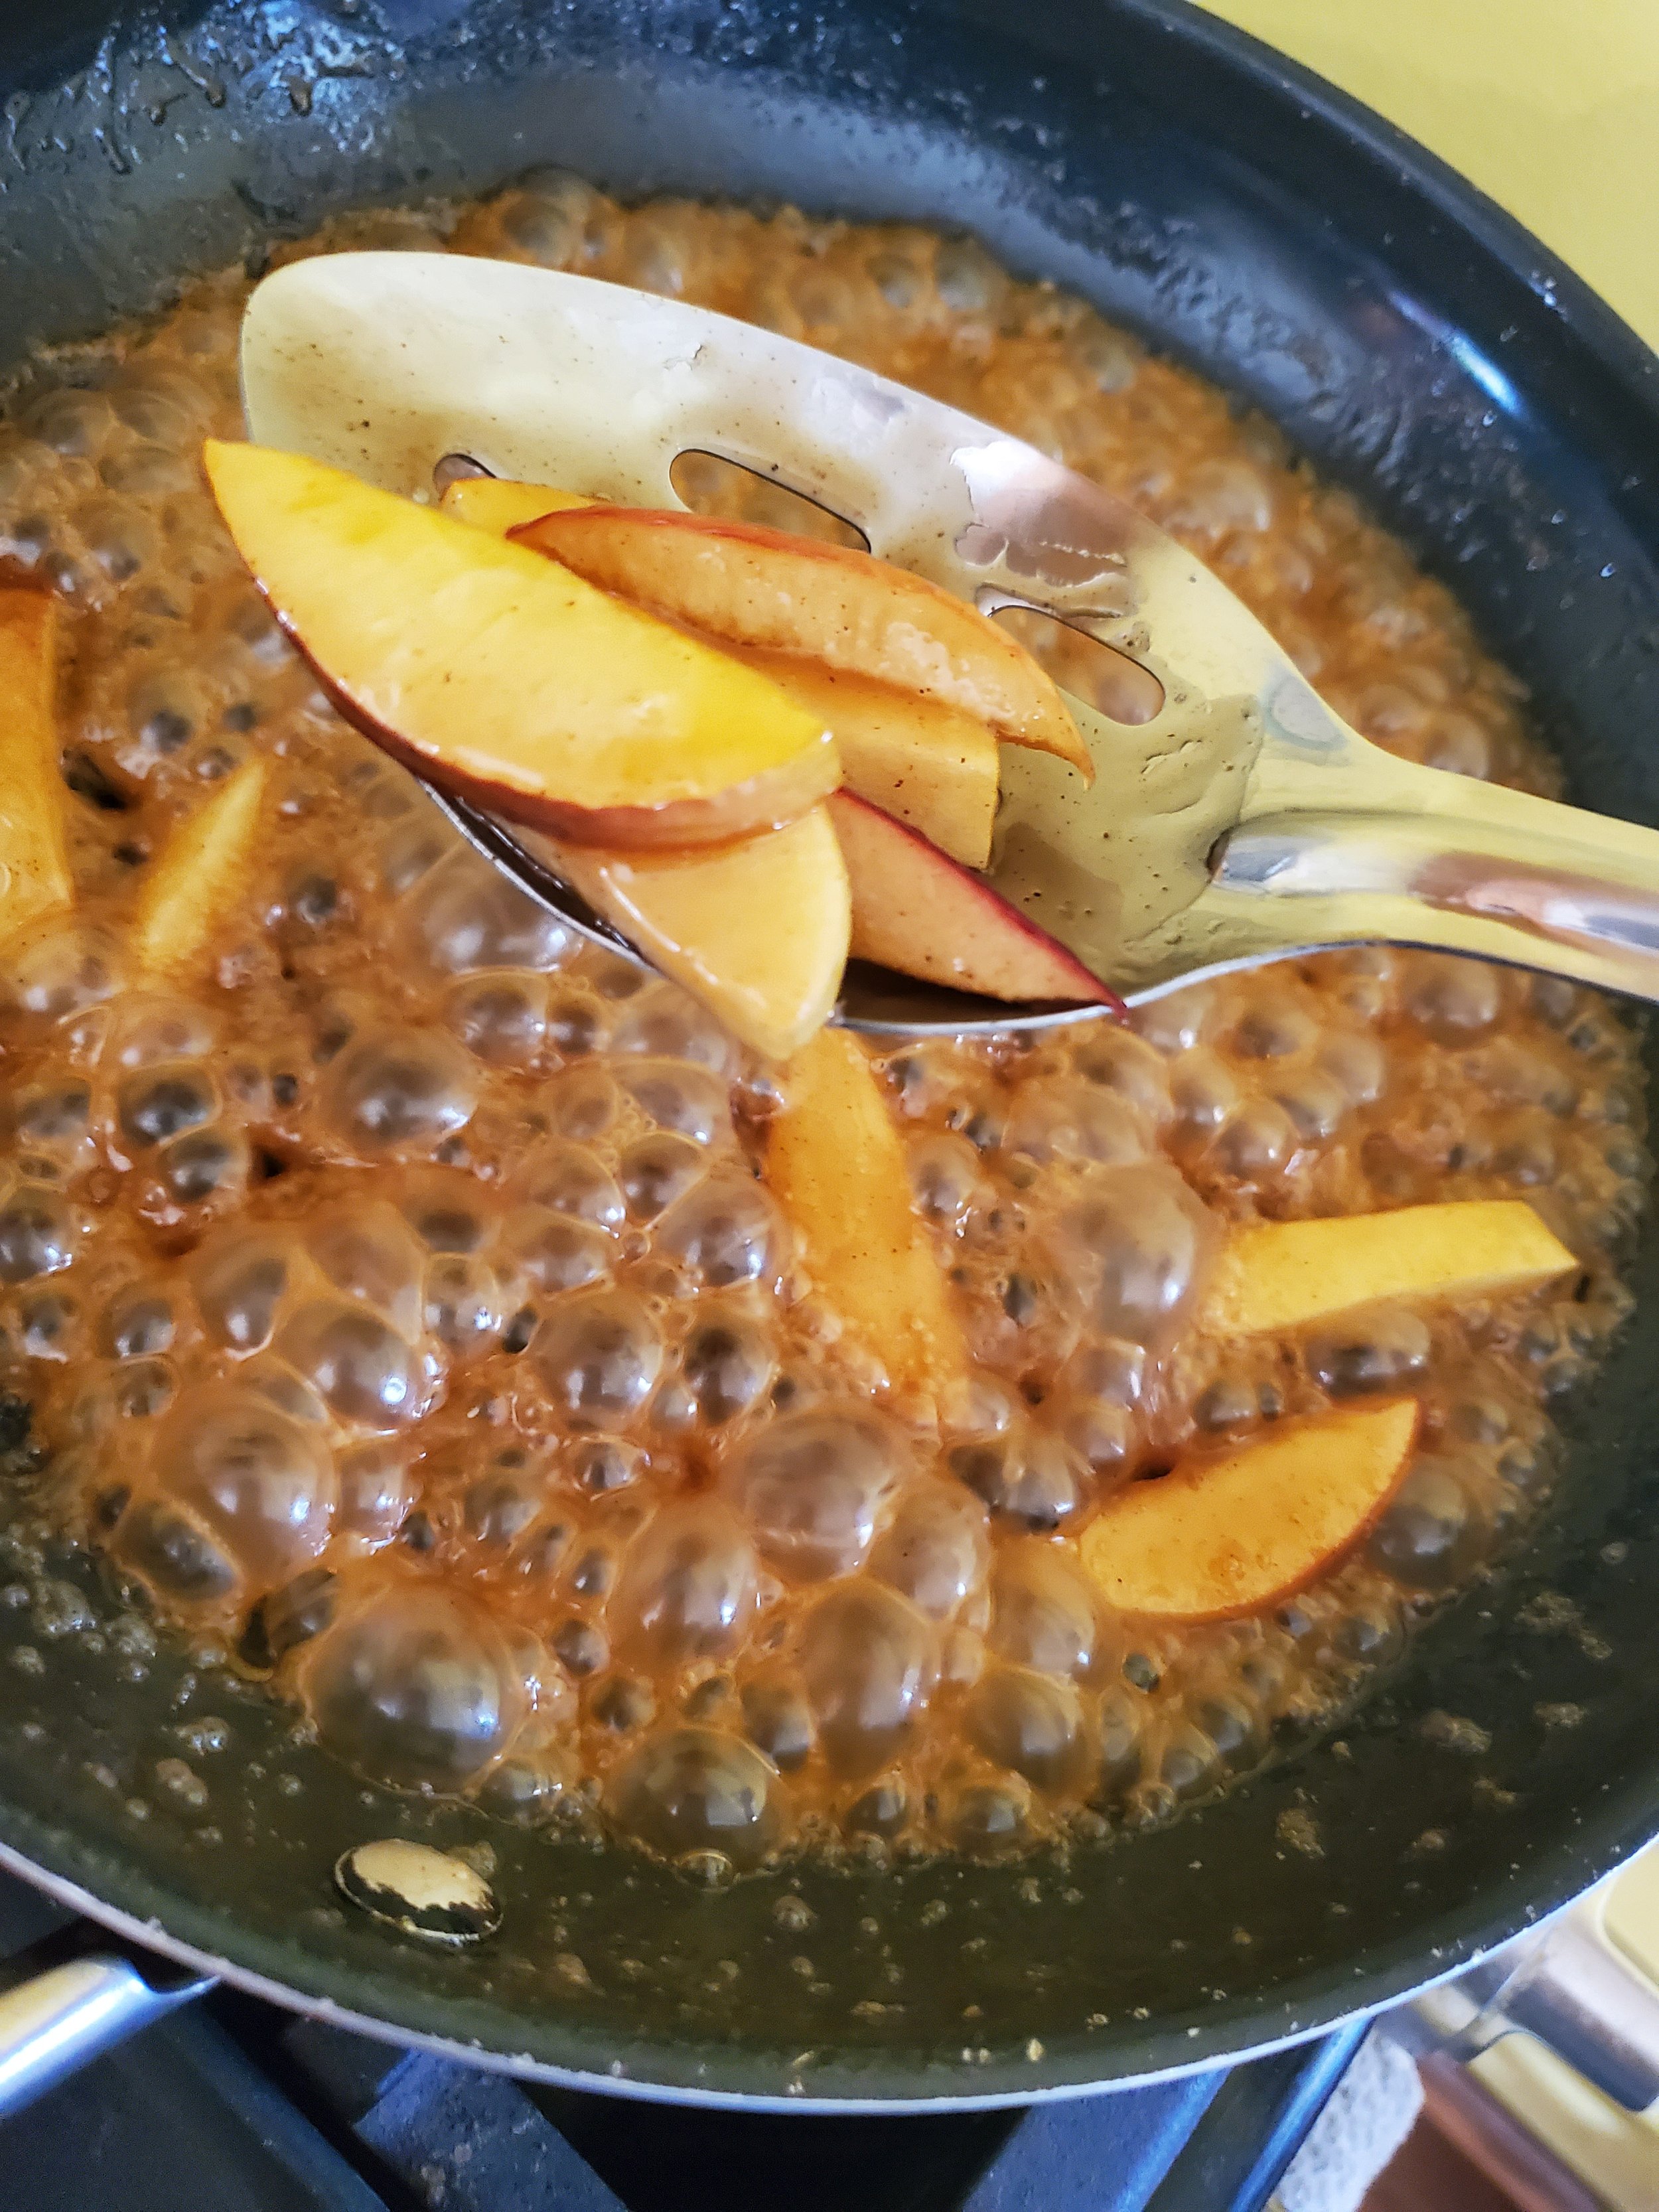
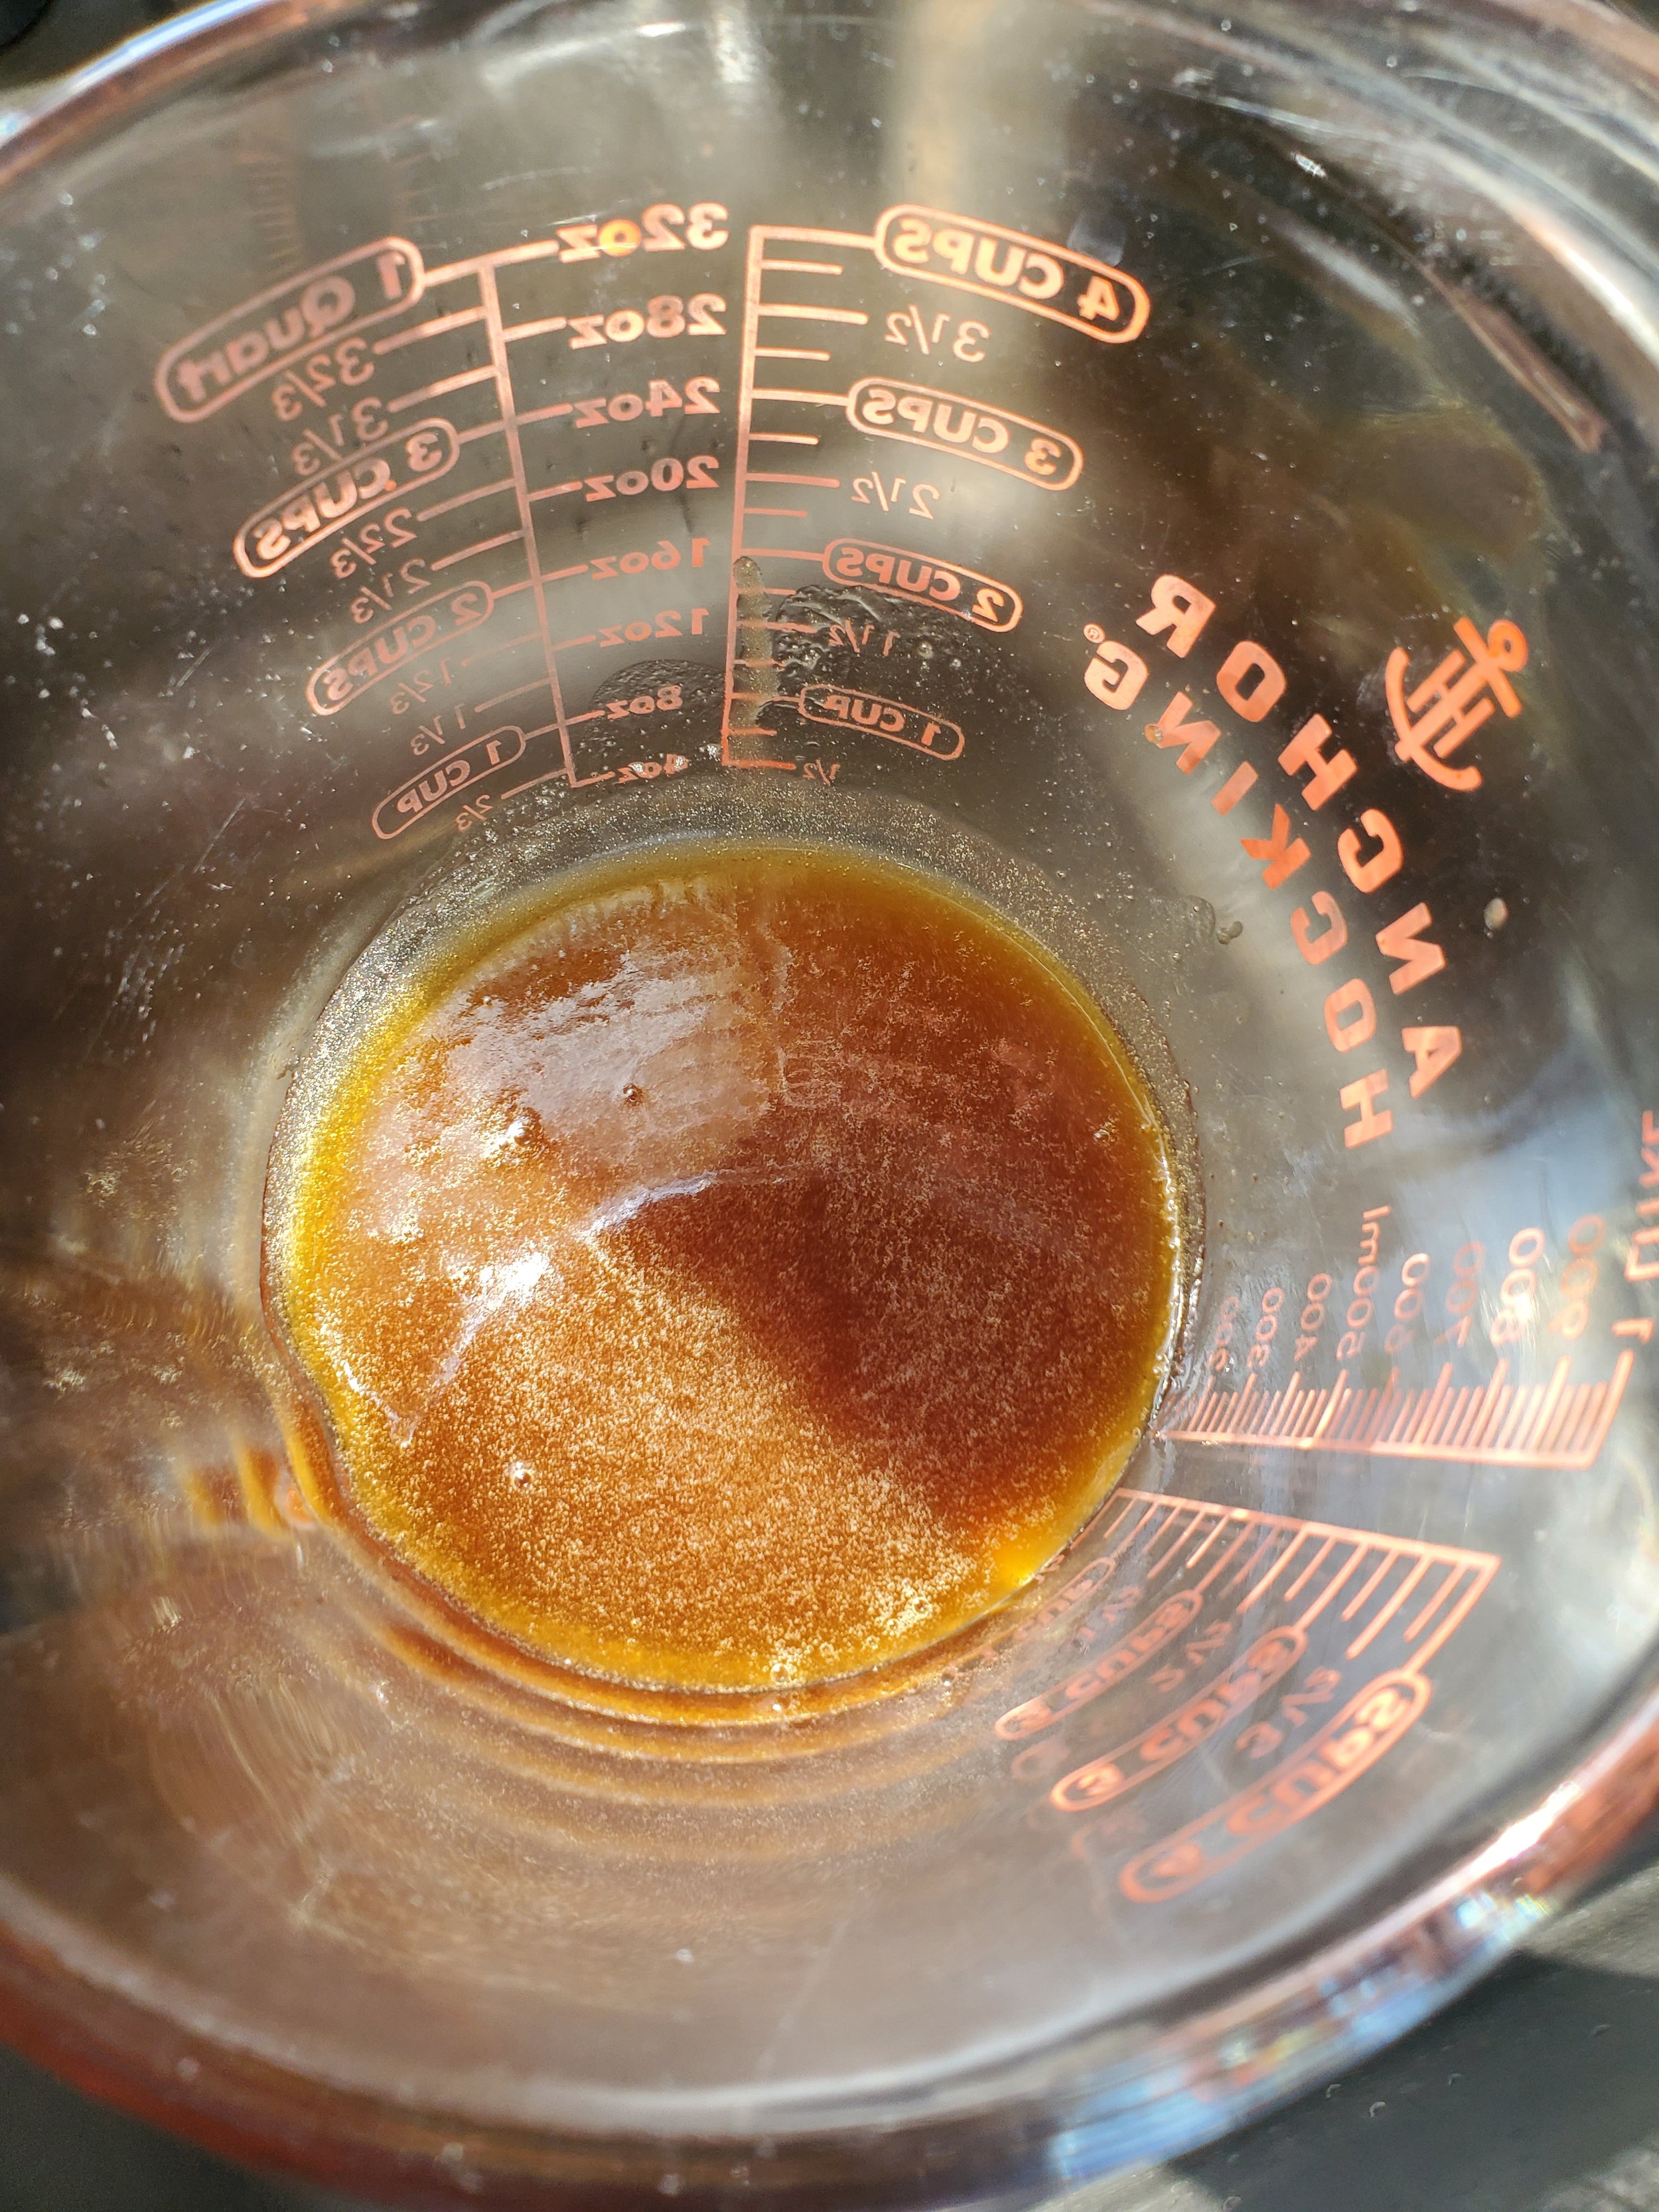
When the apples are done, remove them from the heat and use a slotted spoon to separate the apples from the syrup. Put the apples back into the dish they were soaking in previously, and dump the syrup into the heat proof measuring cup. Do not let the syrup cool in the pan - it candies up and turns to a caramel consistency.


If it's threatening to become caramel, or if you missed that last instruction, add some more butter and a tablespoon of water and stir over the lowest possible heat setting. Stir a lot. Be very patient with it, as it will look at first like nothing is happening. Once it liquefies again, please transfer it to the cup.


Spread a thin layer of apples over the eggy bread in the bottom of the baking dish. Alternate layers of bread and apples until you're out of bread. Pour the remaining egg mixture evenly over the top and allow it to soak in, then move the dish to the oven.


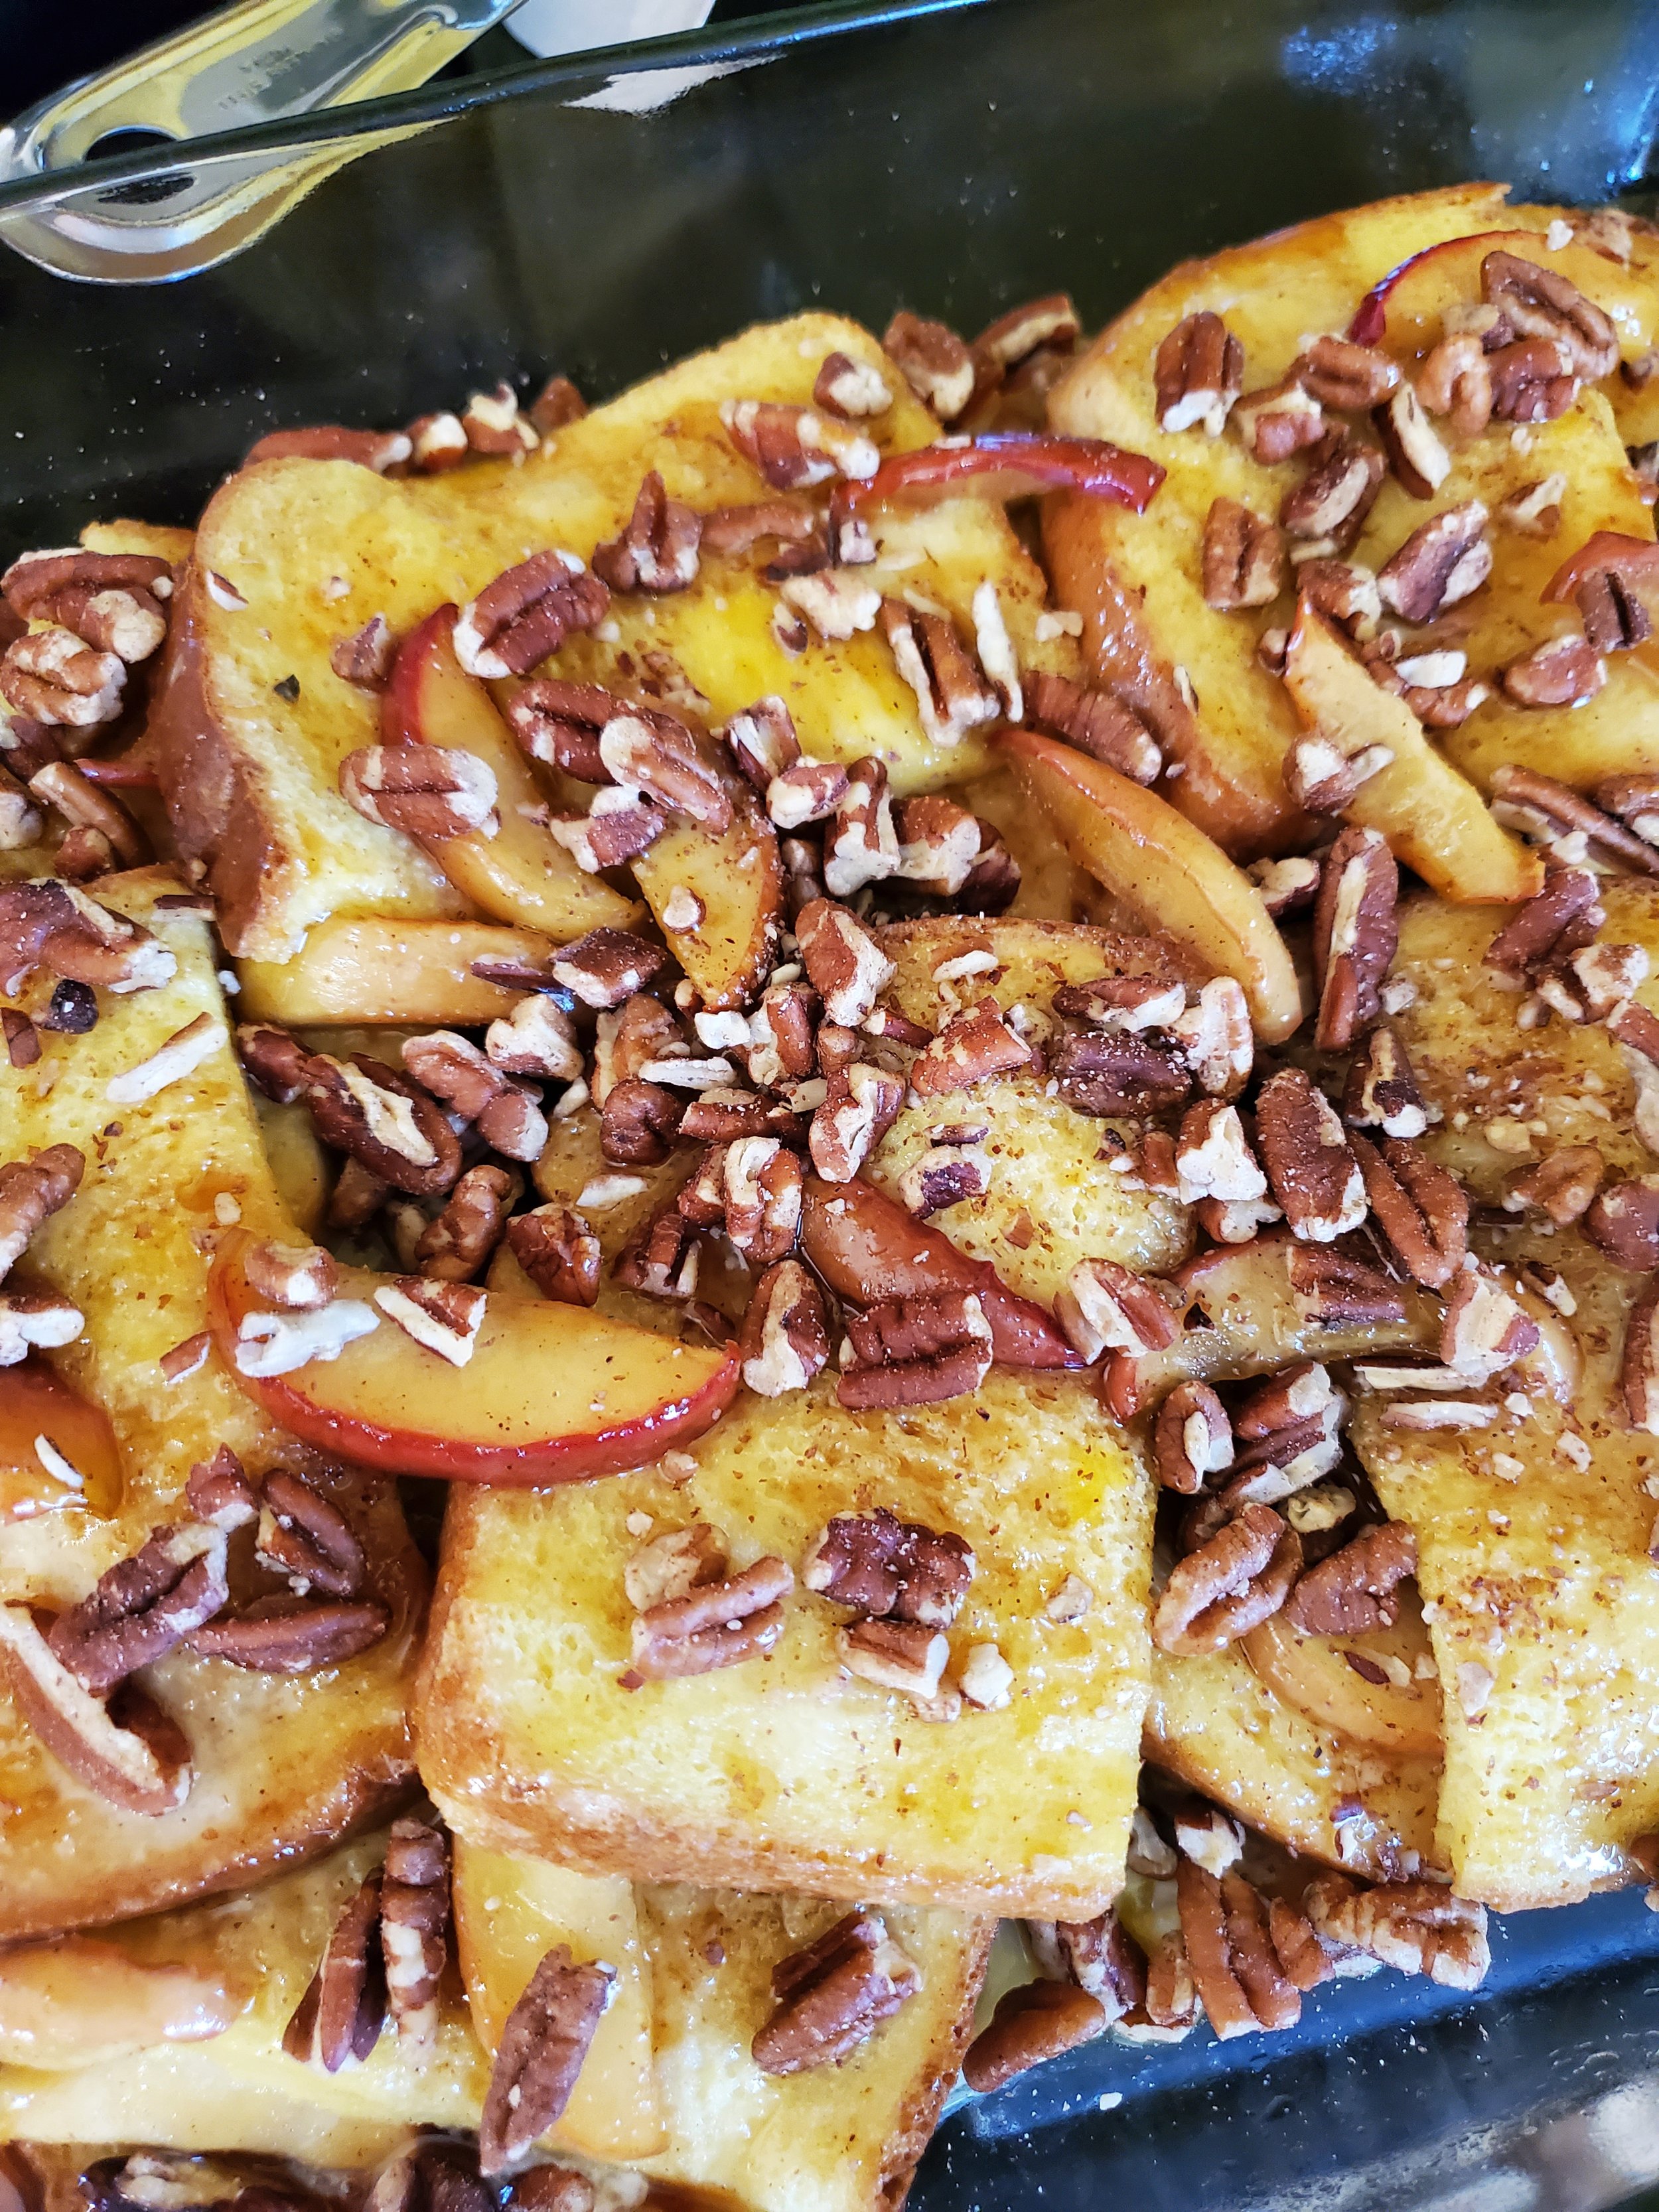
Let it cook for 25 minutes, then remove it from the oven, add the pecans, pour the syrup over it, and return it to the oven for another 20-25 minutes. Double check it to make sure it's done by the toothpick test - when a toothpick or knife inserted into the middle of the dish comes back out clean, the french toast is ready.


Cut into eight servings and enjoy!


Whether you've prepared this dish to share with loved ones on a special morning or simply pampered yourself with its delicious embrace, it's a culinary journey worth embarking upon time and time again. Let us know if you decide to over on our Facebook page. 


If you wound up here because you’re in need of an appliance repair technician, we can help. You can get hold of us by calling ((214) 599-0055) or by going to our website


Additional Reading: 

Easy No-Cook Not Quite a Cannoli   


Escapee From New York: Chocolate Bagels 


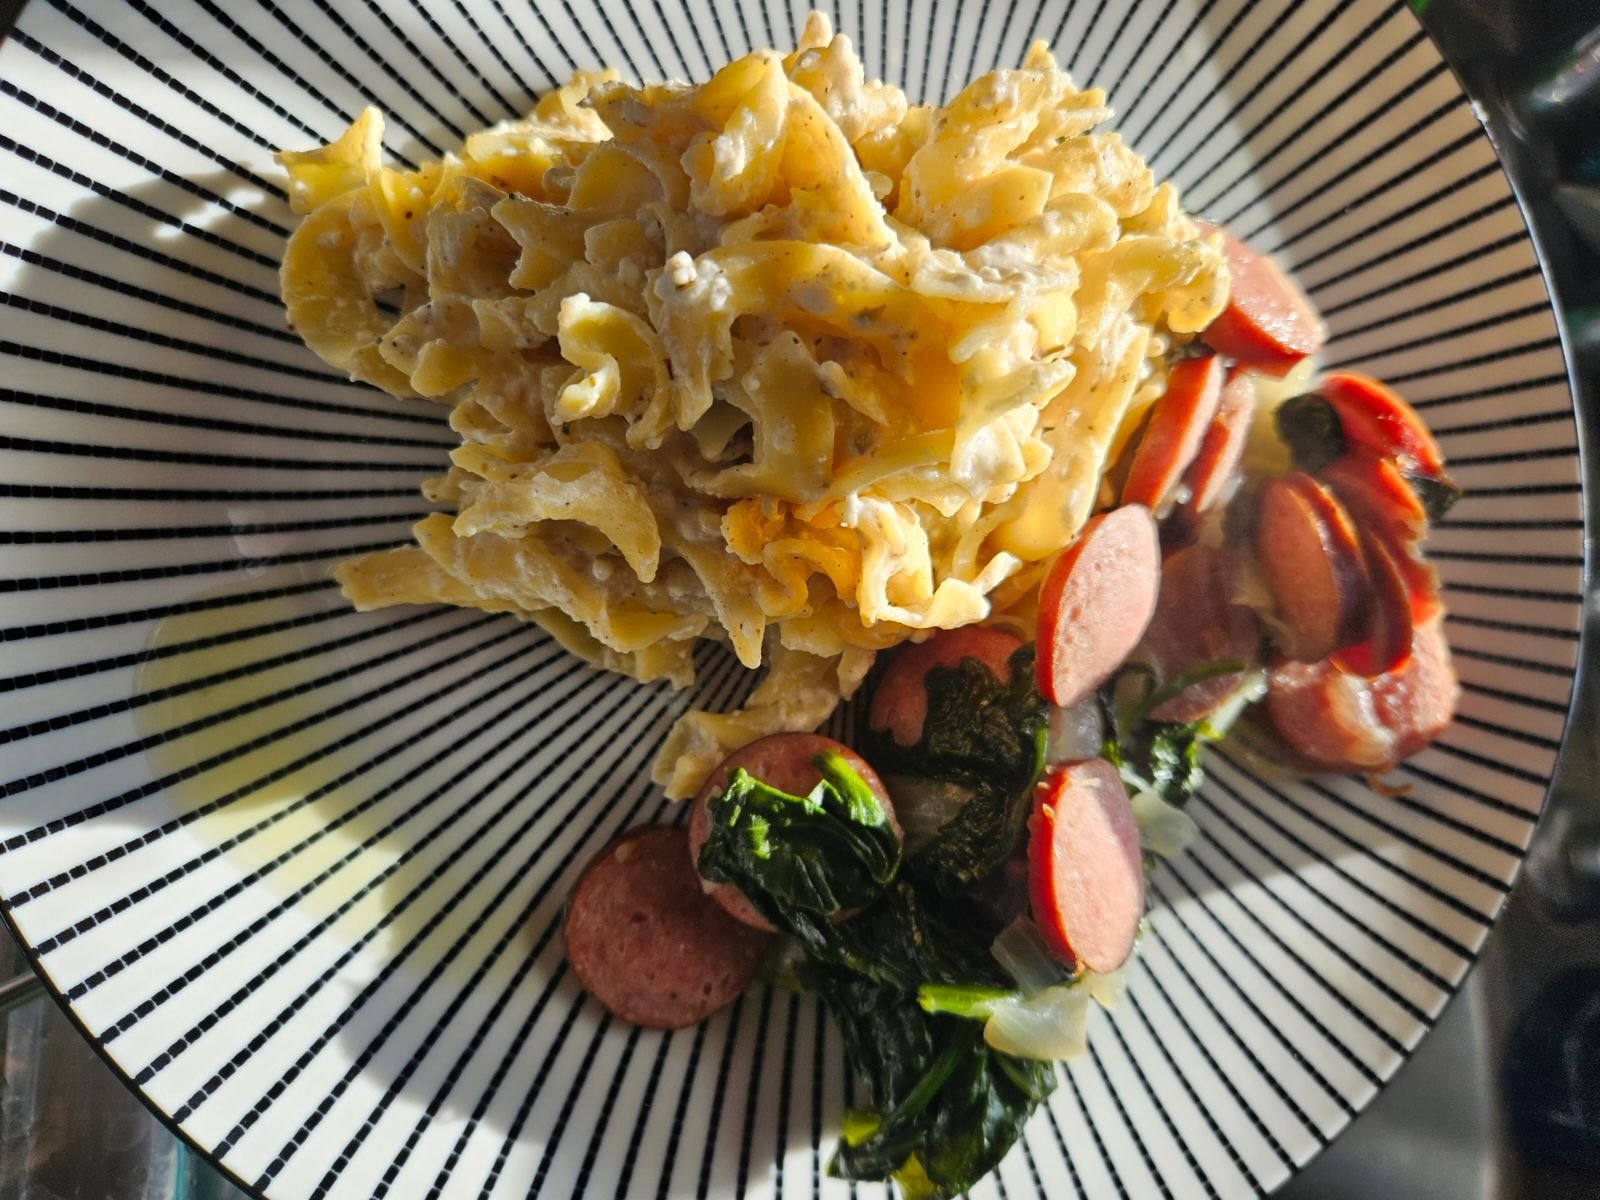
Polish-Style Mac and Cheese: A Savory Twist on a Classic Dish

A Hearty and Delicious Meal You Can't Resist

In the realm of comfort food, few dishes can rival the satisfying embrace of creamy pasta. This recipe for kielbasa and macaroni and cheese is a delightful fusion of flavors and textures that promises to transport your taste buds to a world of culinary bliss. With the heartiness of kielbasa, the earthiness of spinach, and the luscious creaminess of egg noodles, each bite is a harmonious symphony of comfort. Whether you're seeking a quick weeknight dinner or a comforting meal to share with loved ones, this dish will not disappoint. Join us in the kitchen as we unravel the secrets to creating this savory masterpiece that's sure to become a beloved addition to your repertoire of home-cooked favorites.


Ingredients:


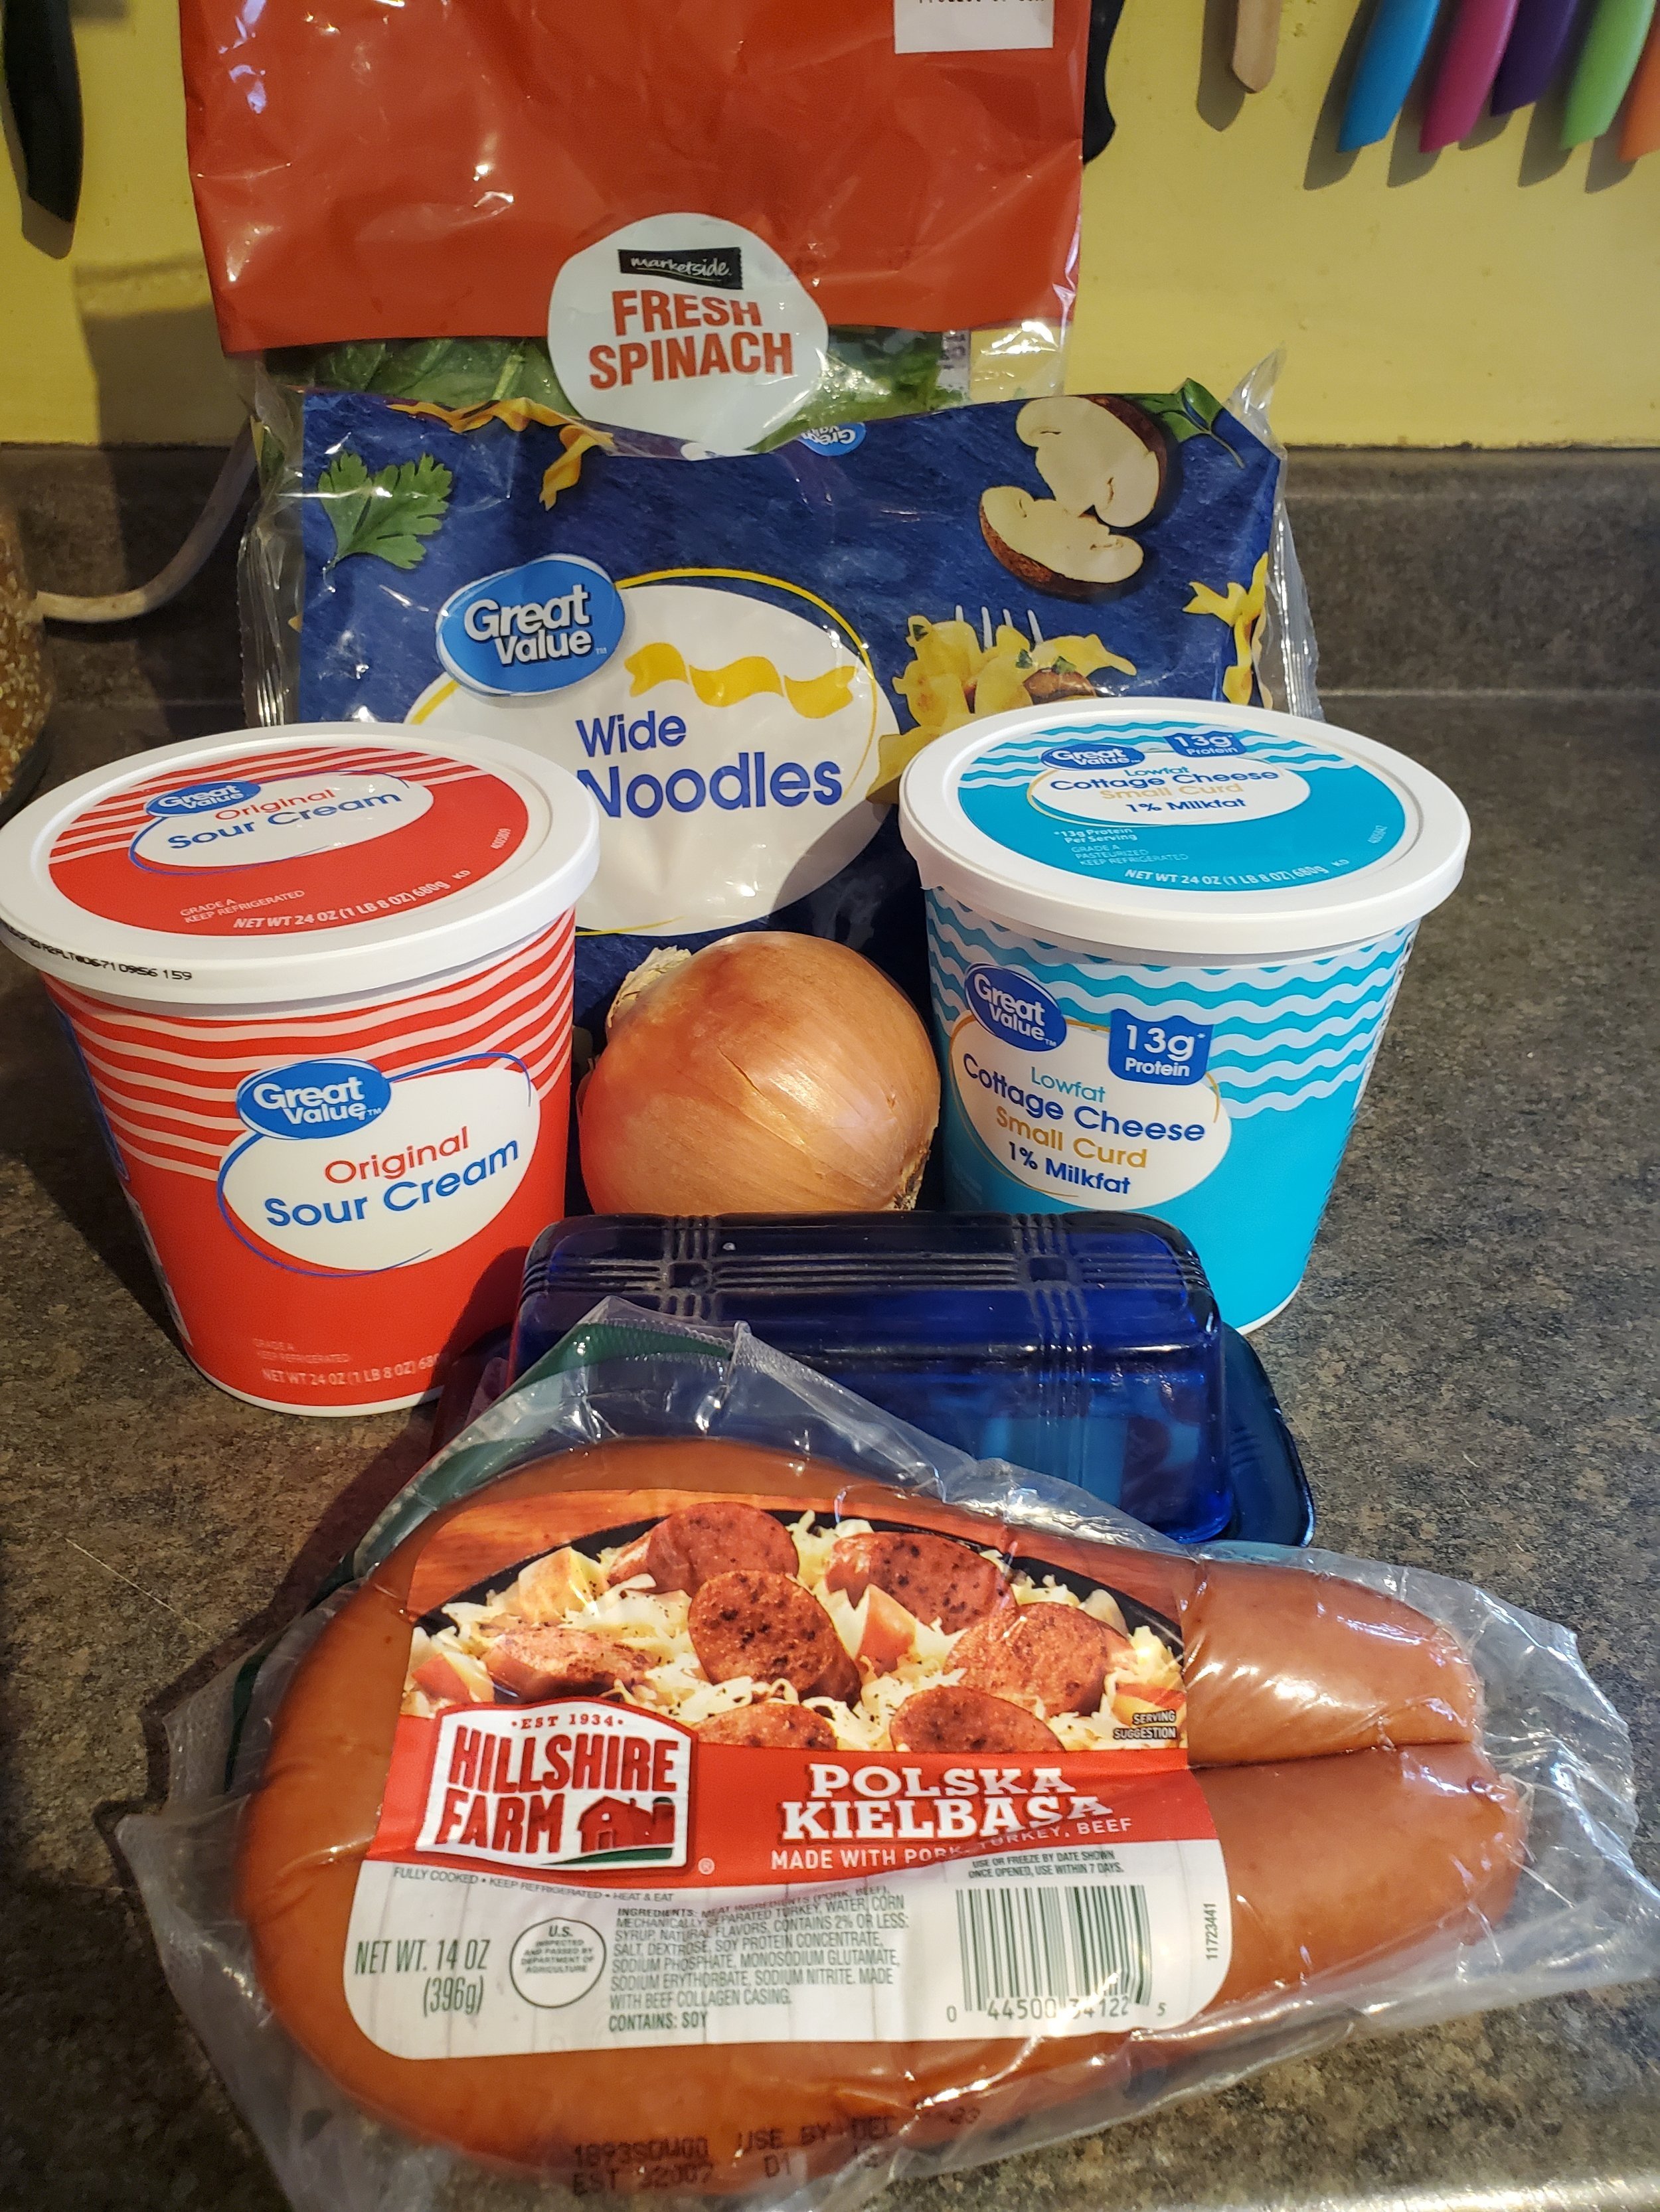
1 pound dry egg noodles

1 cup sour cream

2 cups cottage cheese (full fat preferred)

1 whole onion, diced

1 pound kielbasa, chopped

2 tablespoons butter

1 whole package spinach

2-3 teaspoons spice mix


Spice Mix


spice mix:

1/2 teaspoon allspice

1 teaspoon white pepper

1 teaspoon black pepper

1 1/2 teaspoons garlic powder

1 1/2 teaspoons marjoram

1 teaspoon ground mustard

1/2 teaspoon oregano

1/2 teaspoon cumin

1/2 teaspoon salt

1/2 teaspoon coriander


Tools:


knife

cutting board

slotted spoon

measuring cups and spoons

stock pot with lid

colander

covered frying pan or dutch oven


Fill your stock pot up with water (or broth, if you're feeling a little like an overachiever) and bring it up to boil.


While you wait for the water in the pot to boil, grab a little dish. Measure out and stir together all the spices for the spice mix. (We recycle glass yogurt jars for spice mixes, as they're just the right size to hold a few tablespoons of dry spices and leave us some space to stir.)


Once the pot is boiling, add the egg noodles and set a timer - but whatever the package directions say is the recommended cook time, cut it down by half and add one minute. As an example, if the package says 8 minutes, cook them for only 5 minutes. We only want the noodles par-cooked so they won't fall apart later.


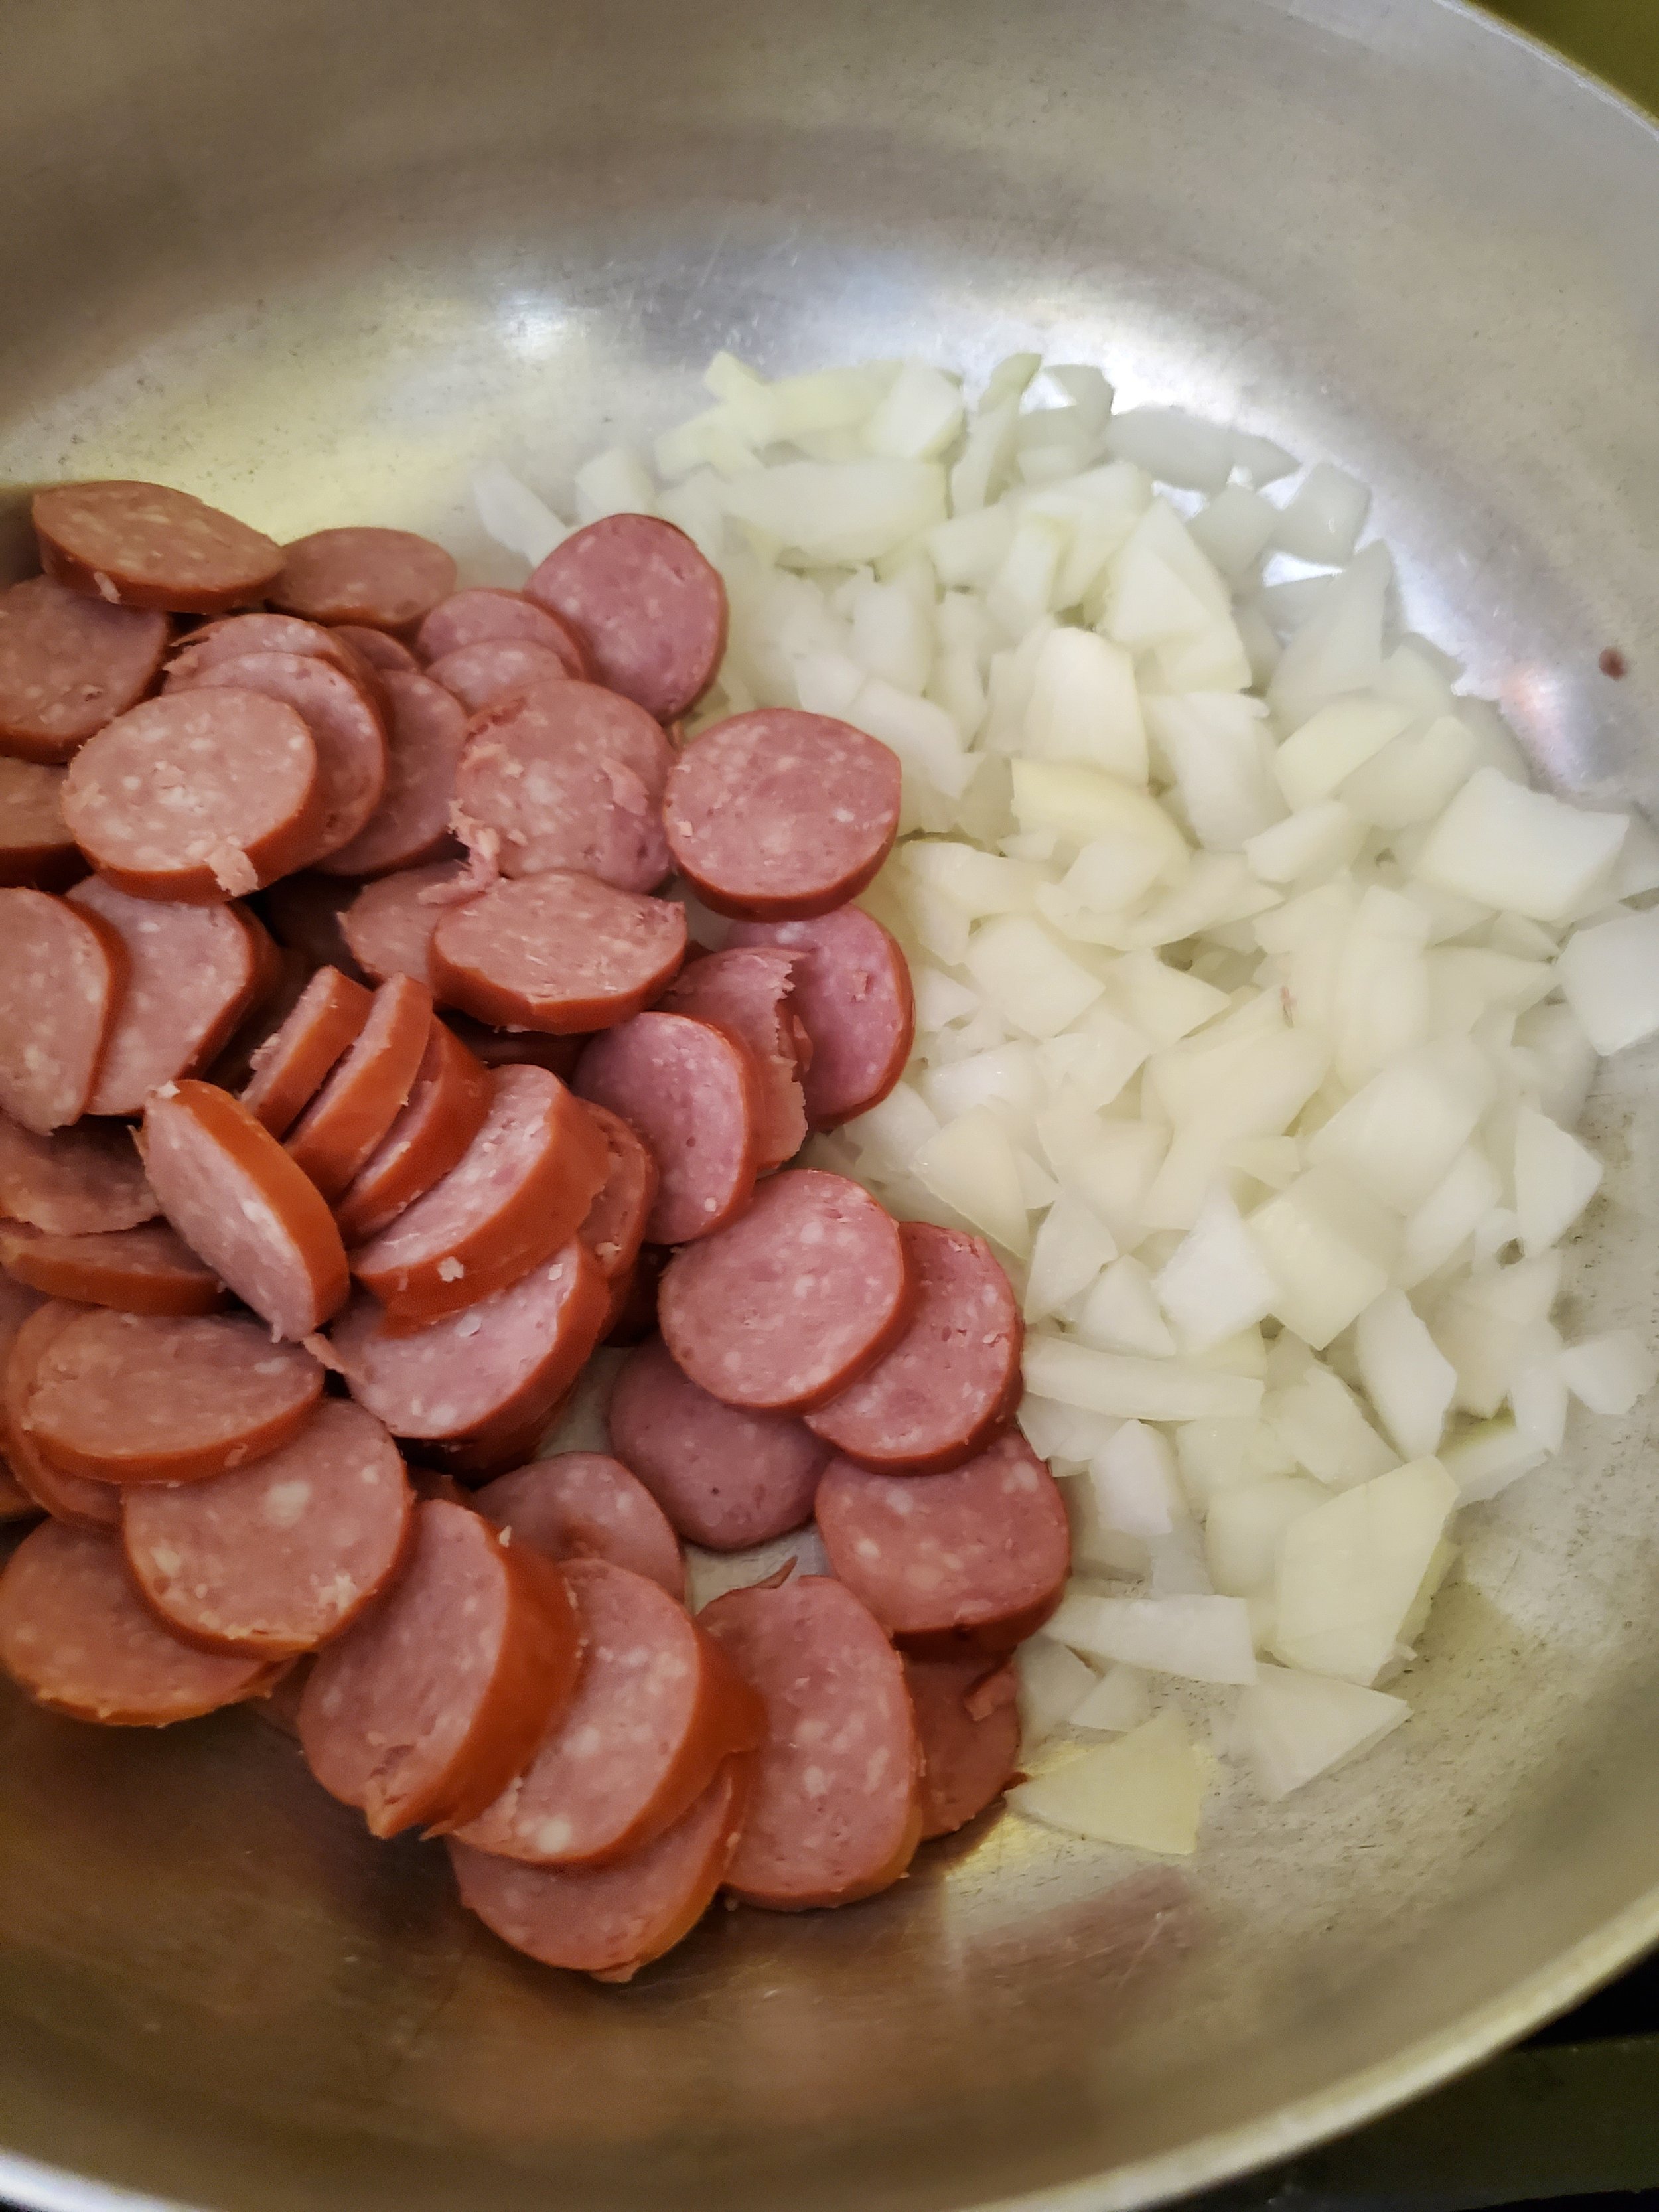
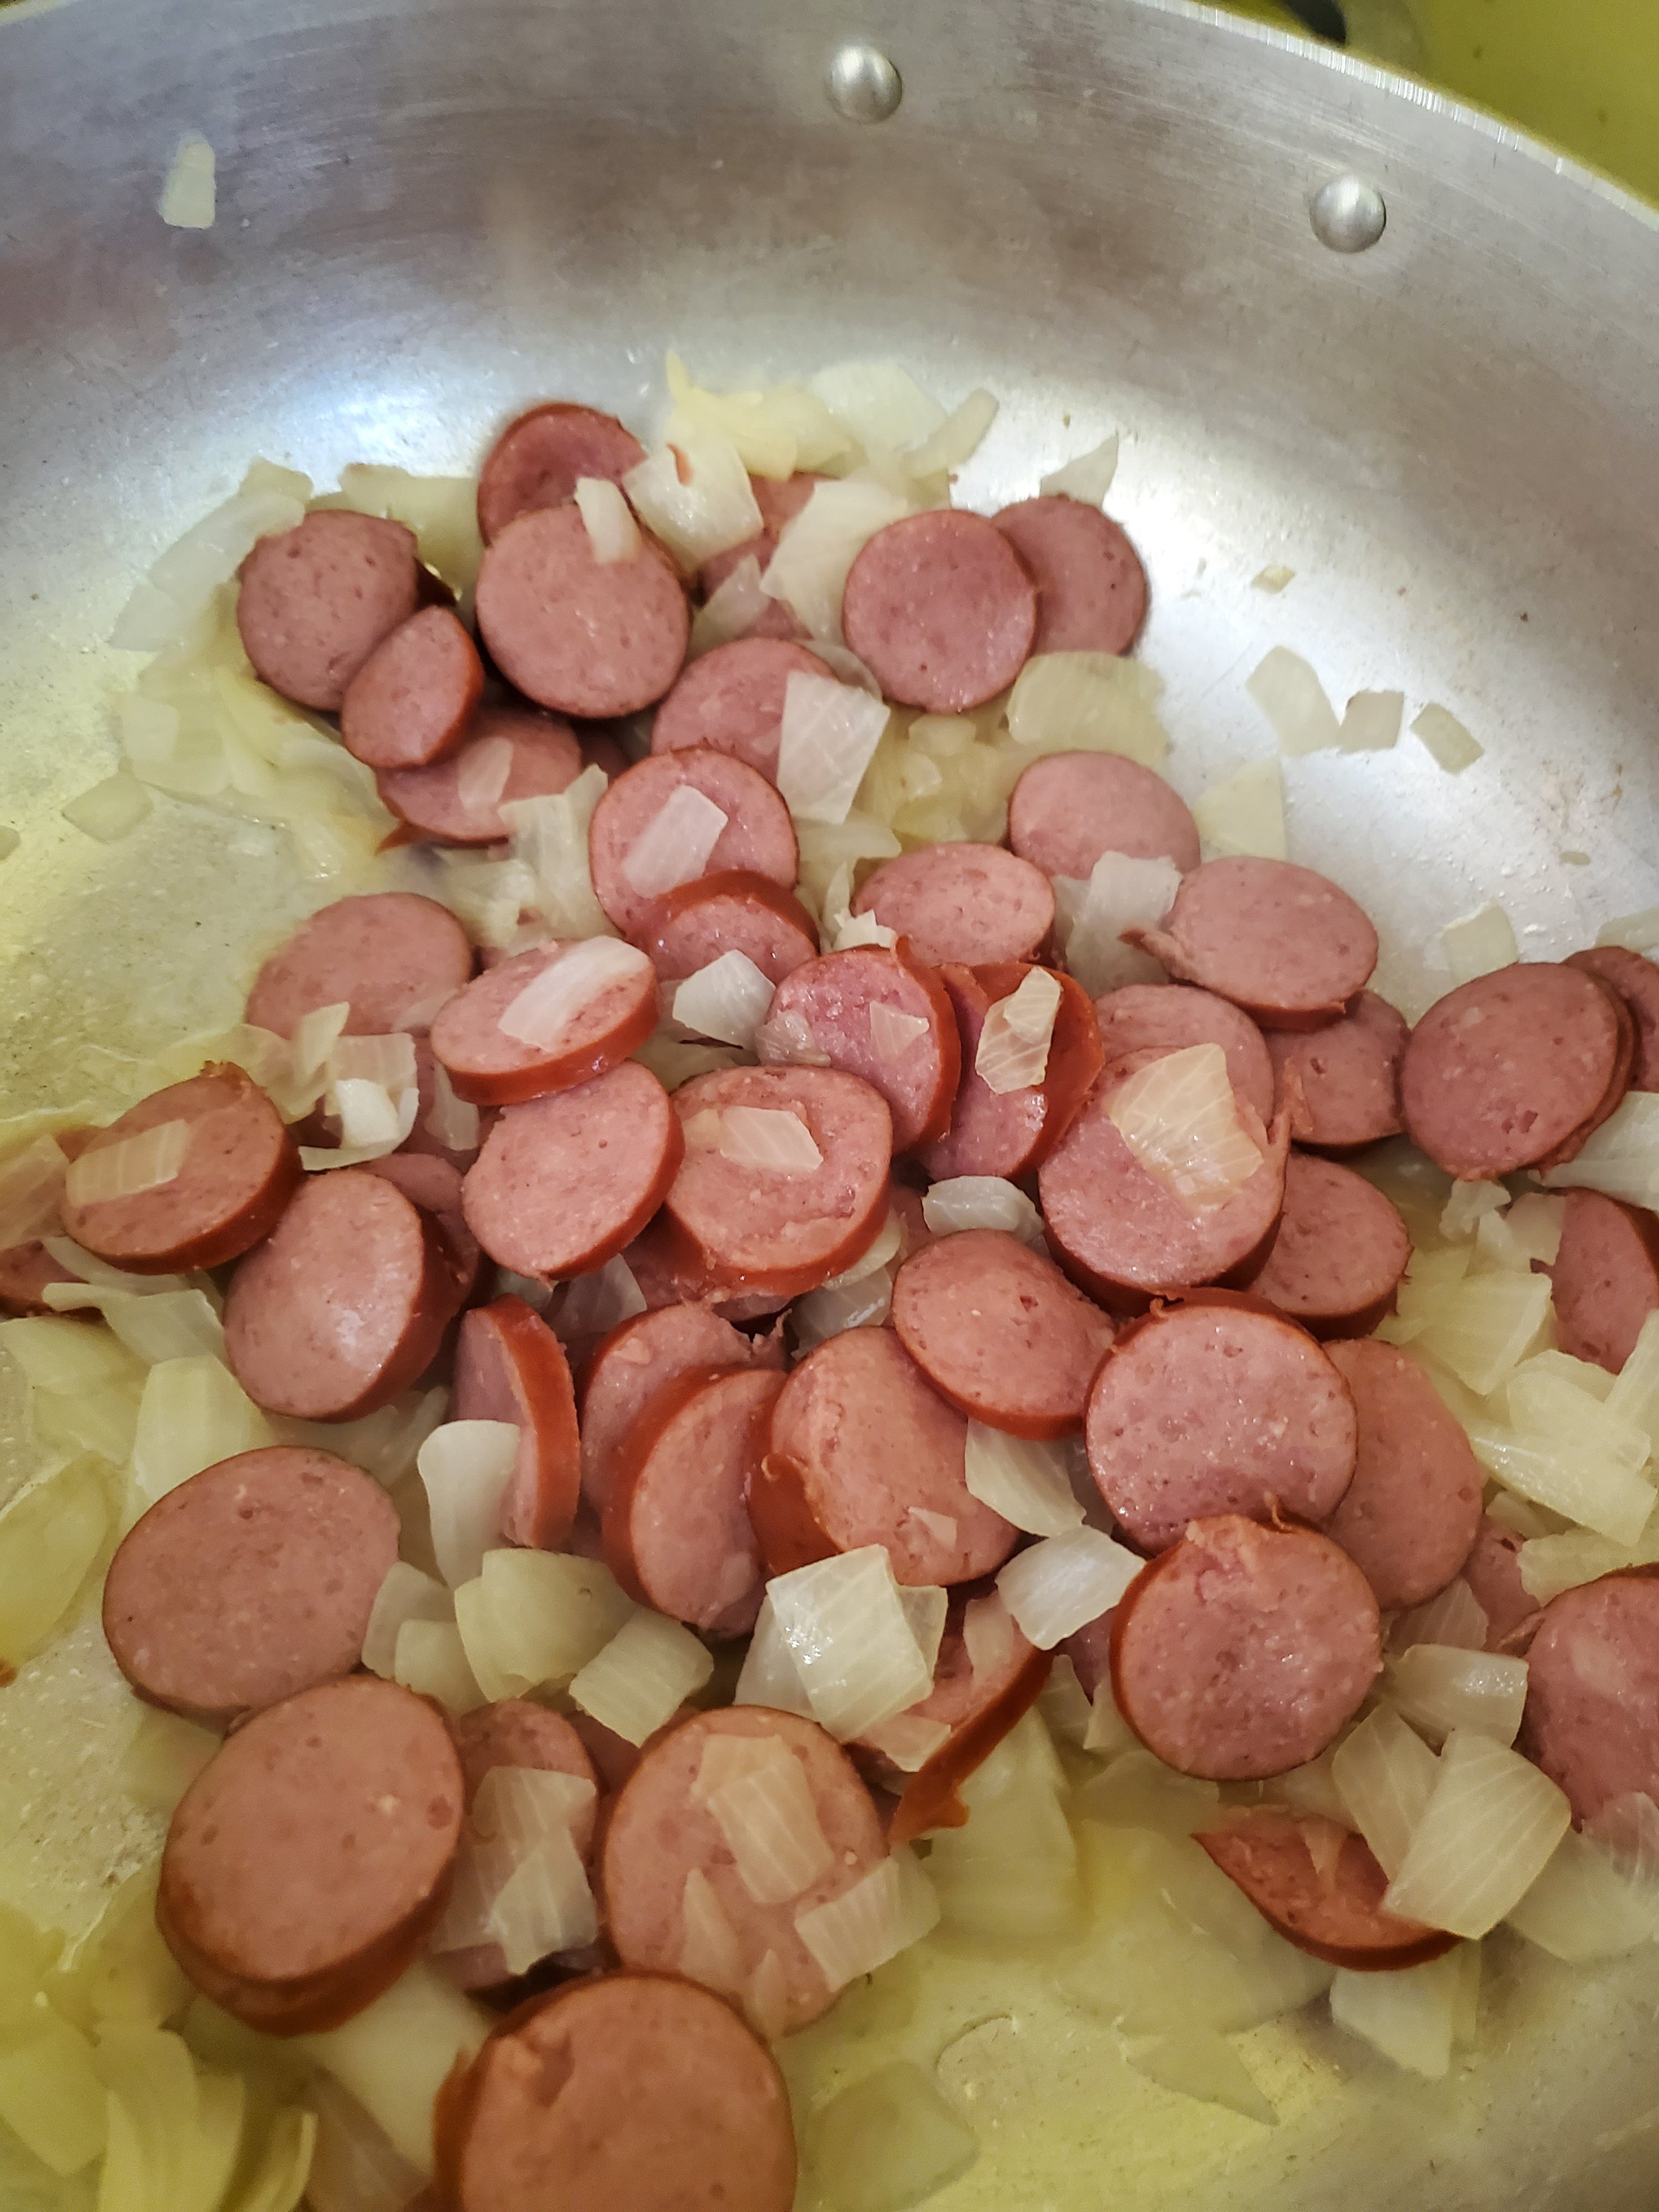
Peel, quarter and roughly chop your onion. Dump it all into the pan or dutch oven with the butter, but don't crank up the heat just yet.


Cut your kielbasa (or any other suitable rope sausage) into bite sized pieces, and add them to the pan with the onion. Now you're safe to turn the heat on. Let them cook together, covered, for about five minutes over medium-low heat. Stir occasionally.


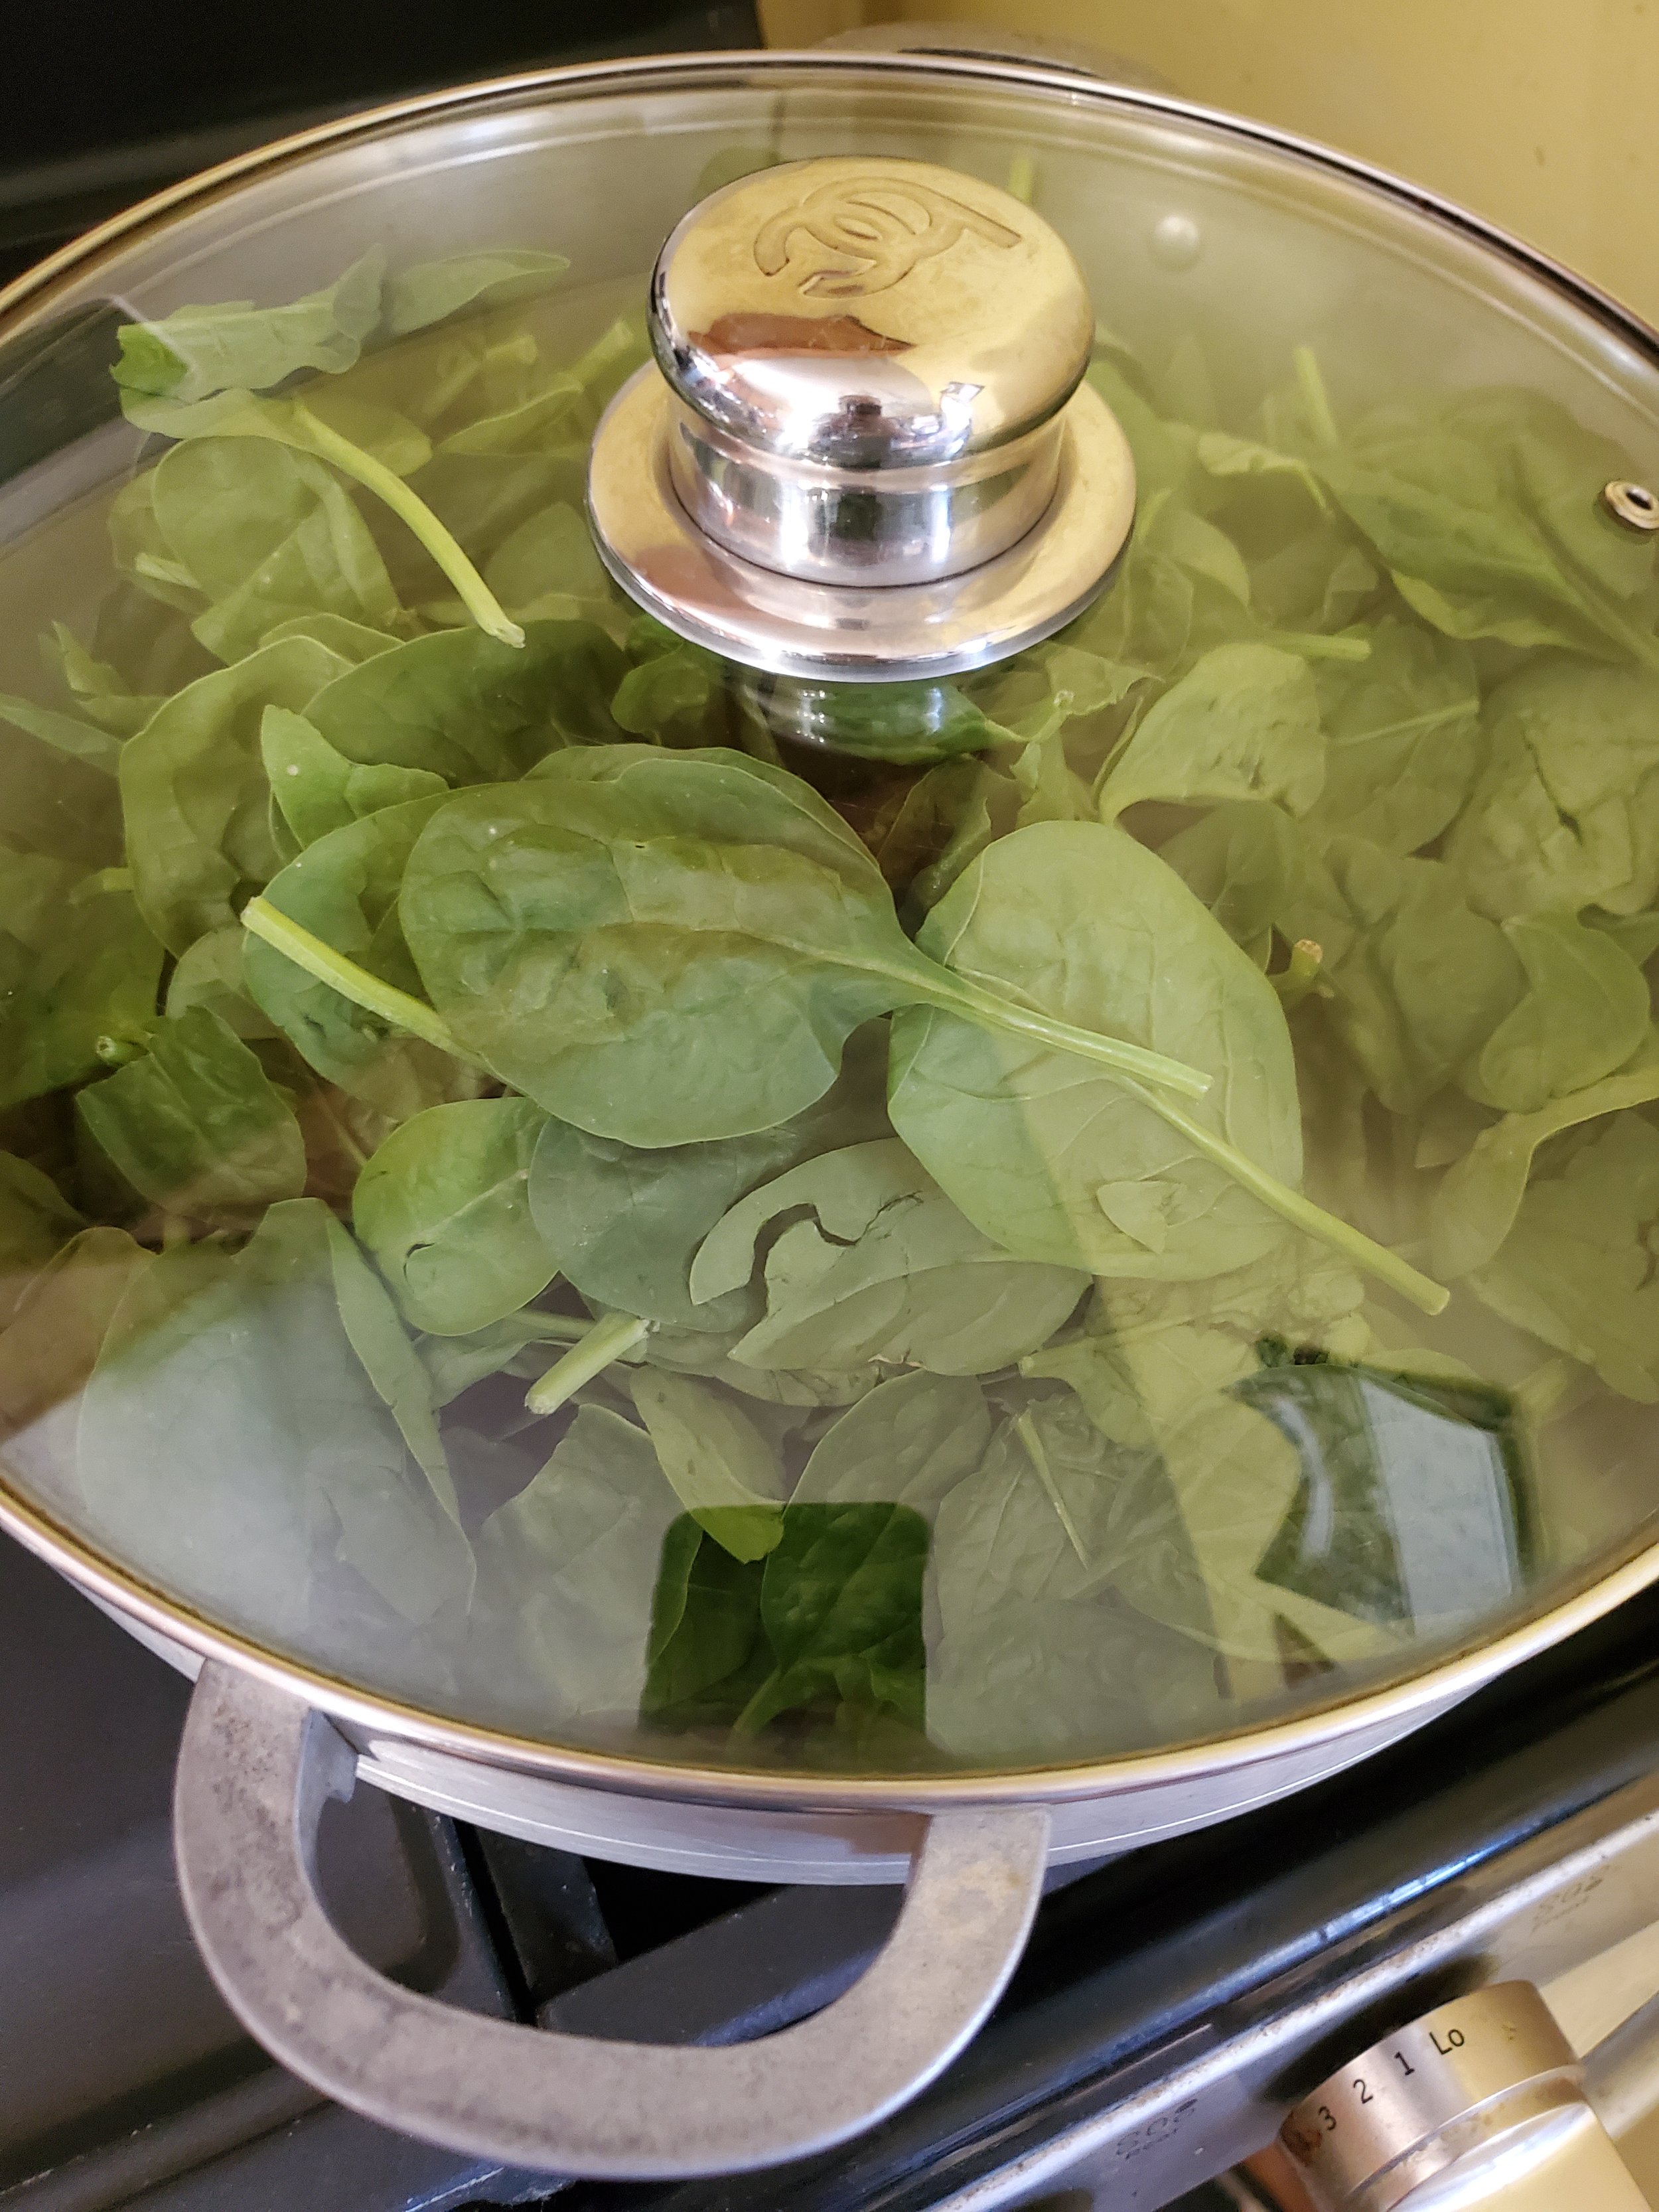
Once the onions are translucent and the fat has rendered out of the sausage, add the spinach. Add so much spinach it looks like the lid won't stay on. Trust us here. Stick the lid on (shove it down if necessary, making sure the spinach stays inside), reduce the heat to as low as it will go, and turn your attention back to the noodles.


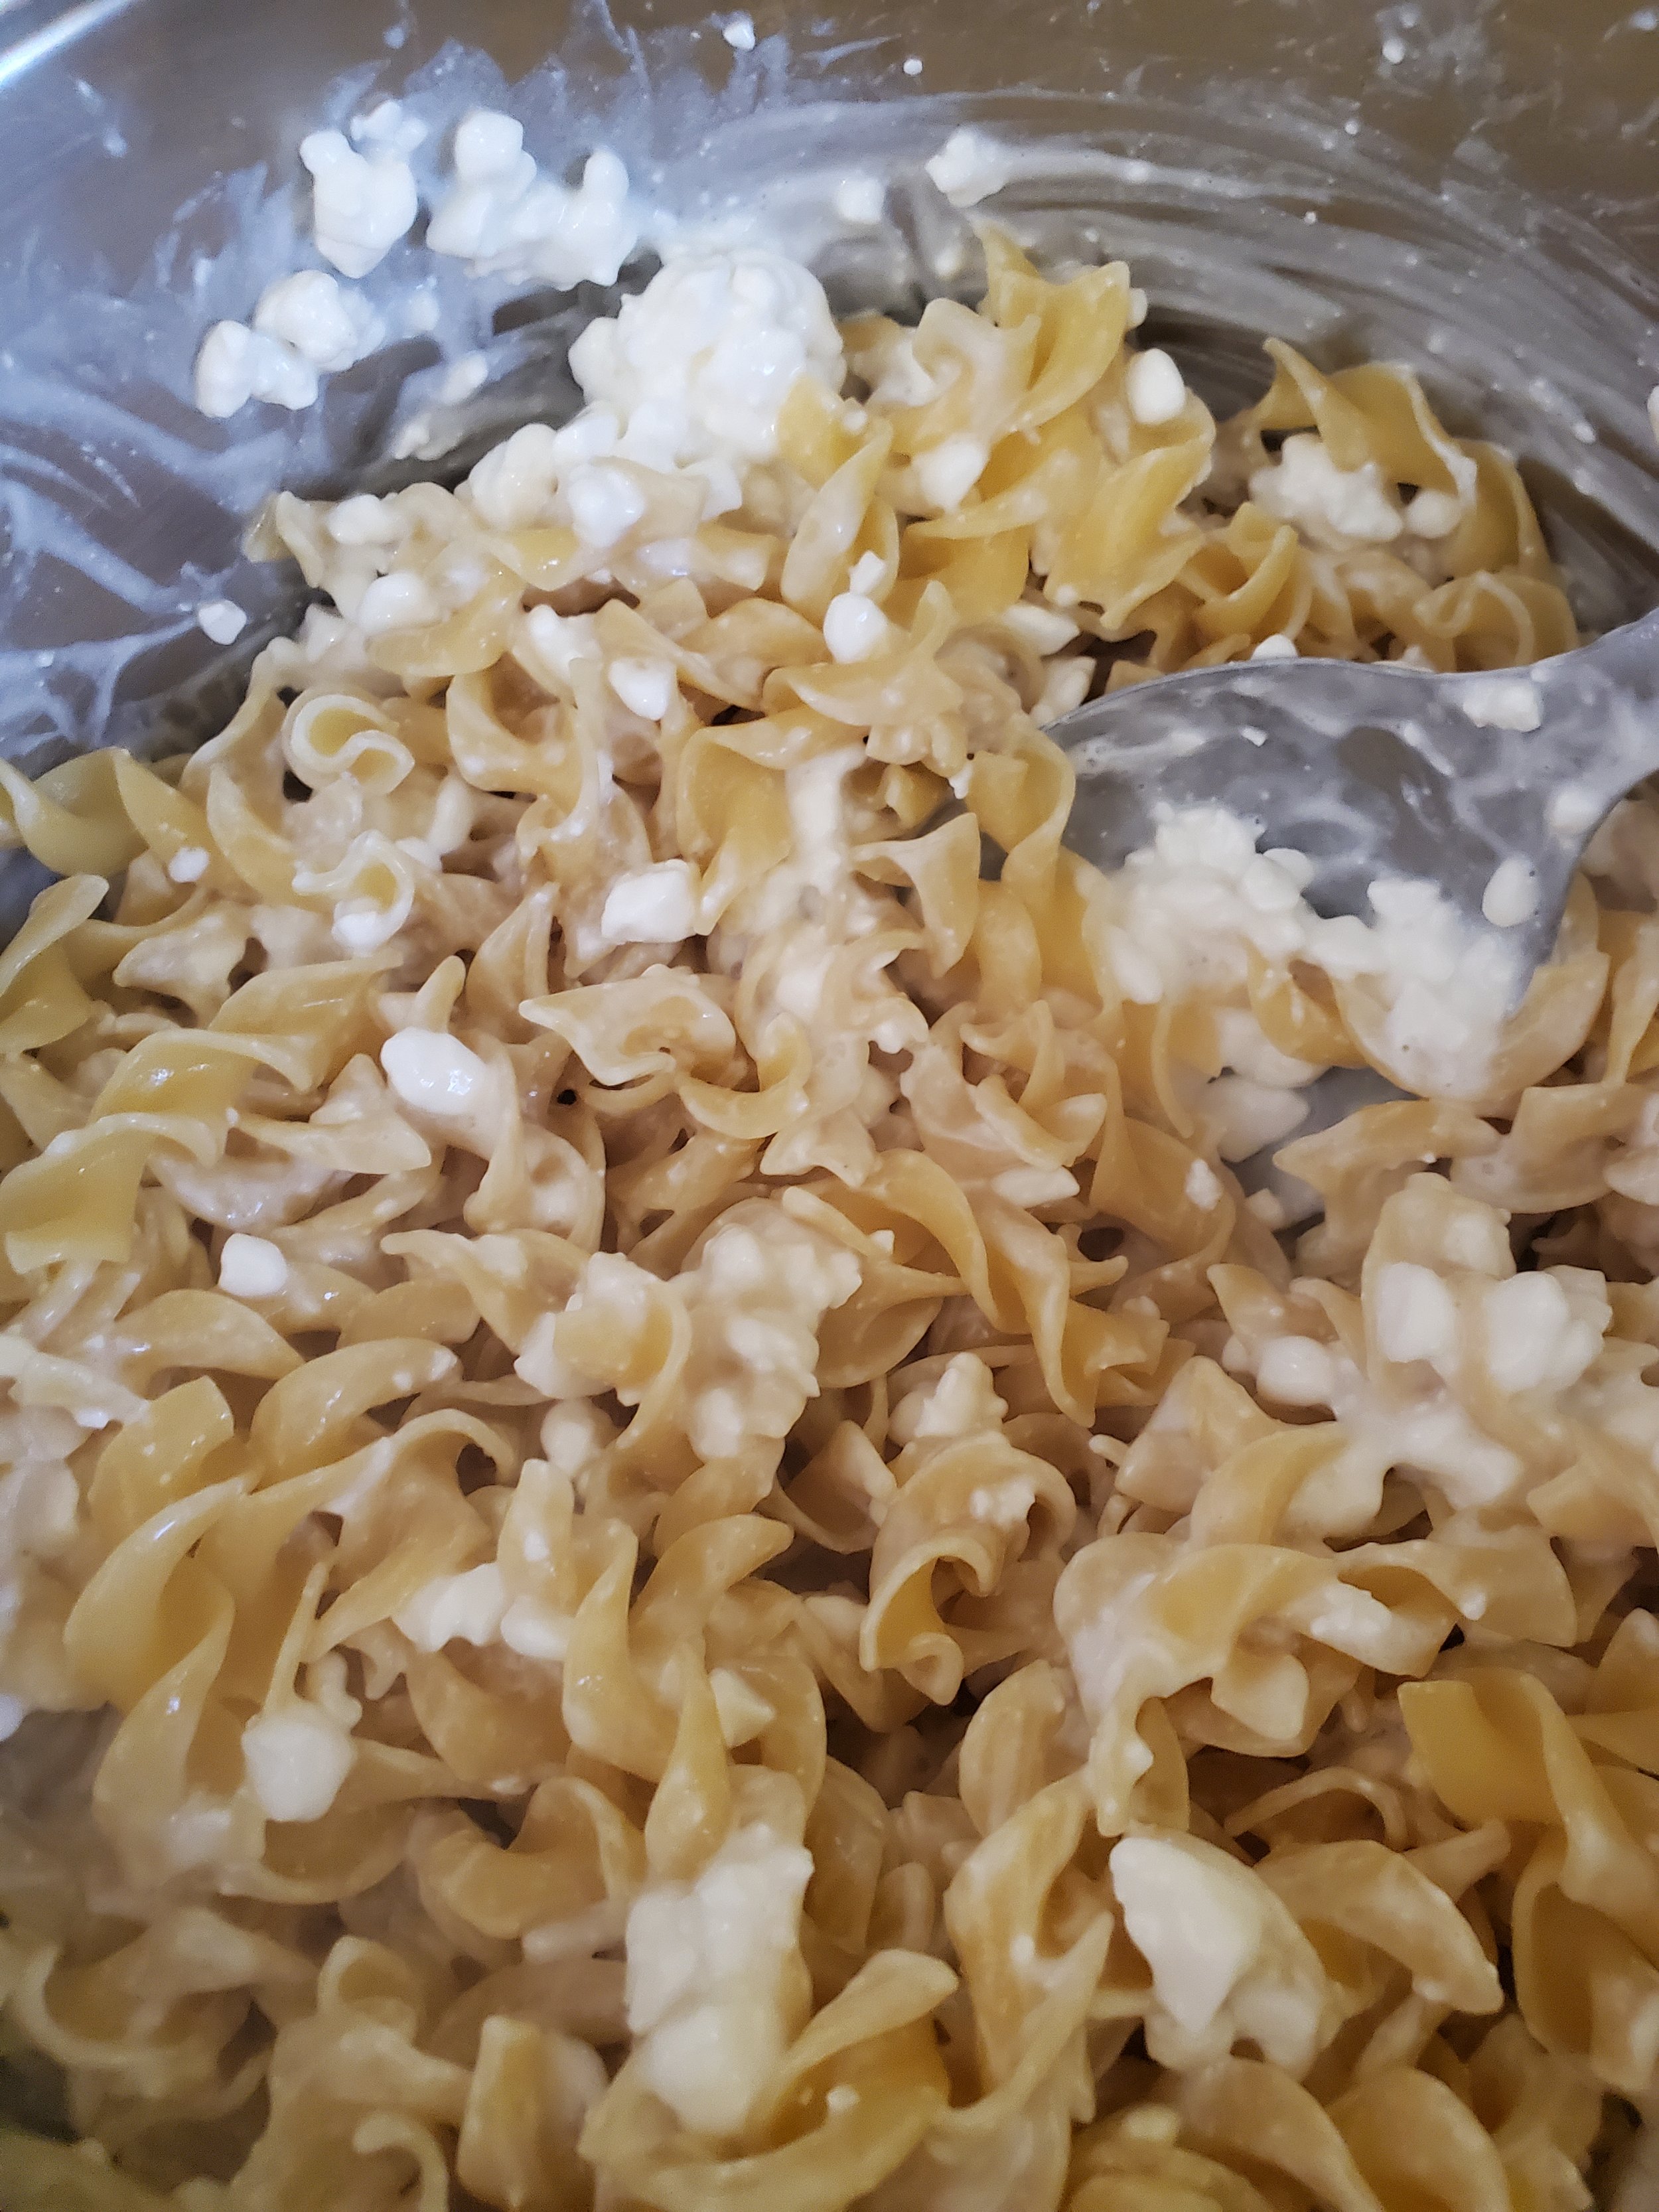
By now, the timer's making irritating noises and wants you to do something. Drain the noodles and put them right back into the stock pot, and measure in your sour cream and cottage cheese. Stir like crazy, then slap the lid on it. This is why we only par-cooked them - they need to hold up to vigorous stirring, and they'll soak up the moisture and steam in the covered pot.


Looking back at the onions, sausage and spinach - hey, wasn't there a lot more spinach a minute ago? - remove the lid and stir gently. Once the spinach is all uniformly wilted, feel free to cut the heat. Make sure it stays covered so it retains its warmth while you go back to working on the noodles.


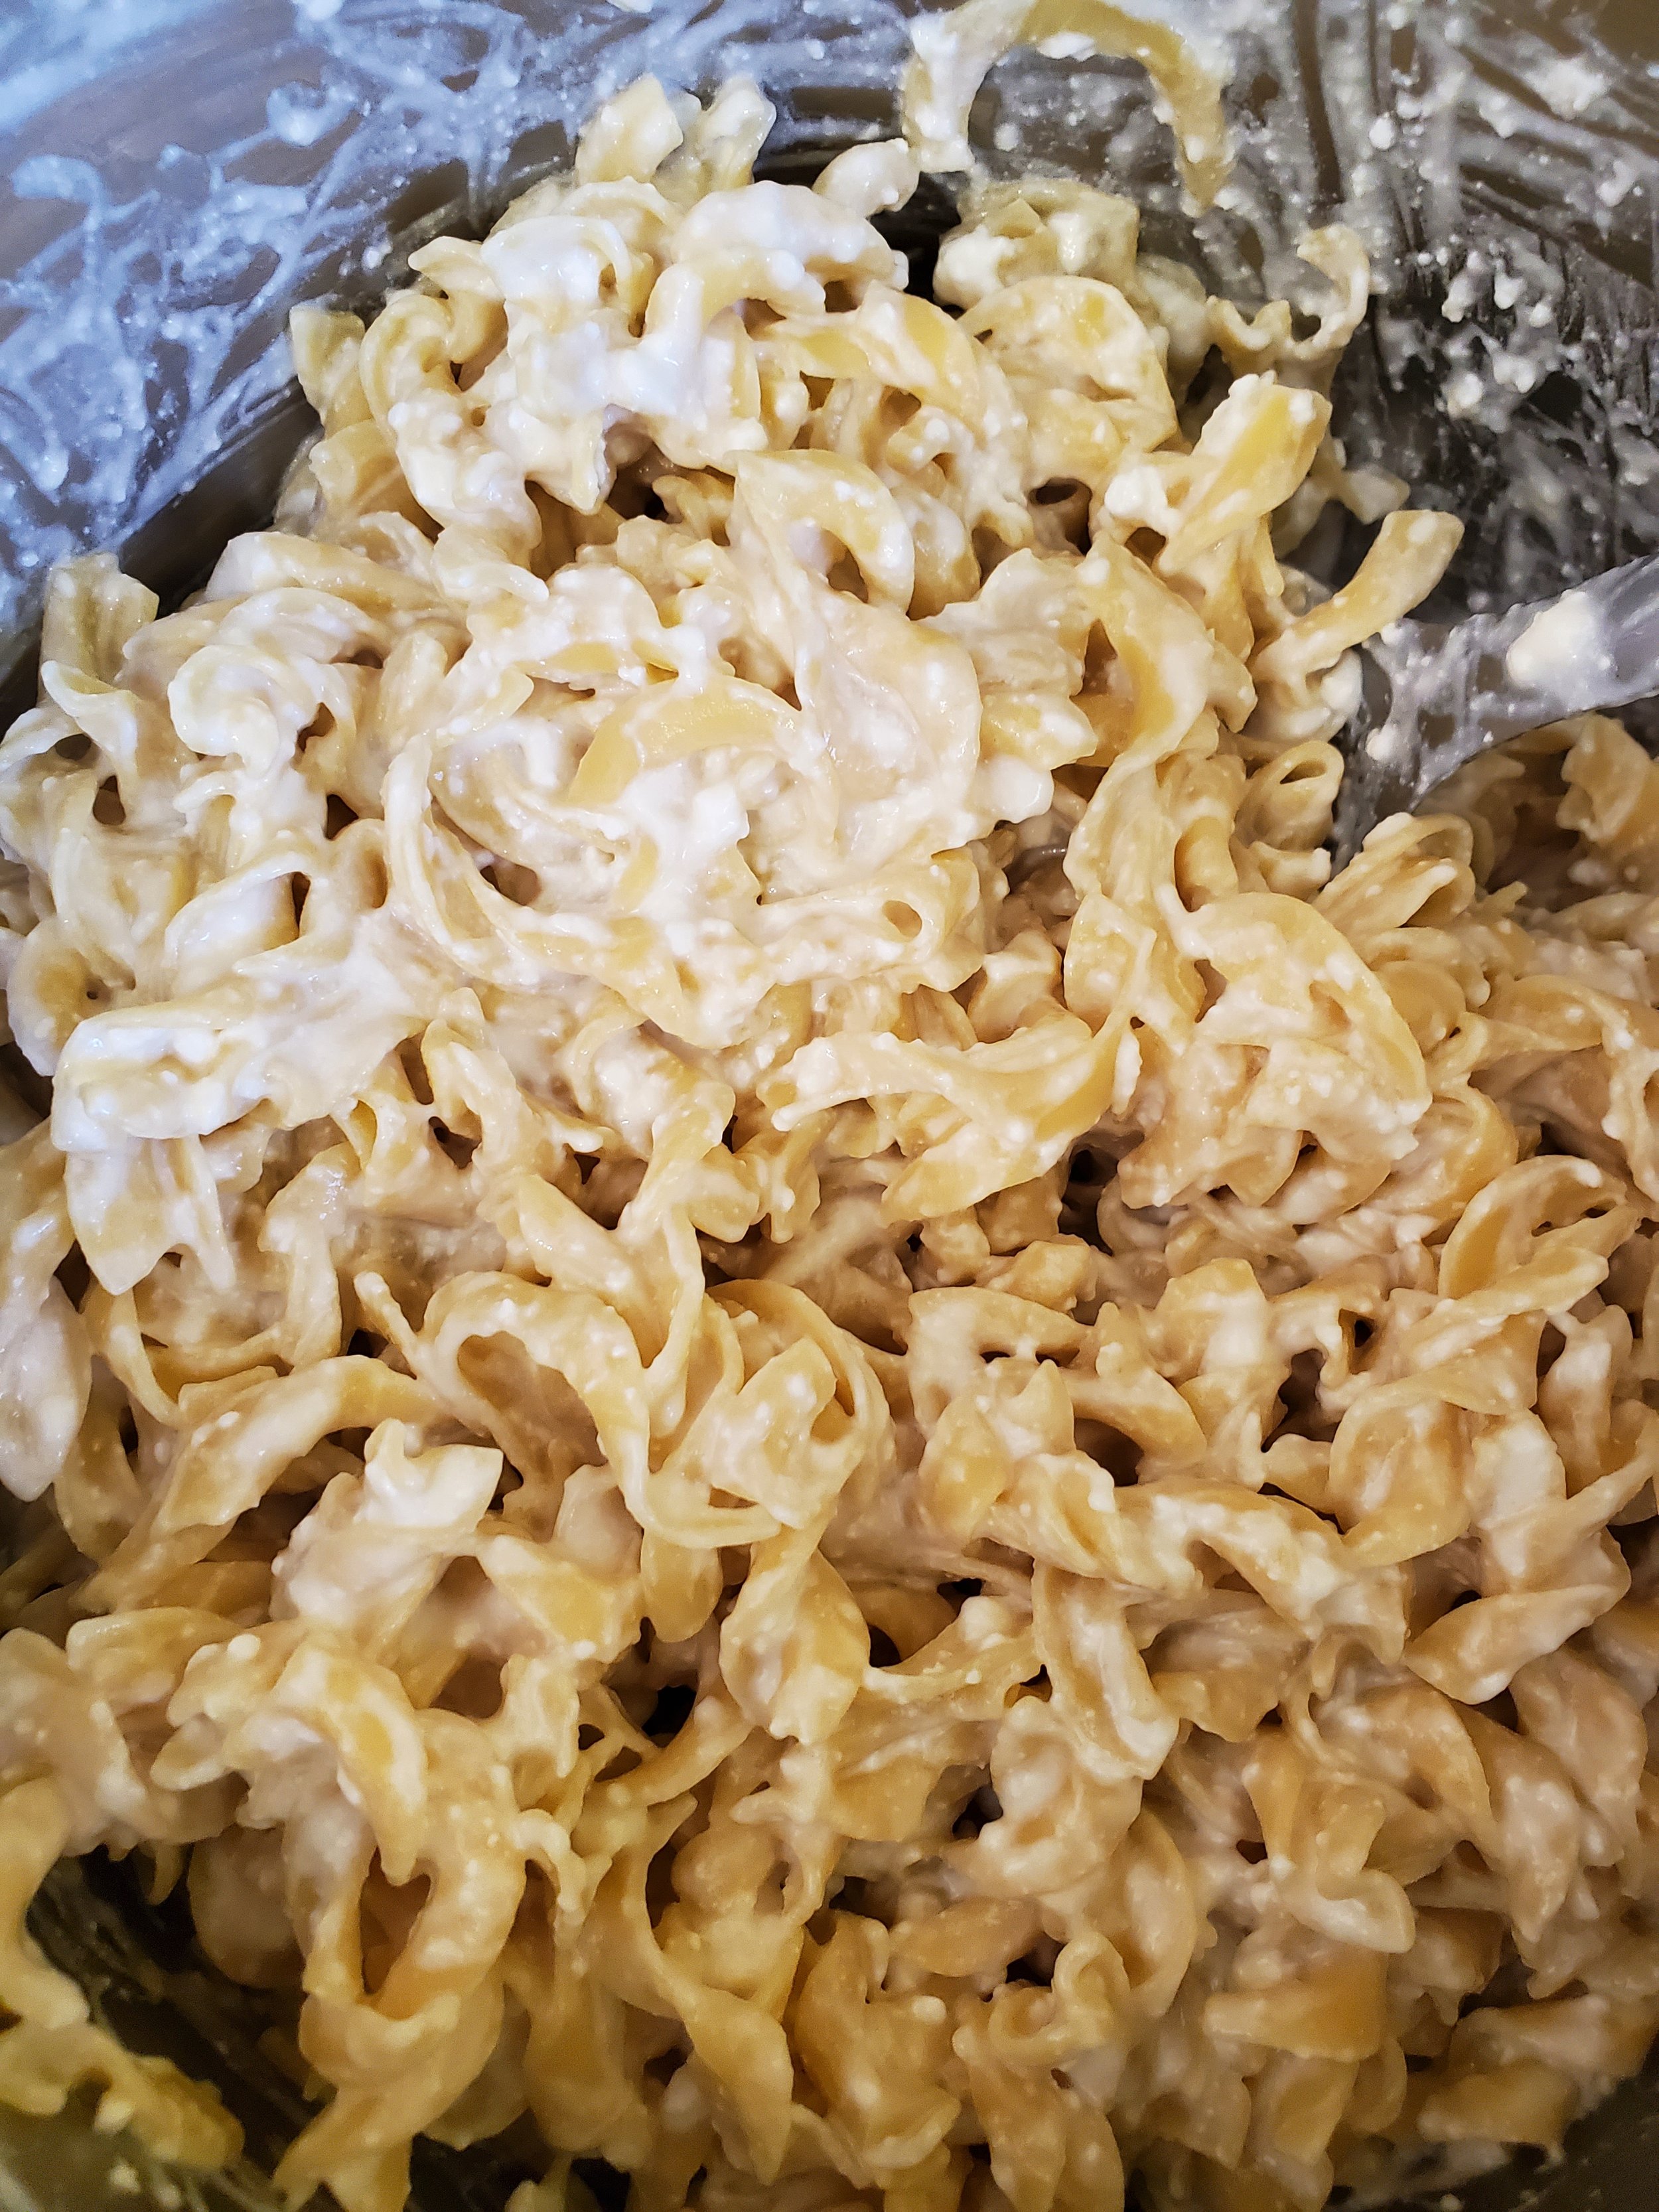
Those lumpy curds from the cottage cheese should have melted down some by now. Remove the lid, stir like crazy some more, and consider adding some milk or heavy cream if you used low fat cottage cheese. (Full fat cottage cheese works much better for this recipe, but we used what we had on hand.) Your goal is a thick, sticky sauce covering egg noodles that have absorbed the excess moisture.


Add a couple teaspoons of your spice mixture and stir well one last time. Serve the noodles with or topped by the sausage and vegetable mixture.


This recipe is a testament to the joy of home-cooked comfort food, where simple ingredients come together to create something truly extraordinary. We hope it has inspired you to embrace the art of cooking and explore the endless possibilities that await in your kitchen. Reach out to us over on our Facebook page if you decided to give it a try! 


If you wound up here because you’re in need of an appliance repair technician, we can help. You can get hold of us by calling ((214) 599-0055) or by going to our website


Additional Reads:  

Pepperoni & Canadian Bacon Stromboli  


Jalapeno Chicken Bowtie Pasta  


Get Your Protein with This Buddha Bowl

A Creative Way to Mix Up Left Overs 

Sometimes you want something that works with what you have left over from earlier in the week. Most times, you want something that’s going to fill you up and not leave you hangry a few hours later. This recipe fits both of those needs. Now, as with most recipes for Buddha bowls, you’re more than welcome to mix things up. Add in more veggies, add in less grain, sub out an entirely different sauce. This is one that we’ve been loving though, and have used multiple times since dreaming it up earlier this year. 

Sauce:

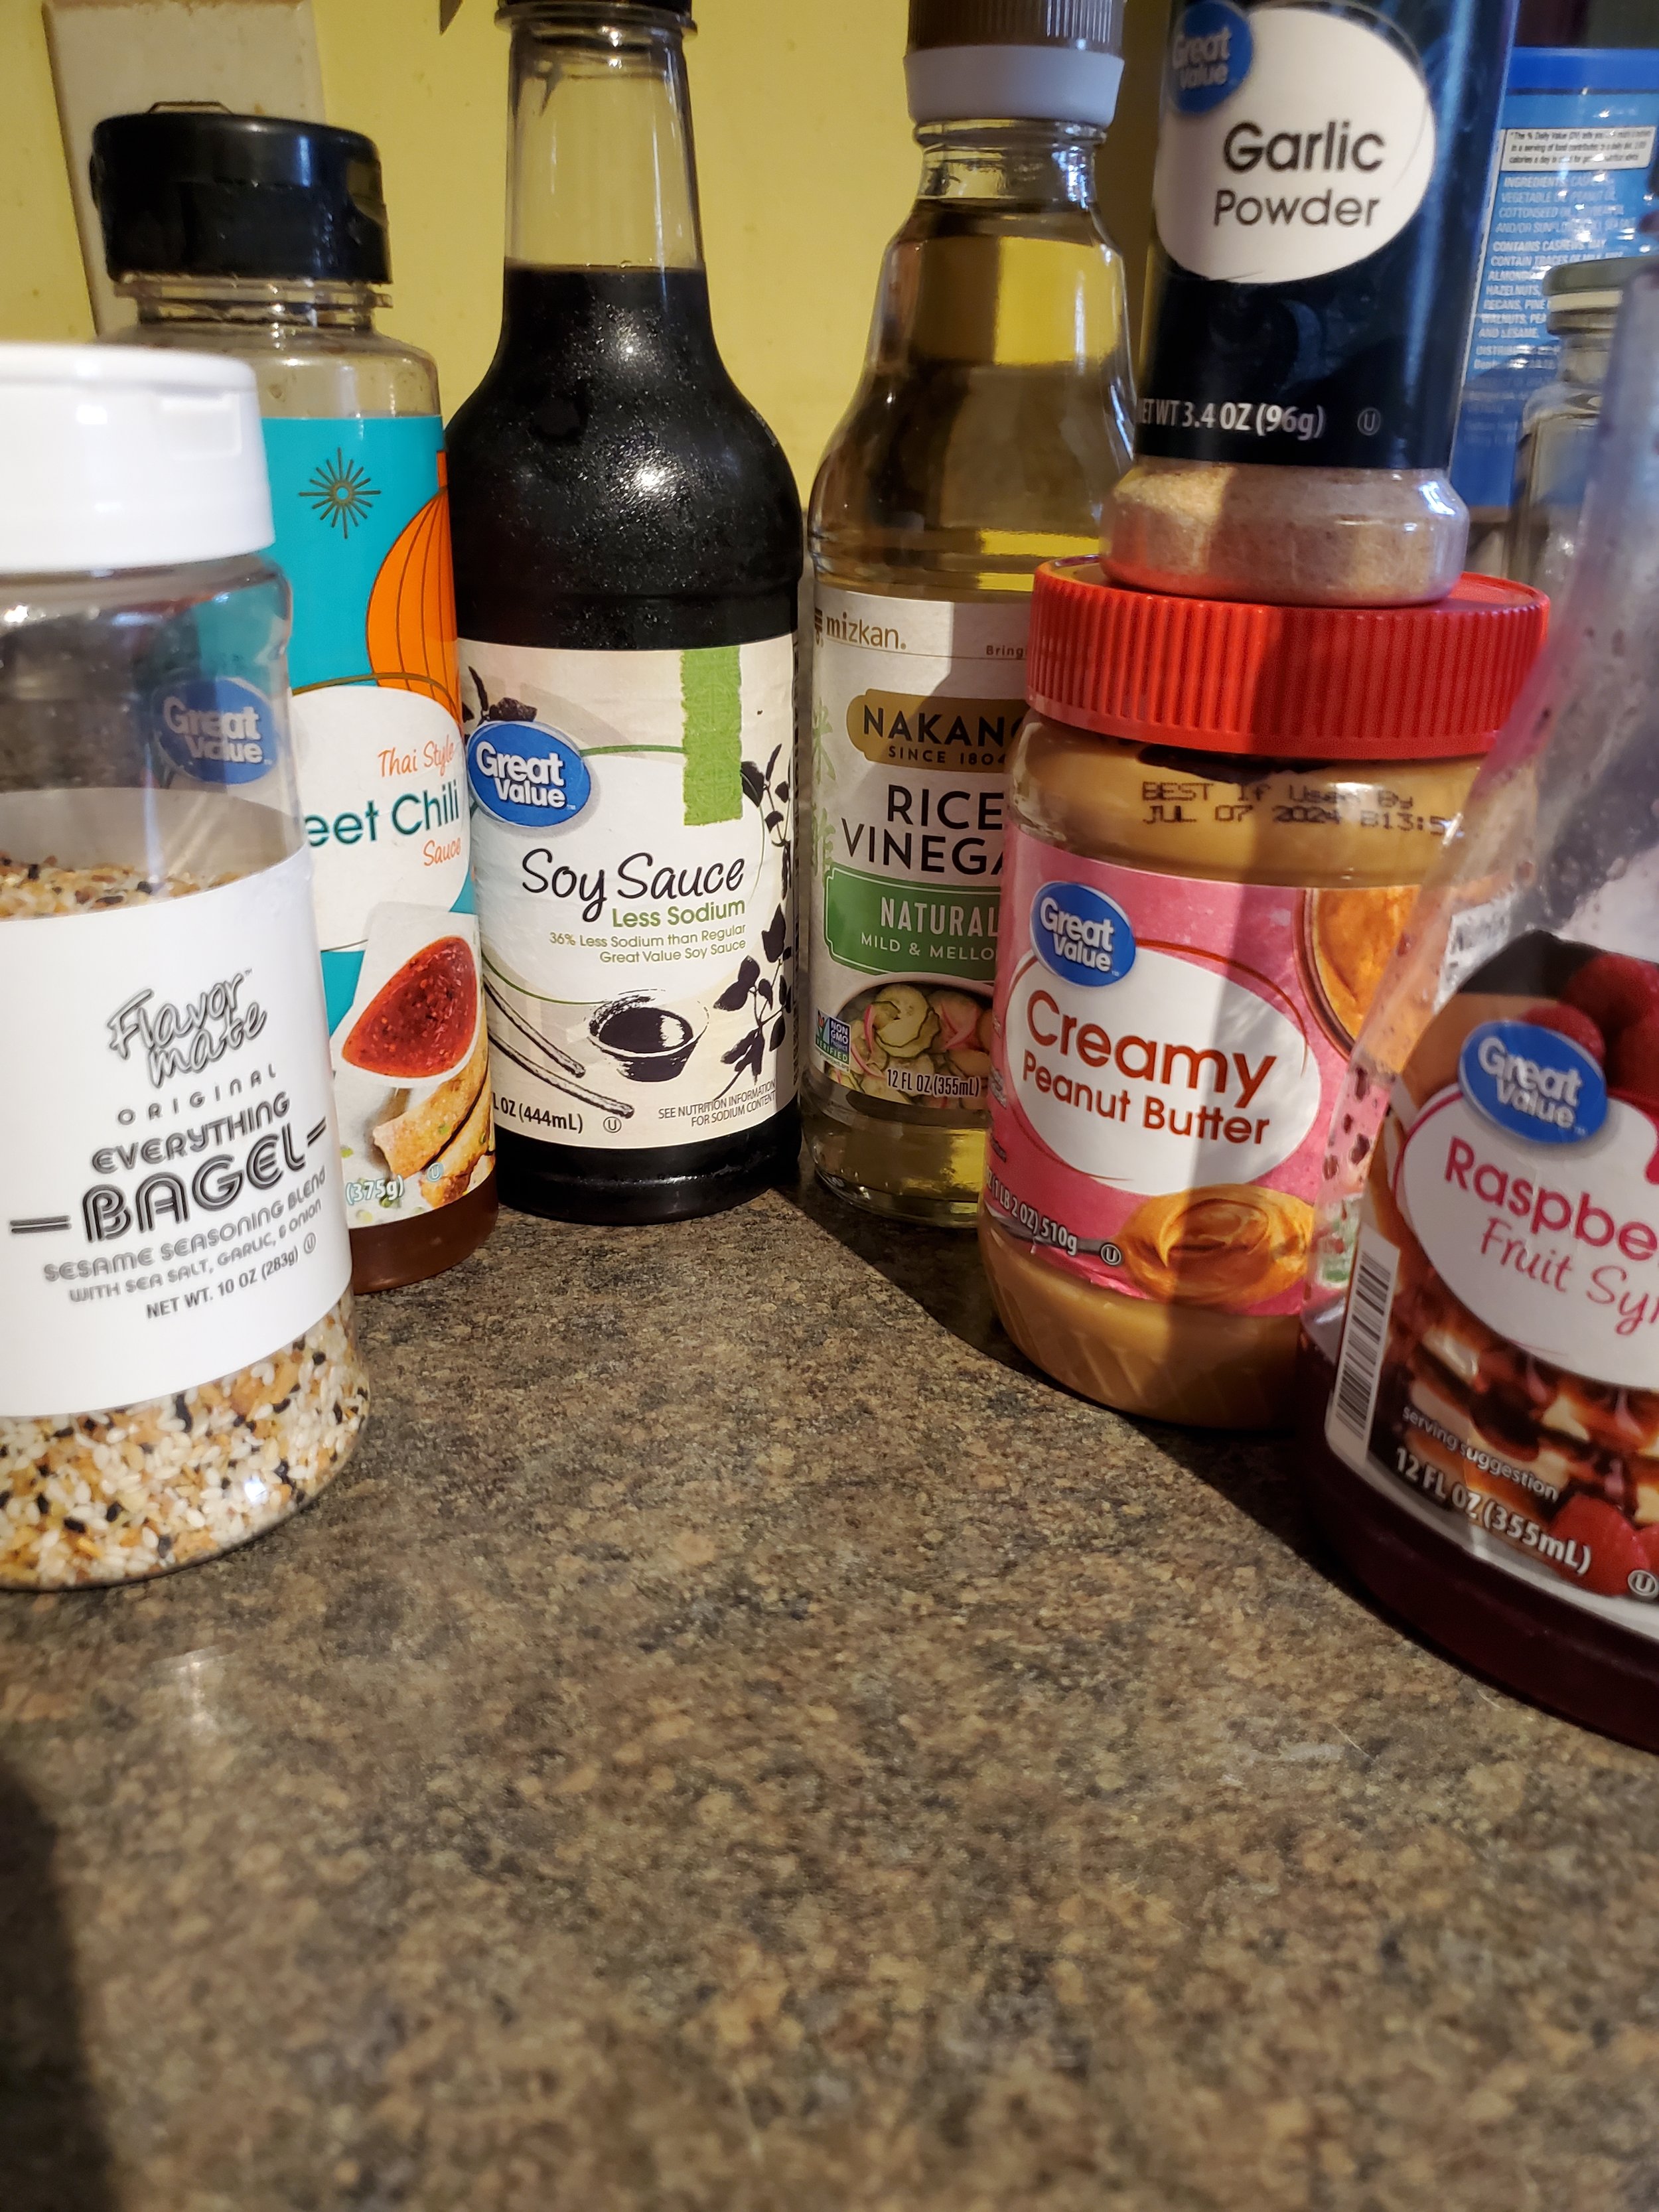
1/4 cup peanut butter

2 tablespoons low sodium soy sauce

2 teaspoons rice vinegar

1 teaspoon raspberry syrup

1/2 teaspoon sweet chili sauce

1 teaspoon garlic powder

2 tablespoons hot water


Bowl:

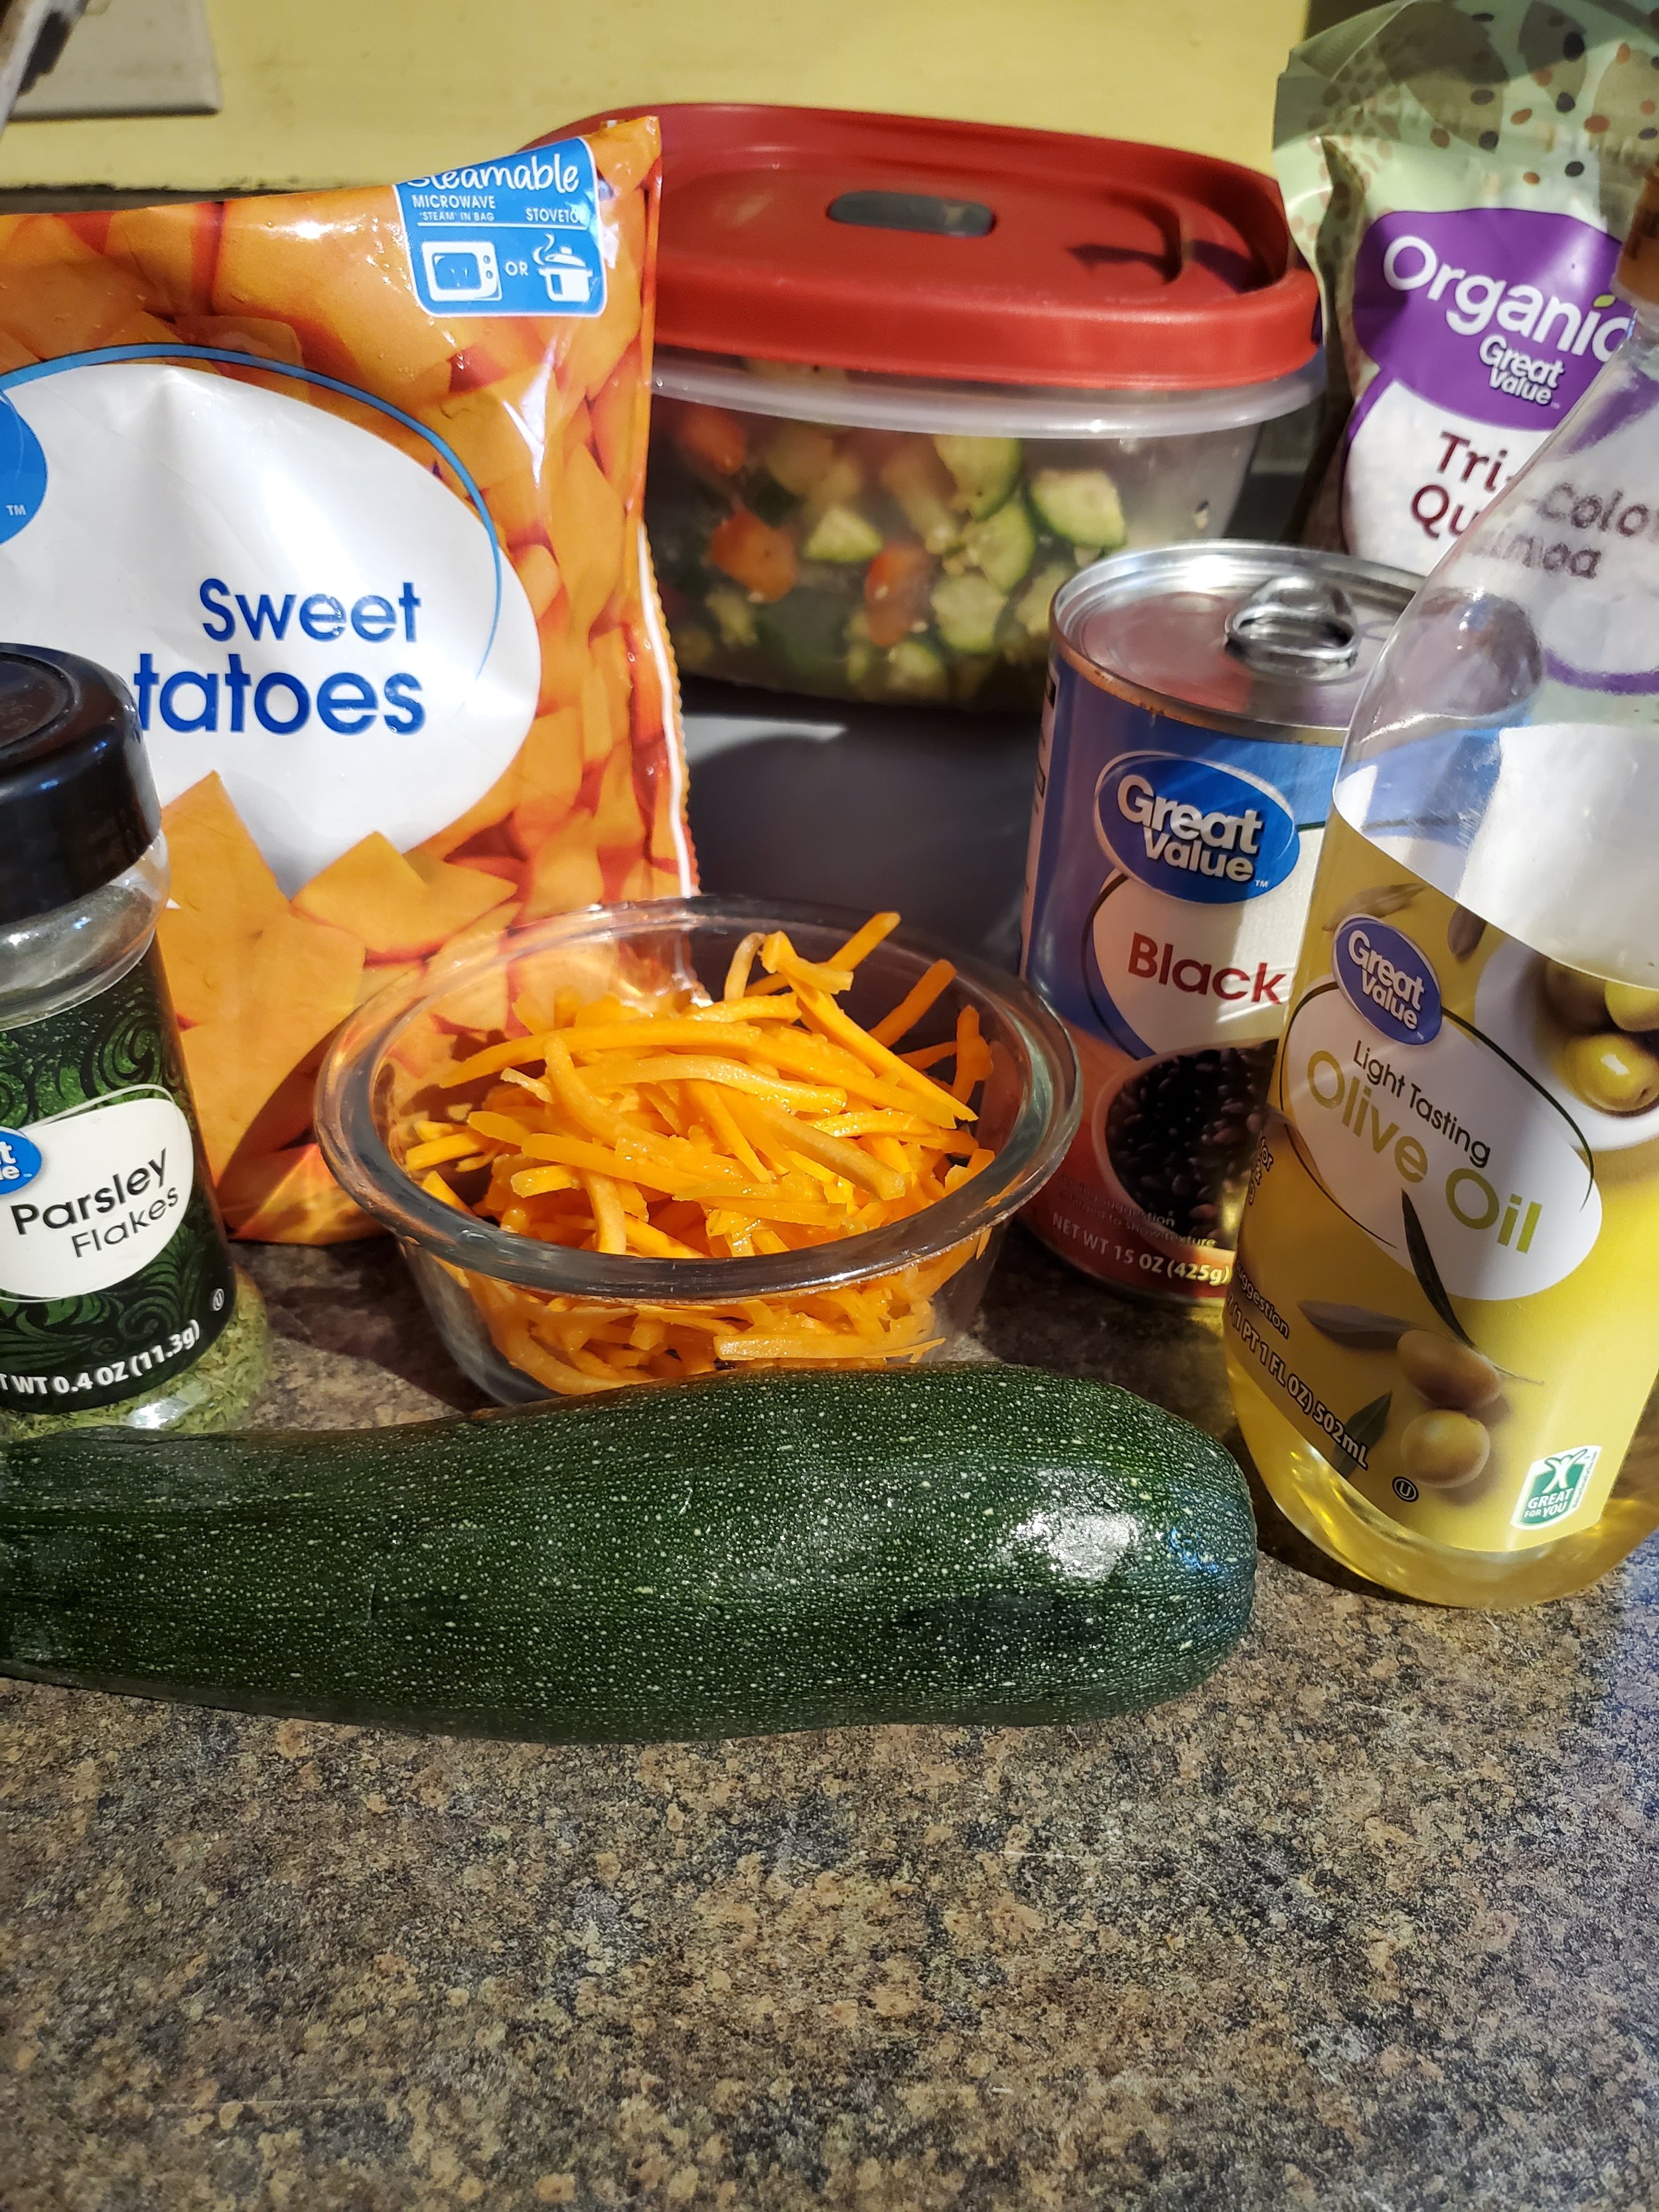
1 cup rice (cooked)

1 cup quinoa (cooked)

1/2 cup shredded carrots

1 package frozen sweet potato

1 can seasoned black beans

1 zucchini

1 teaspoon olive oil

1 teaspoon dried parsley

salt and pepper to taste


Tools:

cutting board

knife

measuring cups and spoons

serving spoon

sieve or colander

microwave-safe dishes

fork and spoon

frying pan


As always: wash your produce! This is our first step every time we're not utilizing washed/ready-to-eat veggies.


If you're not working with already-cooked rice and quinoa, go ahead and start them now. (This recipe was actually born out of there being too much rice in our fridge, left over from dinner the night before... which is why we sort of glossed over the cooking of the rice and quinoa steps.)


Put your steamable bag of frozen sweet potato chunks into the microwave and cook them according to package directions - in our case, roughly six minutes on high.


Dump the can of seasoned black beans into the colander or sieve to drain and give them a quick rinse before putting them into a microwave safe dish. You can set them aside for now, as they won't need to heat very long in the microwave, and the sweet potatoes will be hogging it for a while anyway. But when the sweet potatoes are finally done, swap them for the beans and zap them a minute or two, just long enough to heat them through.


Trim the ends and cut your zucchini into chunks - whatever shape or size you like is fine, but we do half inch quarter rounds because they cook quickly. Pour your olive oil into the frying pan, swish it around a little to coat, and add the zucchini. Sprinkle with parsley, salt and pepper, and saute for about 5 minutes over medium heat. You can substitute sesame oil for the olive oil if you have some, but it seems not a lot of people keep sesame oil in their pantries.


We chose to leave our shredded carrots raw, but if you'd prefer them cooked, feel free to toss them in with the zucchini about halfway through the cook time.


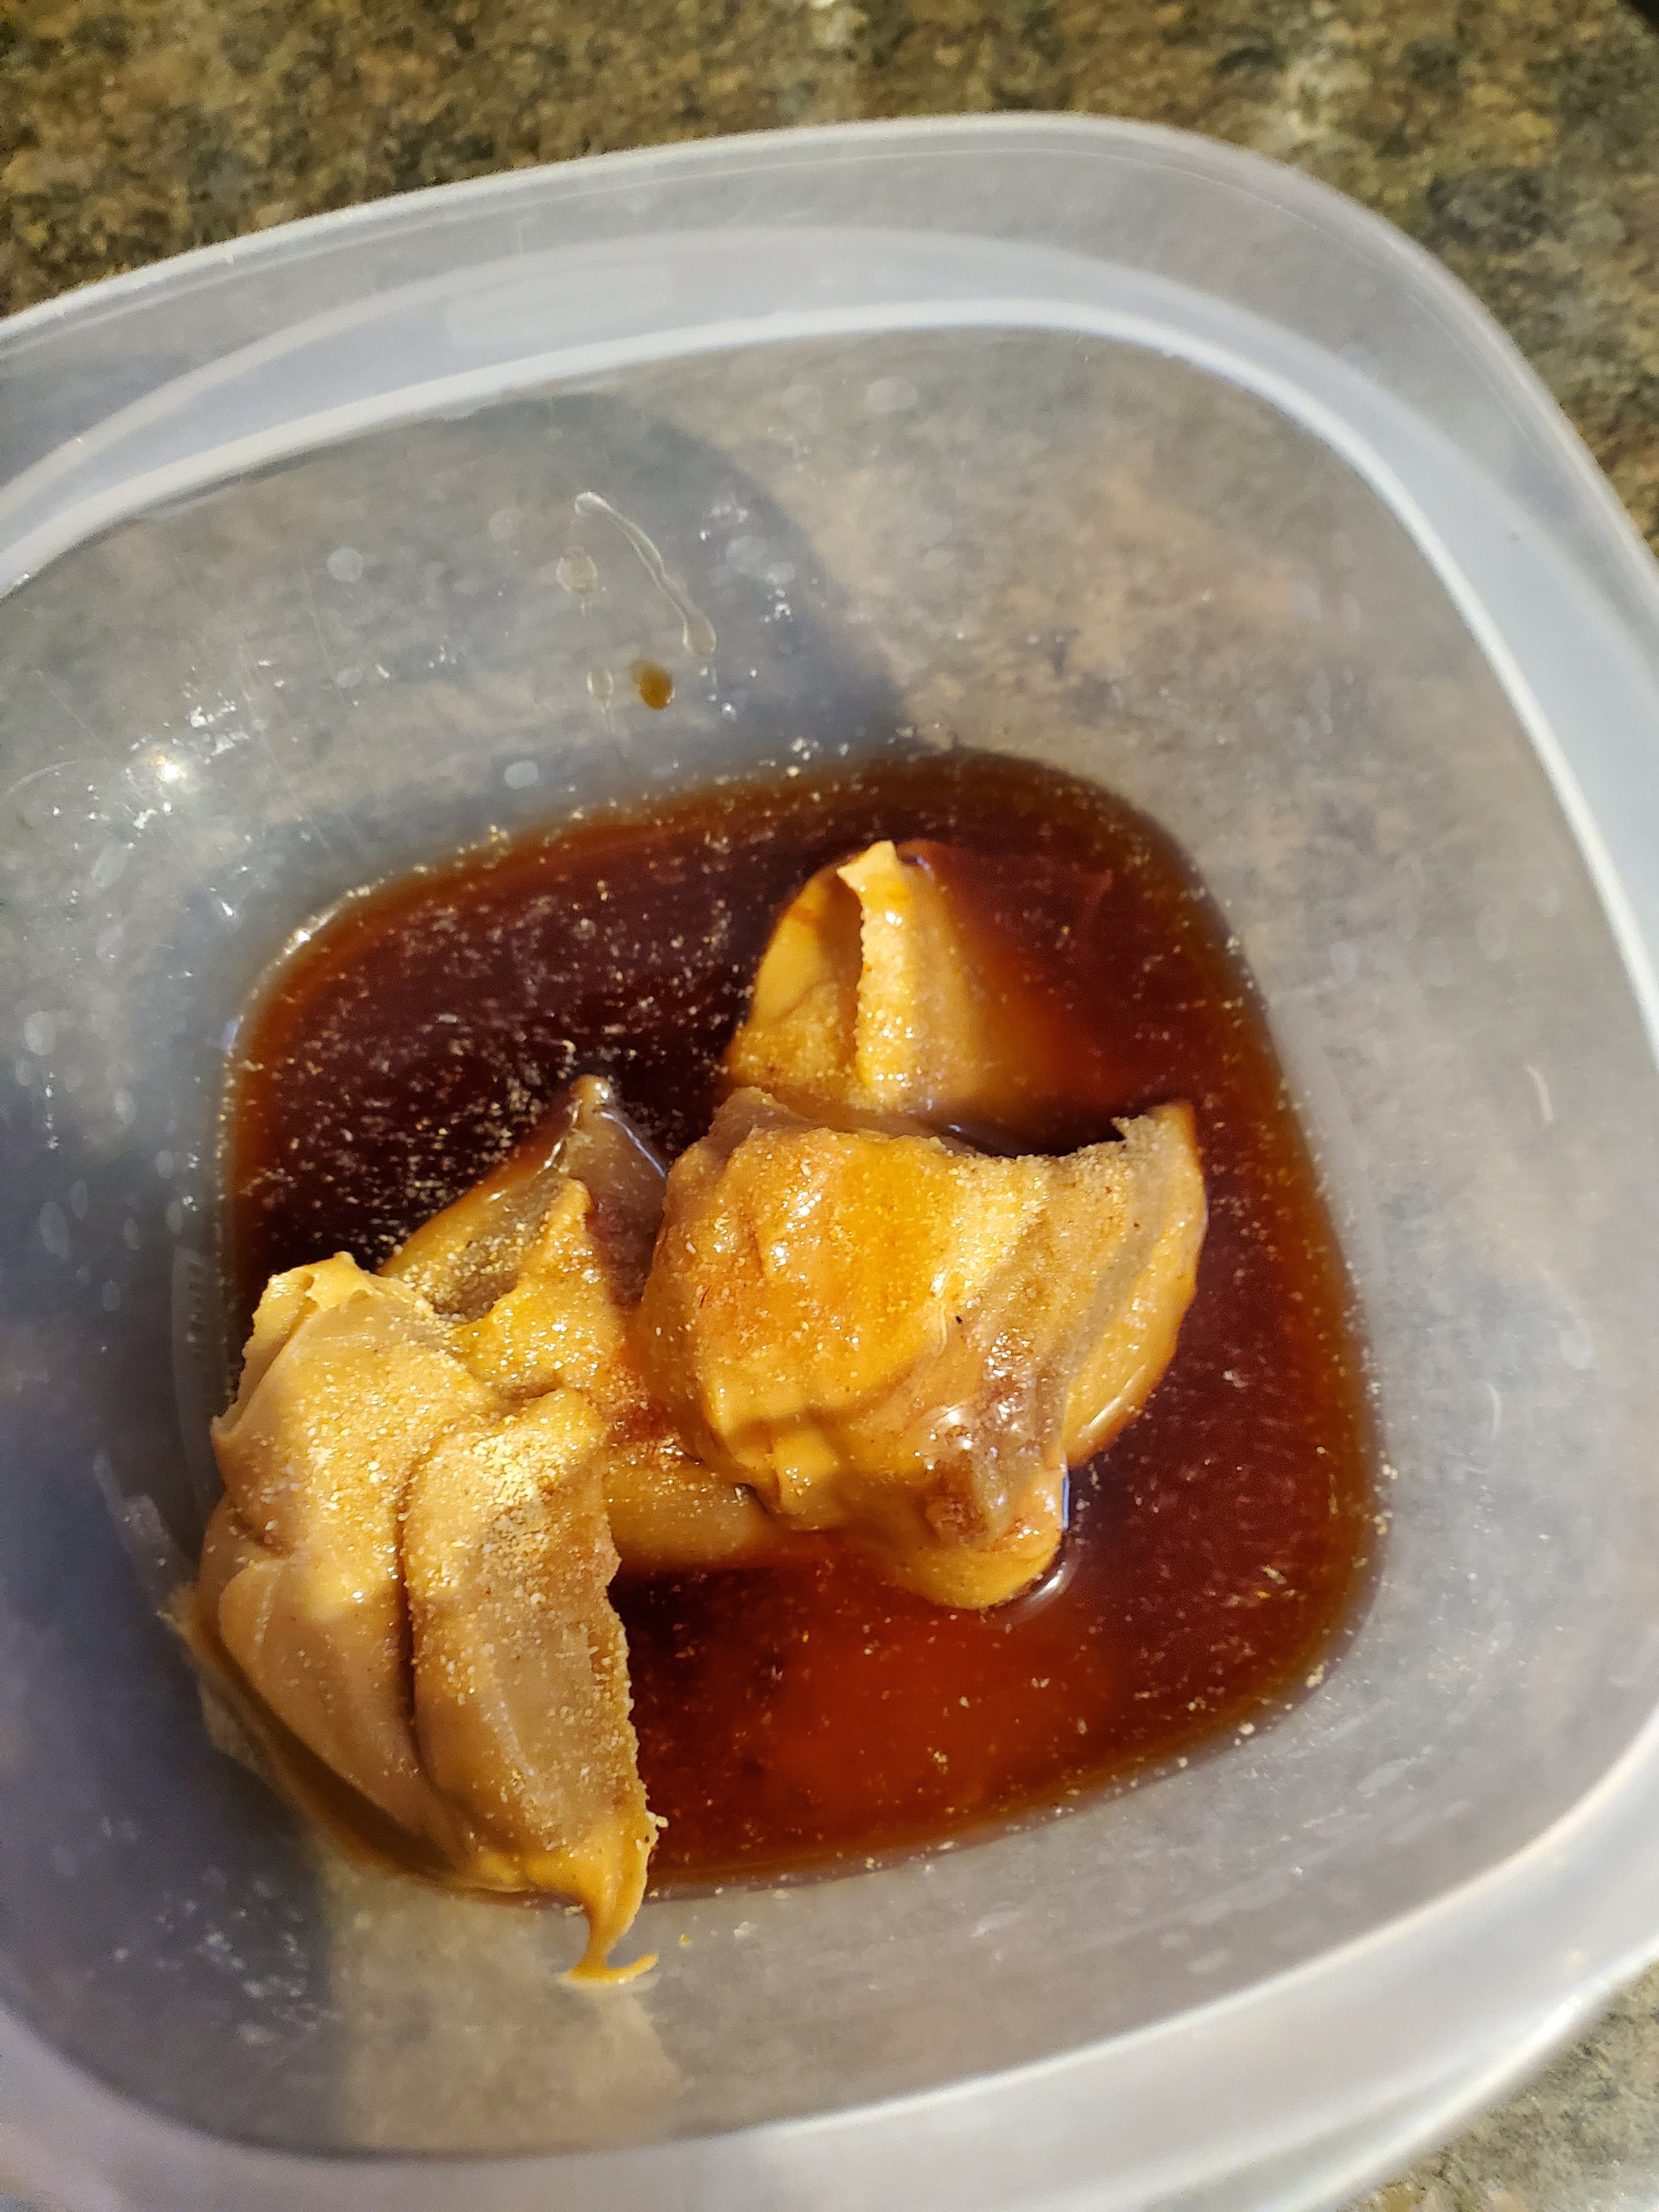
As your veggies heat/cook, grab a smaller microwave safe bowl and get started on the sauce. The first thing to go in should be the peanut butter. If you find peanut butter to be a little unwieldy (sticking to the spoon, landing in great blobs on the side of the dish instead of in the bottom, etc.) when you cook with it, feel free to employ the tactics of spraying your measuring cup with cooking oil before filling it and/or heating the peanut butter for 15-30 seconds in the microwave to soften it up.


After the peanut butter, use a fork to stir in the soy sauce, rice vinegar, sweet chili sauce, and syrup. These normally mix fairly easily. The troublesome one is usually the garlic powder. Once you have the other items mixed thoroughly, sprinkle the garlic powder on top and pour the hot water over it. Use the fork like a whisk and swish the hot water over the powder and into the peanut butter mixture a few times to combine.Switch to a spoon and stir it to death. Leave the spoon in the dish because you'll need it shortly.


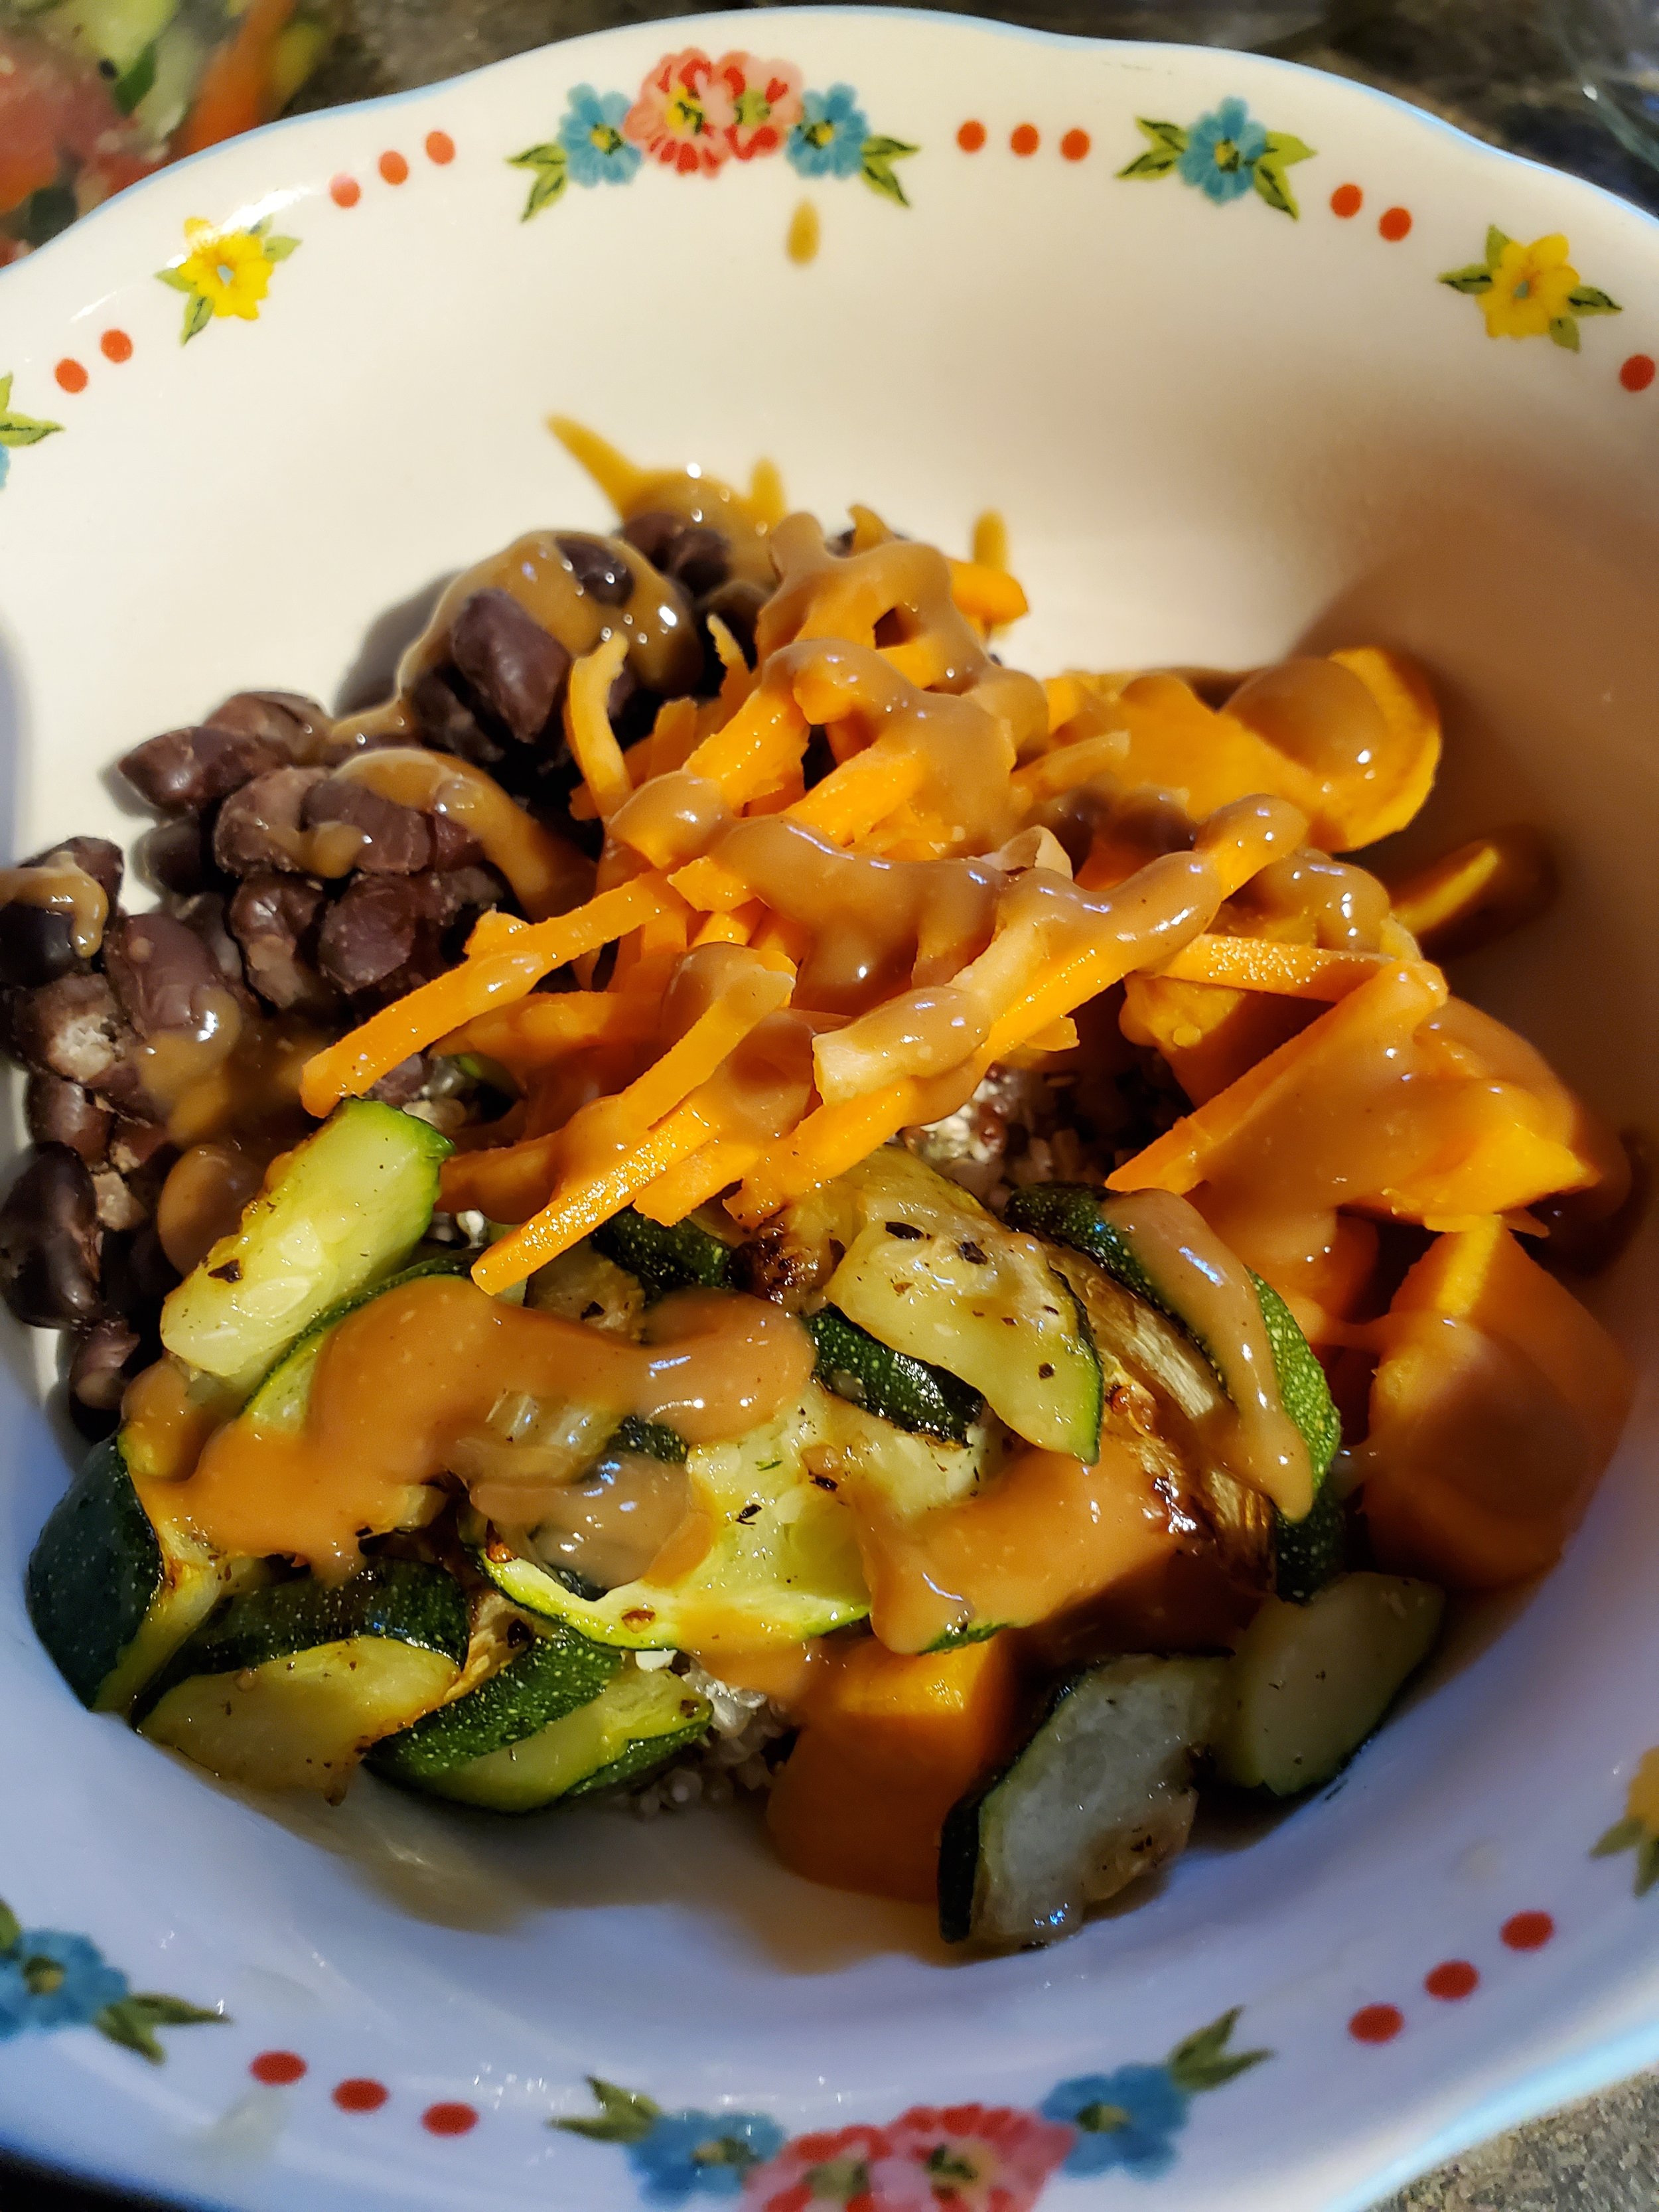
Once your grains and veggies are all cooked or warmed through, begin layering things into your bowls. We started with rice, then quinoa, then scoops of zucchini, sweet potato, and beans, then a sprinkling of carrots and a drizzle of sauce. If you have some handy, a little everything-but-the-bagel seasoning is also a nice topping.

We hope that you enjoyed this recipe! Let us know if you decide to make it over on our Facebook page. As always, we love to hear from you. 

If you’re wondering what to do with leftovers because your fridge just ran out, we can help with that too! You can reach out to us via our contact page or by giving us a call at ((214) 599-0055). We’ll work with you to set up a  time and date that works with your schedule. At Appliance Rescue Service, our goal is to get your home running smoothly again. 


Fast and Flavorful Tuna Toast

A Protein-Packed Meal That's Perfect For Lunch Or Dinner

Some days it's just too hot to cook - like this absurd heat wave practically everyone appears to be suffering through. No one wants to turn on the oven or stand over a stove burner on days like these - which is where minimal-effort-required recipes like this one come in. If we don’t have the time to toss something into the crockpot in the morning, this is a good recipe to have on standby. It’s also extremely simple to clean up after! 


The lazy streak is strong - for this recipe, we very literally used half of a large tub of sour cream for something else and then threw the remaining ingredients into the container. One less thing to wash later, since we didn't use a bowl! 


Ingredients:

2 cans chunk light tuna in water

1/2 cup sour cream

1 teaspoon garlic powder

1/2 teaspoon paprika

1/2 tsp freeze-dried chives

1 tsp parsley

pinch salt

black pepper to taste

8 slices rustic bread

12 multicolor grape tomatoes

4 oz or 8 thin slices gruyere cheese


Tools:

measuring spoons

knife

cutting board

spoon

can opener

toaster oven


Grab your can opener and open and drain your tuna. We often leave the can upside down with the lid in place, balanced on the divider between the sides of our kitchen sink. It drains slowly that way, but it frees up your  hands to move on to another task.


Pop your bread slices into the toaster oven and toast them for about two minutes. We like using some rustic bread, but if you don’t have any on hand, basic sandwich bread will do just fine. 


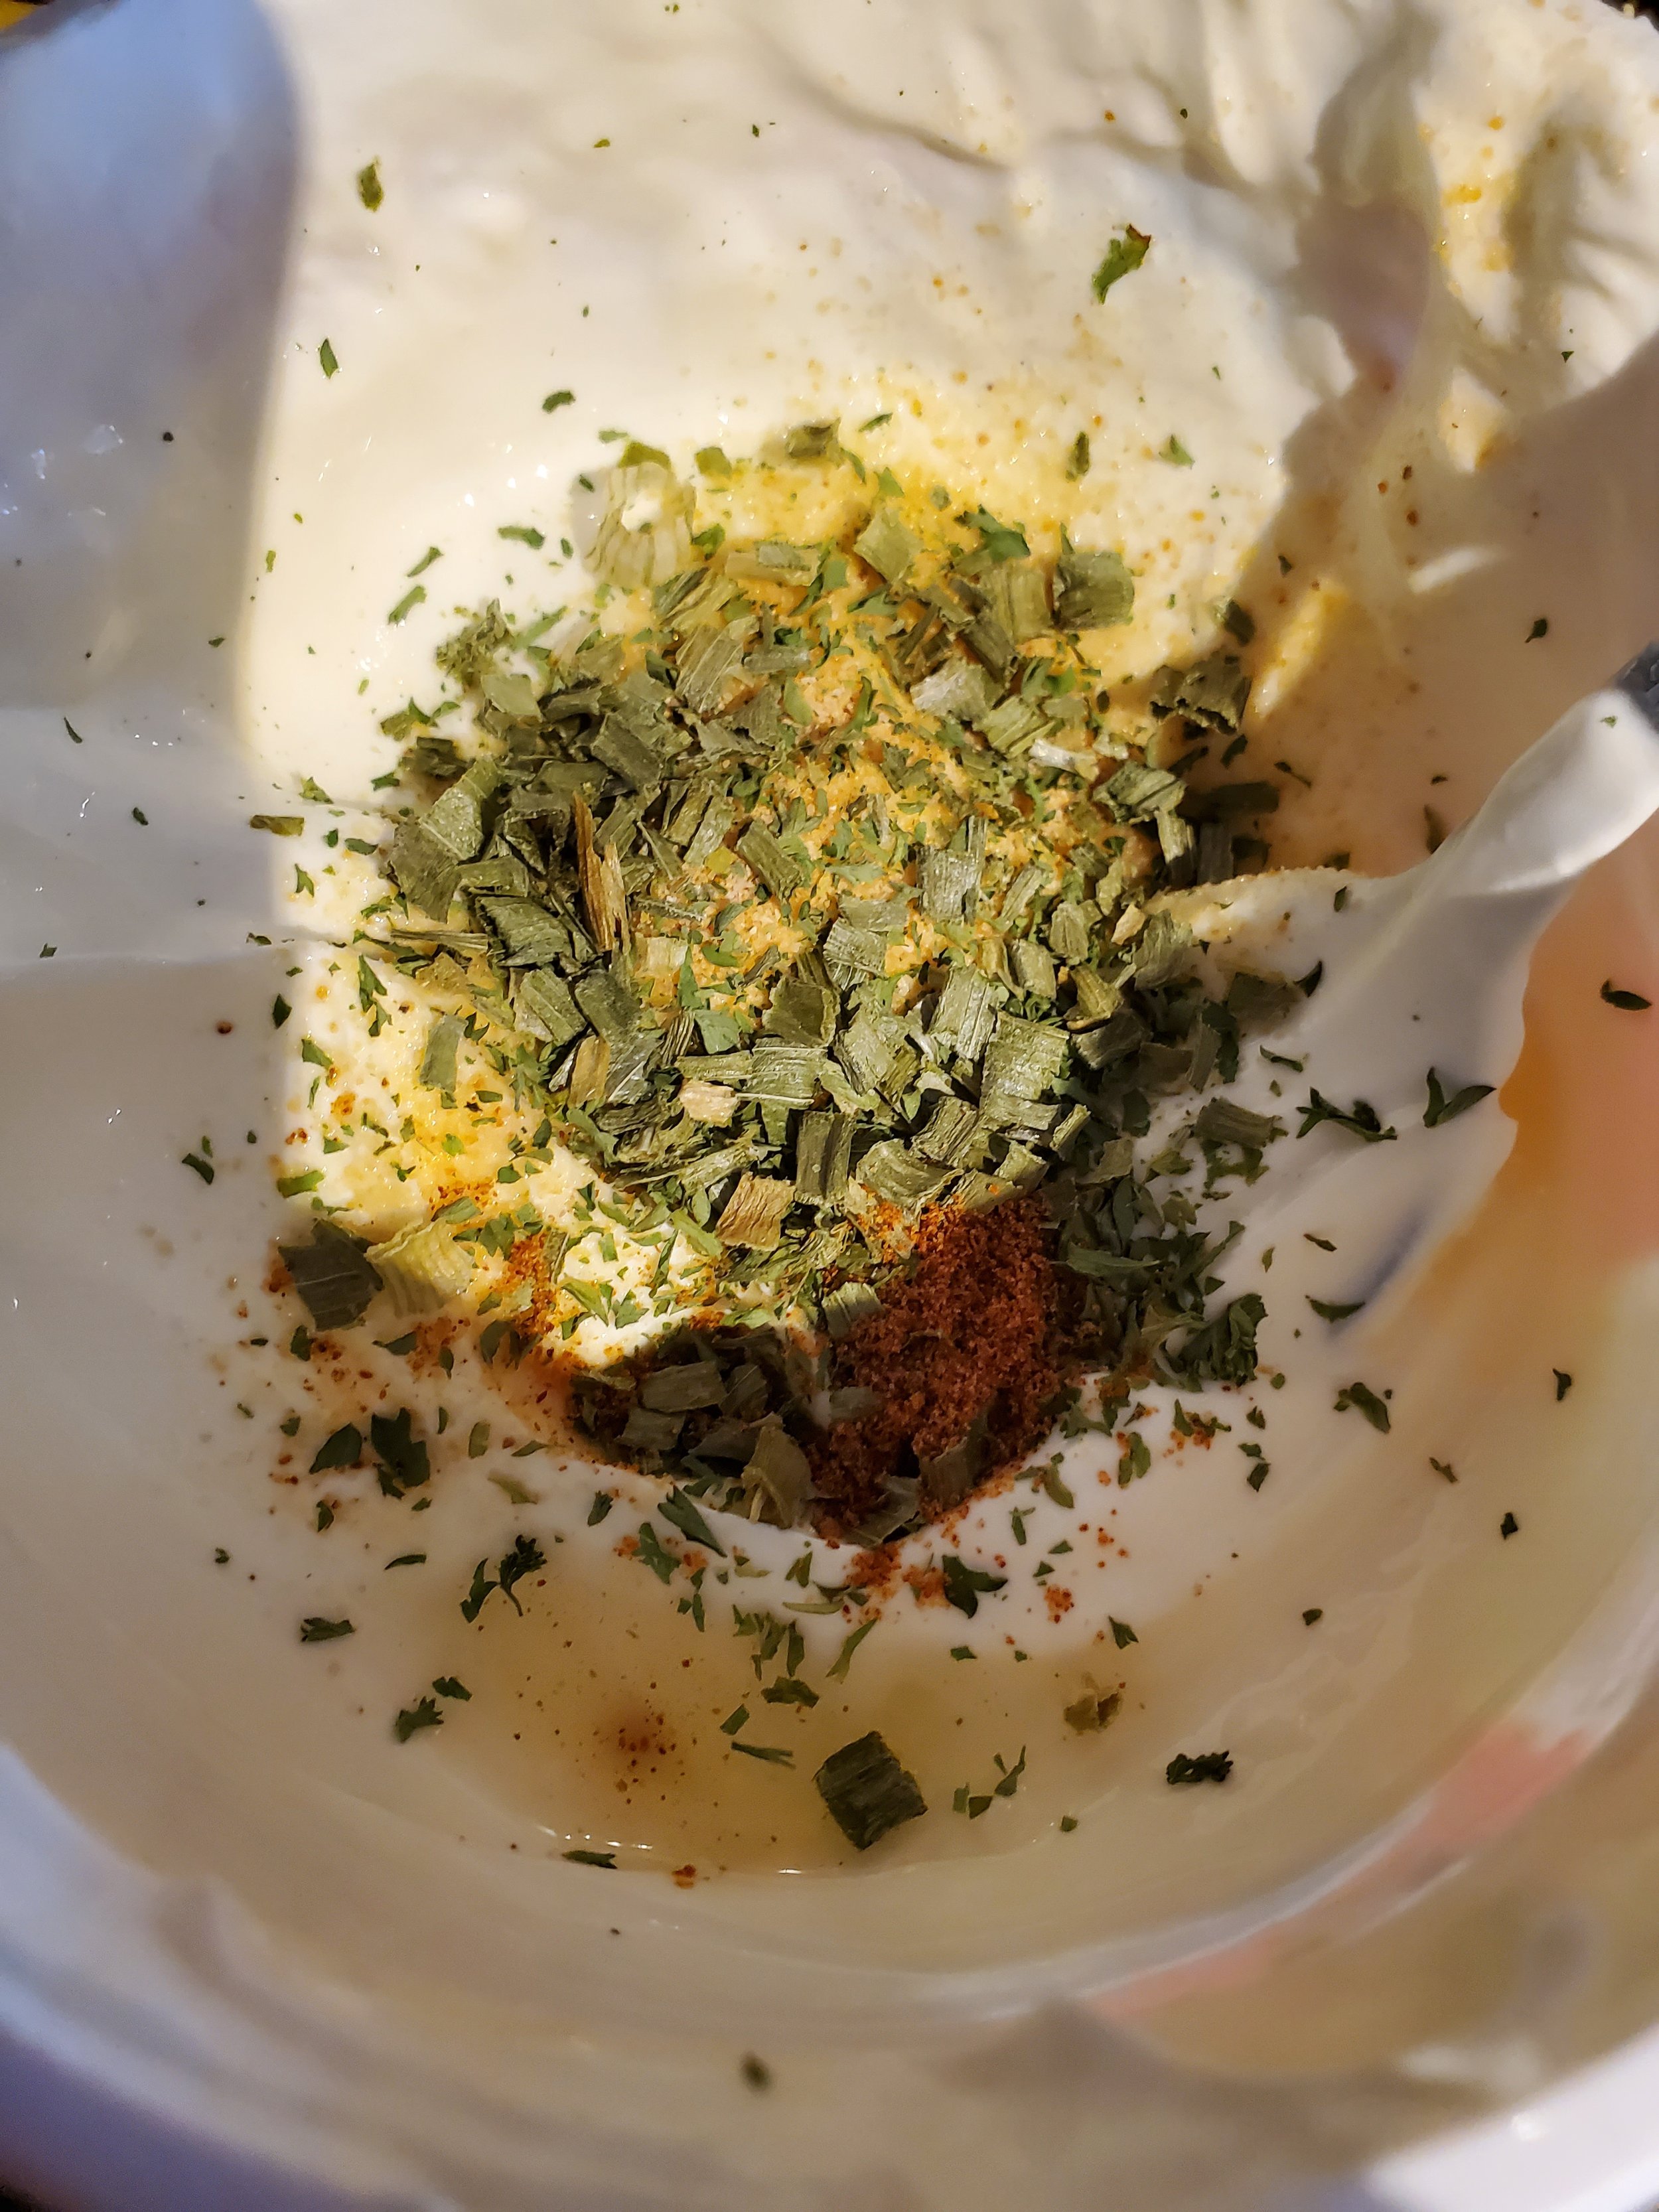
Measure your garlic, paprika, chives, and parsley into the container of sour cream (if you're lazy like us) or a bowl (overachiever). Stir until combined. Consider adding more of the spices - or something different - if it looks a little plain still. We rarely stick exactly to a recipe, so no one here will tell you that things must be done a certain way. If you want to go the extra step, or you’re not melted from the heat, you could use smoked paprika and actual minced garlic. 


Slice your cheese and set the slices to one side of the cutting board. 


About now, that toaster oven should let you know it's done. Flip the toast, but don't restart the toaster yet.


Wash the tomatoes before using them! Trim them up and slice them into rounds or wedges, whichever you prefer. We went with thin rounds for this, and pushed them to the opposite end of the cutting board from the cheese.


Your tuna should have drained by now. Feel free to press the lid in while flipping the can to force out more of the retained moisture. This is why "packed in water" is important - if you start with oil packed, you're likely to suffer an oily sandwich, or go to the extra trouble of rinsing.


Drop your tuna into the sour cream container or bowl and mix it into the sour cream. While most people would have opted for mayonnaise, we are not most people. At least one member of the household believes mayonnaise is the most disgusting substance on planet Earth and avoids it at all costs. Also, sour cream has a lower sodium content. less fat and more protein. In this case, being selective about one's battles also has some health benefits.


Scoop a serving of tuna onto each slice of partially-done toast and spread it out a bit. Add your tomato, then top with cheese and restart the toaster oven. Let it cook until the cheese is beginning to melt, but hasn't yet gotten to the thin state where it tries to run off the sides of the toast. Don't sacrifice perfectly good cheese! Also, save yourself the headache of trying to scour burnt gruyere off the heating element or crumb tray.


Serve as open-faced sandwiches with a veggie of choice on the side.


Does it pass the test for an easy dinner? Let us know over on our Facebook page! We’d love to hear if you try it or if you have an even easier summer meal. 


We understand that having properly functioning appliances is essential for being comfortable at home. That's why we offer a range of services to keep your appliances in top condition. Our team of experienced technicians is equipped to handle any issue, big or small, with your appliances. From scheduled maintenance to emergency repairs, we're here to help. And if you're not sure what the problem is, don't worry - we'll diagnose it for you and provide you with a clear explanation of what needs to be done. So, if you're in The Colony and need reliable appliance repair services, don't hesitate to give us a call. We're always here to help keep your home running smoothly. You can reach out to us by giving us a call at ((214) 599-0055) or by going to our contact page.

Layered Veggie Bowl

Perfect For When You’re Craving A Taste Of Spring

Spring is theoretically coming, and it has us craving veggies! Fresh peas, green beans, lettuce! We want soft spring breezes and the chance to work in our gardens! Although most of the vegetables in the recipe are typically ripe in late summer to early fall, we are craving vegetables, given how weird the weather has been lately. Boost up your vitamins and enjoy plenty of protein as well with this delicious and layered dish.

  • 1 red pepper

    1 green pepper

    1 stalk celery

    3 Roma tomatoes

    1 can roasted corn

    1 can chunk chicken

    1 cup cooked chickpeas

    3 cups spinach

    2 Tbsp butter, divided

    1 Tbsp garlic

    1 tsp garlic salt

    1 Tbsp fresh black pepper

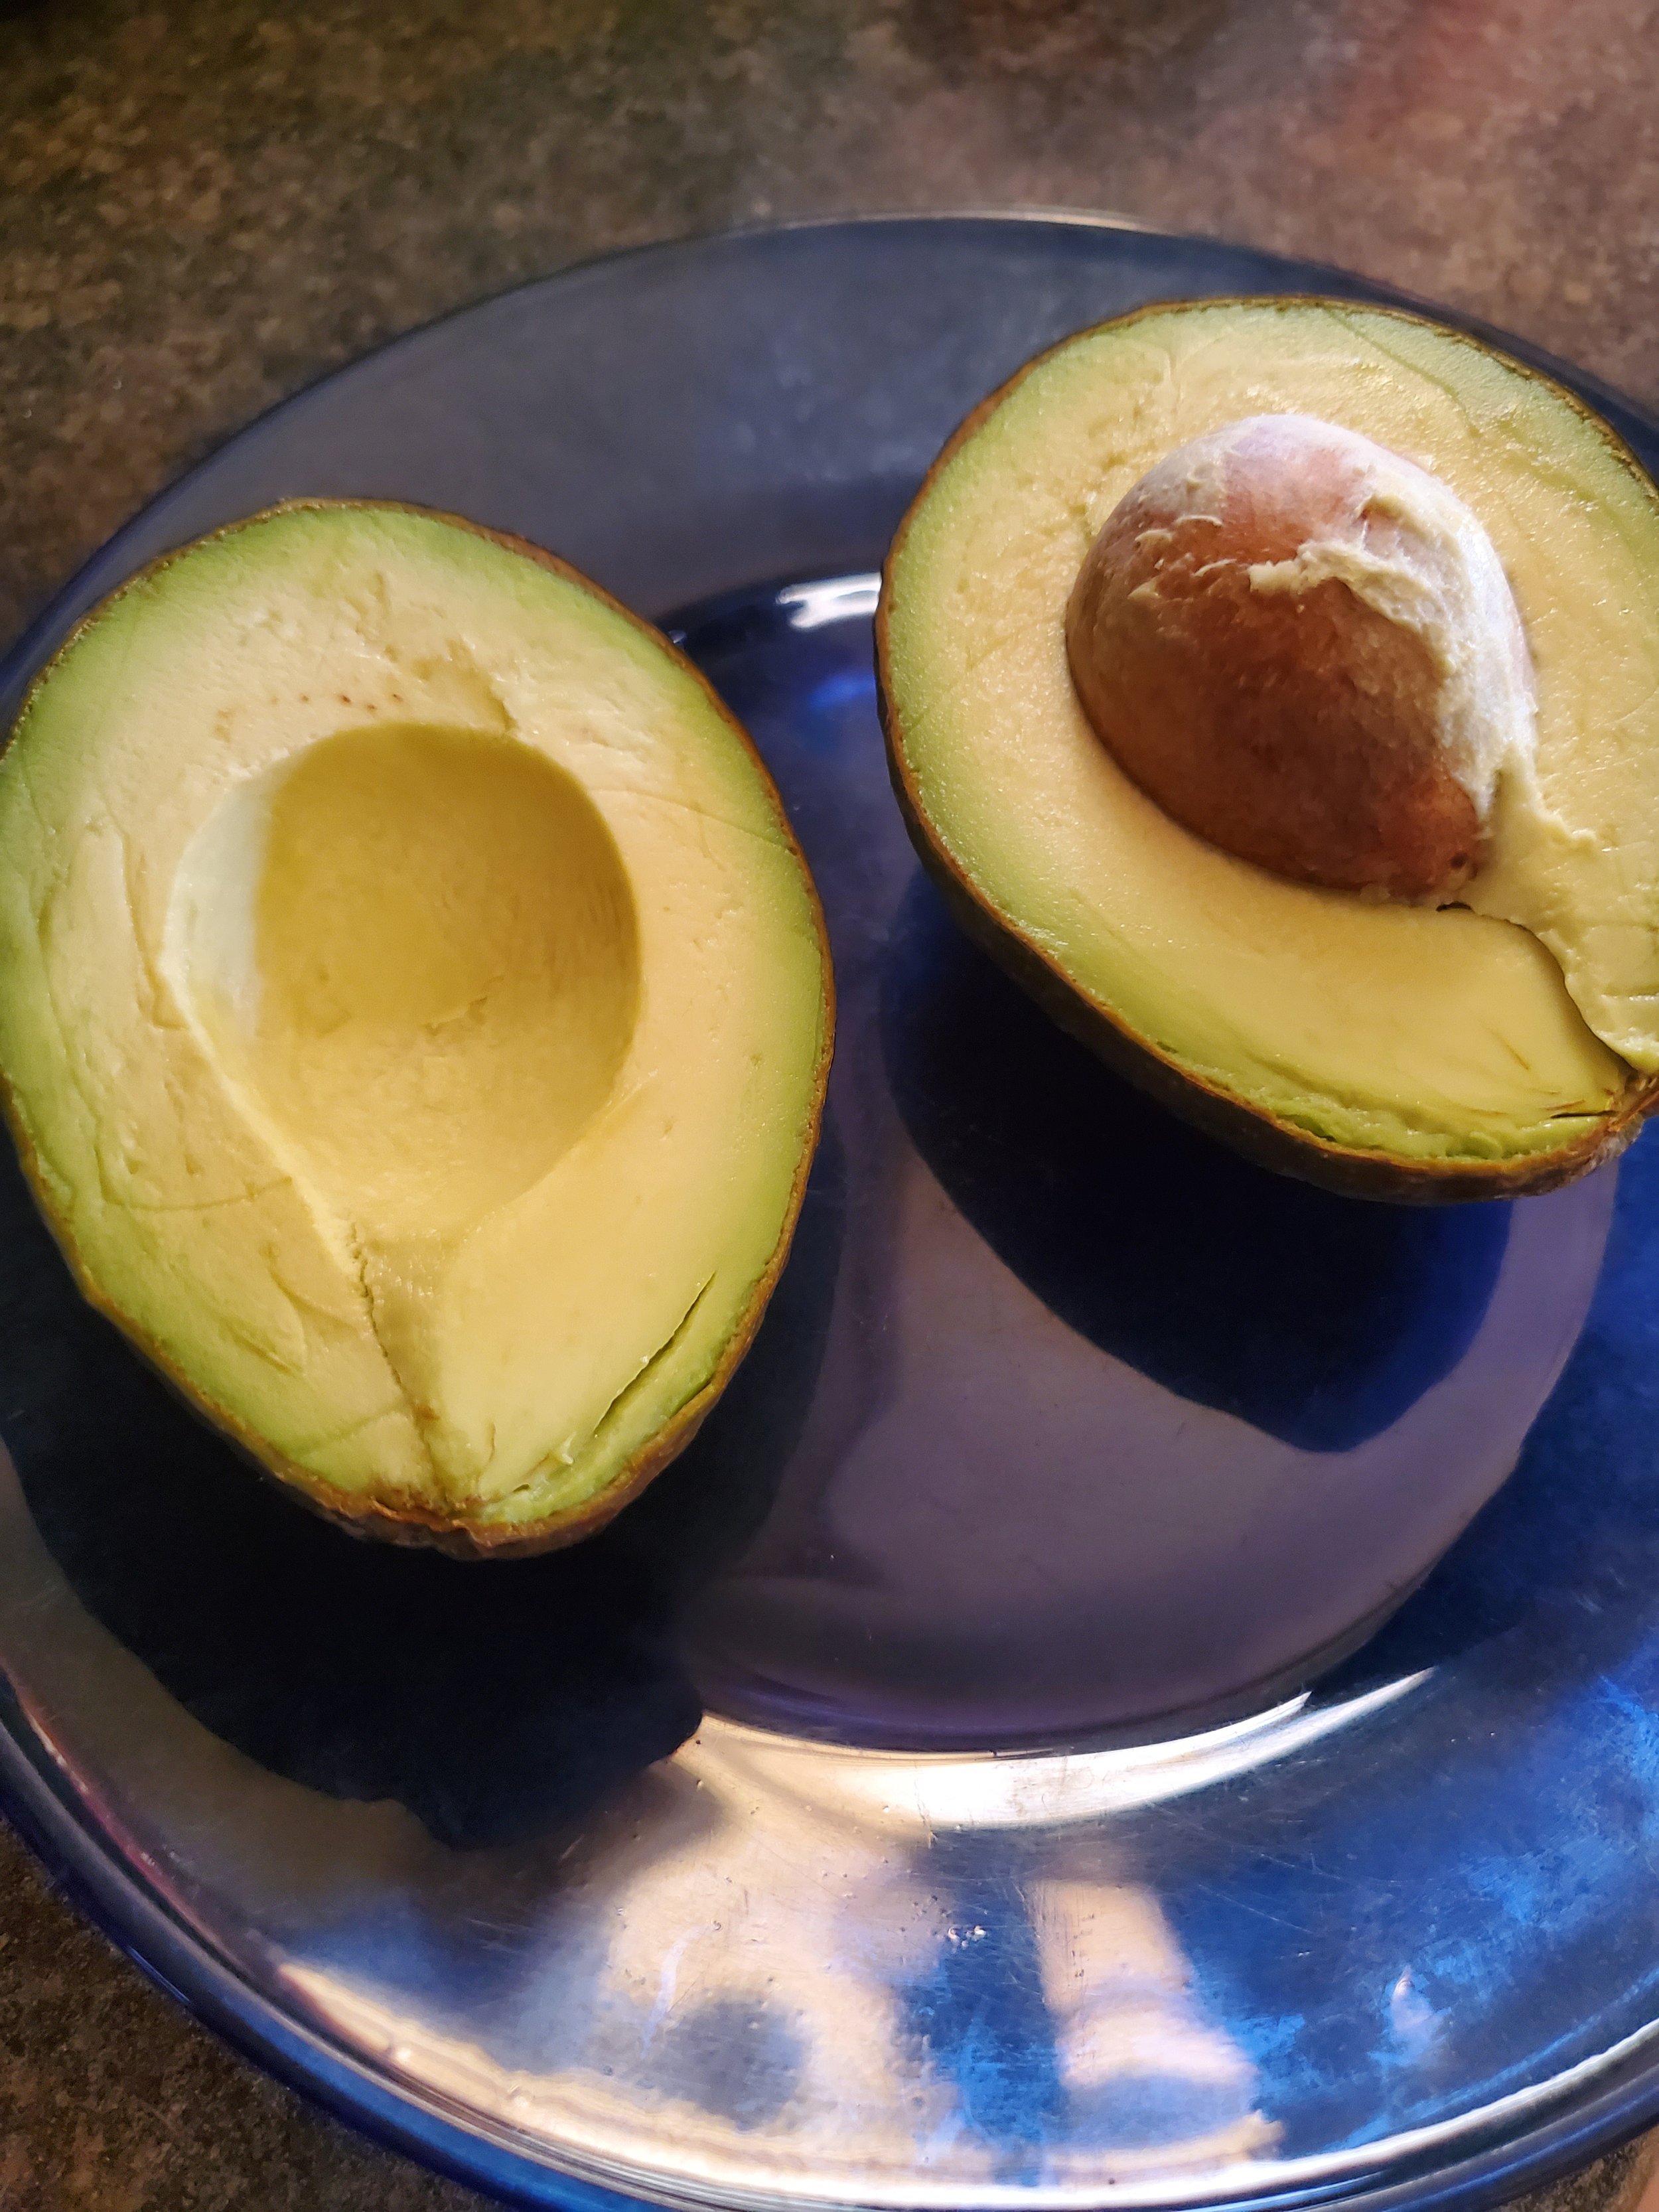
    1 avocado, chopped

  • ¼ c sour cream

    2 Tbsp lemon juice

    ¼ tsp red wine vinegar

    1 tsp corn syrup

    ½ tsp smoked paprika

    ¼ tsp cumin

    ¼ tsp salt

    ¼ tsp chili powder

    ¼ tsp smoked chipotle pepper

  • Knife

    Cutting board

    Frying pan

    Deep heavy-bottomed pot

    Whisk

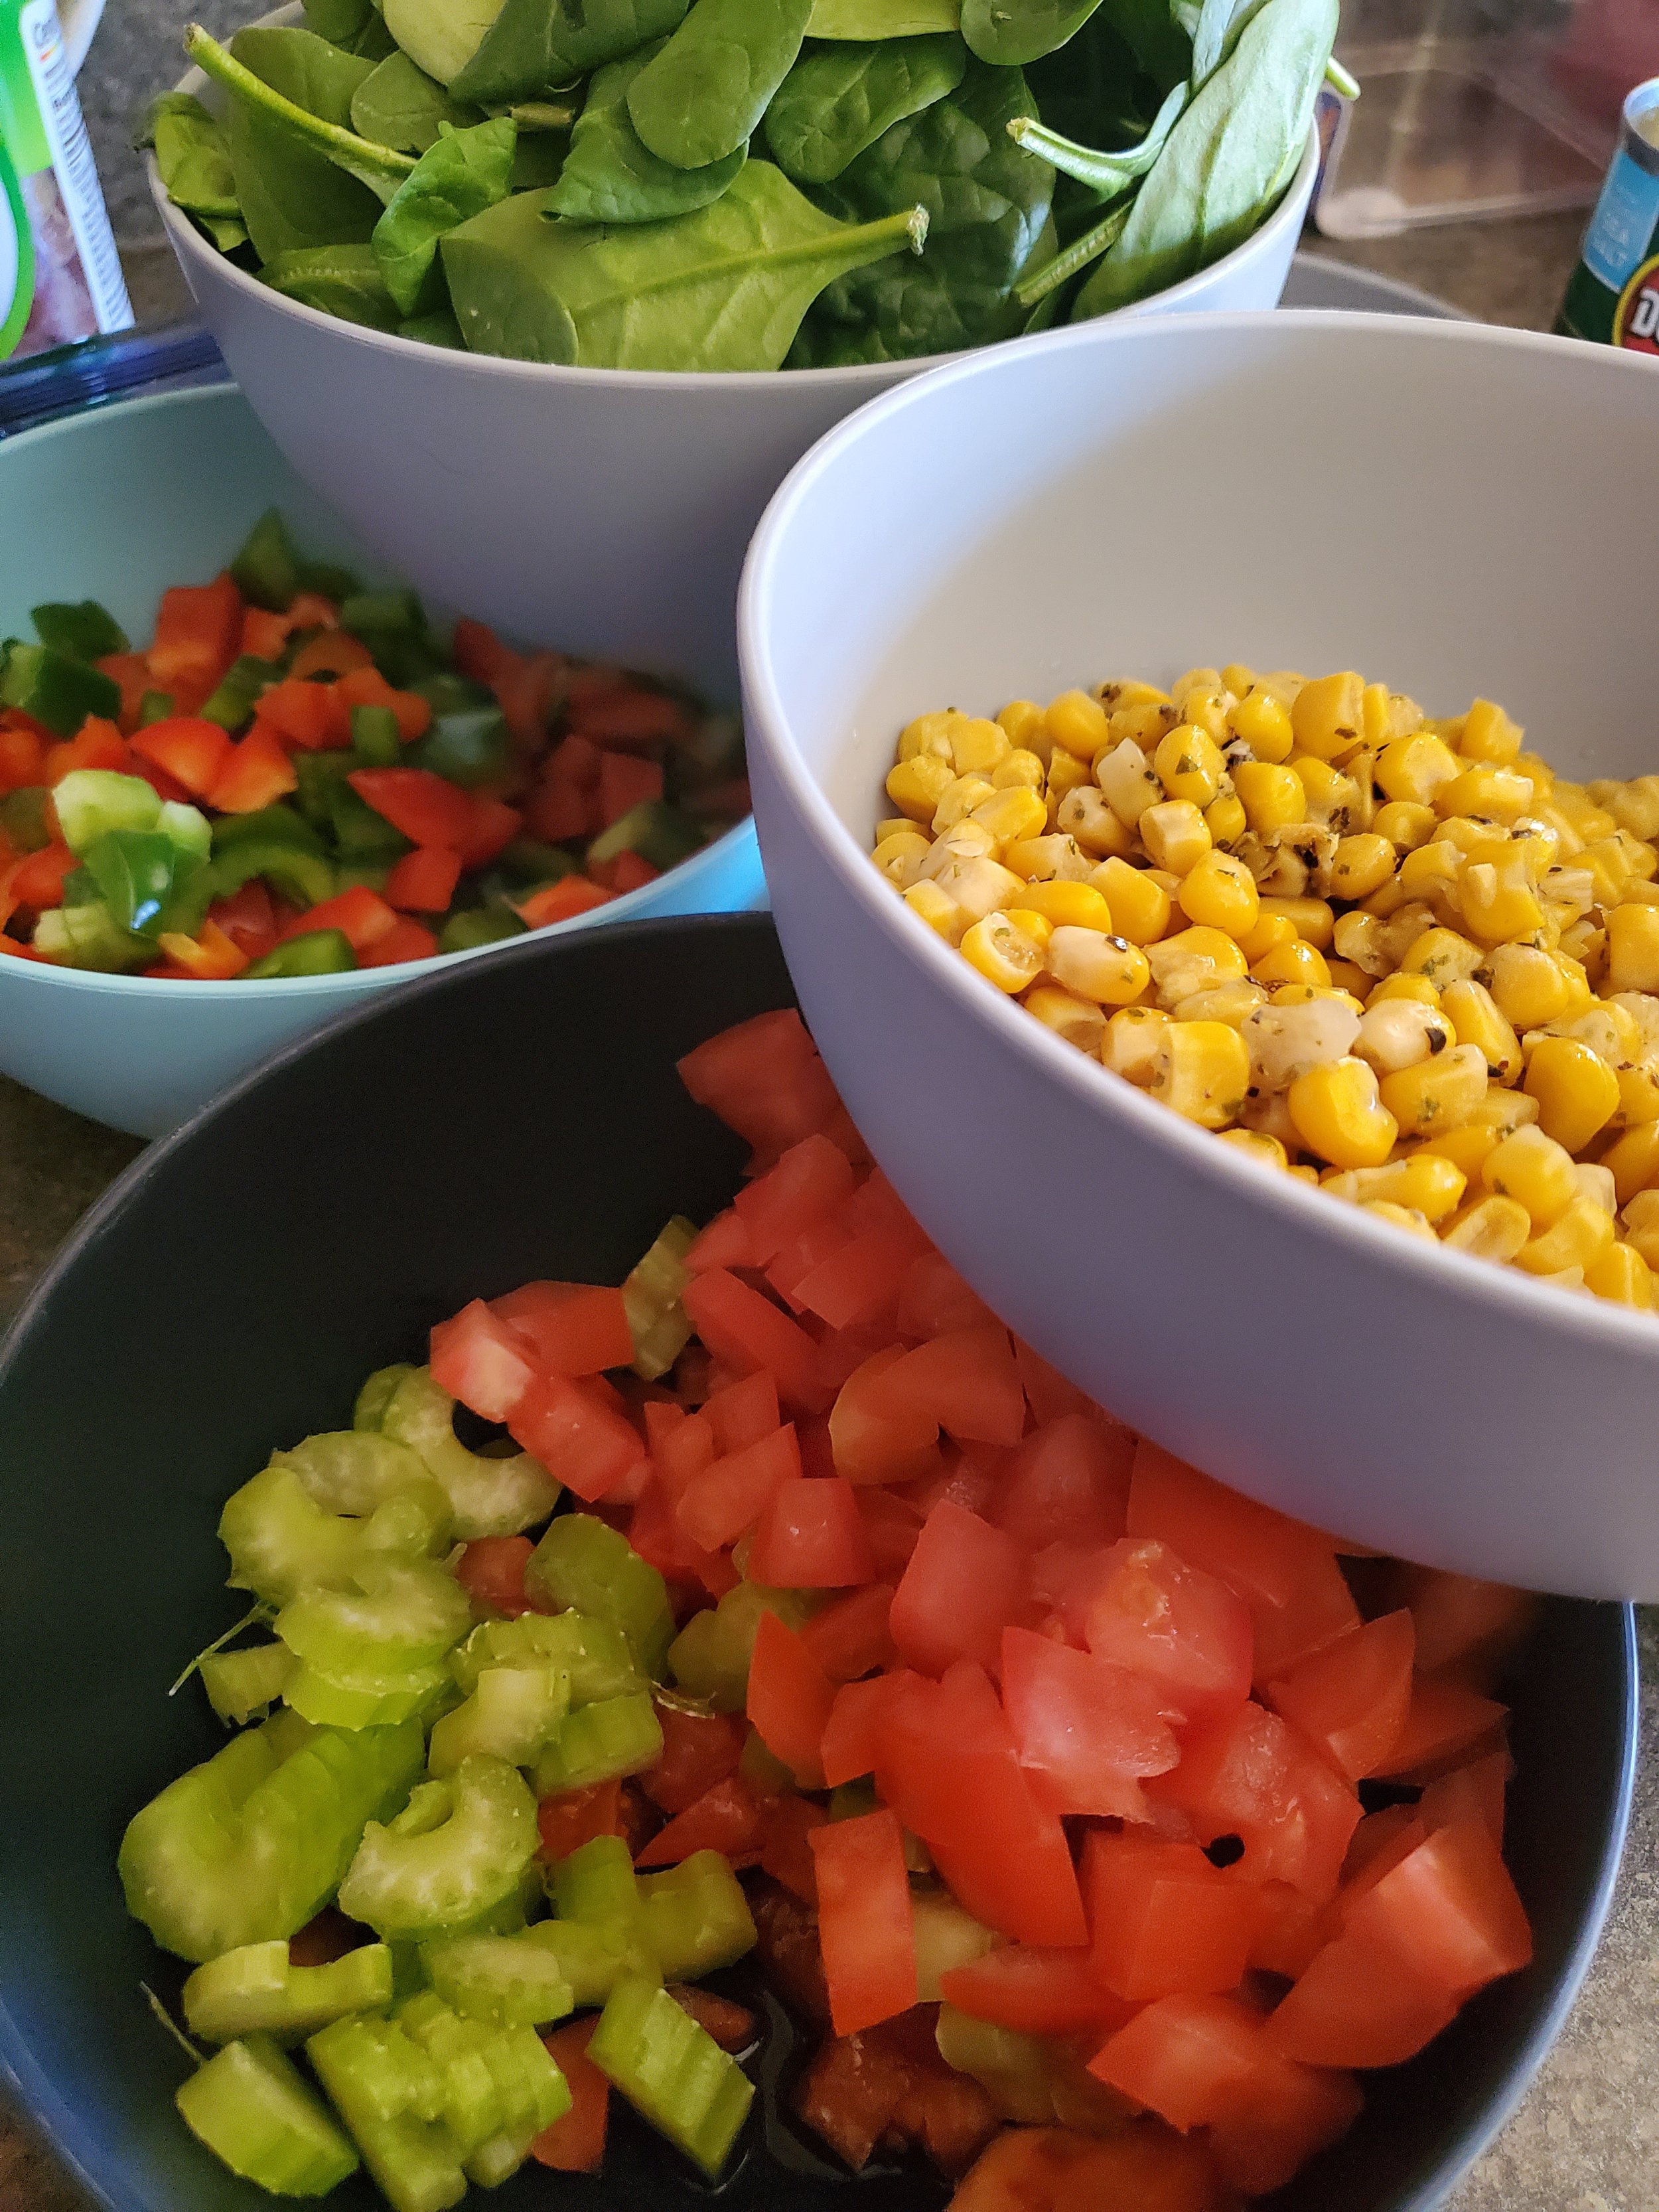
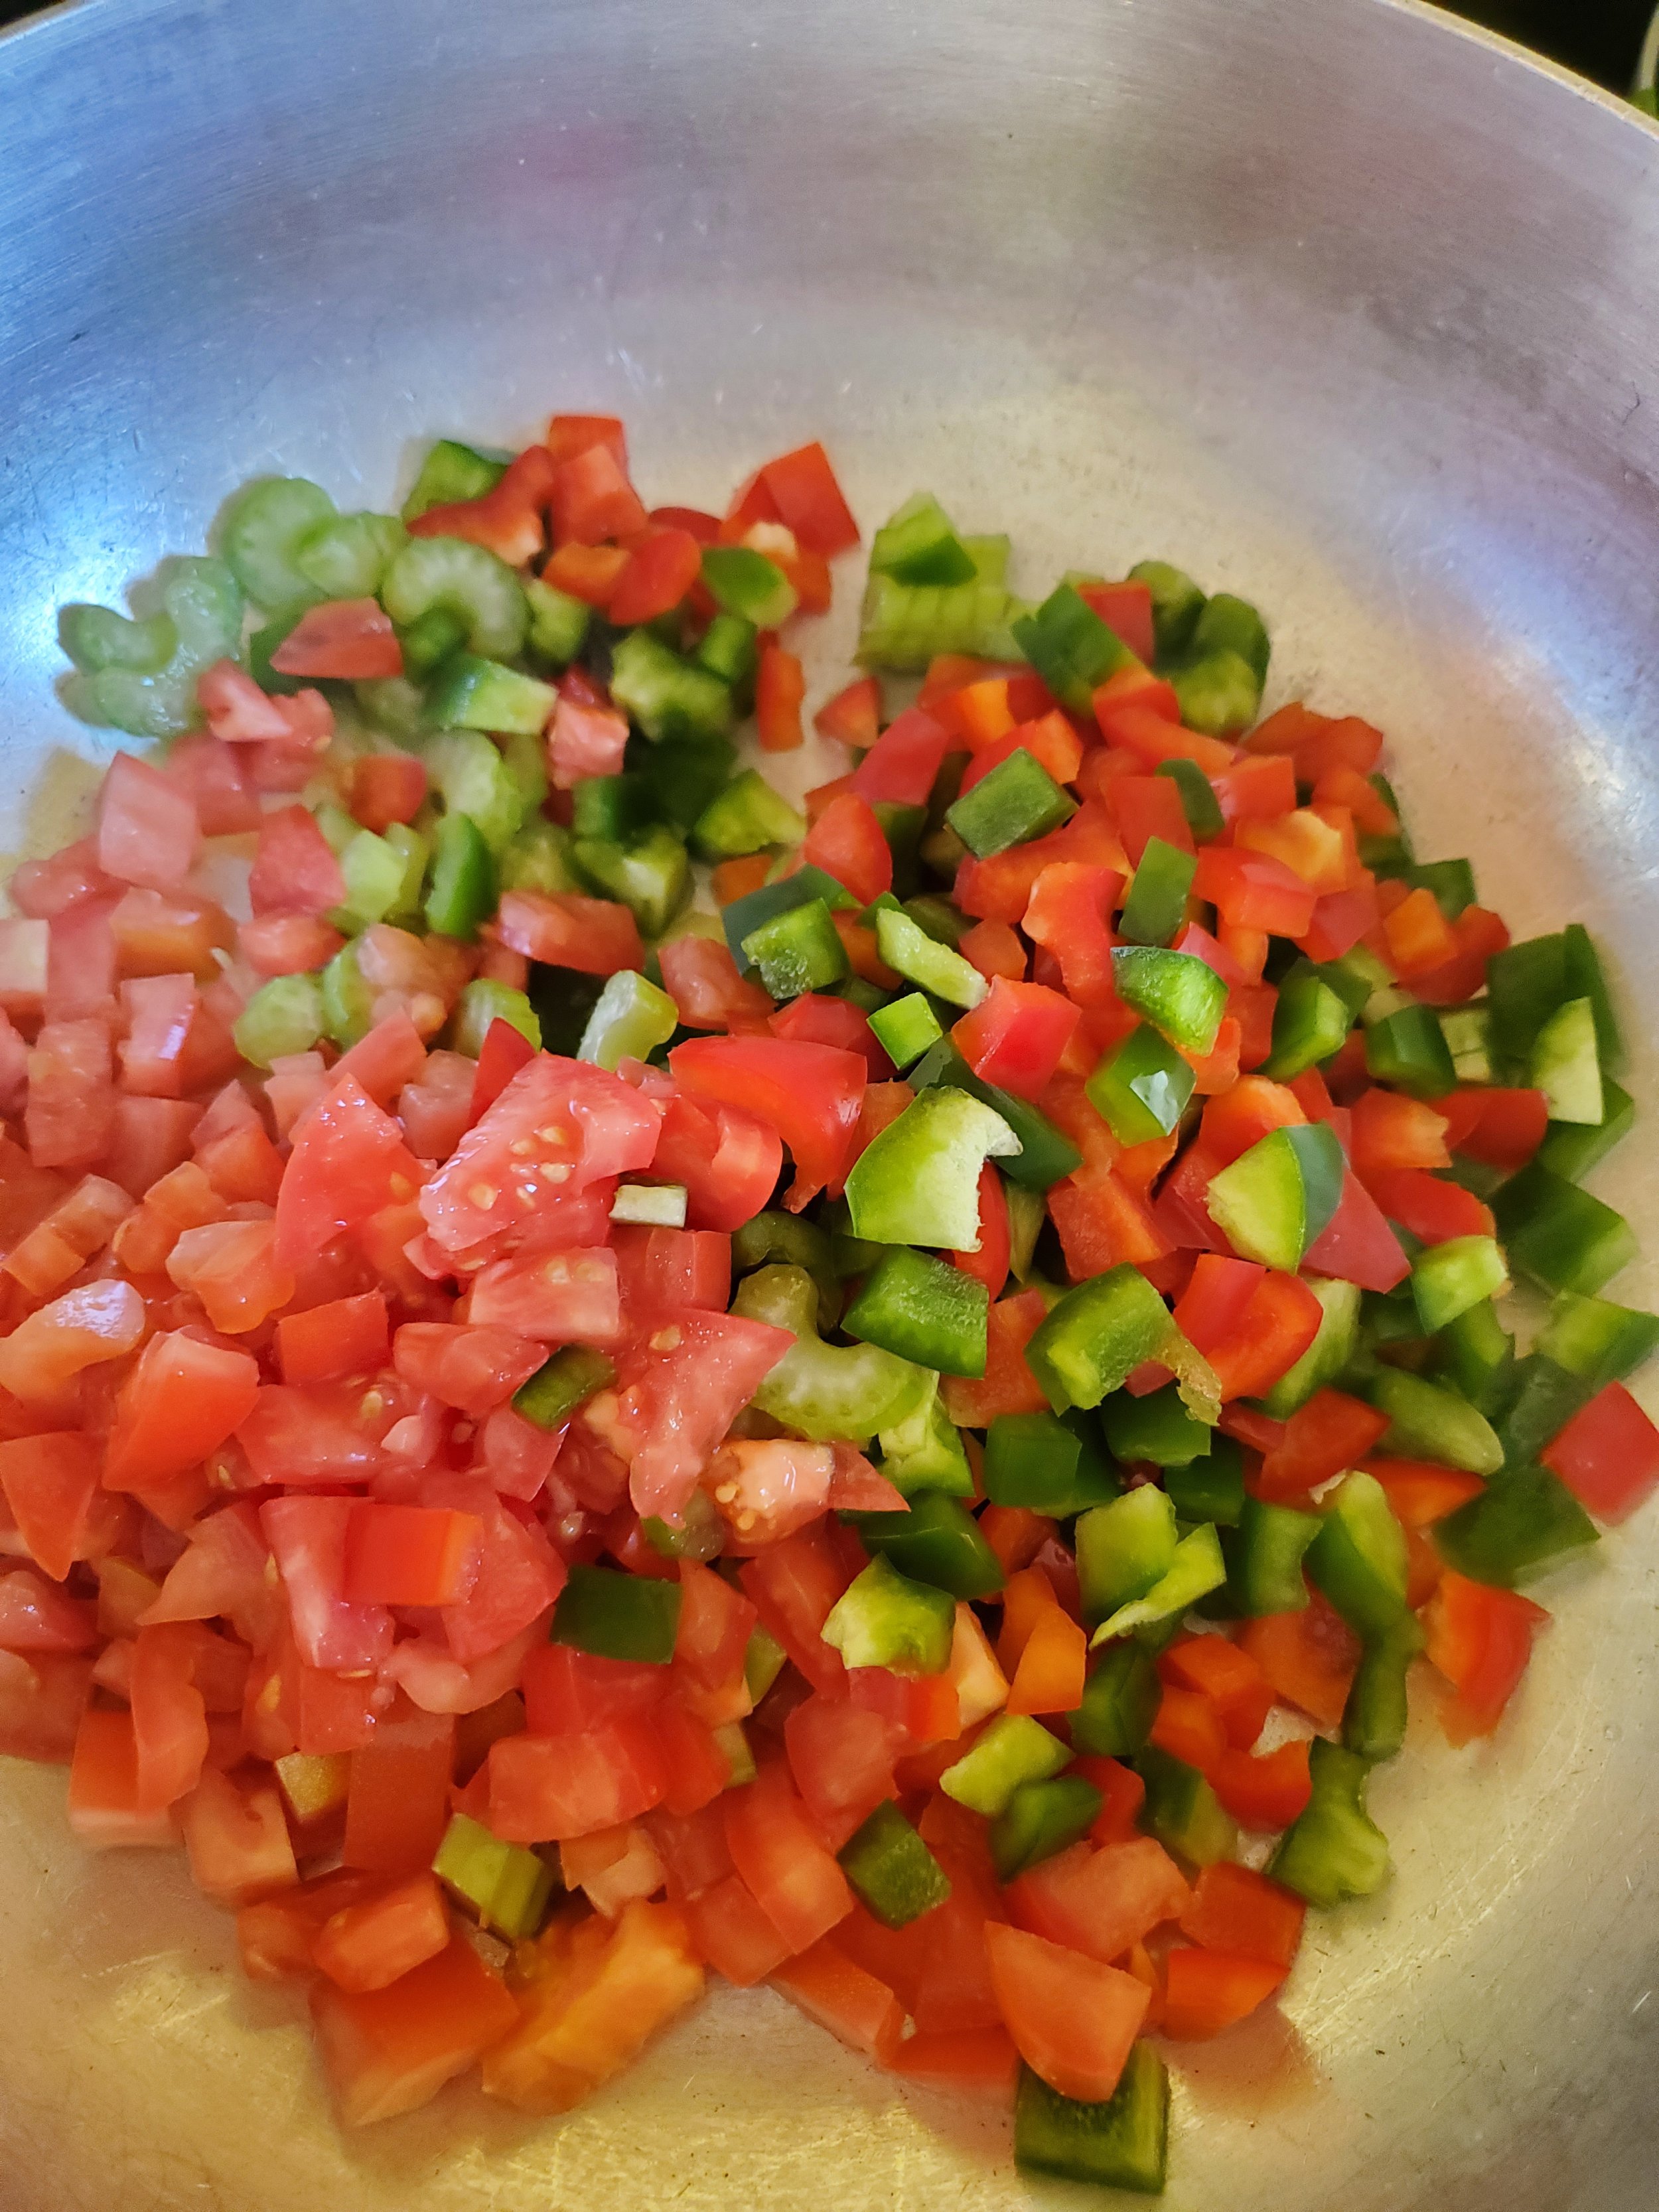
To start out, grab your peppers and tomatoes and dice them up into even pieces. Set those aside in a large bowl and grab your celery. Give your celery a rough chop and toss it into the bowl as well. 


If you can get fire-roasted corn for this recipe, that’s the best option for the flavor. If you can’t, or if you’re in the mood to be adventurous, you can always make your own ahead of time. If you purchased the corn, drain it of the liquid and set it aside. 


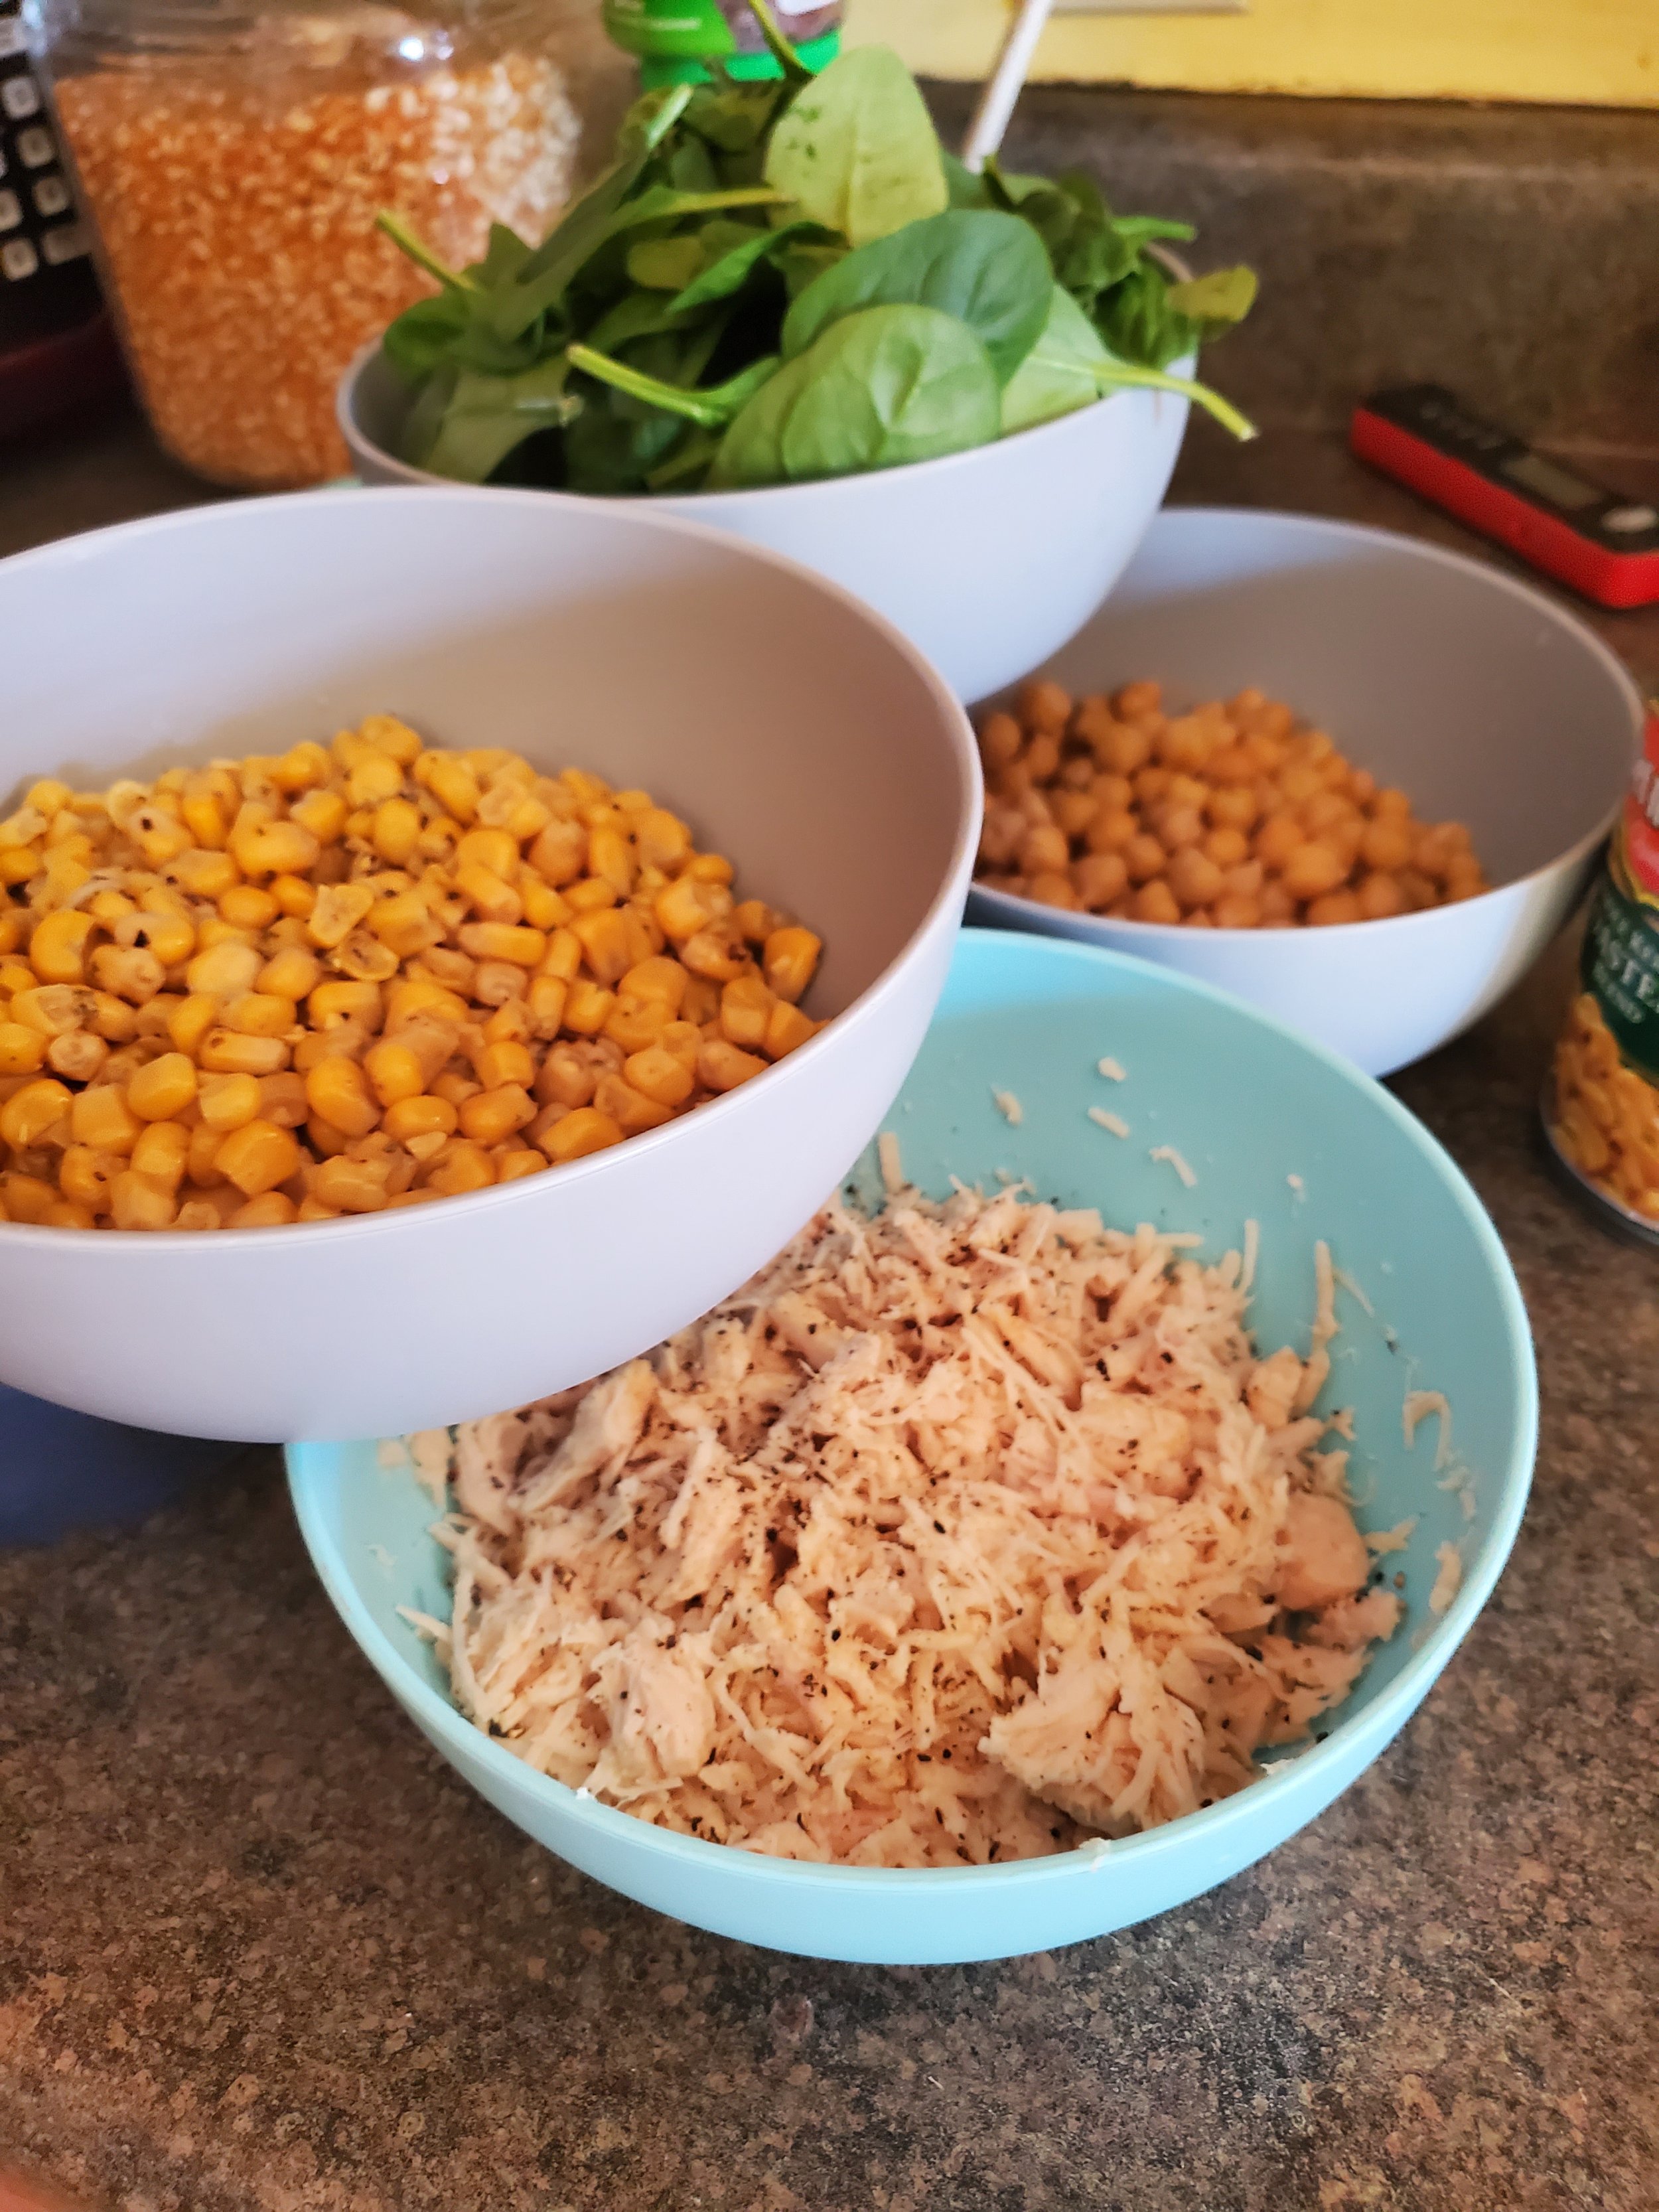
Next up, rinse and drain your 1 cup of cooked chickpeas; we don’t advise saving the aqua faba for this recipe, although you can use it in a variety of other recipes. 


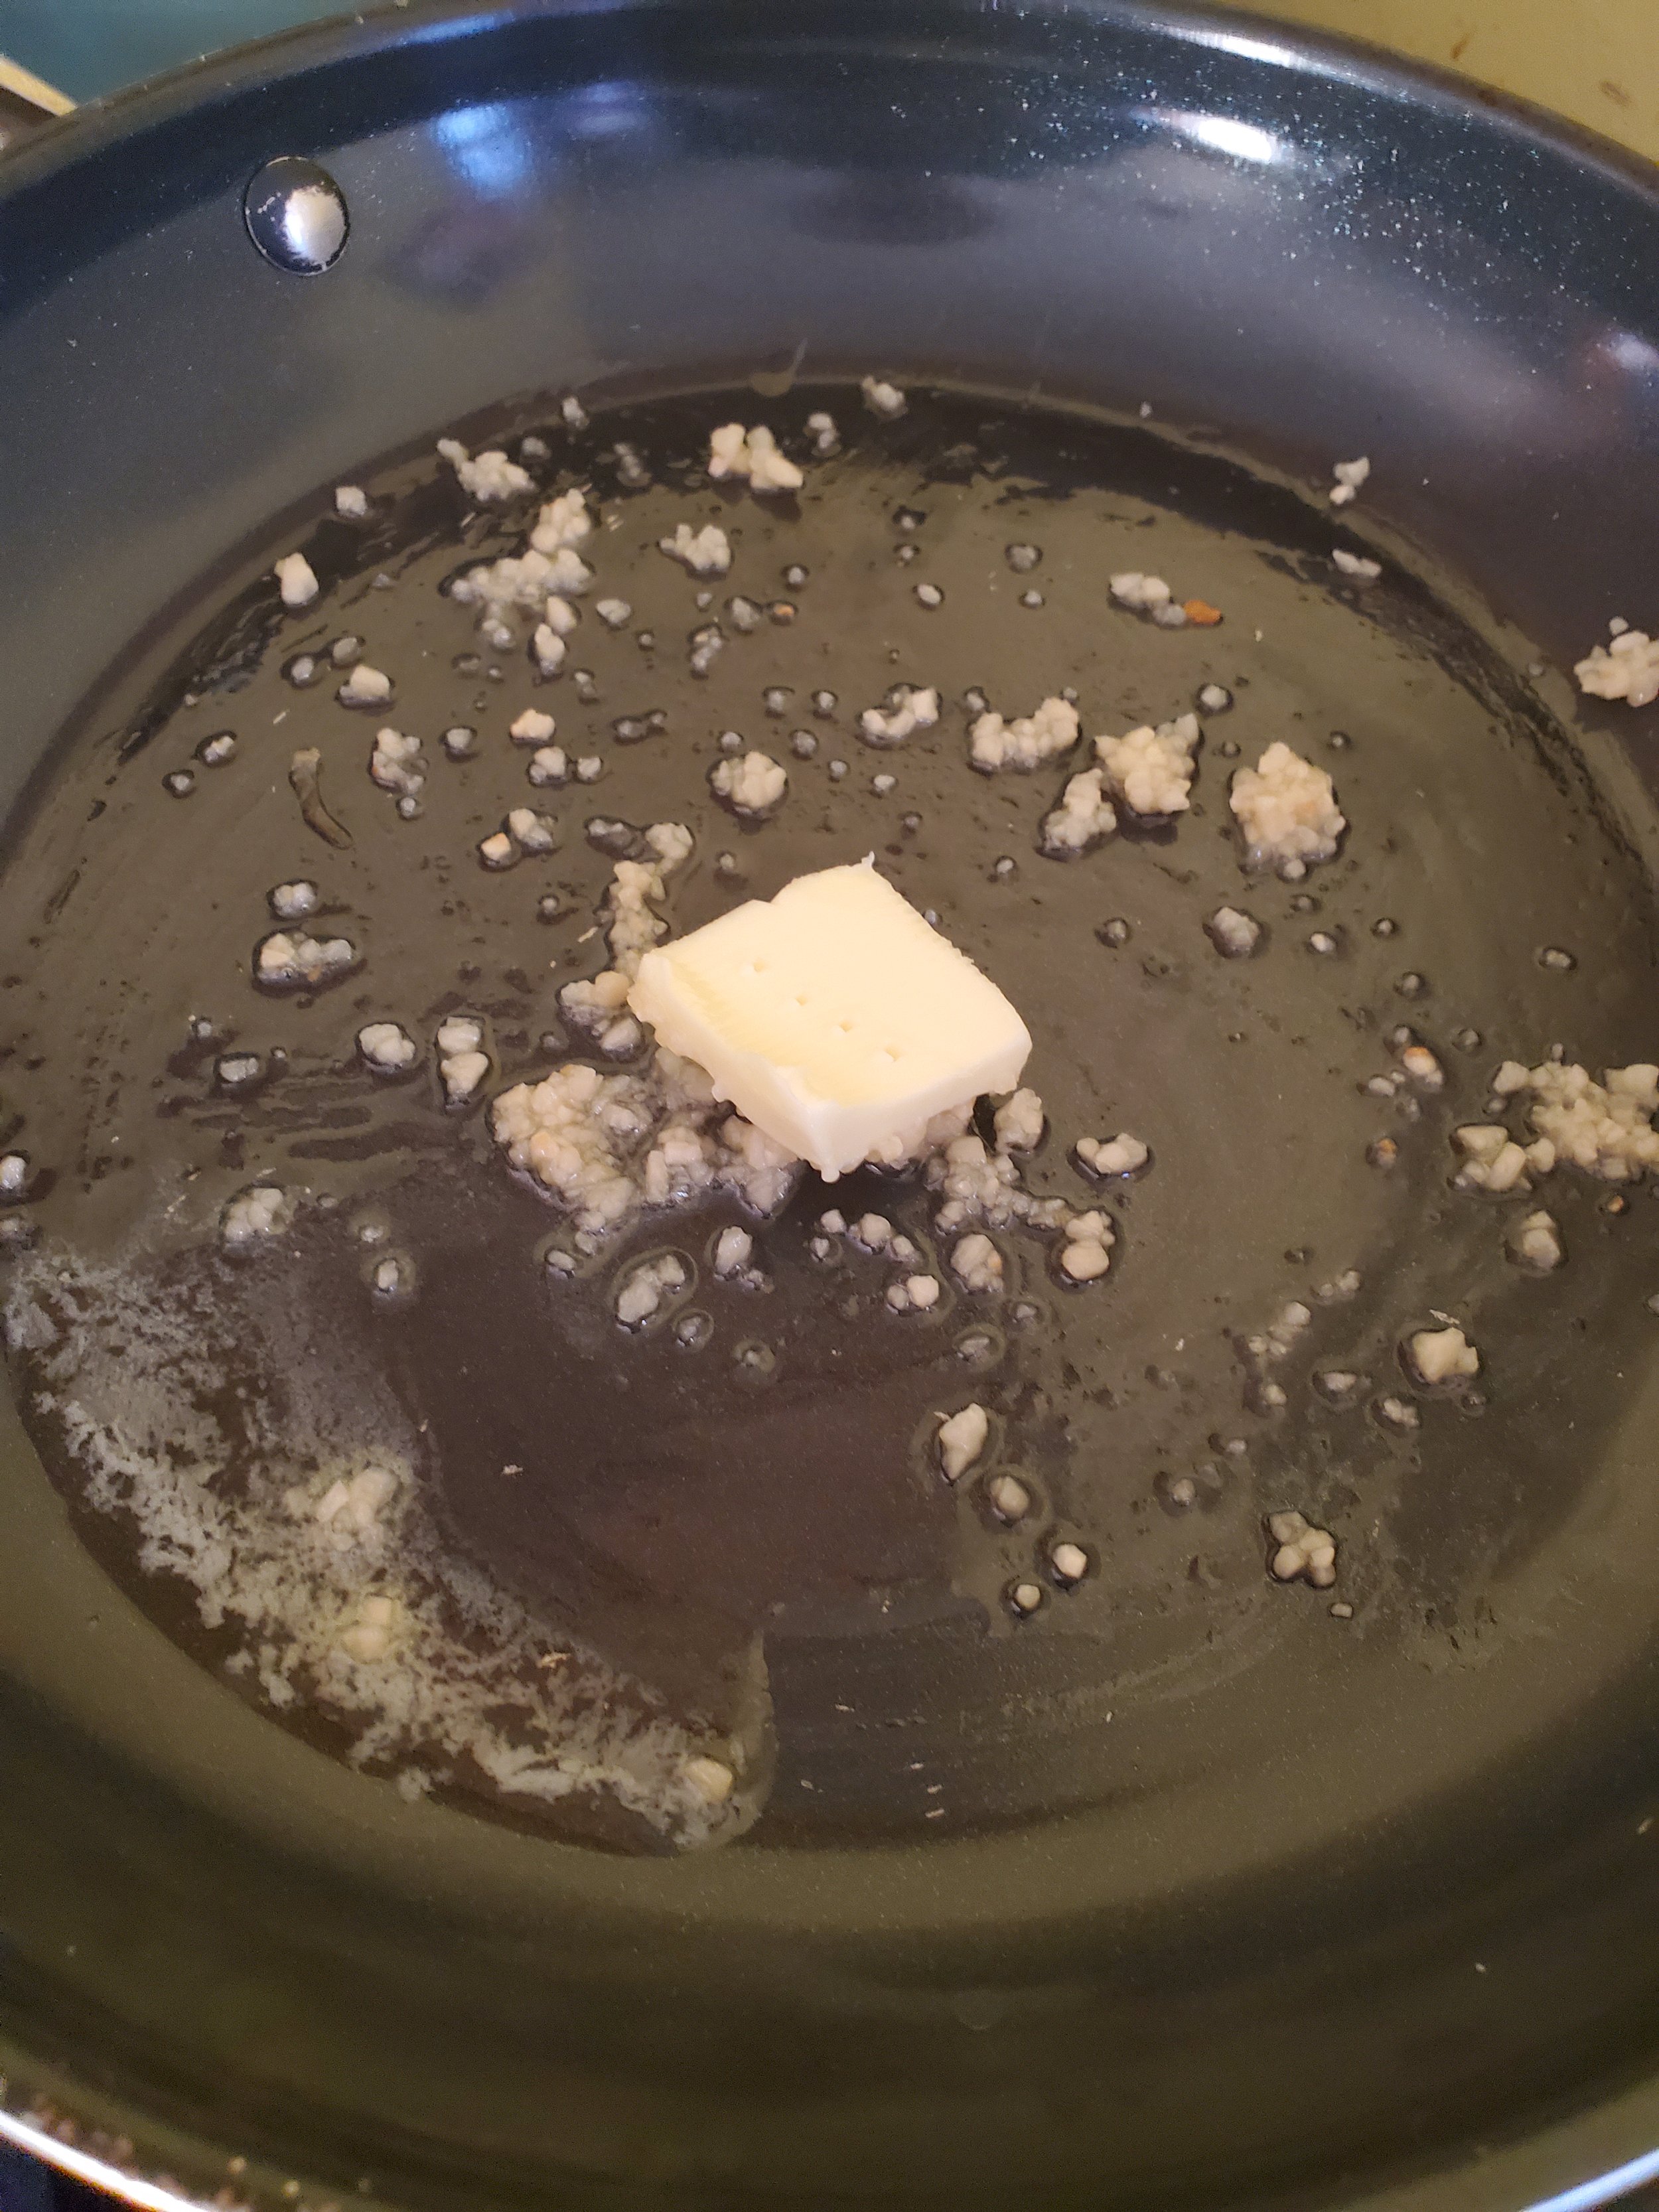
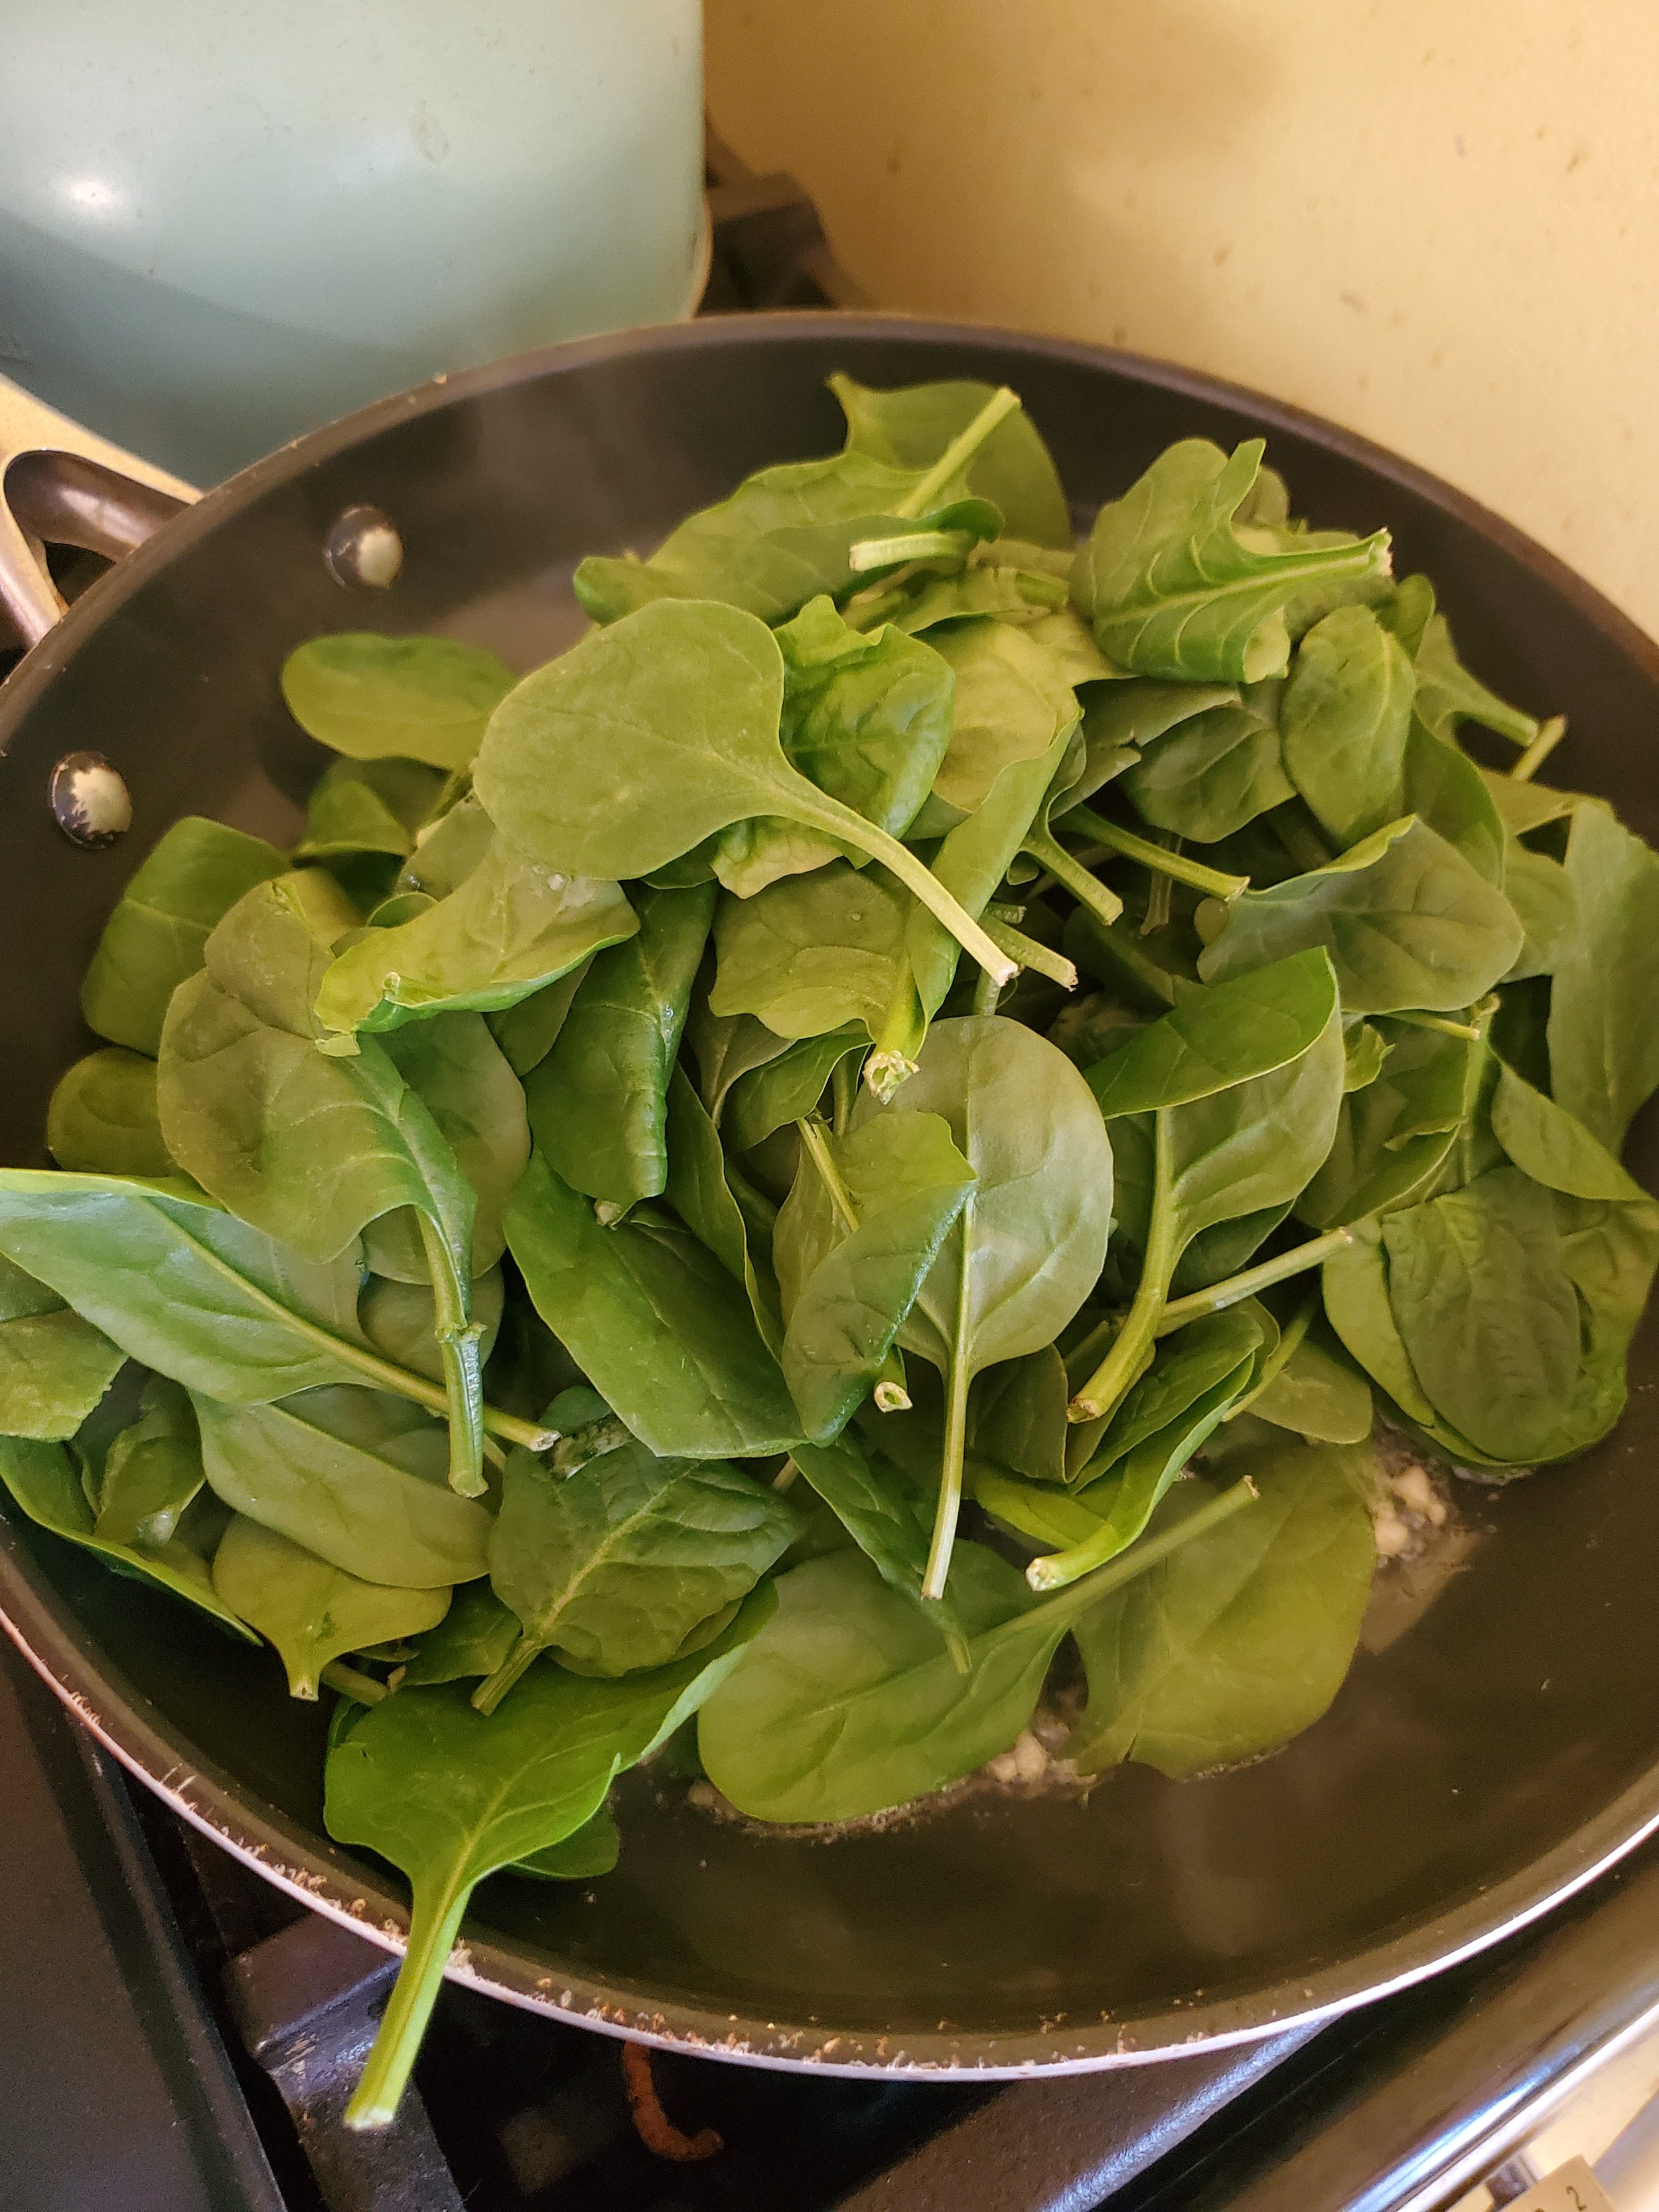
Finally, we’re done with prepping the ingredients! Now grab your frying pan, set it over high heat, and melt 1 Tbsp of butter. Once it’s fully melted, toss in 1 Tbsp of minced garlic, and sear it. Then toss in your spinach, turning the heat down to let it wilt. Once the spinach has wilted, cover the pan and remove it from the heat. 


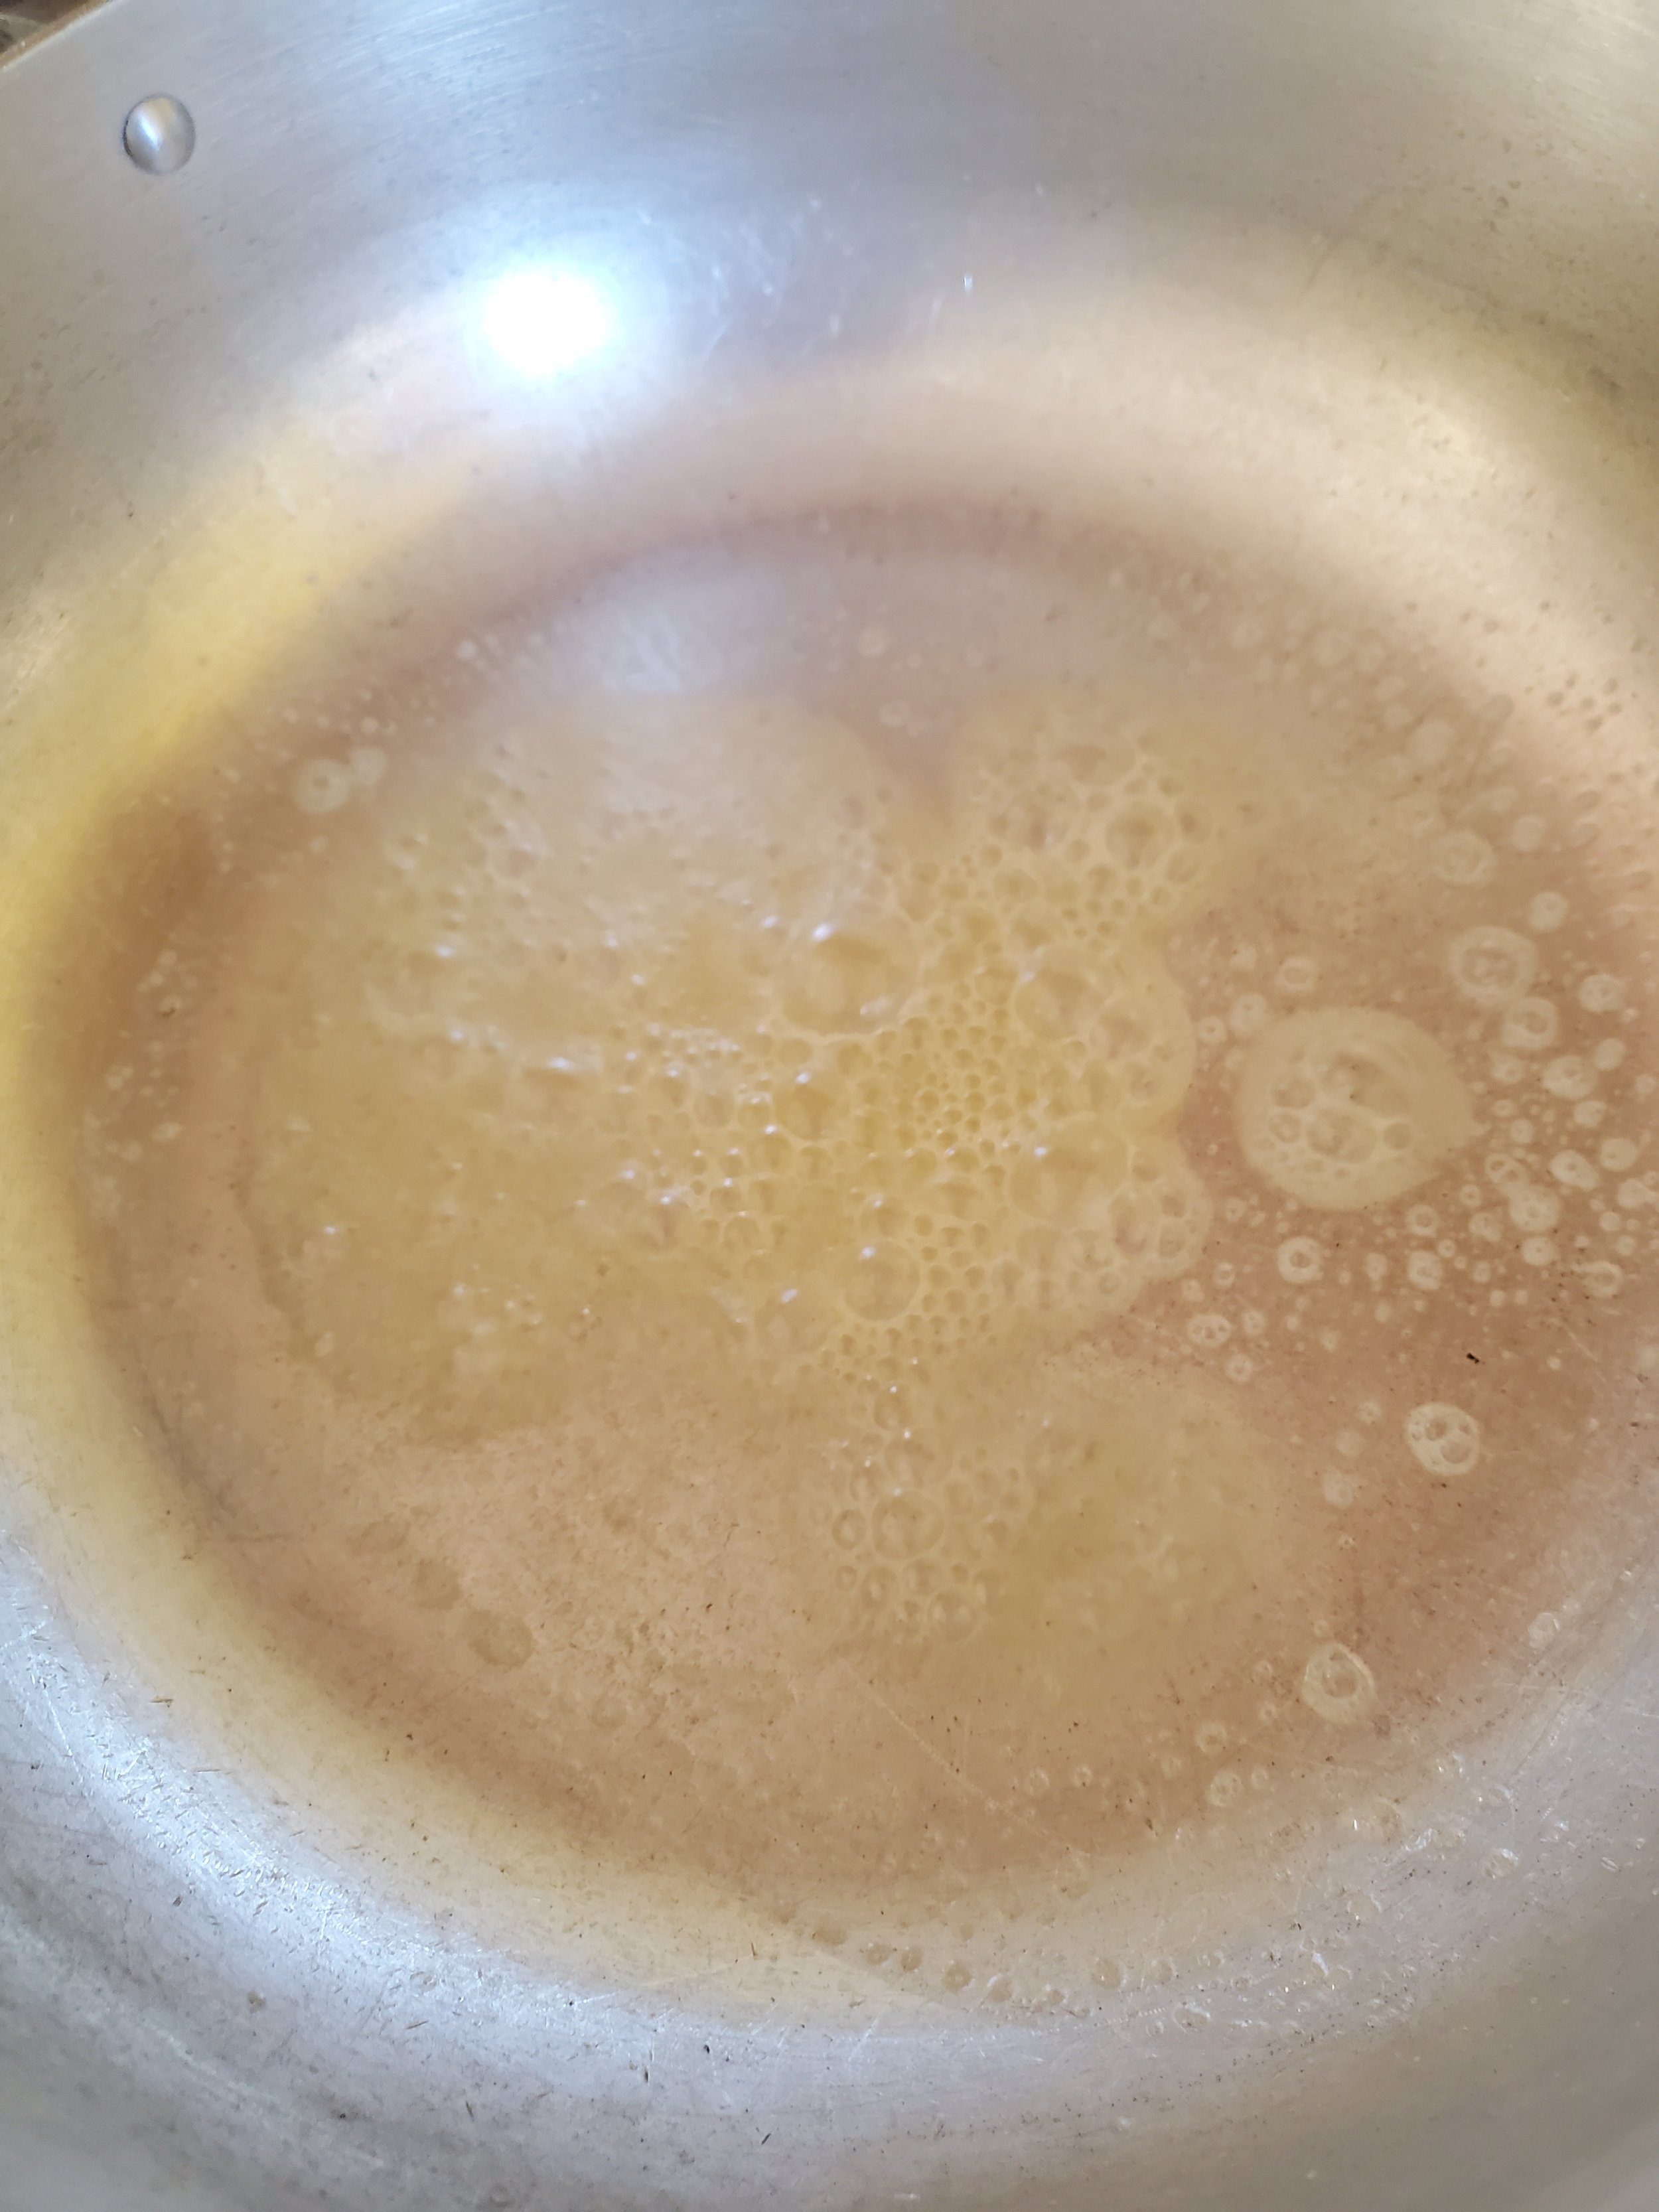
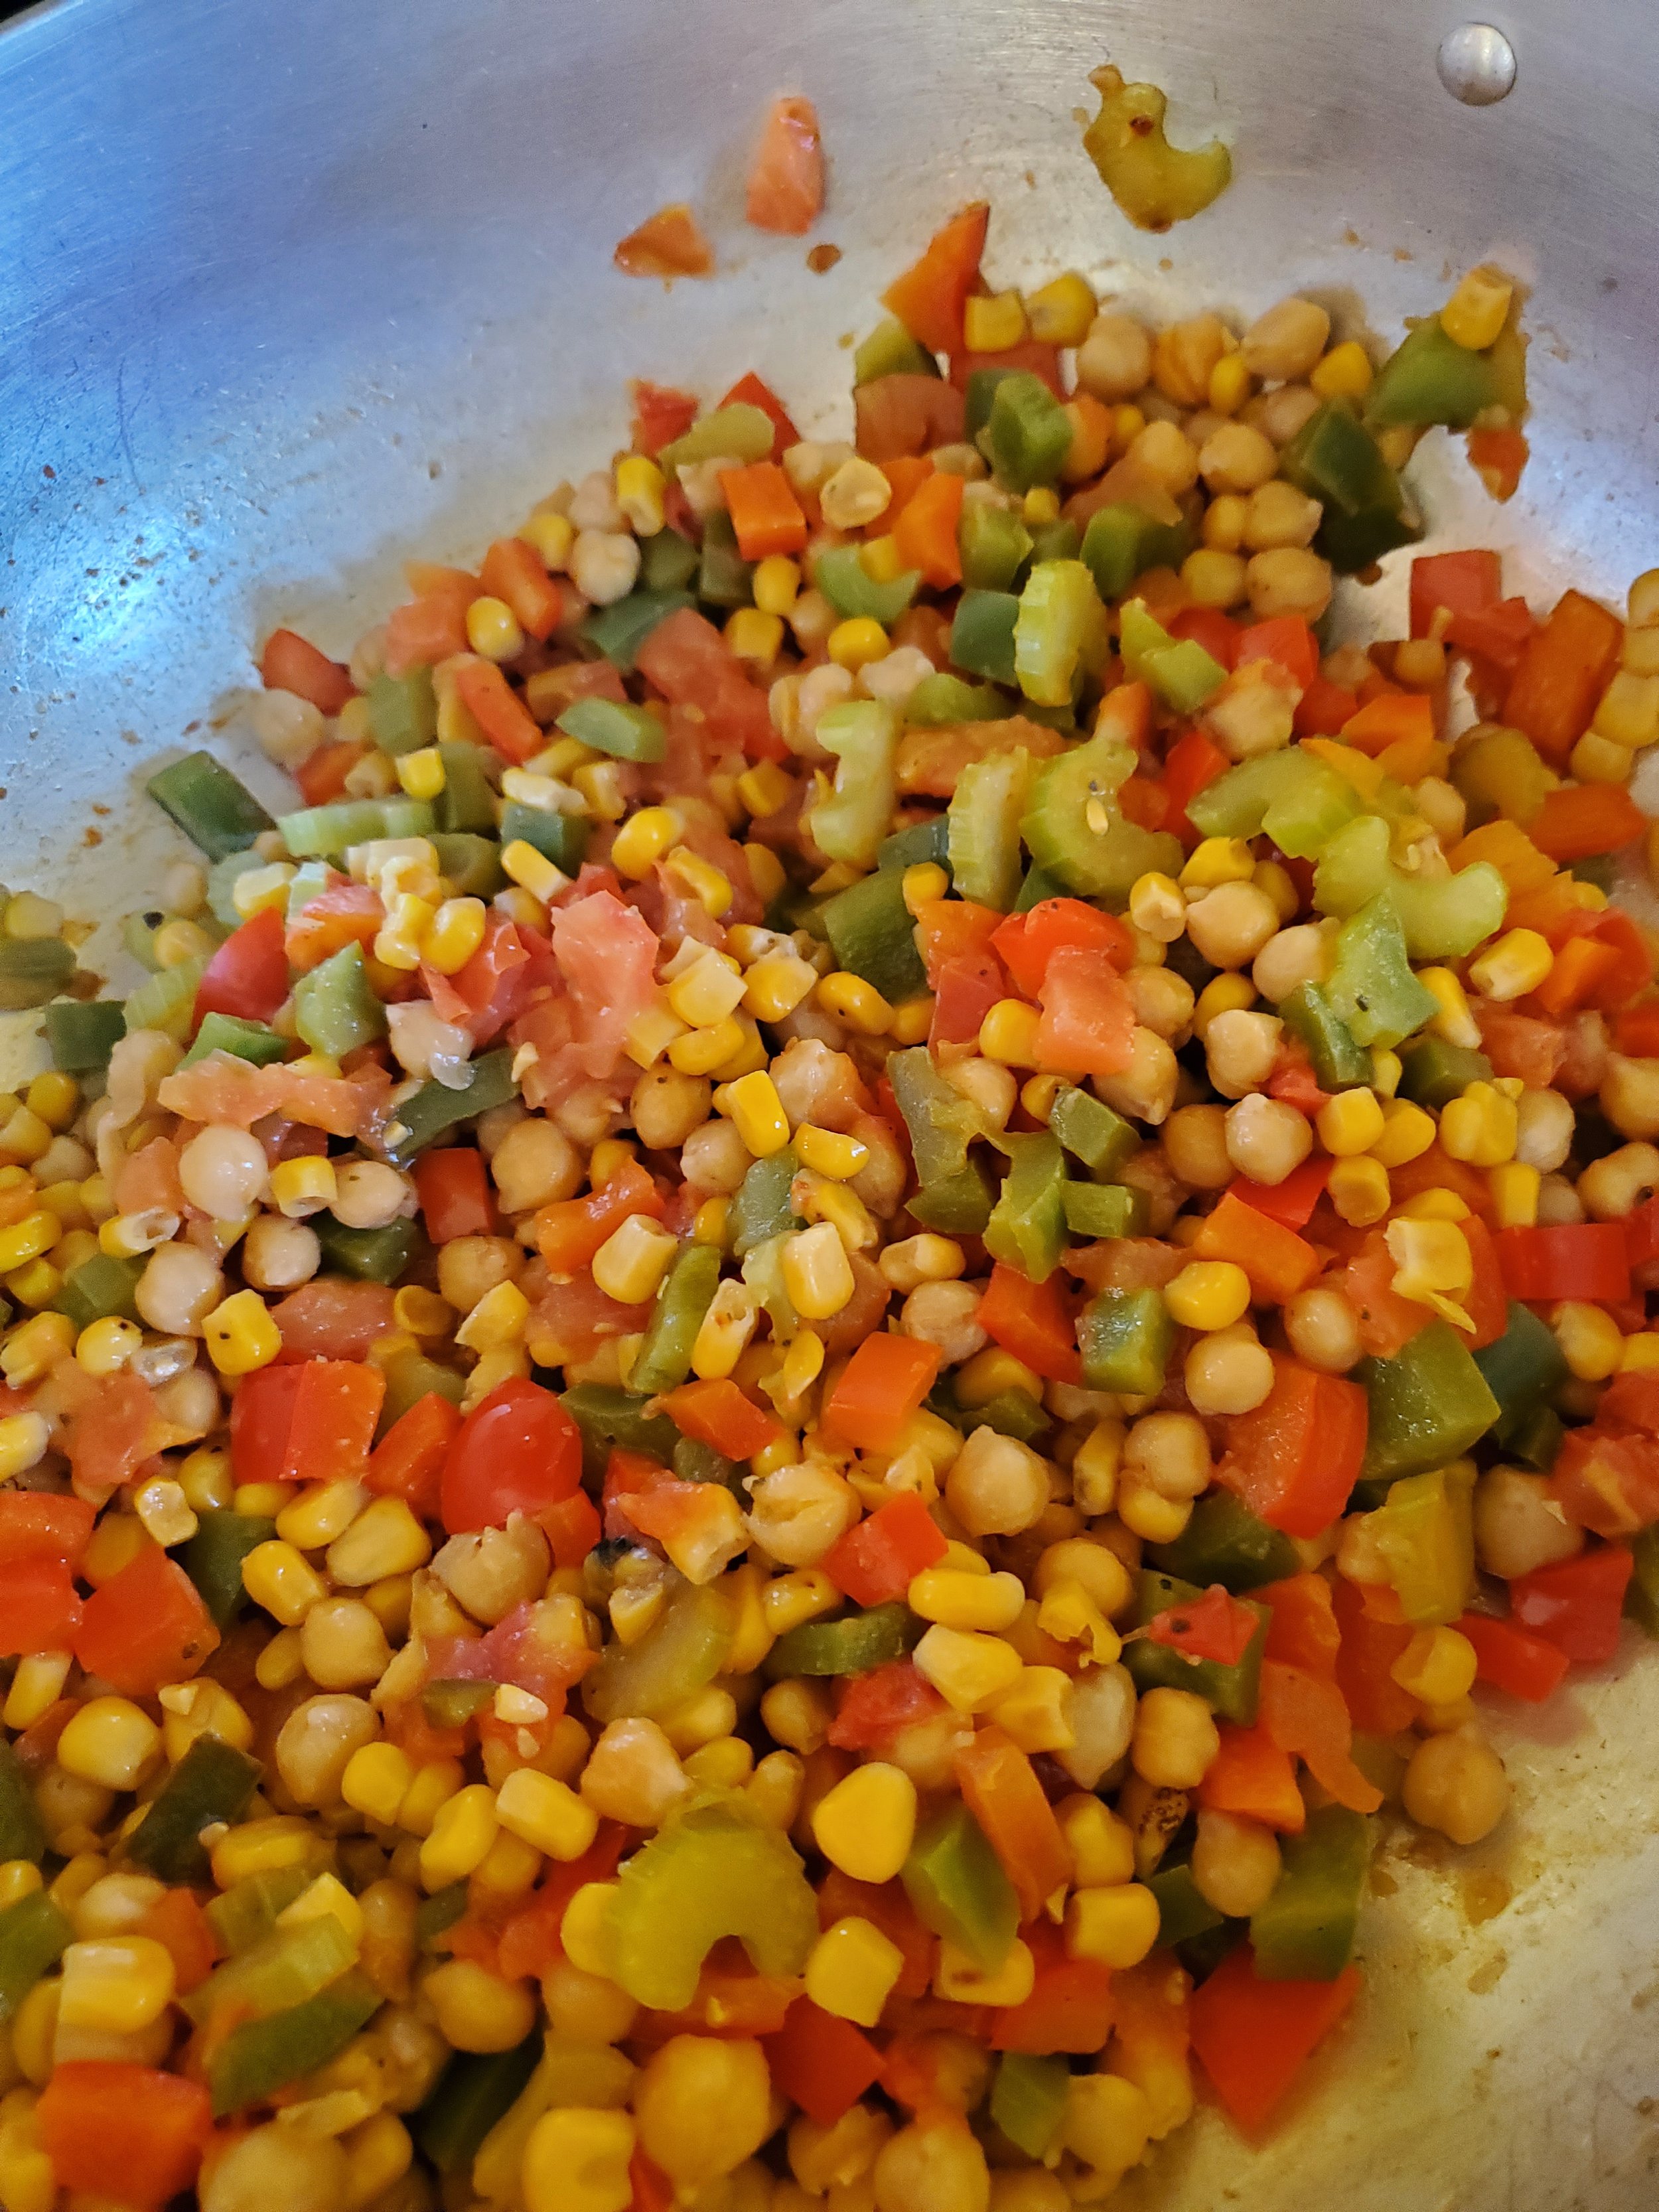
Next up, grab a deep, heavy-bottomed pot. Go ahead and toss in another Tbsp of butter and let it melt. Once it’s melted, add in your peppers, celery, and tomato. Once the peppers are soft, add the corn to the pot and heat thoroughly. When all you can smell is corn, you’ll know you’ve got it heated all the way.

Now add in your chickpeas, cover the pot, and allow the chickpeas to heat fully. Keep an eye on your pan, stirring occasionally as you might need to add more butter to keep everything from sticking. 


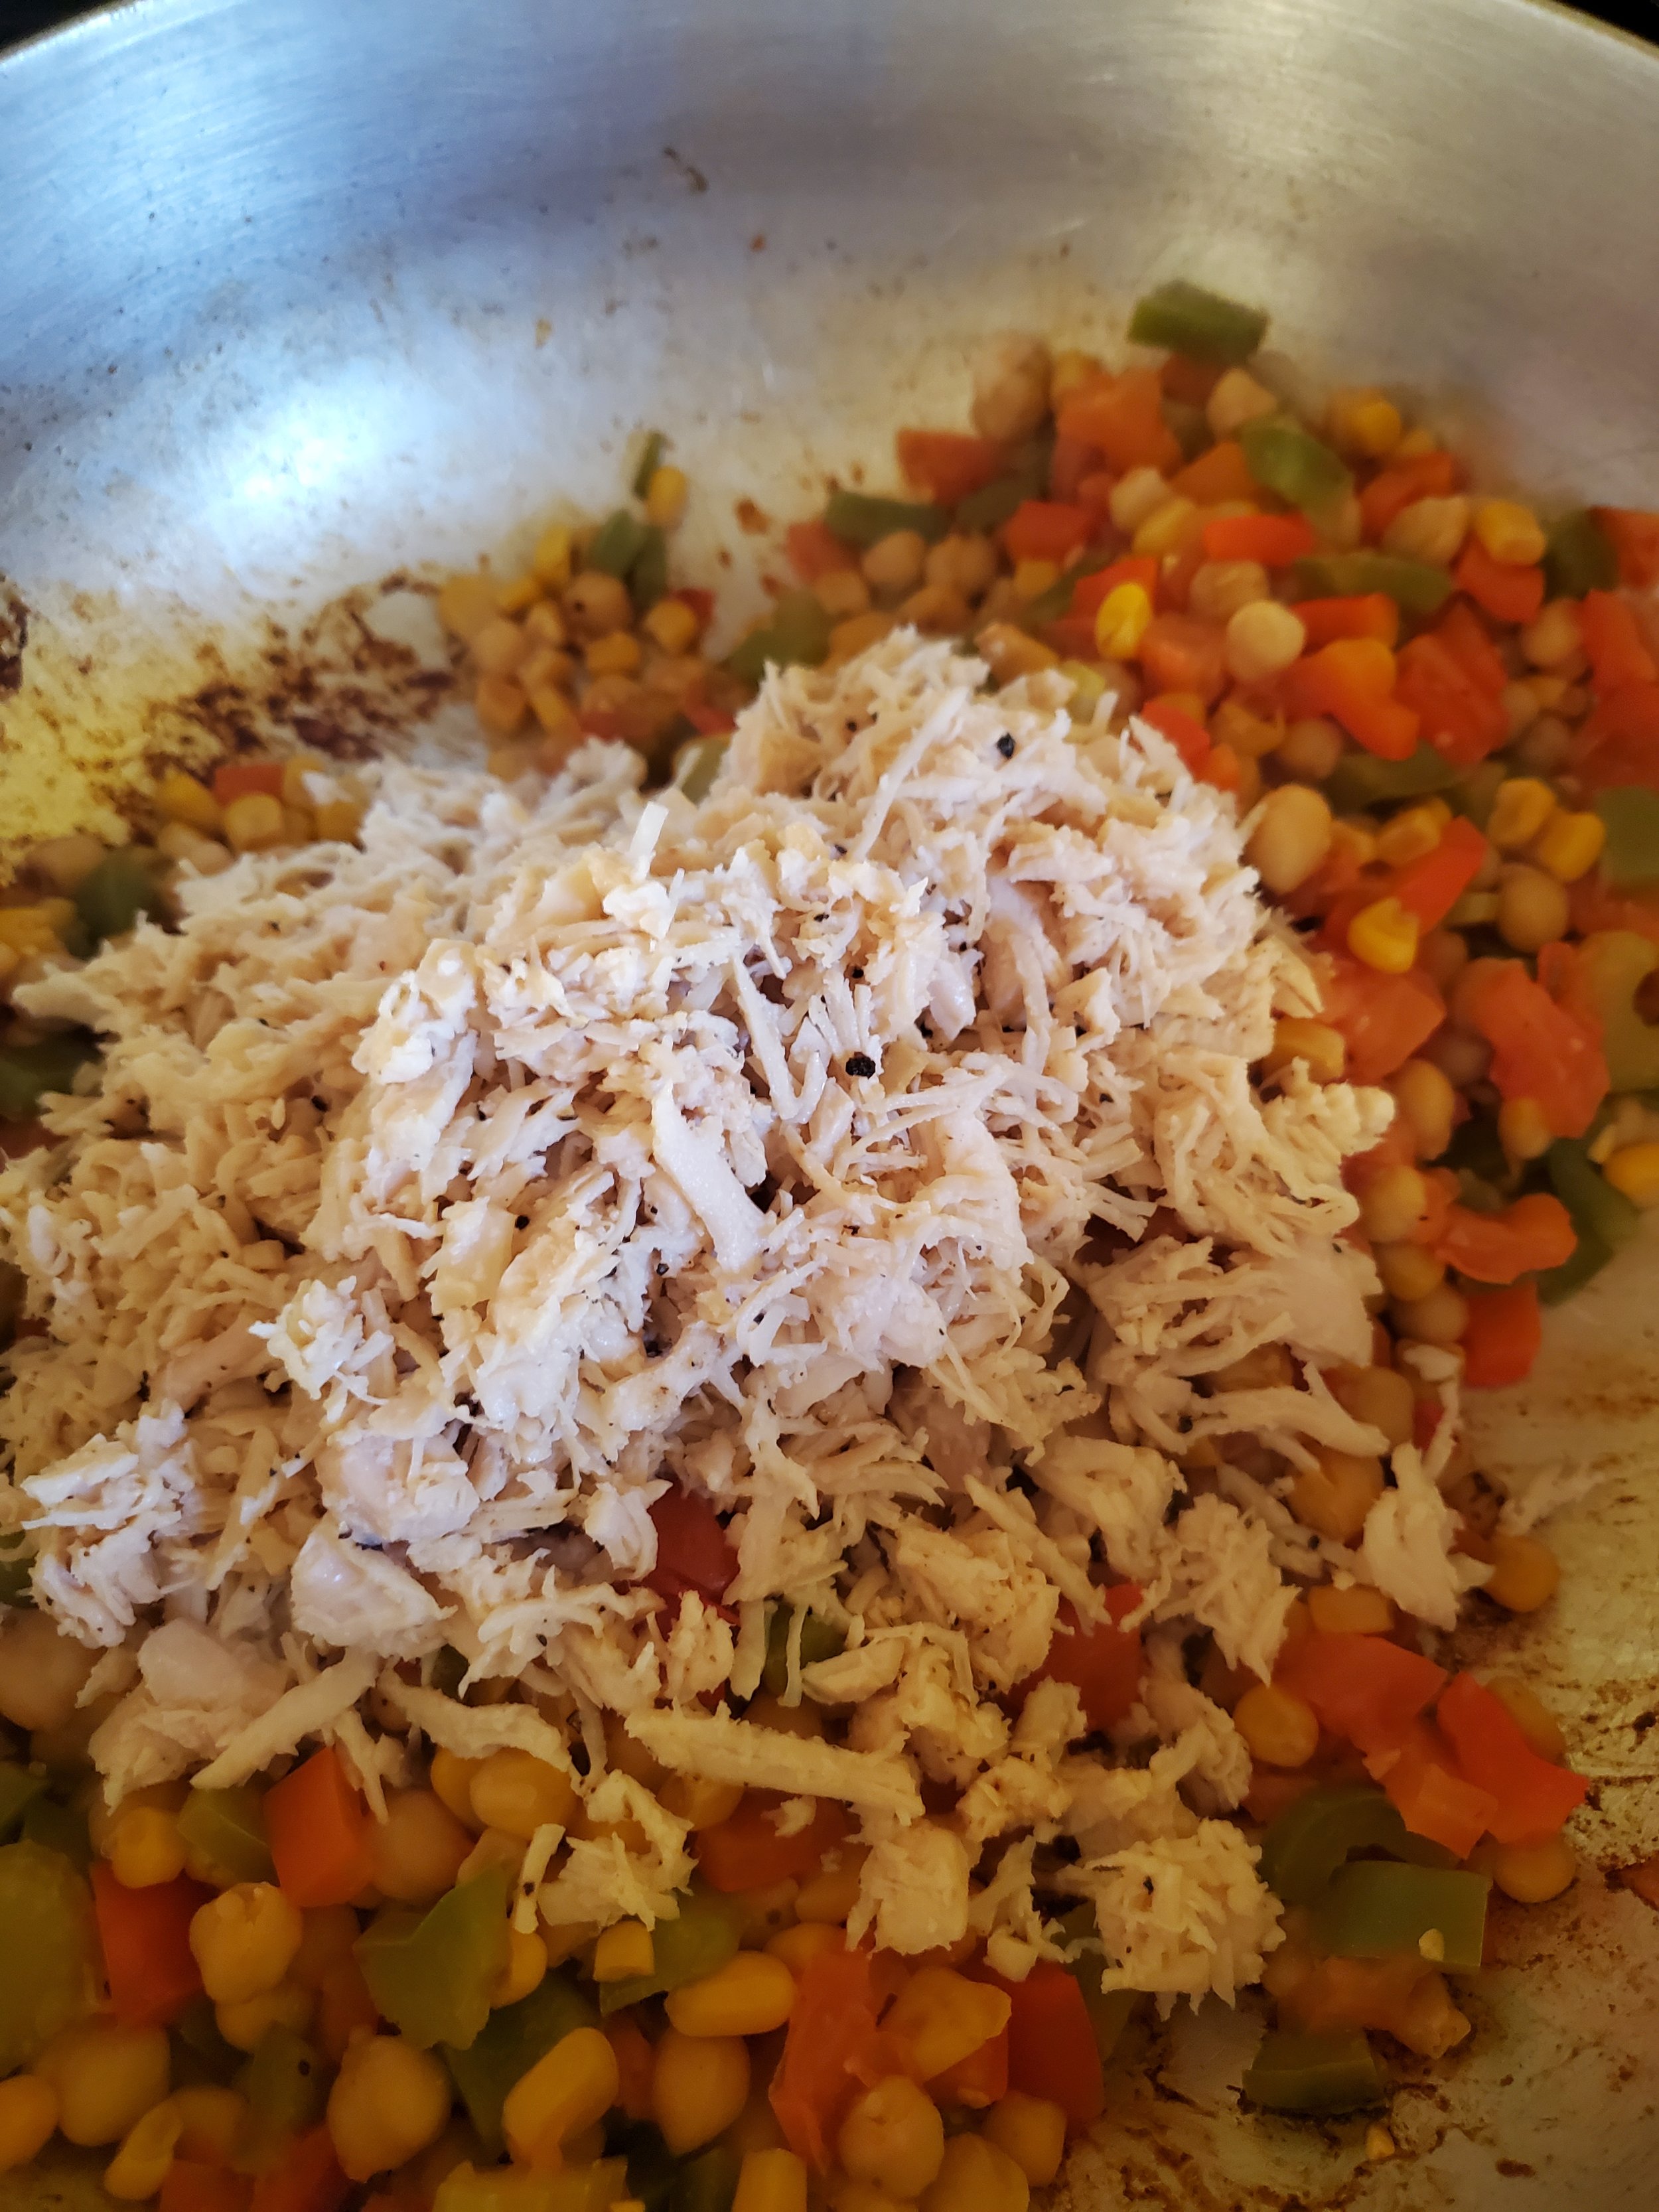
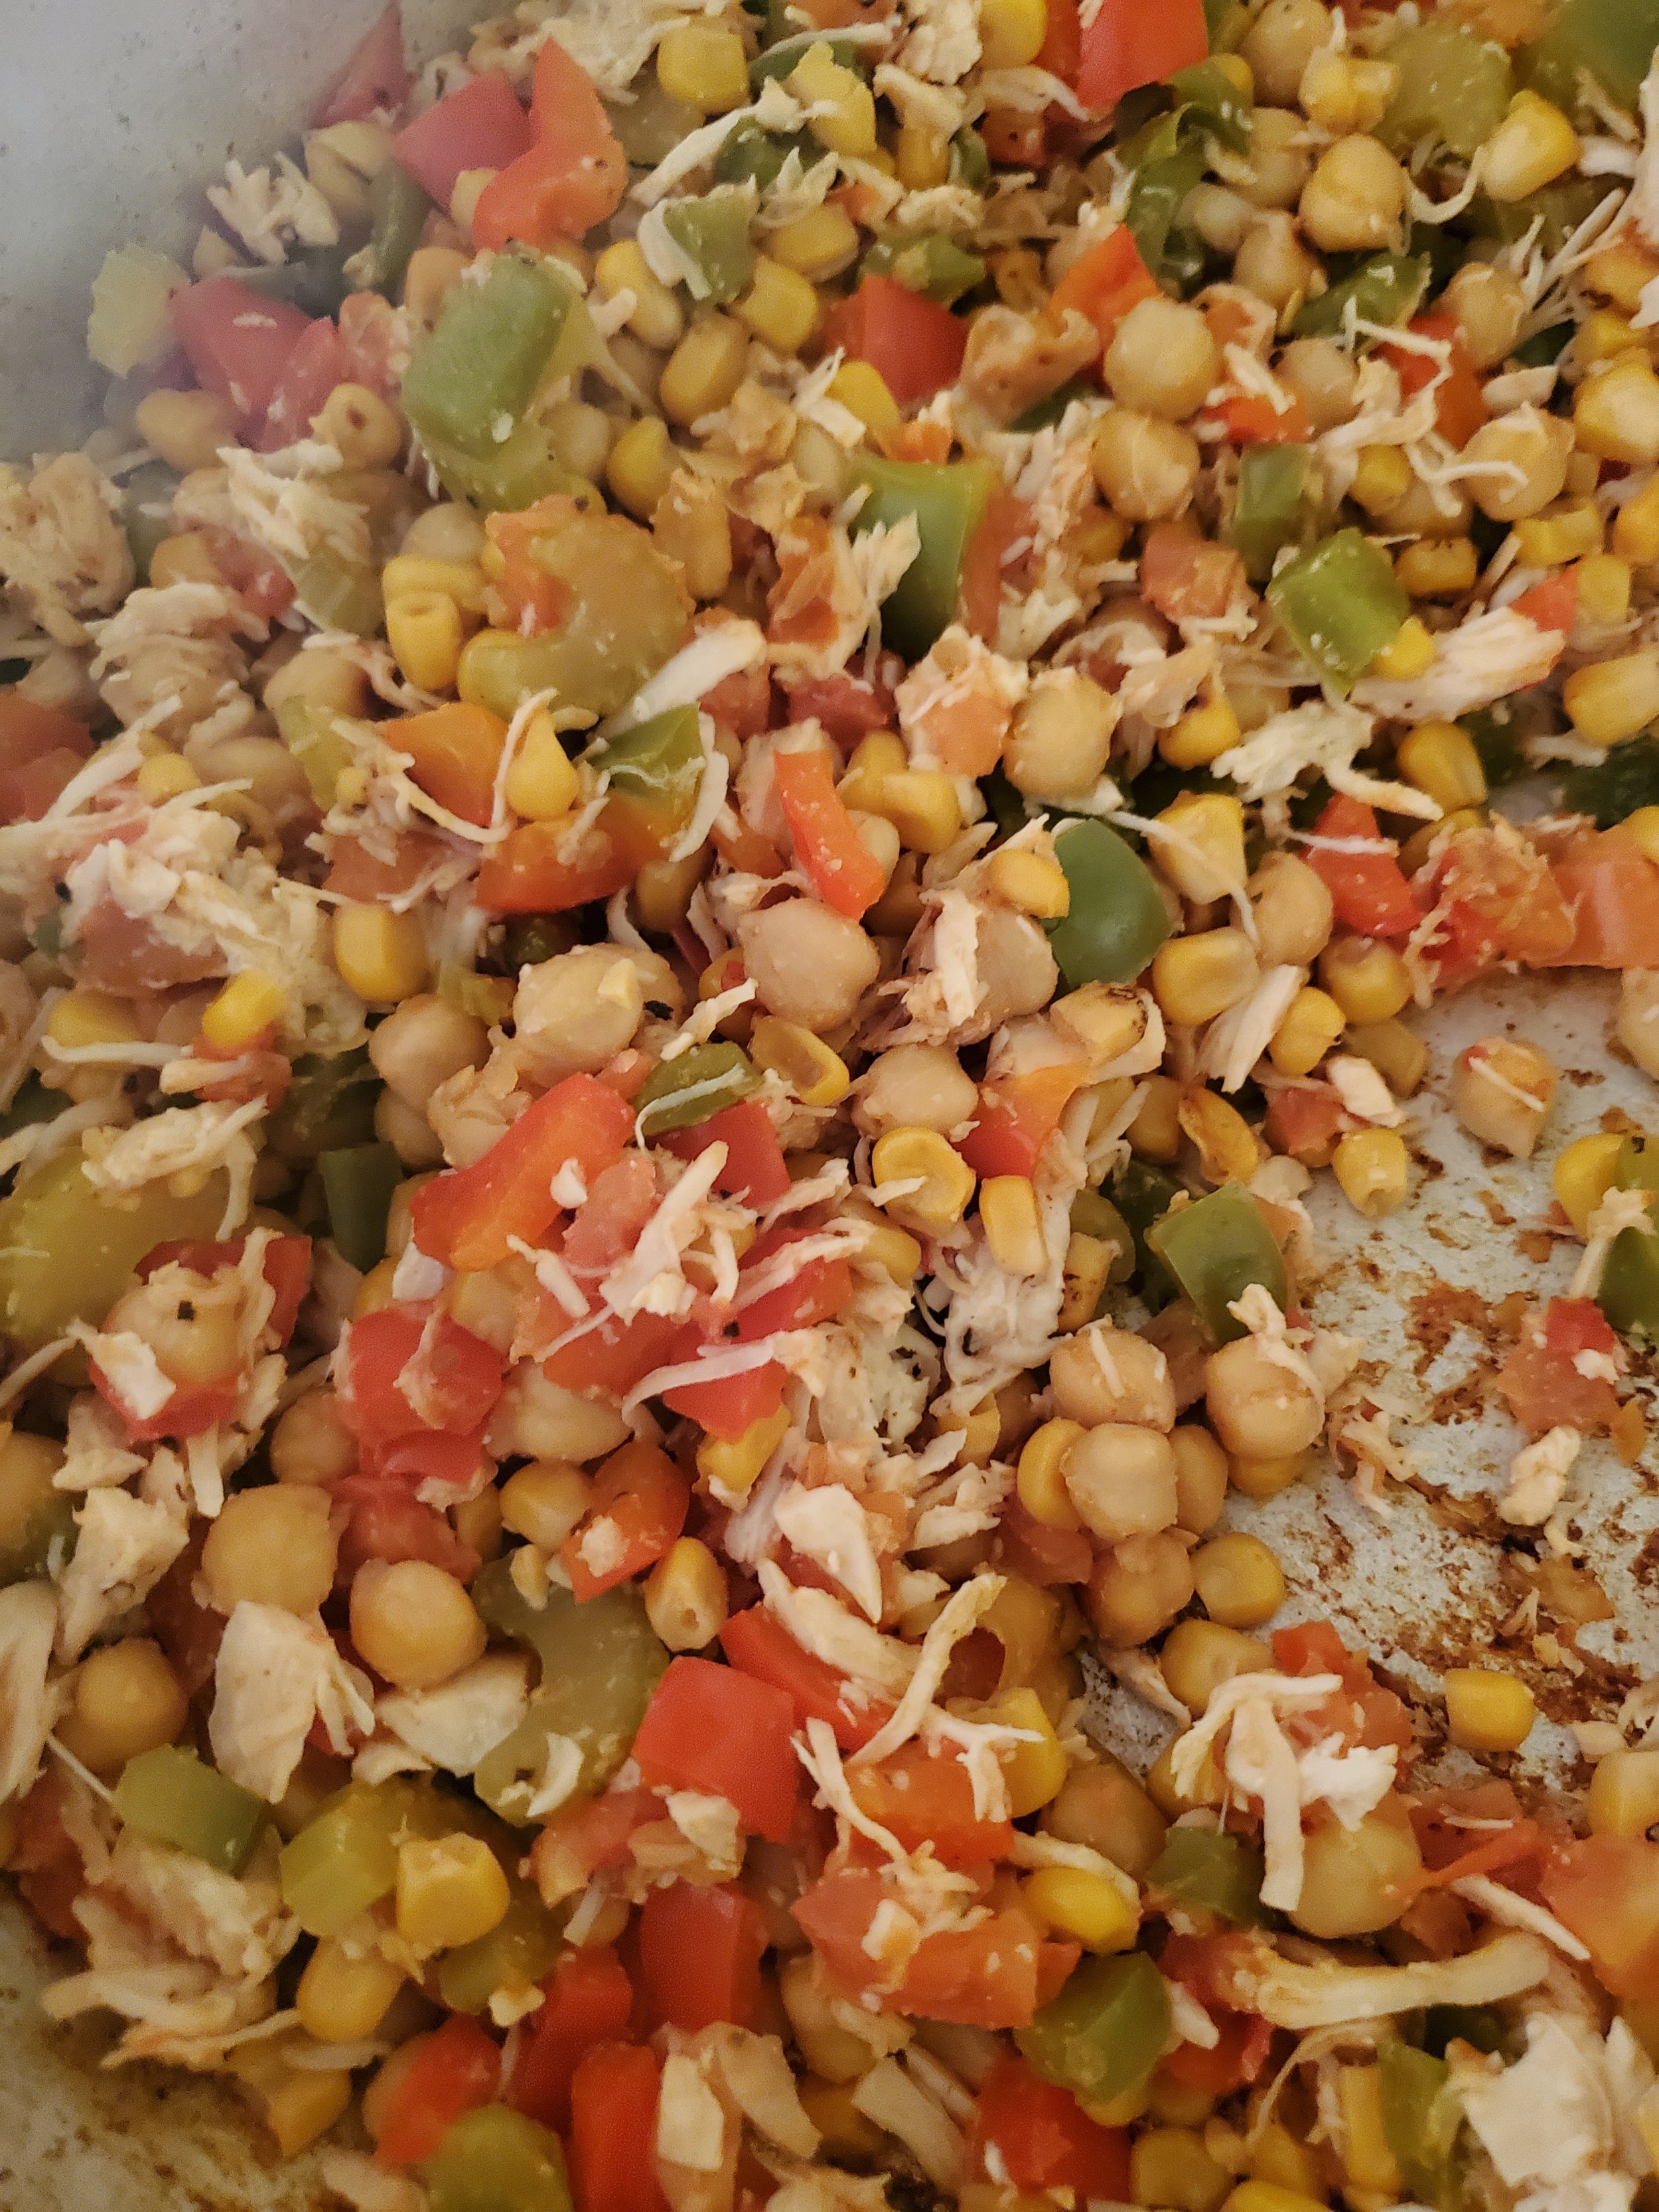
Take your can of chunk chicken, drain it, and break it up, then season it with garlic salt and fresh black pepper. Stir that into your veggie mixture, and then add the cover and allow it to warm while you make the dressing.

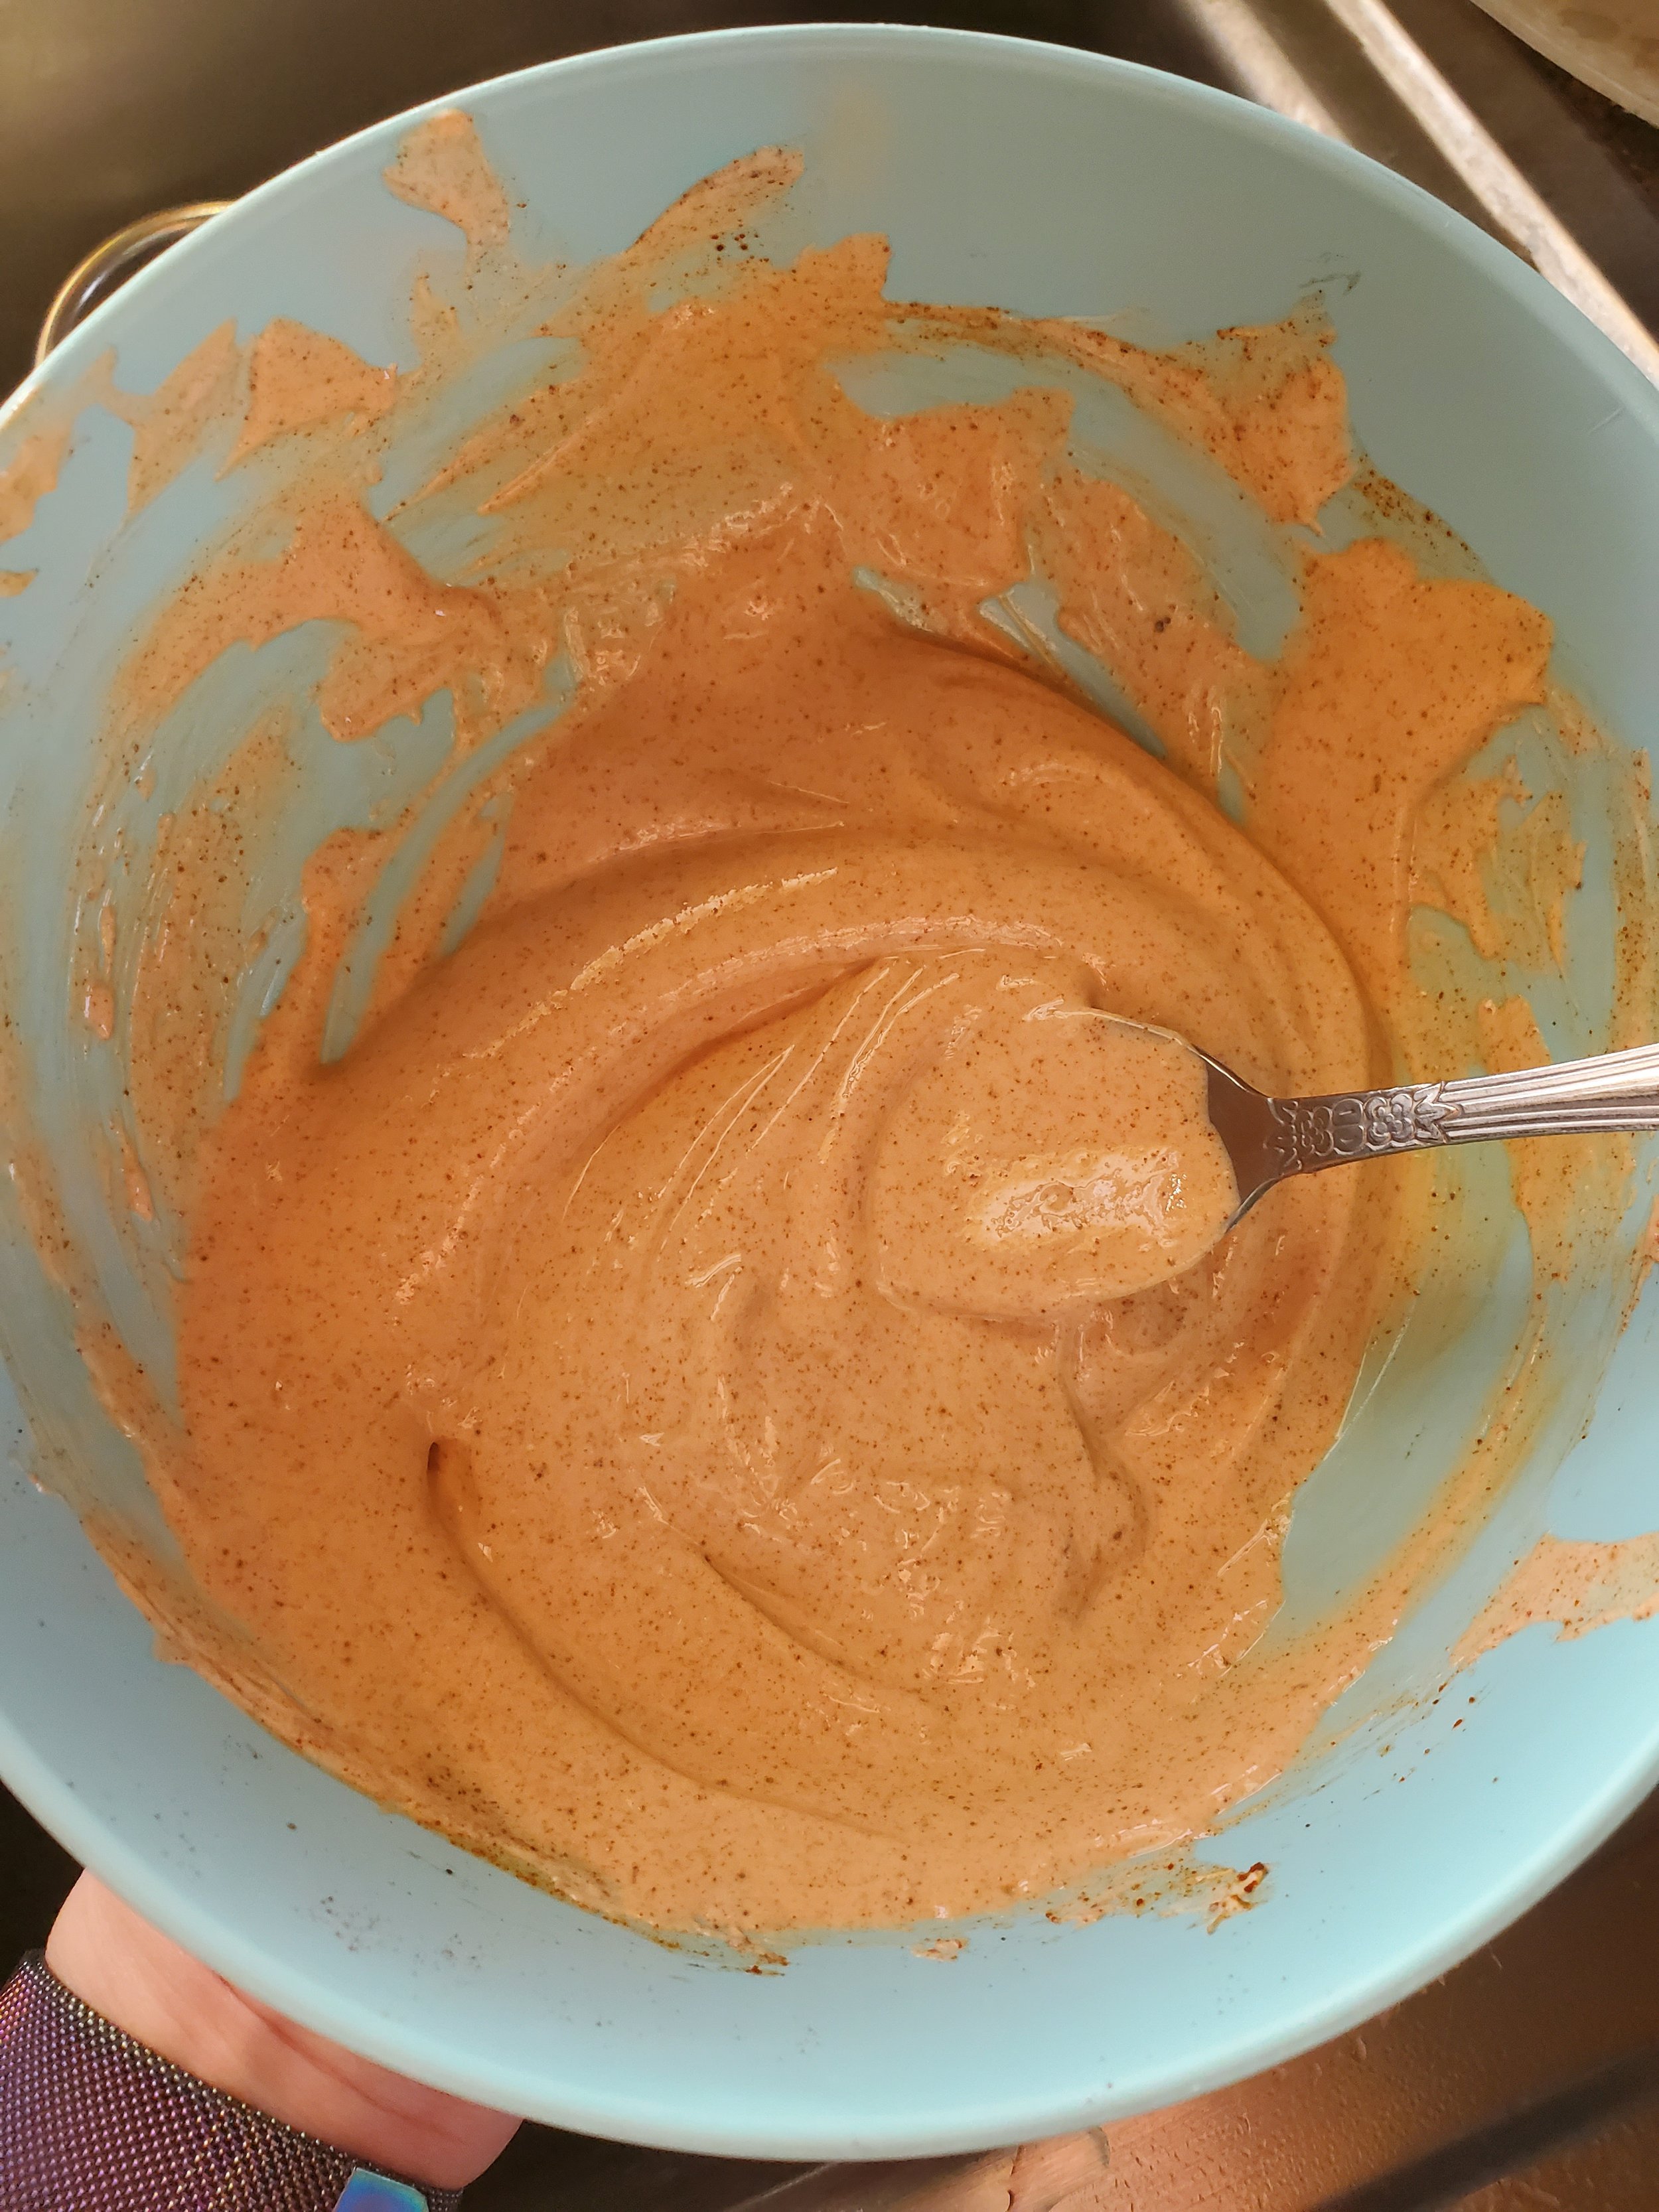
In a separate bowl, mix together the sour cream, corn syrup, lemon juice, red wine vinegar, cumin, salt, chili powder, smoked chipotle pepper, and smoked paprika, whisking thoroughly. 

You can add additional sour cream if you want to soften the spices or a very small quantity of water if you want to thin it out. 


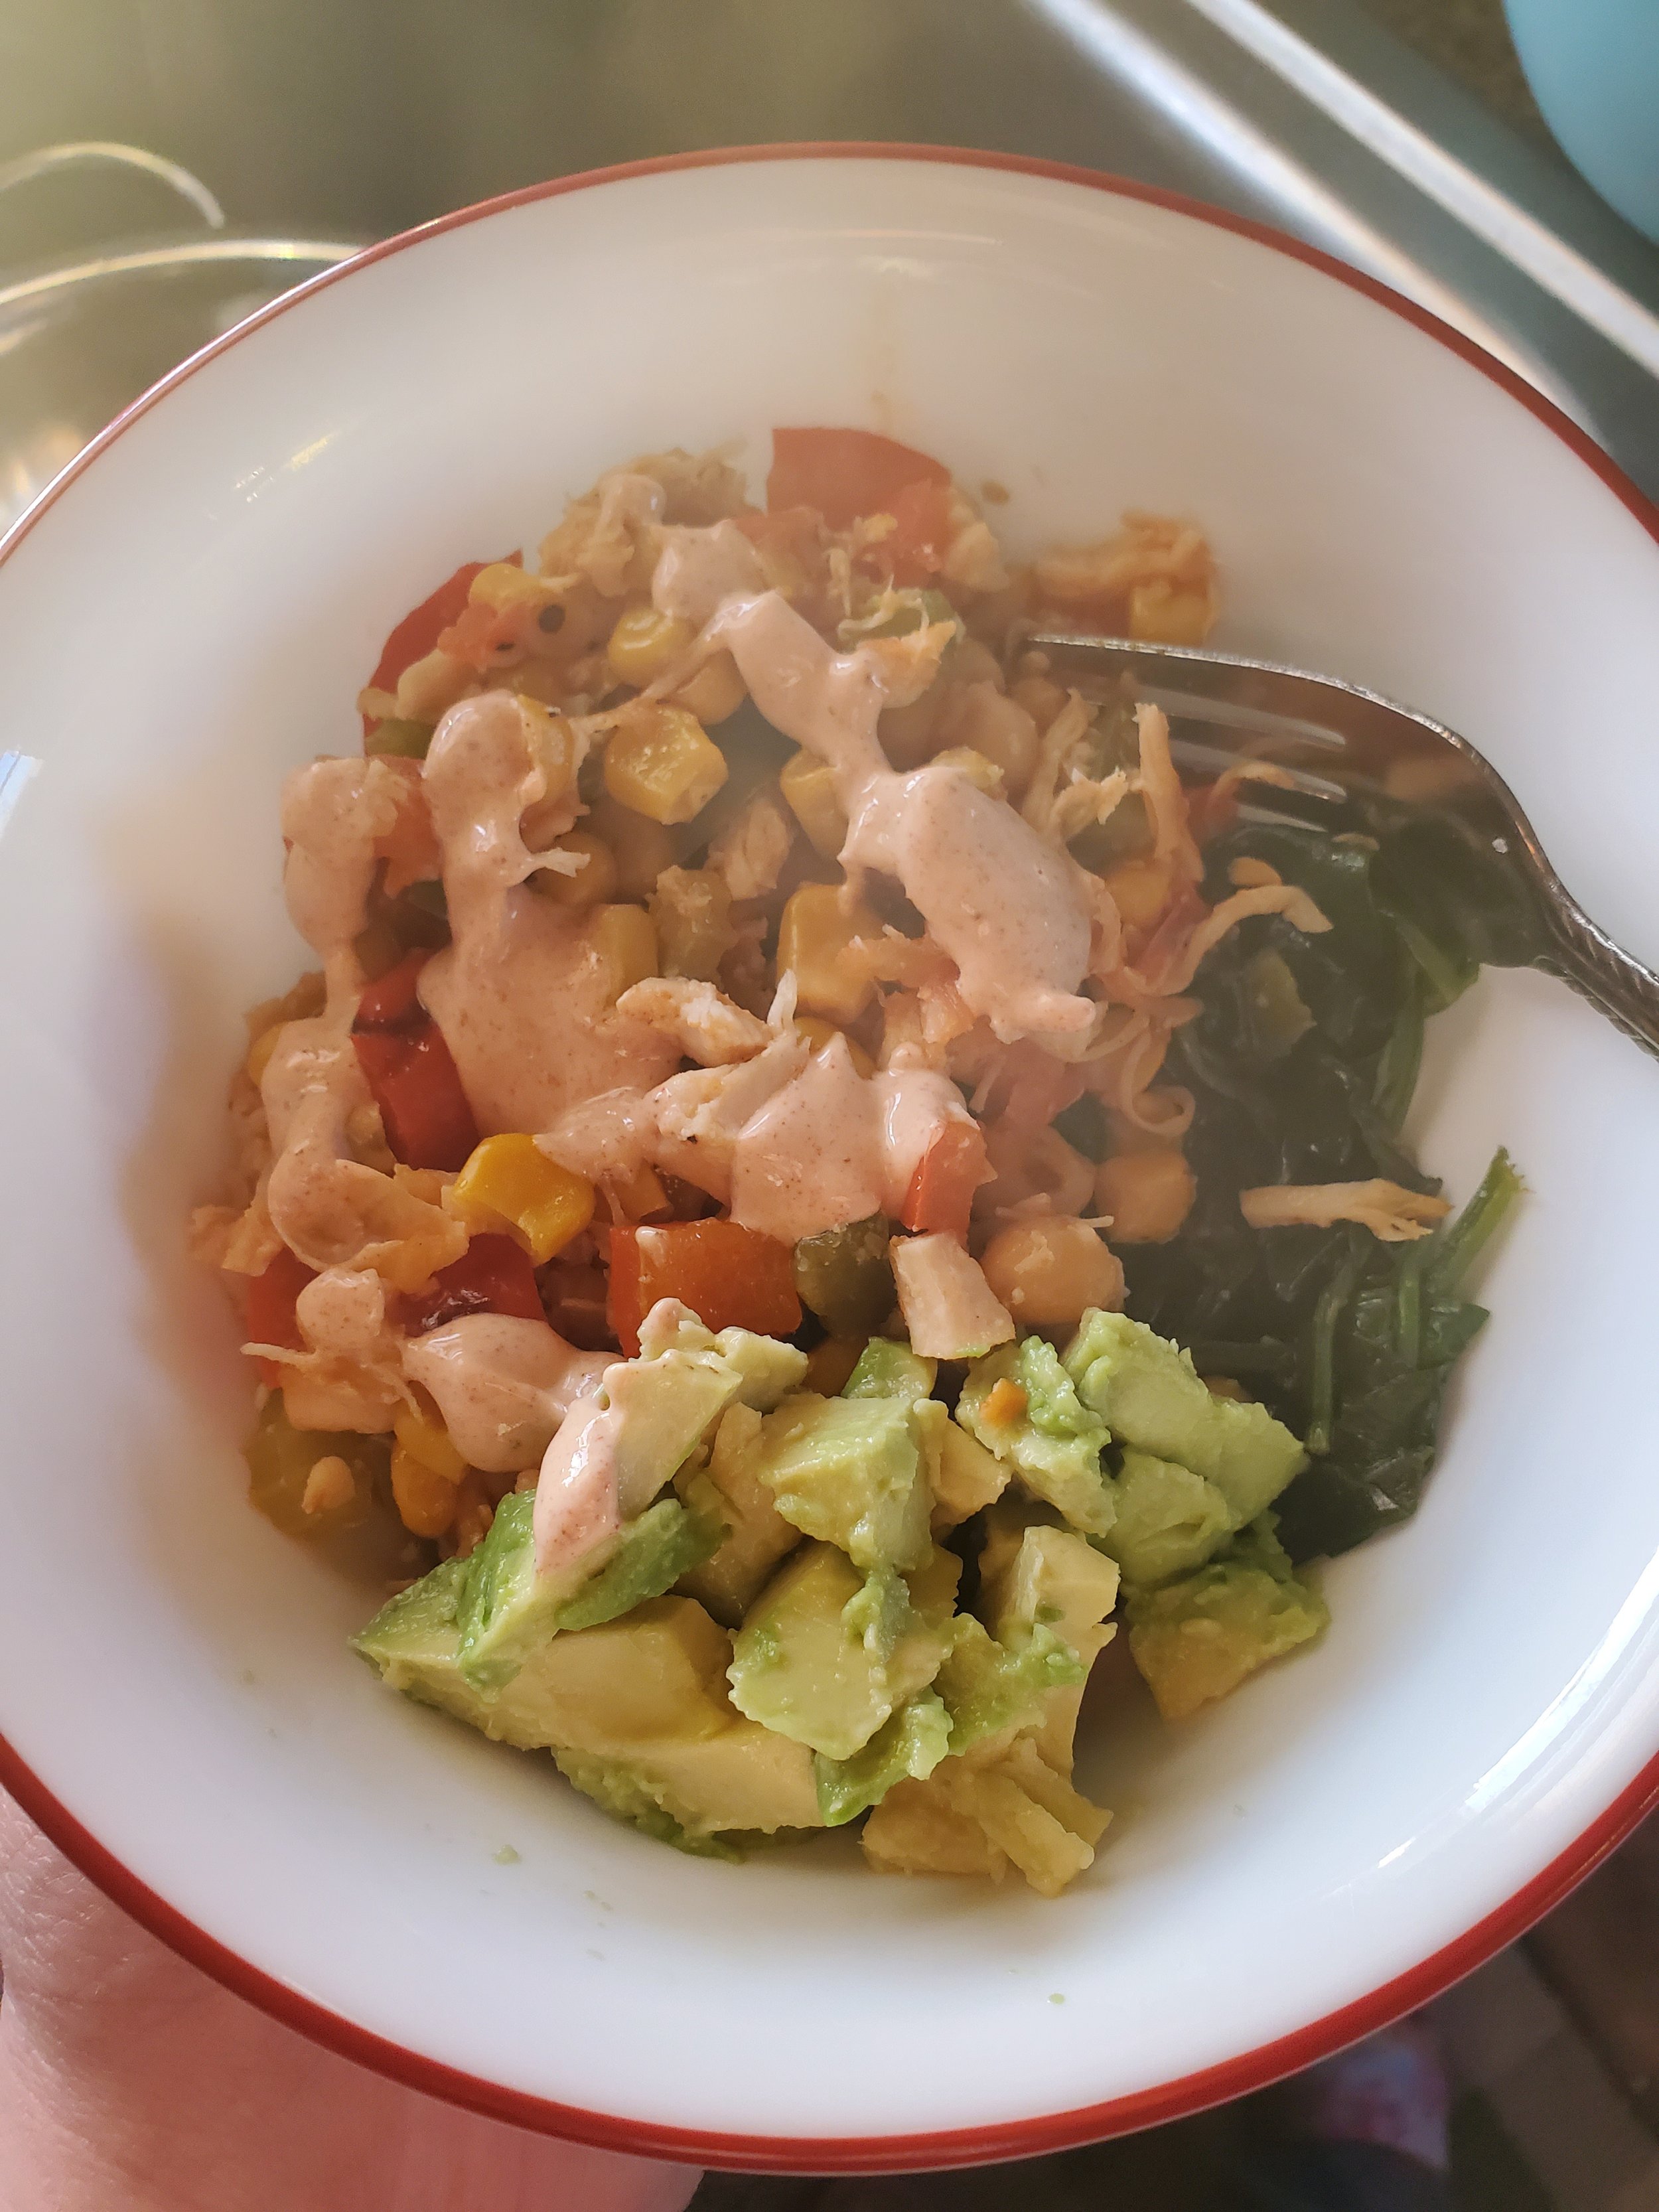
To serve, take a bowl and layer in the spinach, the veggie & chicken mixture, and top with the dressing and avocado. 


We can see this recipe being taken in a number of different ways. You might bulk it up by layering in even more spinach or adding in bulgar wheat. You could go full tilt on the tomatoes and add in both roasted and sun-dried tomatoes. The two of them work together along with the fresh to bring in multiple different complex textures and flavors.  Alternately, you can layer this over short-grain rice or top it with croutons if you need to ensure carbs. Let us know what you come up with over on our Facebook page! 


When you’re done, you’ve got nothing to worry about when it comes to cleaning up, everything wipes out nice and easy, and your dishwasher shouldn’t have any trouble.  If it does give you trouble, though, of the “my dishwasher isn’t getting things clean anymore!” variety, we can help. At Appliance Rescue Service, we’ll work with you to set up an appointment that works with your schedule. We’ll send out one of our expert technicians to diagnose the problem and move forward with a plan that works for you. To solve your major appliance problems, give us a call at ((214) 599-0055) or head over to our contact page today.