Halloween

Purple People Eater Pieces

A Frightfully Fruitful Crumble From The Crypt

As we move closer to the best holiday of the year (no objections! - they'll just fall on deaf ears), it's time to start looking at creepy party recipes to feed a crowd of little ghouls, gremlins, goblins, or what have you.


Every year we try to conjure up at least one new spooky recipe. This year's is a dessert - purple people eater pieces.


It's a little bit pie and a little bit dump cake, and it's also a whole lot of mess if not carefully contained. So do be cautious in serving this one to littles or the spill-prone.


Ingredients:

1 1/2 cups frozen blueberries

1/2 cup frozen dragon fruit

1/2 cup brown sugar

1/2 cup water

1 teaspoon lemon juice

1/4 teaspoon five spice

1 container refrigerated biscuit dough


Tools:

large covered pot or Dutch oven

bowl

spoon

measuring cups and spoons

knife

cutting board


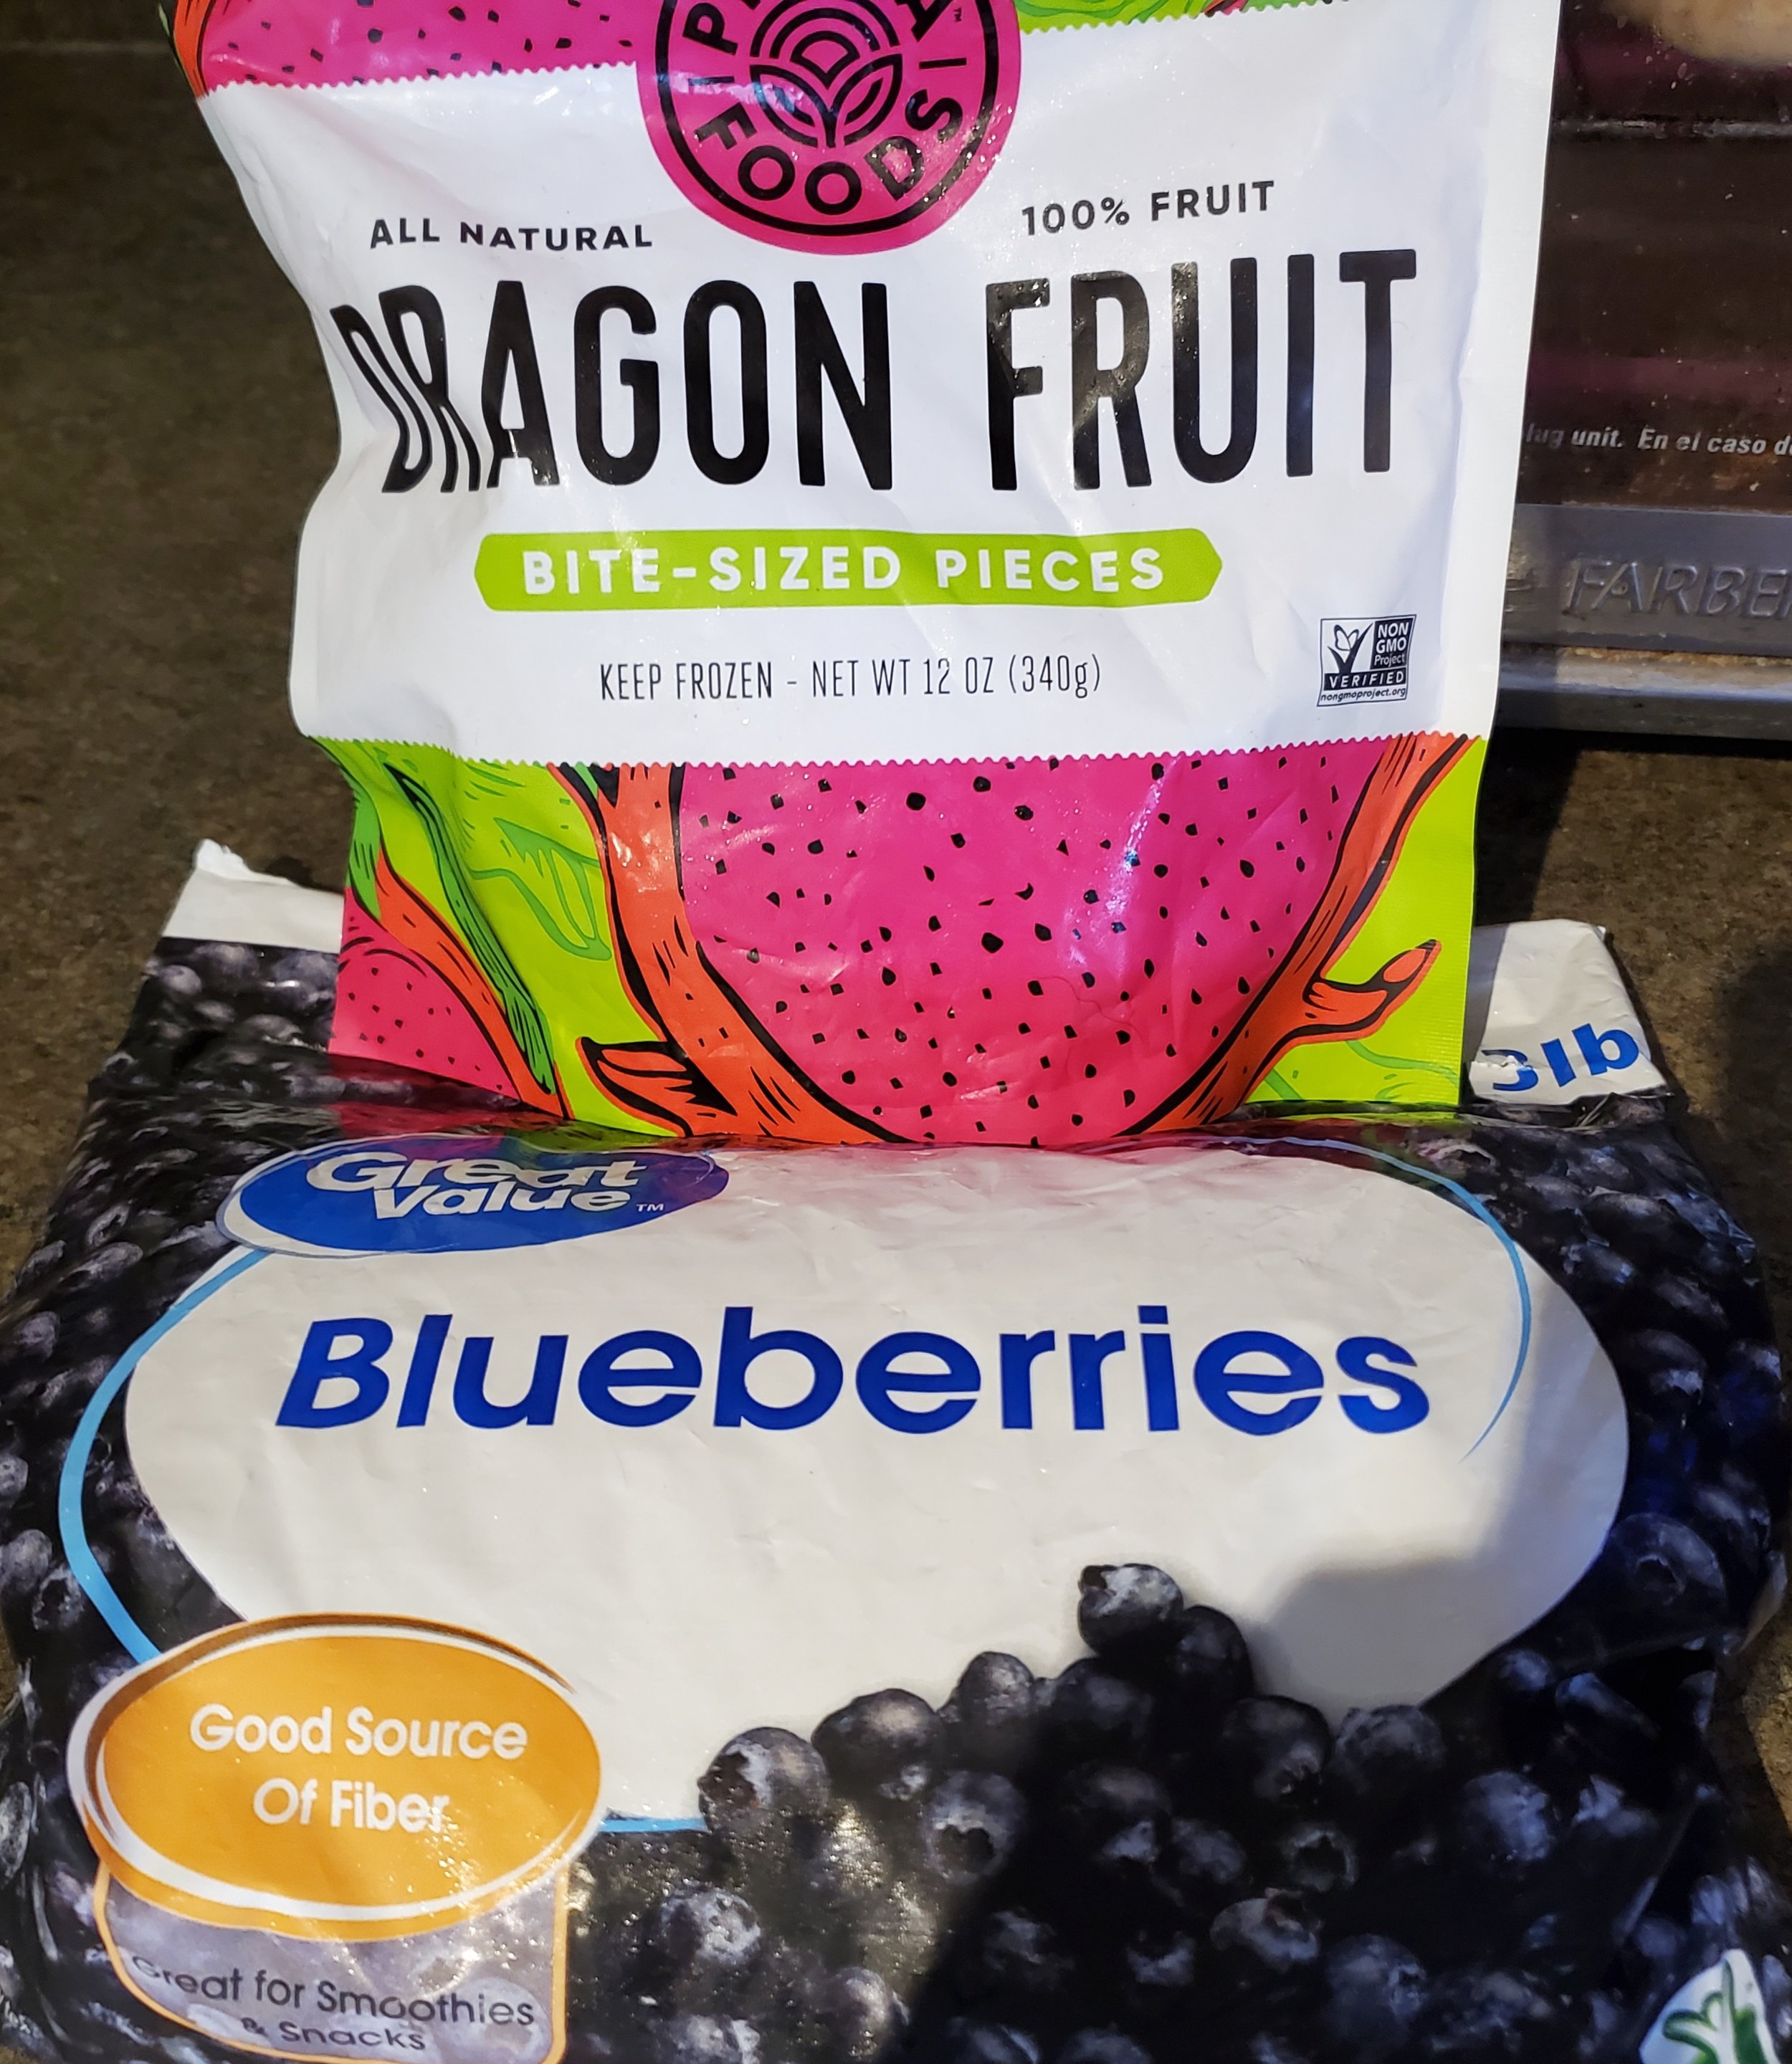
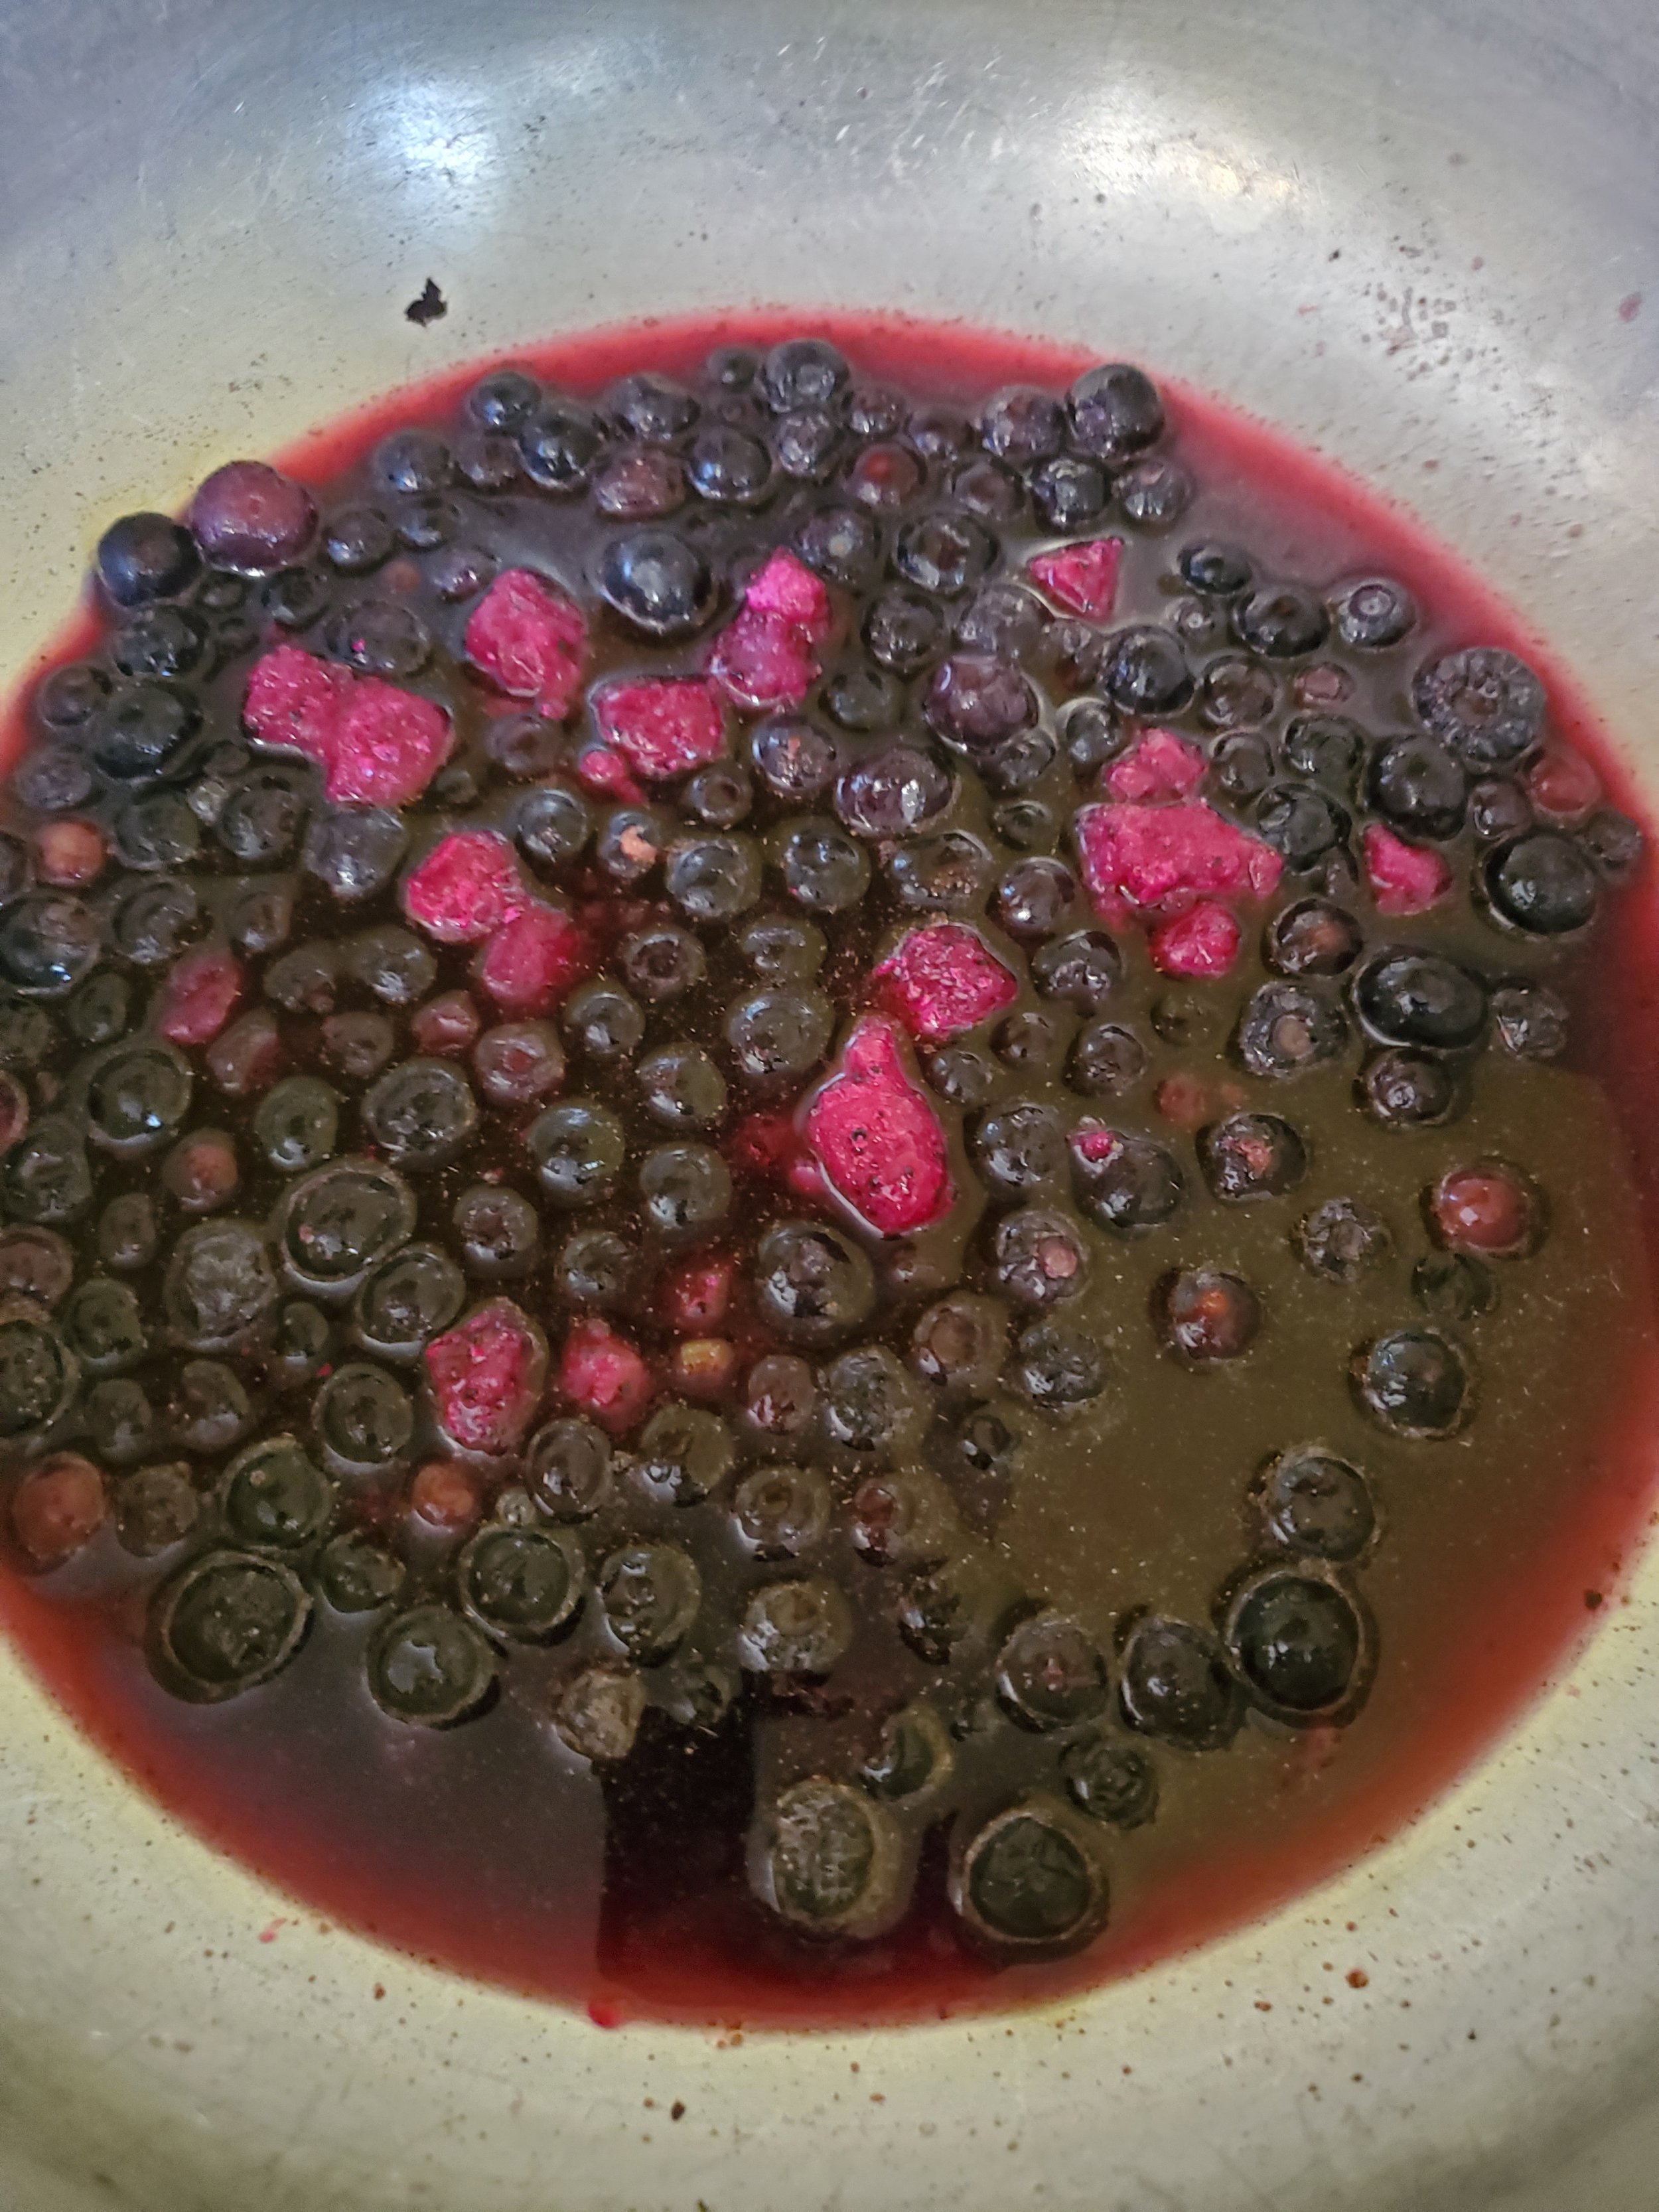
Begin with your blueberries - just scoop them out into a bowl. Your measurement doesn't have to be exact. Just get somewhere in the ballpark of a cup and a half.


Add the dragon fruit pieces to the blueberries. We know dragon fruit is not something you find in the produce aisle on a regular basis, but even in the middle of nowhere we were able to pick some up frozen at a big box store. We've also had the opportunity to grab fresh dragon fruit at a local family grocery store. If you don't have the same luck, fear not! Any red- or pink-hued fruit can sub in. Strawberry, cherry, cranberry, pomegranate, guava... Just know the color may not be so vibrant. Dragon fruit is rather exceptionally in-your-face pink.


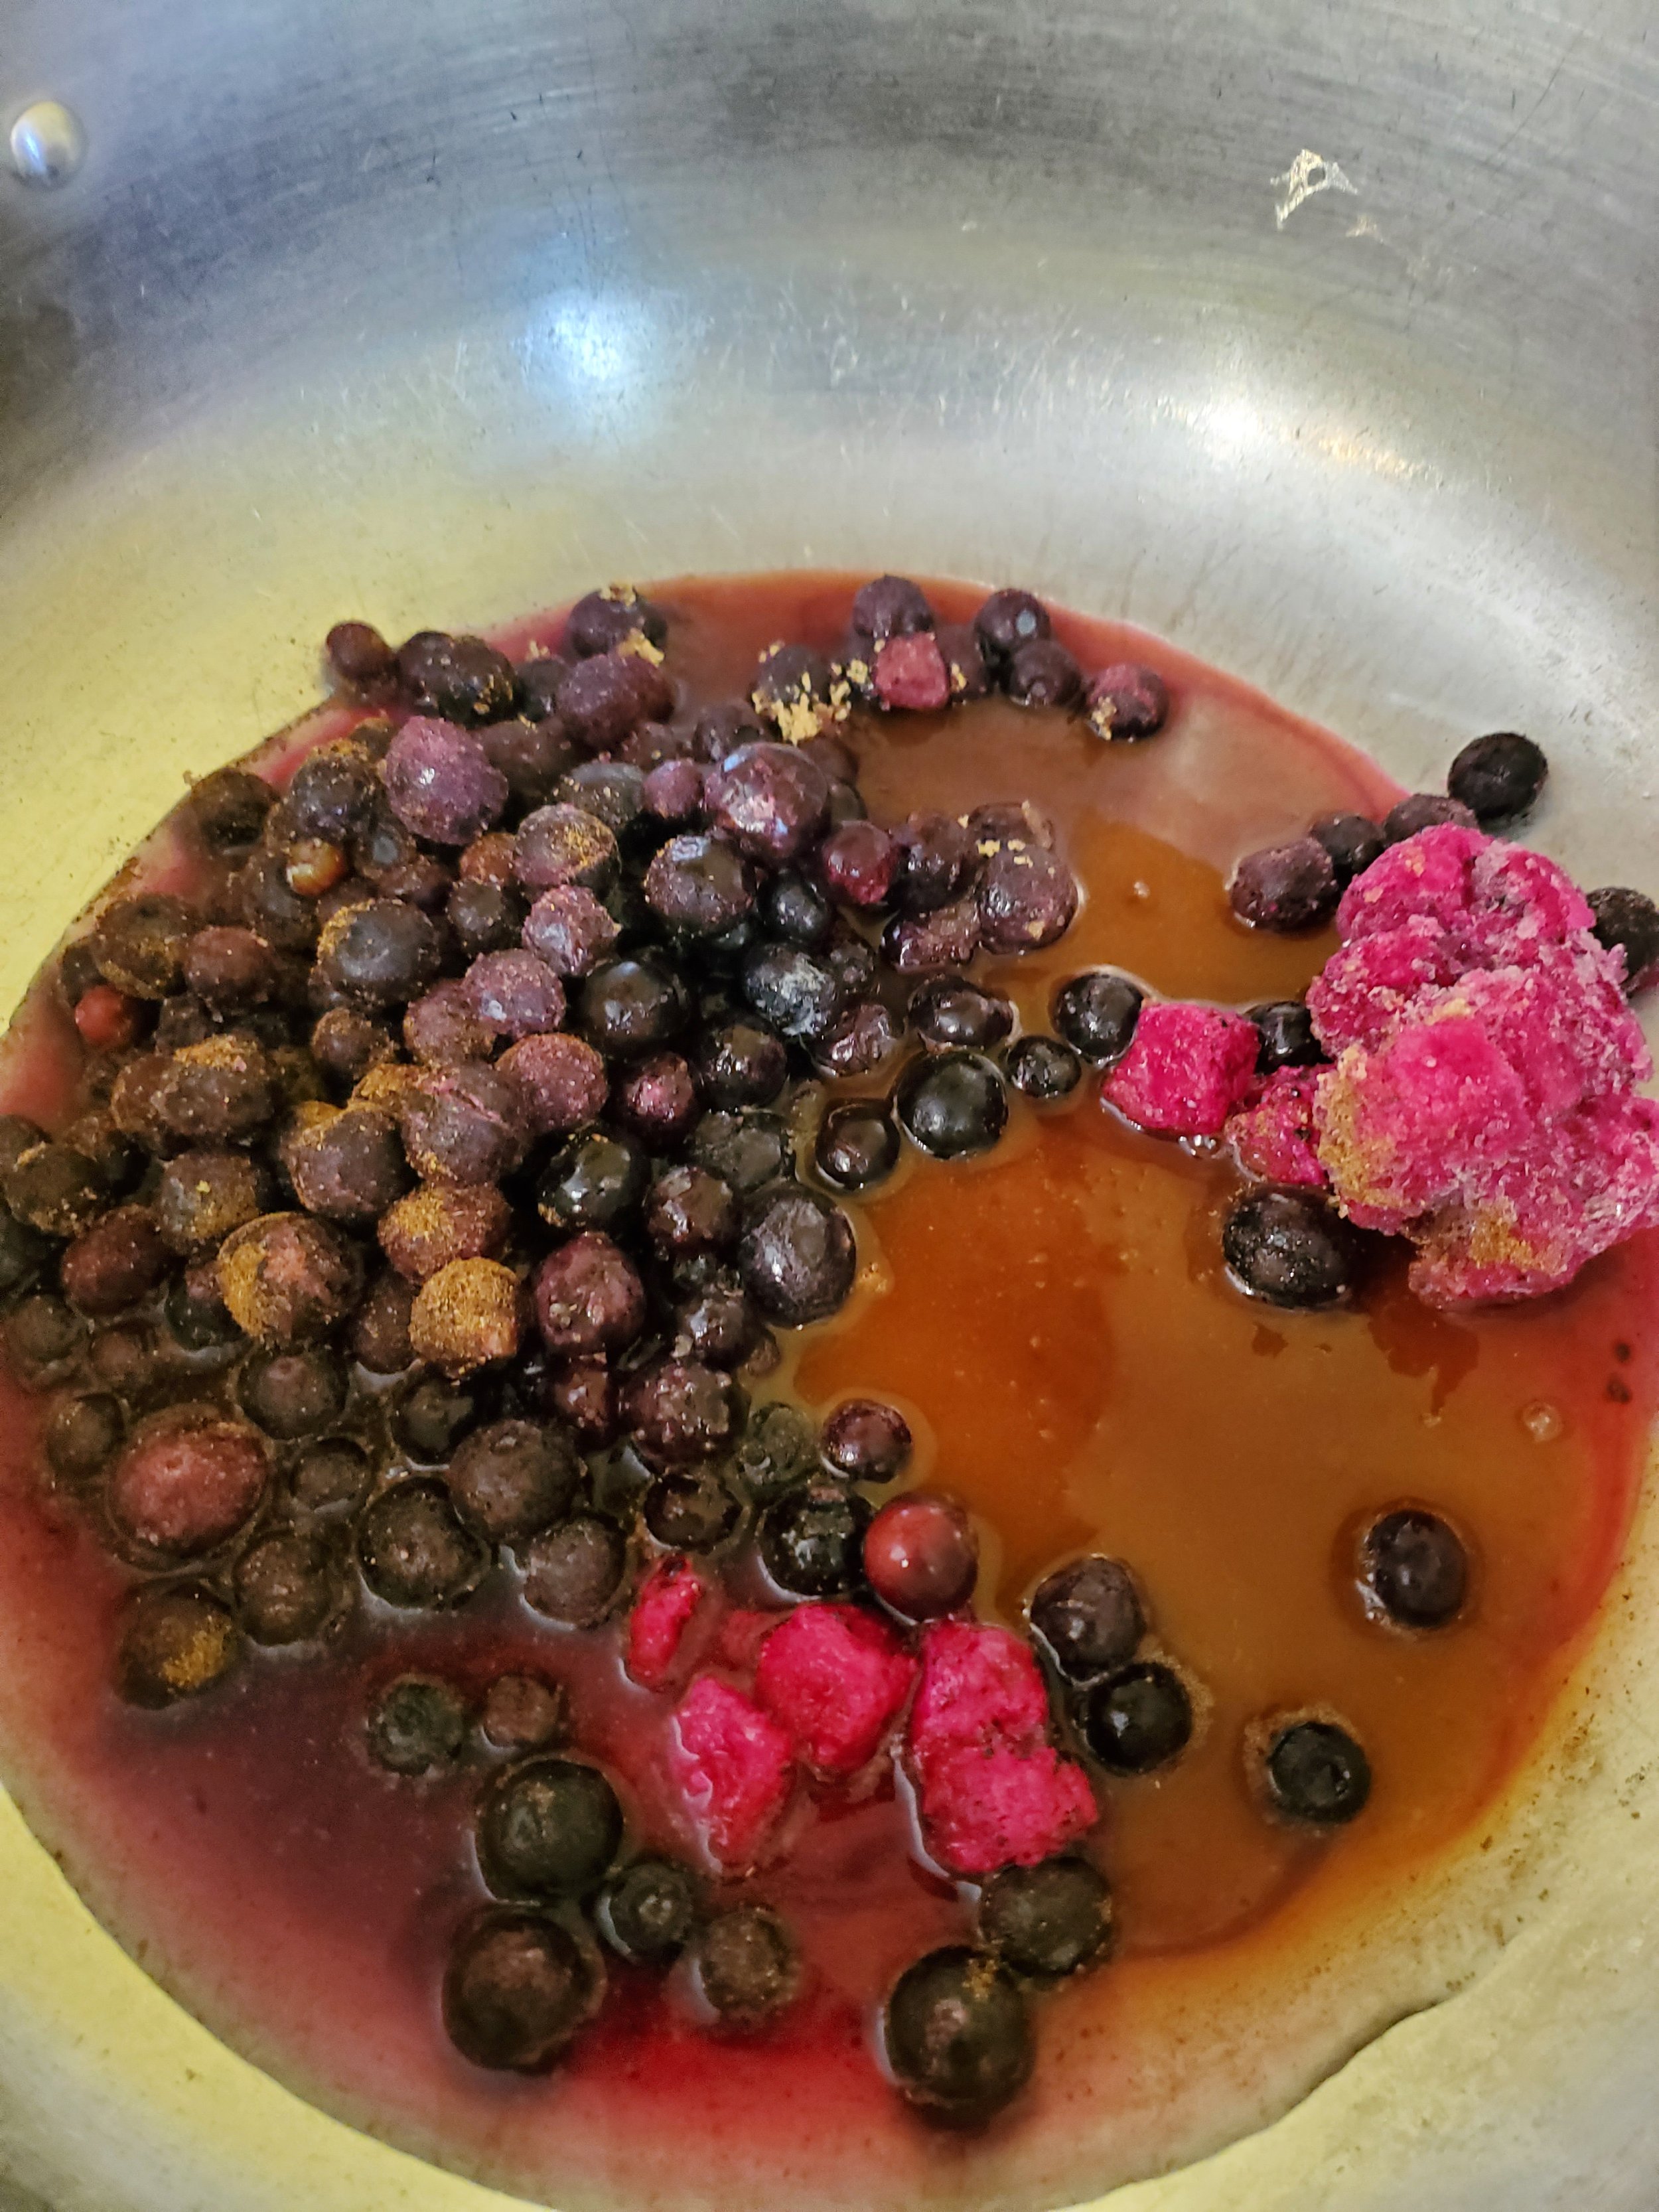
Measure in your brown sugar and your five spice. We know the five spice doesn't look like much, but just a little of this stuff makes an impact. You'll know it's there.


Dump the bowl into the dutch oven. Measure the water into the same bowl to take up as much of the sugar, spice and fruit juice as possible, and pour it over the fruit and spices in the pan.


Turn the heat on low and give everything in the pan a good stir. The sugar should dissolve right off the bat, but it will take a bit for everything to heat through.


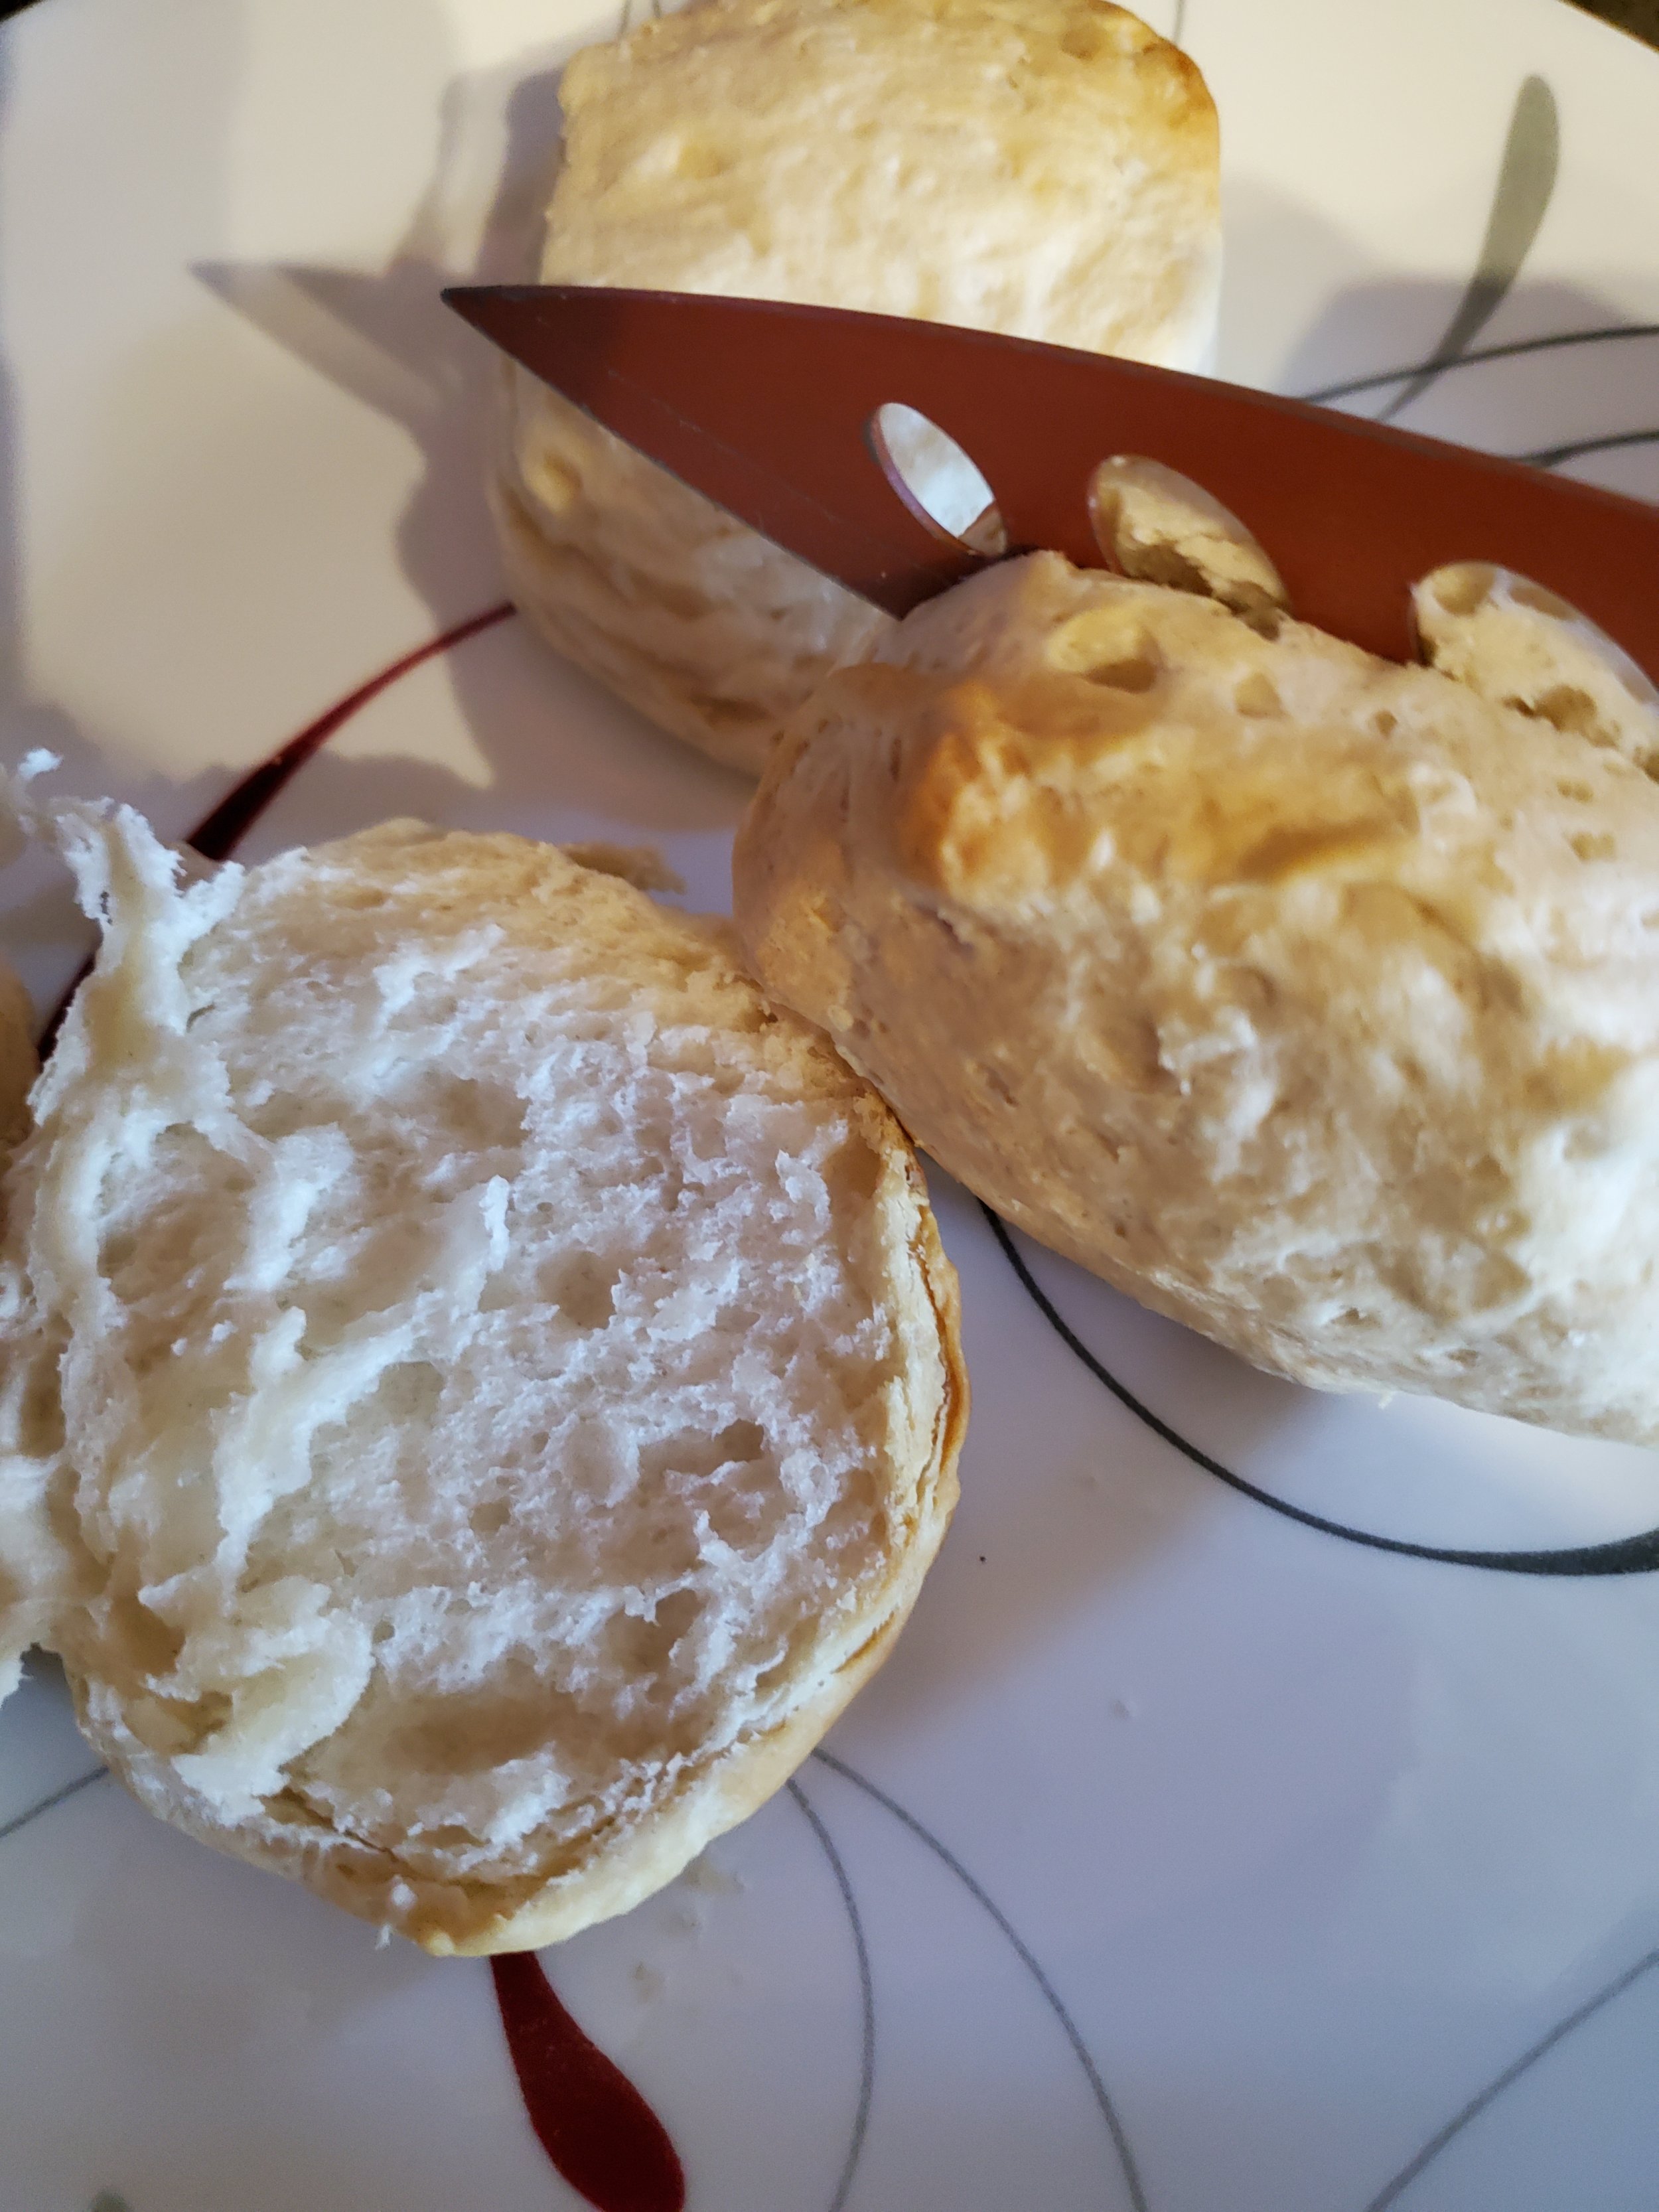
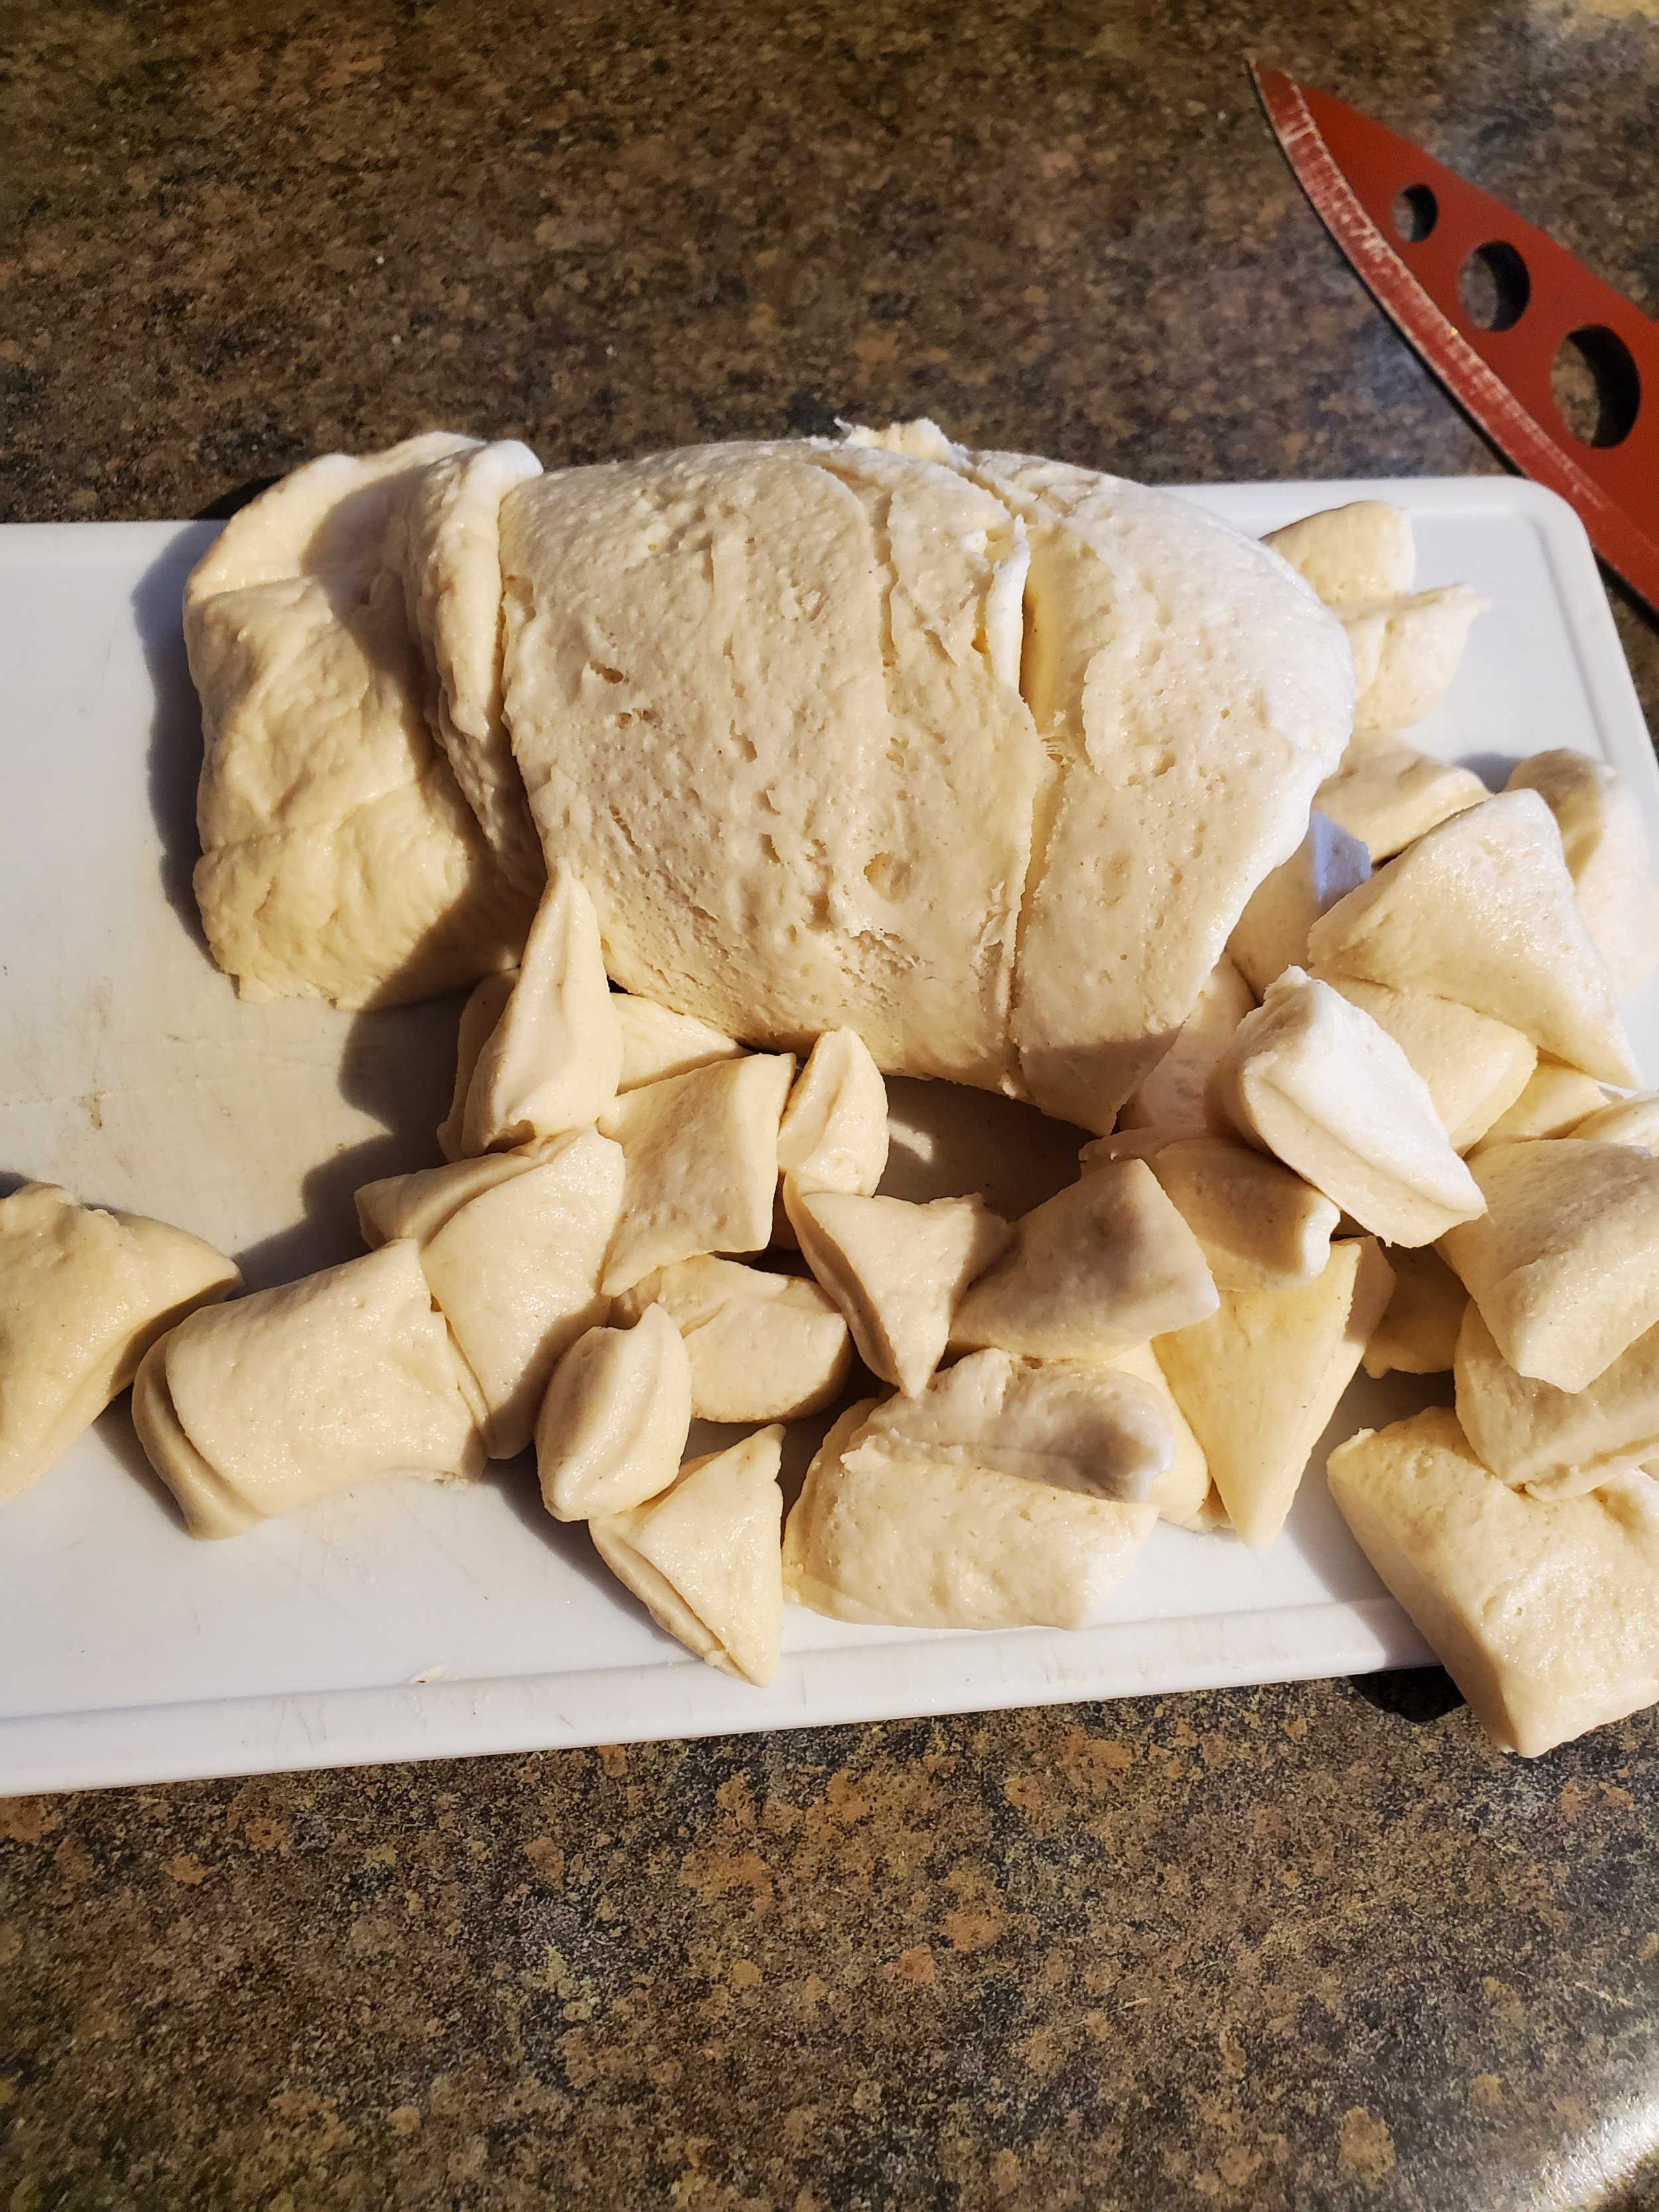
While waiting for it to come up to a simmer, grab your biscuit dough and pop the container open. Split them apart and put them on the cutting board, and cut your biscuits into pieces. We start with roughly quarters, then trim down a little from there. In our experience, there's always one biscuit in the package that's about three times the size of the rest on one side and squished down paper thin on the opposite. That one gets cut into a great many awkwardly shaped chunks.


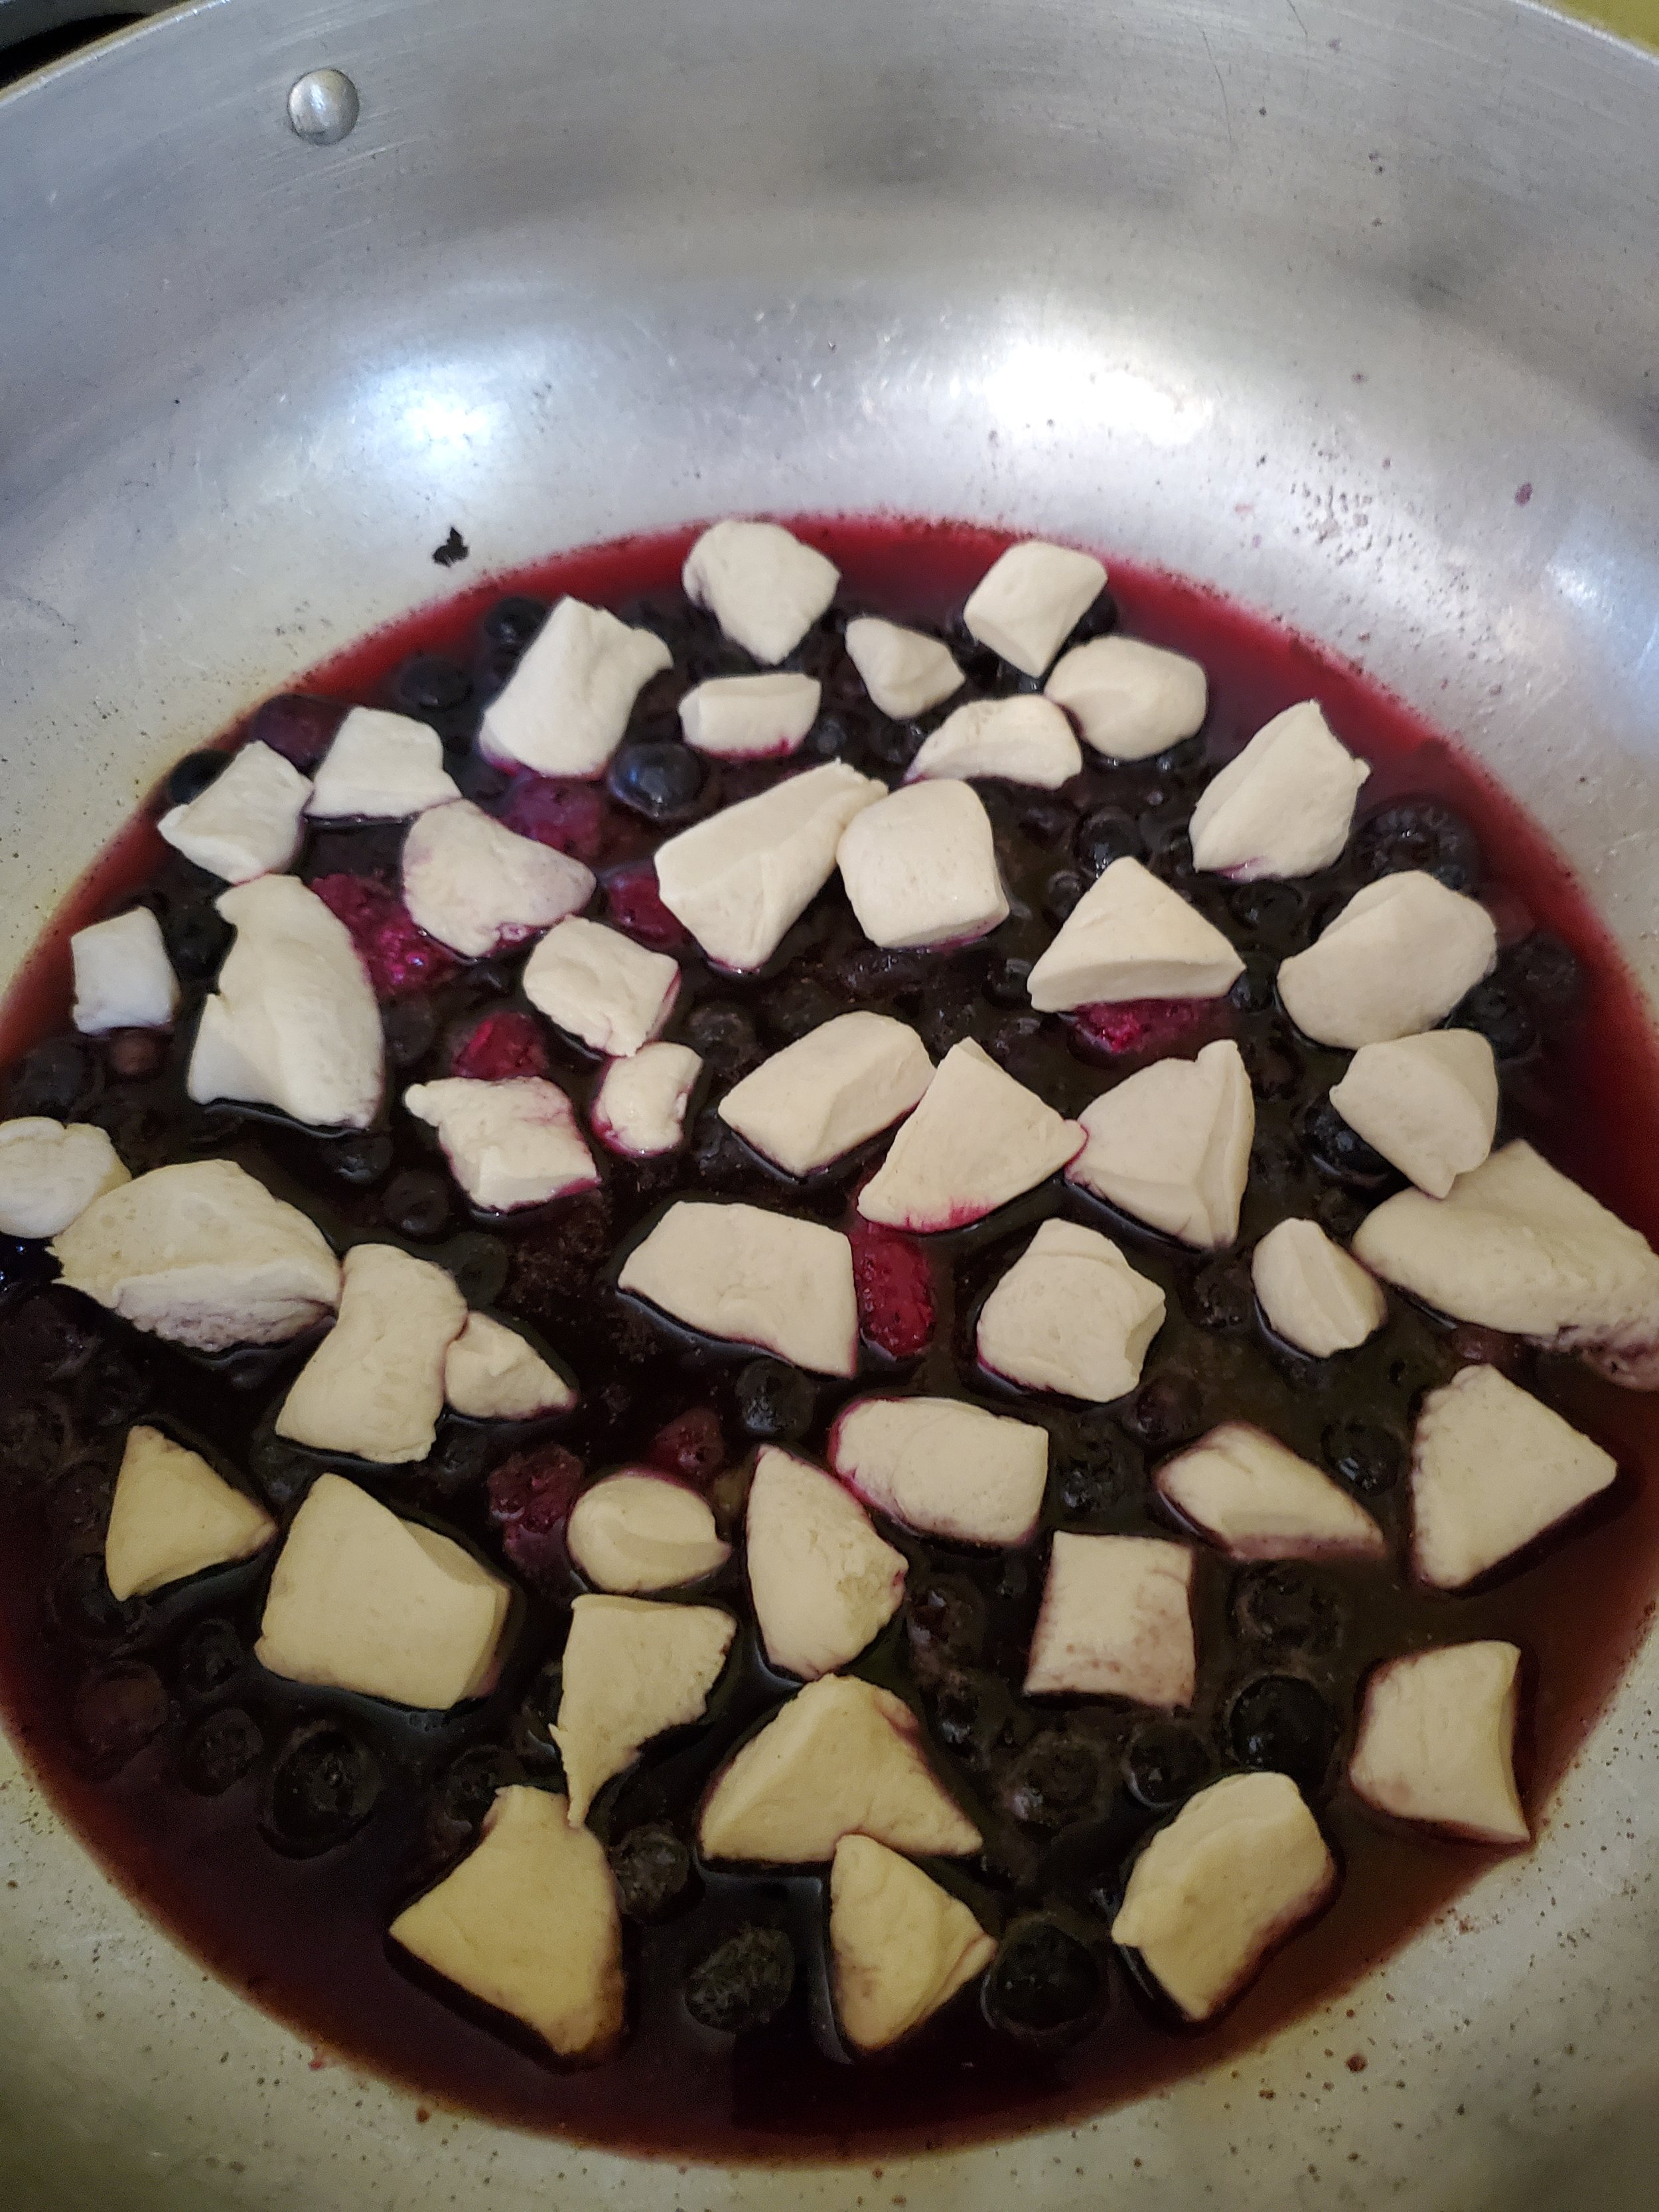
Give the contents of the pan one more good stir, then drop your funny-shaped biscuit pieces on top of the fruit mixture. From this point on, do not stir.


Once you have your biscuit dough on top of the fruit, increase the heat to medium-low. Cover the pan and allow it to simmer untouched for 15-20 minutes. Stay close to the pan - the smell is the best indicator of when it's done. If you can smell the fruit and spices getting fragrant without lifting the lid on the pan, it's close to done. If you have a clear glass lid that's not too fogged up, it should look syrupy between the pale biscuit pieces.


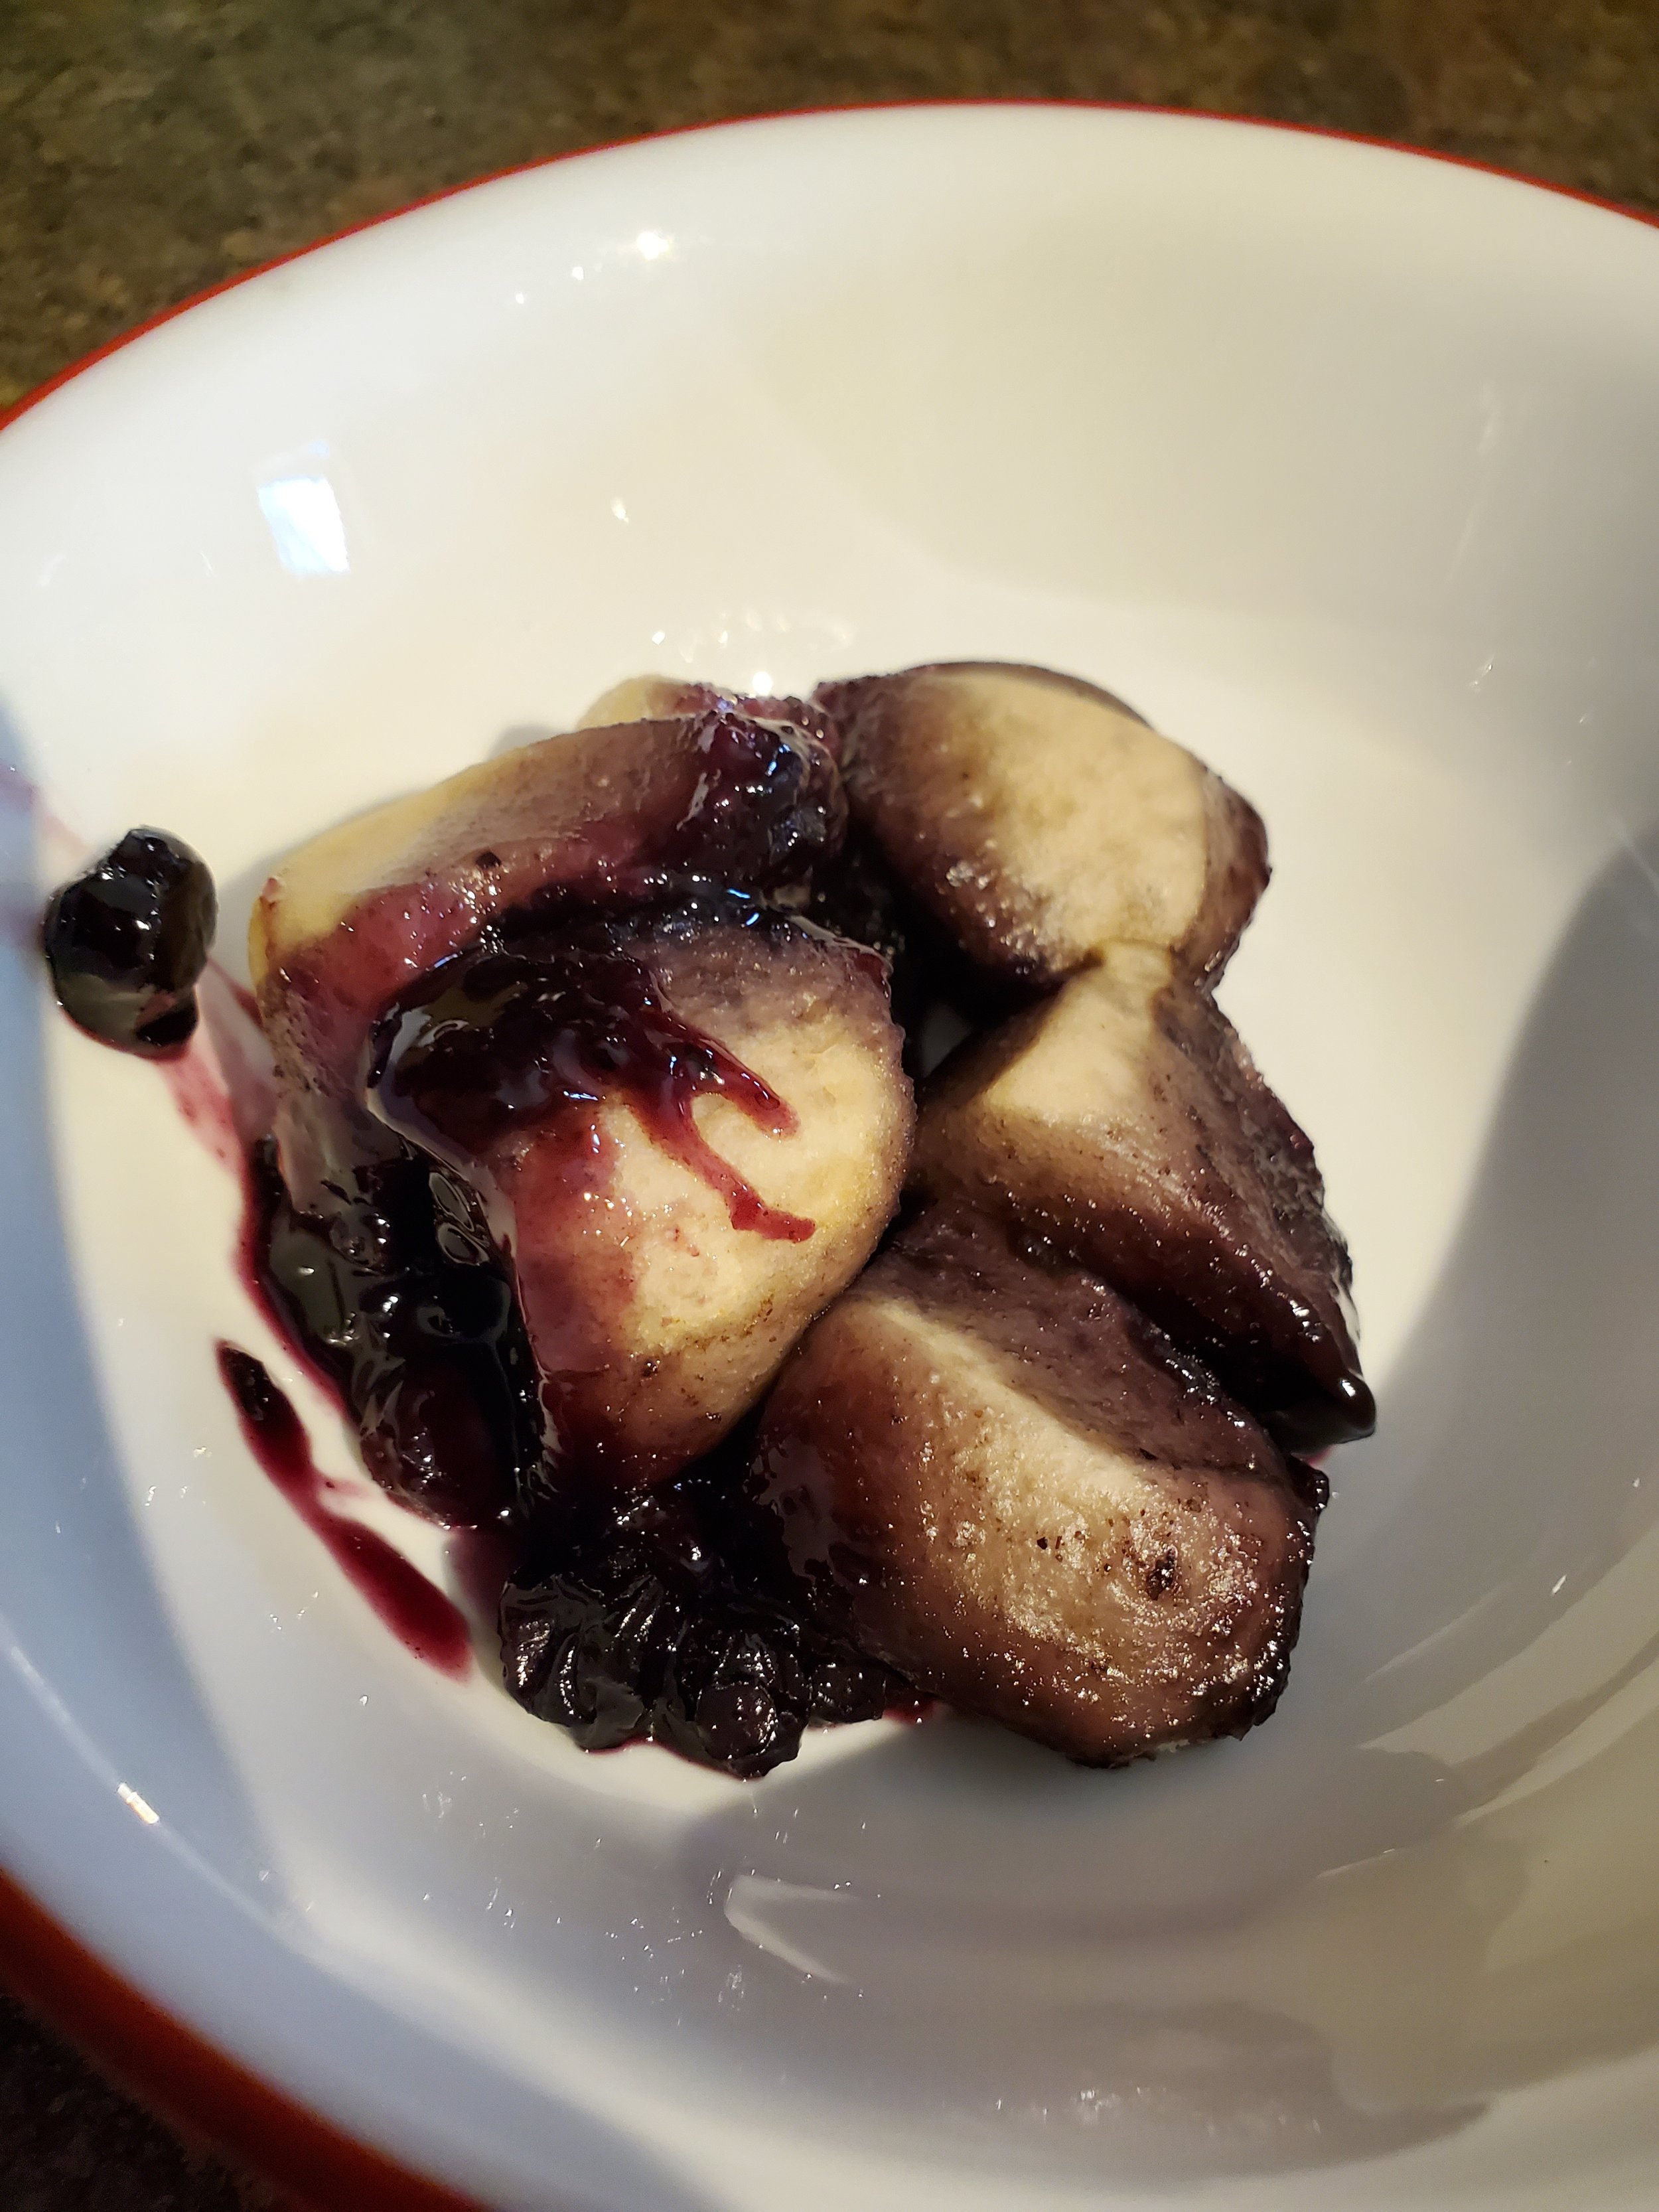
When you feel like it's ready, turn the heat off and lift the lid. Allow it to breathe and set for five minutes before serving.


Serve in heaping scoops, with or without a little ice cream.


As our spooky culinary adventure comes to a delicious conclusion, we hope you've enjoyed crafting and savoring "Purple People Eater Pieces" as much as we've relished sharing this unearthly treat with you. Let us know over on our Facebook page how it was received! 


Halloween is a time for enchanting flavors and mysterious gatherings, but it can also be a season of unexpected surprises. If, amid the spectral celebrations, you find yourself in need of a visit from one of our trusted repair technicians at Appliance Rescue Service, don't hesitate to reach out at our website or by giving us a call ((214) 599-0055). Just as we've crafted this bewitching dessert to delight your taste buds, our skilled technicians are ready to ensure your appliances continue to perform their culinary magic, ensuring your celebrations remain seamless and your spooky feasts flawless. Wishing you a hauntingly good time this Halloween season!


Additional Reading:

Chocolate Pecan Cake for a Special Date


Sweet Veggie Tropical Curry


Organizing Your Home Before the Holiday Daze

Getting Your Home Ready Before the Holidays Hit

Raise your hand if your house becomes a mess every year during the time between Halloween and Christmas?  If you did, you’re not alone. Your Blogger is there right with you. What if though, you had a handful of tips and tricks to tackle this holiday season without losing your mind, the gifts you’d bought, and every square inch of space in your home? Well, that’s where today’s post comes in. 


First up, the general things. 

Two bins made of wicker sit side by side.

Courtesy of Alexa

-Use Bins and baskets around the home to contain mess and clutter. Sure it’s a cheat, but if you have designated spaces to put things, they’re less likely not only to go missing but end up scattered over every other available surface. 

Three stacking storage units sit side by side full of various toys and books, sorted into bins.

Courtesy of C.M. Zijderveld

- You can also use bins and baskets to sort gifts if you purchase as you go through the year purchasing. We like having a row of baskets at the top of the closet. It looks good all year long, and so long as you don’t label the outside, you’re the only one that knows that you’re hiding gifts and not your out-of-season clothes. 


-Clean stuff up! Get rid of stuff and do a pre-holiday donation blitz. 

Go through and trim stuff down. Do you hate that ornament? Donate it. Is a wreath falling apart? Either deconstruct it for craft materials or send it to the recycling center. 

Essentially, if you don’t love it, don’t keep it. 


Have a plan! 

Whether you’re breaking down your decorations from Halloween, setting up for Thanksgiving, or getting organized for Christmas, having a plan saves you time and headaches. 


Play Tetris! 

When it comes to storing things away, unless it’s breakable, it’s better to store smaller things inside larger things. Two examples here. 

A bunch of boxes are all tossed together in  a hodge podge of a mess, and a very  bad example of storing things inside one another.

This would be a very bad example of storing things inside one another. The only reason nothing is broken is because it’s cardboard.

  • A good example would be storing small details like tiny skulls, potion bottles, and bats inside a larger fake pumpkin. By doing this, you maximize the space that the pumpkin is taking up, and you ensure that you don’t lose or break the smaller items. 

  • Storing glass ornaments inside your grandmother’s trifle dish without wrapping or protection. Doing this means that you’ll end up with shards of glass given enough time and movement. 


-Think about where you’re going to store things before you go shopping. If you already know exactly where it’s going, it’s more difficult to lose it in the holiday daze, and you know if you have the space for it. 


Store the specifics together. Don’t just toss everything into 1-2 boxes and call it done. Put together like with like and protect the things that need it inside that storage. We will always suggest storing everything in totes that are labeled on the outside and the lid. 

- Also make sure to make a list of everything that’s inside the tote and tape it to the inside lid of the tote. This lets you ensure that you know exactly what’s inside them. 


-Separate out your Halloween decorations, store your costume pieces in their own plastic sealable bags, and those organized into totes. You can also store all of your decor in totes as well.  (You can also do the same with fabrics for other holidays, but we’re still thinking about Halloween and Halloween costumes here at ARS.) This is to protect your papers, plastics, and fabrics from moisture, bugs, and other rodents. 


What about Christmas? That’s a lot of very specific items that need careful handling. 

-Glass ornaments? Wrap them in paper towels before storing them in an ornament carrier (even if that is just  a photo box.) 

-Egg cartons and cupcake boxes are also great for storing ornaments of all shapes and sizes.

-Loving on the Christmas lights? Turn a sheet of cardboard into cord storage, keep them all separate, and put them into their own bin. 

- Fake Christmas tree? We haven’t figured out anything more straight0forward than the totes made just for this, but let us know if you do. 


- What about wrapping? Do you love it or loathe it? 

Try setting up a station for gift wrapping. Have a container for wrapping papers and keep all of them in that container. 

Keep everything sorted so that it’s close to hand. That can mean a large tote box that has everything inside it in trays that you only pull out when you need it, or it can be a table in a corner with everything stored away.
Your Blogger’s setup contains the following. 

Tape

Sharp scissors

A flat open area

Wrapping paper

Notecards and pens

Power cable, an outlet, and the phone (for entertainment AND wrapping help.) 

A kraft paper background with slick bows, a small box wrapped with a ribbon, a pair of craft scissors, a spool of ribbon and a ribbon tied into a bow.


Rounding out our tips in the kitchen, let’s get sorted!

-Store your baking supplies together. It is a fantastic way to keep your kitchen organized and your life nice and easy. Plus, when you pull out the baking supplies every year, you’ll get excited knowing that all the fun of the holidays is just around the corner. 


-Sort and store cookie cutters in photo boxes. The small boxes with their labels on the outside make it easy to find just the ones you want and store them away when you’re done. 

-Baked Gift Supplies can also be stored together. If you keep everything you need in one box or tray, it’s all there when you’re ready to pack up the cakes and cookies. Bakers' twine, cookie bags, cupcake liners, and tags, everything is right there for you. 

Thanks to Bernadette Wurzinger

And there you have it! Our tips for how to make the holidays run more smoothly and keep you from pulling your hair out this winter. Let us know in the comments below or over on our Facebook page how you make the holidays easier on yourself. 


If you wound up here because you pushed the dreaded button (no, not that one, the one on your oven labeled ‘Self-Clean’,) we’re here to help. First up, step away from the oven. Next, set up an appointment with us via our contact page or by giving us a call at ((214) 599-0055). We’ll work with you to select a time and date that works for your schedule and send one of our technicians to get your oven working again. In the event it’s not because of your oven but instead one of your other major appliances, it’s ok; we can still help. For any of your major appliances, Appliance Rescue Service is here to help get your home running smoothly again. 


Halloween Horrors In Your Home?

Maybe, Maybe Not


It's that time of year again when scary movies are on everybody's mind, and everyone is worried that their house is haunted. We're taking a look at some of the most common scary sounds and experiences you might have in your house this month and showing why you don't need to be afraid just yet. For the following 8, don't worry about a haunt but you might want to worry about your house.


Water Dripping From Walls 

We've all seen movies that have water dripping from the walls. Whether it's inside a seaside house or up in the mountains, you've got water where it shouldn't be. For this one, our suggestion is actually to check out your gutters. You want to be looking for signs that your gutters may have ripped away from the side of your house and are actually dripping down through the walls of your home instead of having the water run off through the piping. It won't be a nightmare in terms of your safety, but it will be a nightmare in terms of your pocketbook. The sooner you catch this one, the better.


Faucets Running/Dripping/Exploding

an old rusty faucet is flowing freely into a bin that is blury

Photo: Shutterbug75

Someone says something that angers the ghost, and now instead of just having a leaky faucet, it's gone and exploded everywhere! We’ve seen this one in several movies and cartoons, and we’re quite glad to tell you it’s not a ghost. We're actually going to recommend that you double-check not what you're saying but instead that you haven't got your water pressure turned up too high, or a valve disconnected somewhere. It could just be bad timing that caused it to explode right then.


Weird Noises Coming From The Laundry Room

If you're stuck in a house that was built in the 1940s or 50s, you might have some weird sounds coming from the laundry room. Rattles and thumps, and squeaks abound in this room, even though the appliances are /brand new/! No in reality, it might just be that the appliances aren't leveled properly rather than the ghost of The Stepford wives coming after you. Don't worry too much about this one, but it is a good idea to have your local handyman come check it out just to be safe. After all, we wouldn't want your dryer to rattle itself loose from the wall.  


Rotting Food That Was Fresh

Photo: Marian Bijlenga

You've got food that you bought just a few days ago in your fridge or freezer. But you’ve got to make dinner or you forgot that your new neighbor is coming over, and you want to impress them. And when you pull it out, oh no, it's gone rotten. It must be the ghost, right? Nope! For this one, you're going to need to check a couple of different spots it might be that your fridge is not sealed properly, it might be that your freezer isn't sealing properly, or it could be that either one is actually not working at the proper temperature.


Burning Smells When You're Not Cooking


You might have weird burning smells around your home on a normal day where it doesn't entirely matter what you're doing. You're just getting normal chores done, but it smells like your house is burning. If that's the case, the first thing you want to check is your dryer. Have you been running the dryer while you have the smell? If the answer is yes, go ahead and take a closer look at the vents and the ducts for your dryer it's very possible that you have a dryer vent that needs to be cleared out and what you're smelling is the lint heating up to dangerous levels. So actually, let us backtrack and say that the first thing you need to do is unplug your dryer and then check out the ductwork. 


Things Turning Off And On Randomly 

What about having the lights flash on and off? You enter a room and lights turn on when they shouldn't, or you're working on something, and all of a sudden the lights shut off. This one, we're going to say have an electrician come and check out your lighting situation. Are there any shorts in the line? Are there any fuses that have been blown or maybe it's just a matter of something not being connected fully. Maybe a new light fixture that wasn't grounded? There are all sorts of reasons for this one that an electrician will be able to help you figure out.


High-Pitched Whining Sounds 

While you have the electrician hanging out at your house, you might want to have them help you with the high-pitched whining sounds. Well, this might be coming from electronics or electricity going through old copper, this can also be an issue with appliances such as your refrigerator or your dryer, in which case you'll need to call on an appliance technician. (psst, check out the link at the bottom.))


Mold And Mildew Spreading Through The House 

Photo: MabelAmber

What about all the mold and mildew though? You've got mold blooming in your basement and mildew in your kitchen. Proof that it is ghosts inhabiting your house. A dark aura driving you and everybody else insane. Well, unfortunately, different areas of your home can end up being a mold hotspot if you're not careful. It can come down to a matter of water getting trapped in a room or up near the ceiling and then mold having the right habitat to bloom in. You have to be diligent not only in getting a dehumidifier but also in keeping the areas clean and bleached in order to kill any hint of the mold or the spores if you catch it soon enough, that should be enough to kill it. However, if it is a full infestation and you're already noticing health issues, that is when you need to be more concerned about your health and may in fact have to rip everything out in that area.

The House Yells At You And Starts Playing Creepy Music When You Walk In The Door

Or you hear music come on as you enter your house. Don't worry that one's just your assistant of choice getting ready for Halloween! 


On the other hand, if you see any of the following, you should be worried.  


You have blood dripping from your walls, and you’re not living in an abattoir. 


If you have a pair of twins appearing at the end of different hallways that you definitely don't know and didn’t invite in. 

 A tall man with a hat who doesn't quite touch the floor when he’s floating there.


And that’s it for our Halloween post! Although we’re still a few days out, we couldn’t wait any longer for this one. Do you have plans for this Halloween? Let us know over on our Facebook page or in the comments below. 


If on the other hand, you really are suffering from some of the issues up above, we might be able to help. For a good half of them at least, an appliance technician is the best person to call. So if your appliances are haunting you,  reach out to us at ((214) 599-0055) or by getting in touch on our contact page. Appliance Rescue Service is here for you. 


Hauntingly Good Meals To Run After

Spooky Biscuits for All Day Long

Sometimes the best thing you can do for yourself is make things easier on future you. This is especially true for a weekend holiday.


Here's a fast breakfast, lunch or dinner idea to get some food in the bellies of your trick or treaters before they wander off, or as they come back down from the sugar high... Or maybe into your stomach before the heathen horde comes knocking.


Let's make some quick and easy monster biscuits.


Ingredients:

1 can biscuits or 8 frozen biscuits

4 oz brick mozzarella cheese

Lunch meat of choice, or pepperoni 

1 can whole pitted black olives

1 jar strawberry or raspberry jam or jelly

White chocolate chips, sliced almonds, candy eyes, etc.


We know you're looking at this ingredient list and questioning our sanity. Don't worry. It's not all going together on one biscuit.


Tools:

Baking sheet, foil, oven mitt, cutting board, vegetable peeler, knife, fork, spoon, plate, spatula


Line your baking sheet with a layer of foil, because anything that makes your life easier today is worth it.


Preheat the oven according to the directions on your package of biscuits.


We used the Pillsbury brand southern homestyle biscuits in a can (because we already had them on hand and didn't want to make an extra trip to the store) and we found them to work well. We've also previously used the Great Value brand frozen buttermilk biscuits, but in our experience, they are prone to scorching on the bottom. If you use them, keep a close eye on them while they bake up so you avoid that problem.


Place your biscuits on the lined baking sheet - have their edges touching if you want them tall and fluffy, or give them room to expand if you would prefer them a little thinner - and pop them into the oven. Set your timer for HALF of what the directions say. Trust us here.


While your biscuits bake, pop open that can of olives. Drain them and give them a quick rinse so they won't transfer their color as easily when you assemble dinner. We're going to do this in reverse order for the meals, because of the three meal ideas we're covering, the dinner takes the longest to prep.


Fish out a few olives and put them on your cutting board. Slice a thin ring out of the middle of each. Your goal here is eight little rings. Feel free to eat all your mistakes - it's the best perk of being the chef.


Once you have your olives ready, scoot them to one side of the cutting board. Consider wiping up after them if they've left you a wet spot. Place your brick of cheese long side up on the board and grab your vegetable peeler. We know you're questioning our sanity again, and it's okay. Take the peeler and shave long, thin straps off the brick of cheese until you feel you have enough to put a double layer on six of your eight biscuits. 


You may have a cheese wire in a drawer somewhere that you want to use for this. We would advise you skip that urge. The goal here is the extra-thin strips and feathery edges a peeler creates. A cheese wire, even adjusted to as thin as possible, will still make a mostly clean cut. If that's what you'd prefer, go ahead, but we definitely think it looks more like a mummy bandage with the rough sides and broken looking ends.

Feathery, jagged cheese bandages.


By now you should be reaching the end of the timer you set. Pause and flip the biscuits. The directions don't say to in most cases, but if you flip them halfway through, you'll get nice, toasty tops and bottoms without either one becoming too thick or crispy. Put them back in the oven for the remaining half of the recommended time and reset your timer.


While they finish up their baking process, separate some slices from your lunch meats. It doesn't really matter what you choose to use, as long as you enjoy it. We used hard salami for ours, but it would work just as well with ham or turkey or roast beef if you have them on hand.


Once they're out of the oven, split them all evenly with a sharp knife.

Biscuits

Fluffy, freshly baked and sliced biscuits.


Take two and plate them like an open-faced sandwich. Spoon a generous helping of jam or jelly onto each half and spread it a bit with the back of the spoon. Congratulations, you have a smashed monster! We had candy eyes left over from another project and used those for this, but slices of almond, white chocolate chips or mini marshmallows also can serve as a reasonable approximation of monster eyes. Just use whatever you have on hand.

Frighteningly delicious breakfast monster


Take your next two biscuits. Layer your lunch meats on them and add a few strips of cheese if you'd like.Grab two whole olives. Wrap a torn slice of lunch meat around each one, leaving the open end of the olive visible. Shut your biscuits into sandwiches and tuck your wrapped olives into the side, peeking out like a pair of creepy, unblinking eyes. There's lunch, easy to just grab and run if necessary.

Lunch timer watcher


And now for dinner... take your four remaining biscuits and plate them with their soft insides up. Place a layer of lunch meat on each half, then add those olive rings you cut earlier as eyes a little above the middle. Cover it all over with a layer of cheesy bandages, being sure to let at least one eye still peek out from beneath them.

Mummy’s out for dinner!


By the time dinner comes around, these will have gone cold - so be sure to lightly toast them and get your cheese melted before enjoying your new mummy bites.


And with just a bit of time, you’ve got three fantastic meals, sure to haunt anyone. If you test them out let us know over on our Facebook page! We’d love to hear from you. 


If on the other hand, you ended up here because your oven has decided to go to the grave, we might be able to help. We’d be willing to say that we’re better than Dr. Frankenstein, at least when it comes to bringing appliances back to life. Give us a call at ((214) 599-0055) or visit our contact page to get in touch.


The Frightful Feast Continues

Halloween Themed Meals


Last week we made you a promise: real food ideas for dinner, but with enough of a Halloween twist to distract the kids from the impending sugar rush (at least momentarily).


This post brings you three entrees full of creepy, spooky, tasty Halloween goodness.


We do use shaped molds in one recipe. If you opt to use that recipe, be sure to get metal or heat-resistant silicon molds so you'll be able to put them in the oven. They're available at your local Target or Wal-Mart for between two and twelve dollars, as store brand or name brand. Wilton makes the best, in our opinion - the cutest for sure, but also the most expensive.


If you don't want to spend the extra time or money on shaped molds, we've provided a couple of "handy" alternatives at the end.

Fried hotdogs and pickled peppers for a Halloween treat in a frying pan.
 

Fried Worms and Stranglevine Sandwiches


Ingredients

1 package hot dogs or Polish sausages

1 jar mild pickled pepper rings or slices

1 Tablespoon olive oil

8 slices wheat bread

Ketchup, mustard, relish, etc., to taste


Tools:

Frying pan, cutting board


Step One:

Cut your hot dogs or sausages into quarters. Sometimes we feel quarters are a bit too broad and cut them into eighths, which cook quicker anyway.


Step Two:

Drain the vinegar from your pepper rings and rinse them off so the pickled taste isn't quite so strong.


Step Three:

Put your bread into the toaster. Crispy slices hold up much better; you may wish to toast them a little longer than your usual setting.


Step Four:

Heat the olive oil in your frying pan and toss in the sausage and peppers to sear.


Step Five:

Scoop a generous helping of "worms and vines" onto your toast, and garnish with your favorite condiments before serving.

 
Meatloaf shaped like a brain for a Halloween meal.


Brain Loaf

Ingredients

2 lbs fine ground turkey or ground beef ( it’s up to you)

1/2 cup chopped, steamed cauliflower (cooled)

2 eggs

1/2 cup breadcrumbs

1/4 cup minced onion

1 Tablespoon garlic powder

Salt and pepper to taste


BBQ sauce or ketchup for decorating


Tools:

Two small aluminum mixing bowls (the rounder the better), large mixing bowl, baking sheet


Step One:

Preheat your oven to 375. While it's heating, mix your turkey - we like to use Honeysuckle White brand Italian seasoned turkey link sausage, but remove the casing - with your cauliflower, egg, breadcrumbs and spices in a large mixing bowl.


Step Two:

Grease your two small aluminum mixing bowls lightly with nonstick spray, butter or oil - whatever you have on hand. Fill them to about 3/4 full with your turkey mixture.


Step Three:

Place your two mixing bowls onto a baking sheet and slide it into the oven. Bake for 45 minutes to an hour. Test with a meat thermometer if you're not sure whether or not they're cooked through.


Step Four:

Loosen around the edges with a butter knife and turn the bowls upside down onto the dish you'll be serving from.


Step Five:

Use your ketchup or BBQ sauce to draw squiggles on your "brain" before cutting to serve.

 
Meatloaf shaped like skull and crossbones on a bed of shredded and sauteed veggies.


Pirate Bones in Seaweed


This is the recipe where those shaped molds come into play! Skulls and crossbones are ideal for what we've called it here, but feel free to make up your own fun name to go with jack o'lantern, brain, bat or ghost shaped molds, or whatever else you can find. Get creative! And don't forget to poll the kids if you have them around - they often have brilliant ideas.


Ingredients:


Pirate Bones:

[Use the same recipe from "Brain Loaf" to make your skull and crossbones meatballs]


Seaweed:

2 yellow squash

2 zucchini

2 carrots

2 Tablespoons butter


Tools:

Shaped silicon mold(s), vegetable peeler or spiralizer, baking sheet, large skillet or pan


Step One:

Preheat your oven to 375. Load your silicon mold(s) full of the meatloaf mixture from the previous recipe. Fill the hollows to the top, and make sure to squish the mixture down into the little details. Having two or more molds is optional, but having more streamlines the process (and you'll only have to get your hands dirty once like that).


Step Two:

Place your silicon mold(s) onto the baking sheet. Bake for 25 minutes, or until the visible edges of the meat mixture have browned.


Step Three:

Heat the butter in your skillet or pan on low.


Step Four:

While your meatballs are baking, use a spiralizer or a vegetable peeler to either spiral cut or shave thin slices of your vegetables into the melted butter.


Step Five:

Once all the vegetables have been sliced into the pan, turn the heat up and saute them lightly. Season to taste (we like garlic or lemon-pepper seasoning) and arrange into a nest on each plate.


Step Six:

Pop your shaped meatballs out of the molds and divide them up between the dishes of vegetables. Sauce is optional.


Hand Steak and Veggies


Here's the alternate idea we promised you, in the event you weren't interested in the shaped meatballs from the last recipe.


Utilize the meatloaf recipe once more and arrange it into a large hand shape on a baking sheet or in the bottom of a large skillet, and either bake or pan fry until done.


For a slightly less messy option, you could step over to the grocery store and pick up a ham steak or two. Trim up the edges and then cut short lines in from one side to make wide "fingers," and then pan sear.


Serve with your favorite sides, and enjoy your simple, spooky meal!


Happy Halloween!


What did you think? Are you as eager to get into the kitchen as we were?  We hope you’ll let us know over on our Facebook page, we’d love to hear your thoughts on Halloween traditions and food. In the event that one of your appliances has given up the ghost, or is just being ghoulish, you can always call or visit our website to make an appointment