comfort food

Cooking Up Comfort: The Perfect Recipe for Ham Bone Soup

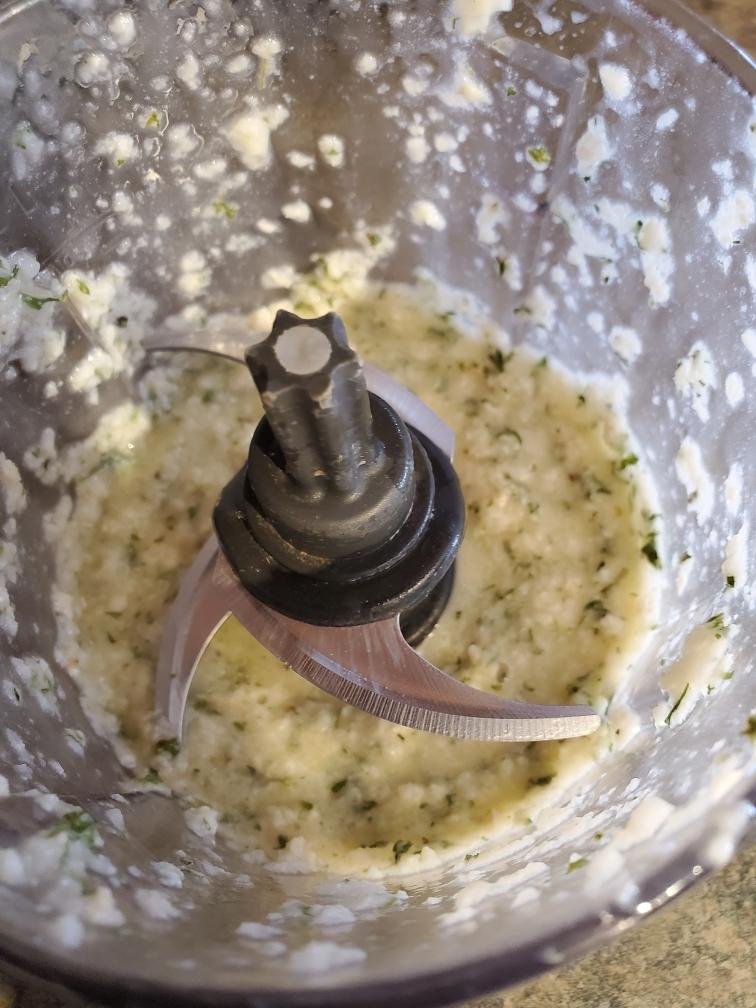
 Crafting a Flavorful and Nourishing Dish from Kitchen Scraps

After Easter dinner, everybody who bought a bone-in ham is left looking at the bone, wondering what on Earth to do with it.

Some people offer it to the family dog. While the dog will undoubtedly be overjoyed, this is not a wise move; the bone has been cooked at least twice now and is in no condition for a canine companion to chew on. Please don't do this. Your dog will be sad in the short term, but s/he can have a little piece of ham and cheer right up.

Some people just shrug and toss it in the trash. In our opinion, too many people take this approach. Even if you've carved it clean, it's much too valuable to simply dispose of it. Instead, try making a ham bone soup.


Ingredients:

Obviously, the ham bone

whatever odd chunks of ham you have left lying about

30 cups water

1/2 pound carrots

1 onion

2 stalks celery

2 potatoes

1 bag frozen corn

1 can cannellini beans, rinsed and drained

1/2 teaspoon fennel seed

1/2 teaspoon rubbed sage

1/2 teaspoon marjoram

1/2 teaspoon ground mustard powder

1 teaspoon paprika

1 tablespoon hot sauce of choice

2 tablespoons tomato basil seasoning

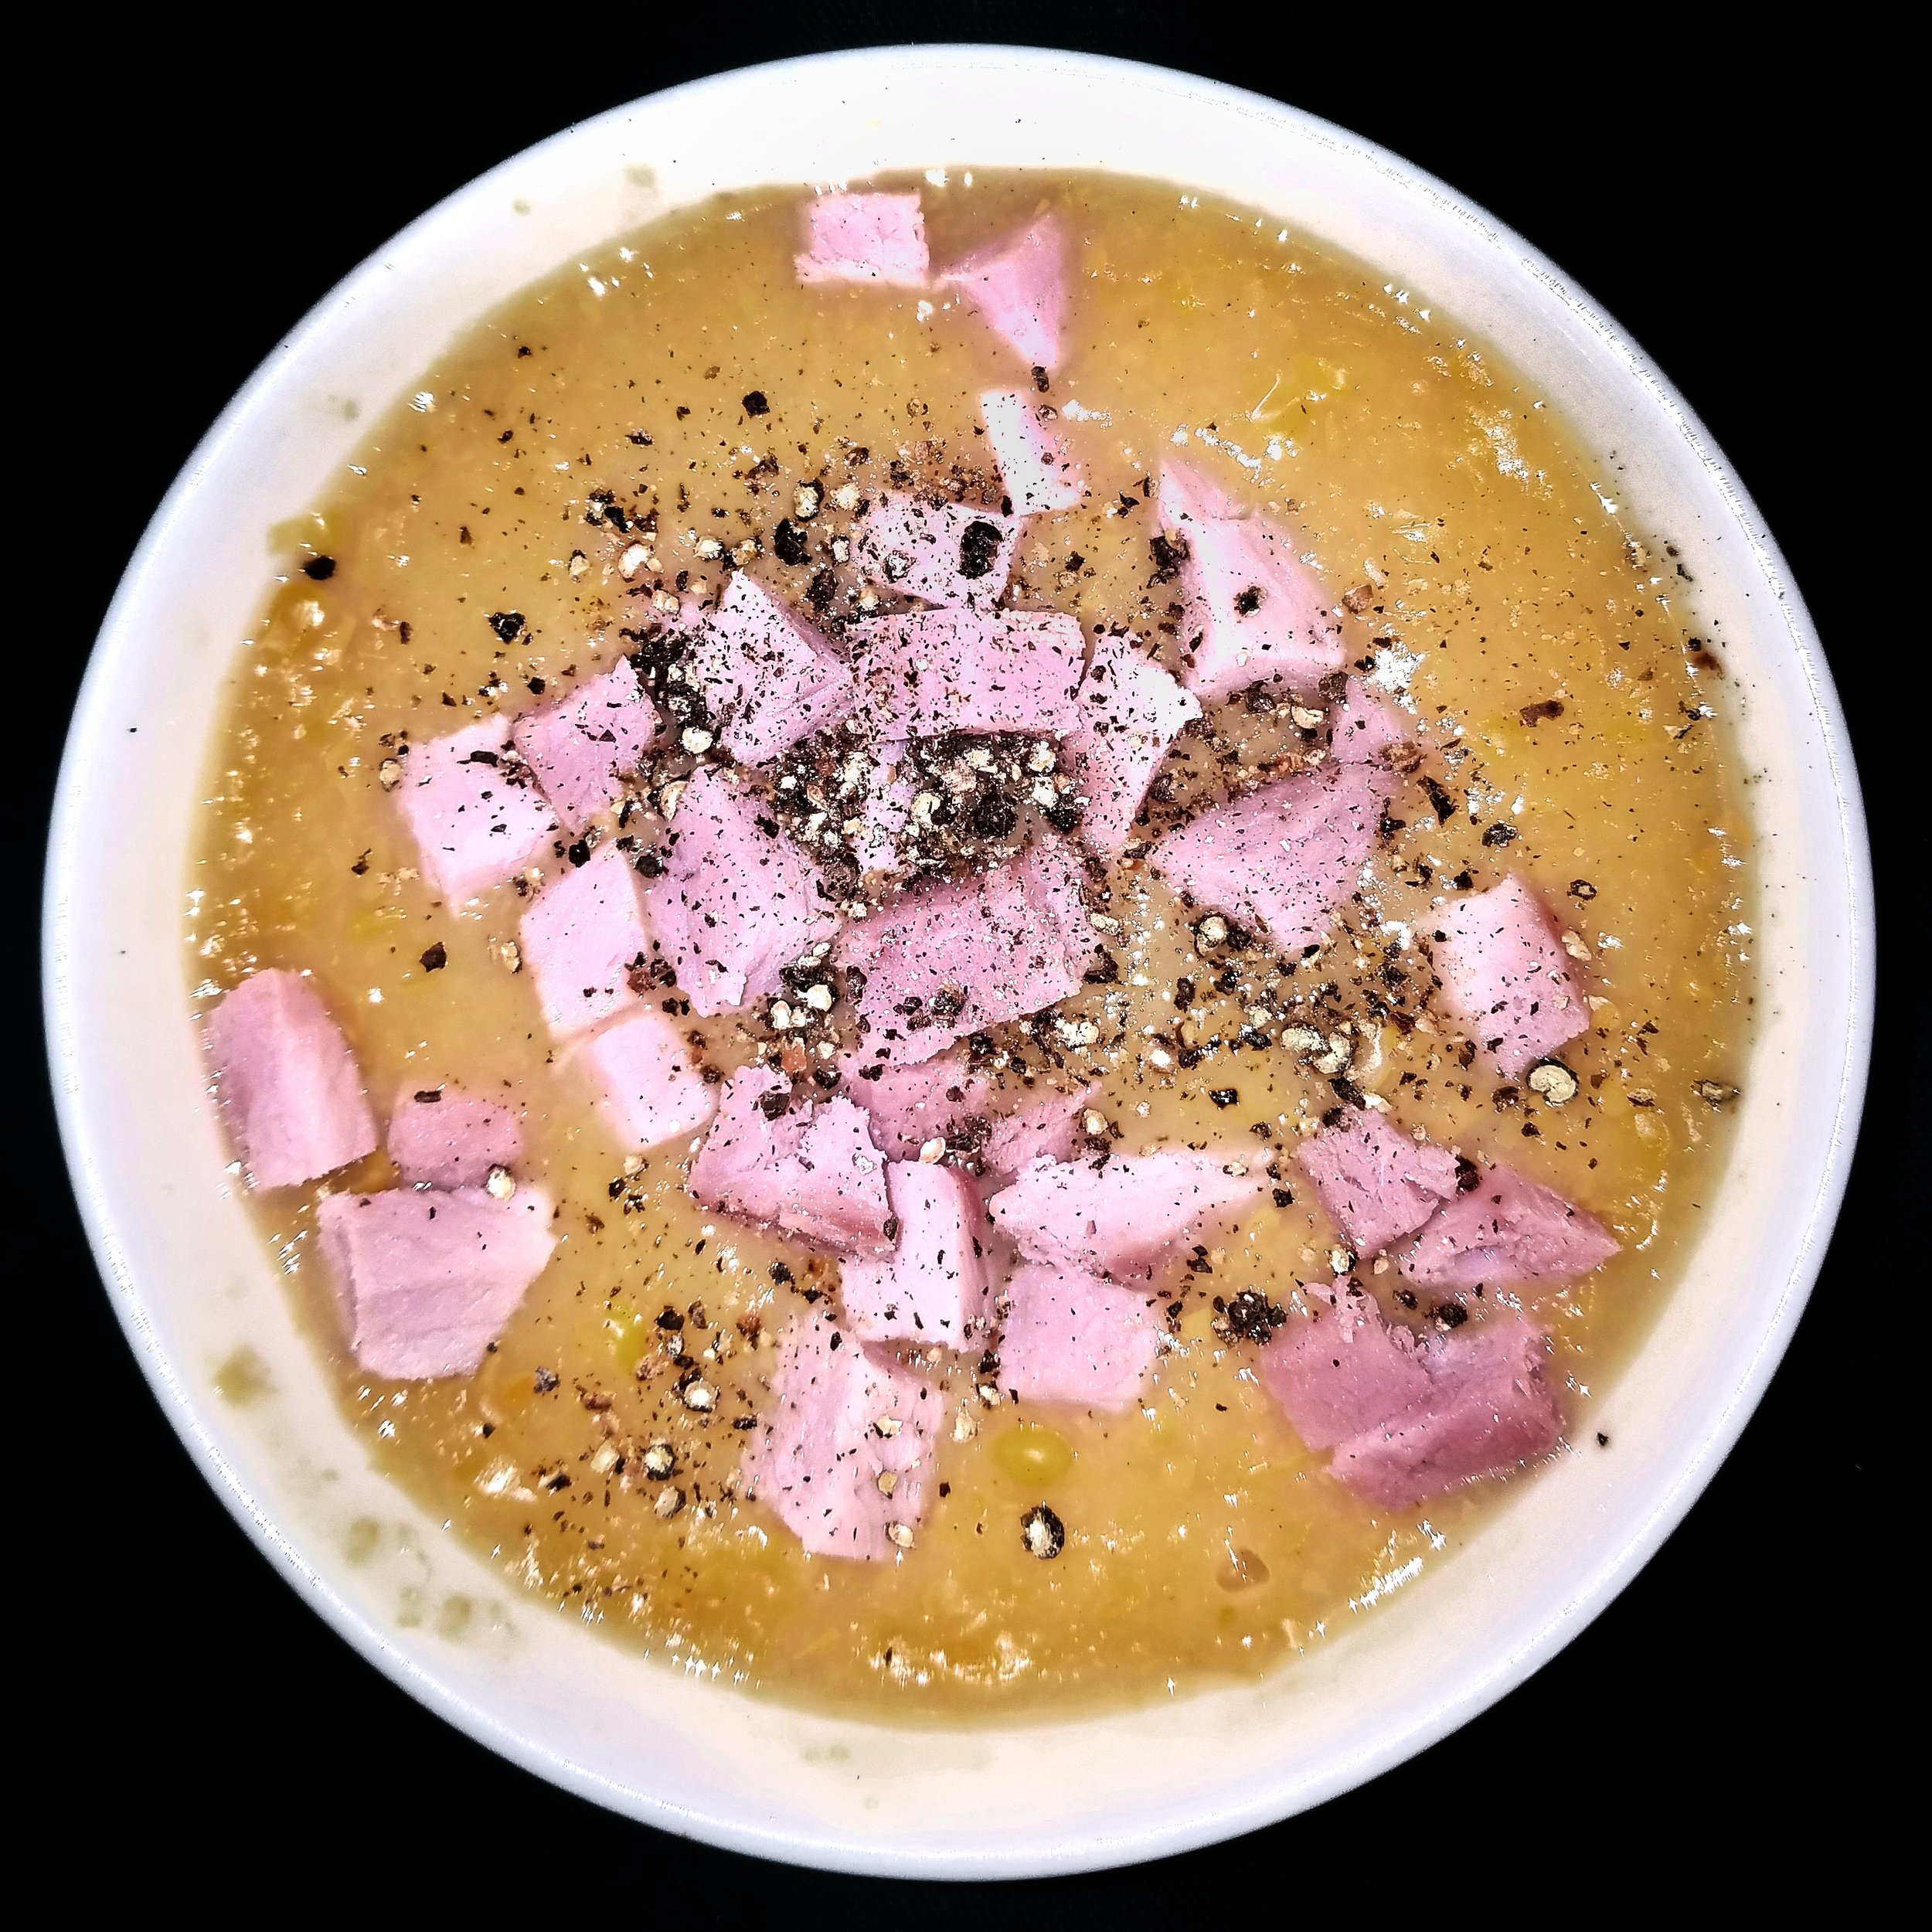
salt and pepper, to taste

Tools:

Seriously huge stock pot, with lid

Long-handled spoon

Sieve or slotted spoon

Knife

Vegetable peeler

Cutting board

Tongs

Measuring cups and spoons 

We started with a 23 pound whole bone in ham, so this recipe is written under the assumption you also have an egregiously large ham bone on hand. Feel free to pare it down as necessary if you bought a more manageable ham, say about 5-8 pounds. Also, knowing there was a soup to be made, we didn't exactly put a lot of effort into carving the ham off the bone. We wanted plenty of meat in the soup.

Take a big pot. No, not that one you use all the time. Go bigger. As big as you can without having to get a whole other camp burner or something outside.

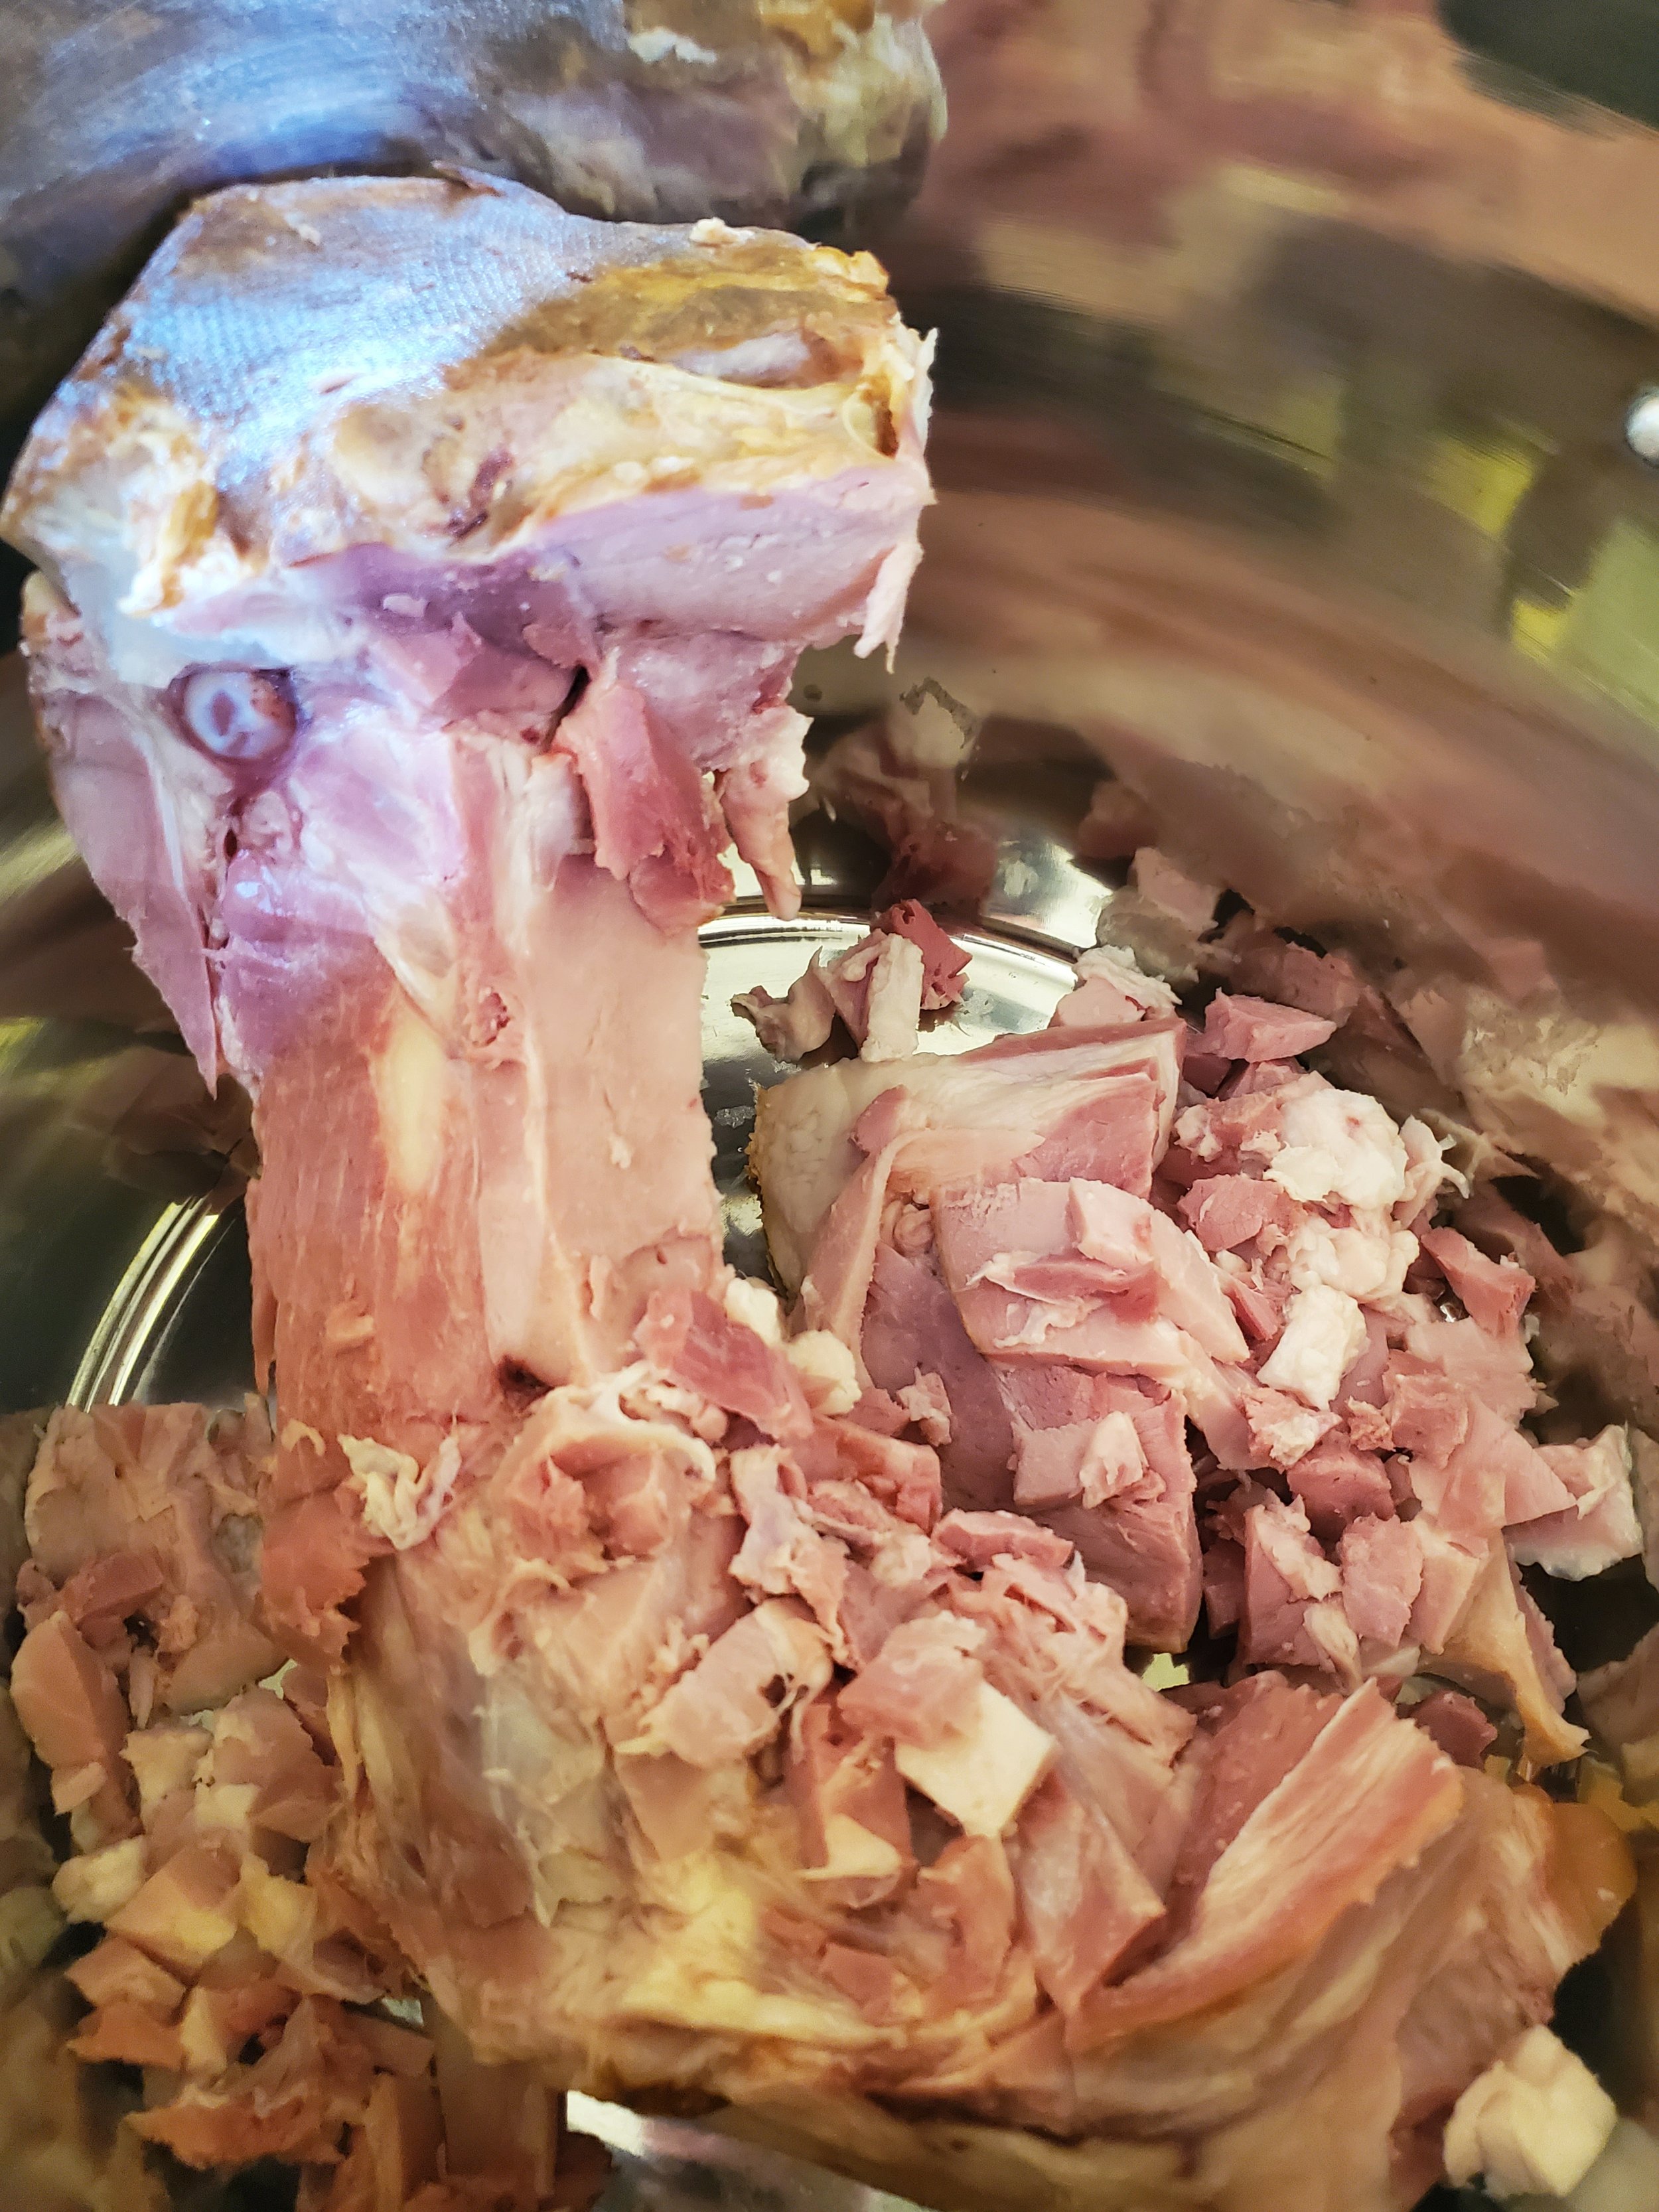
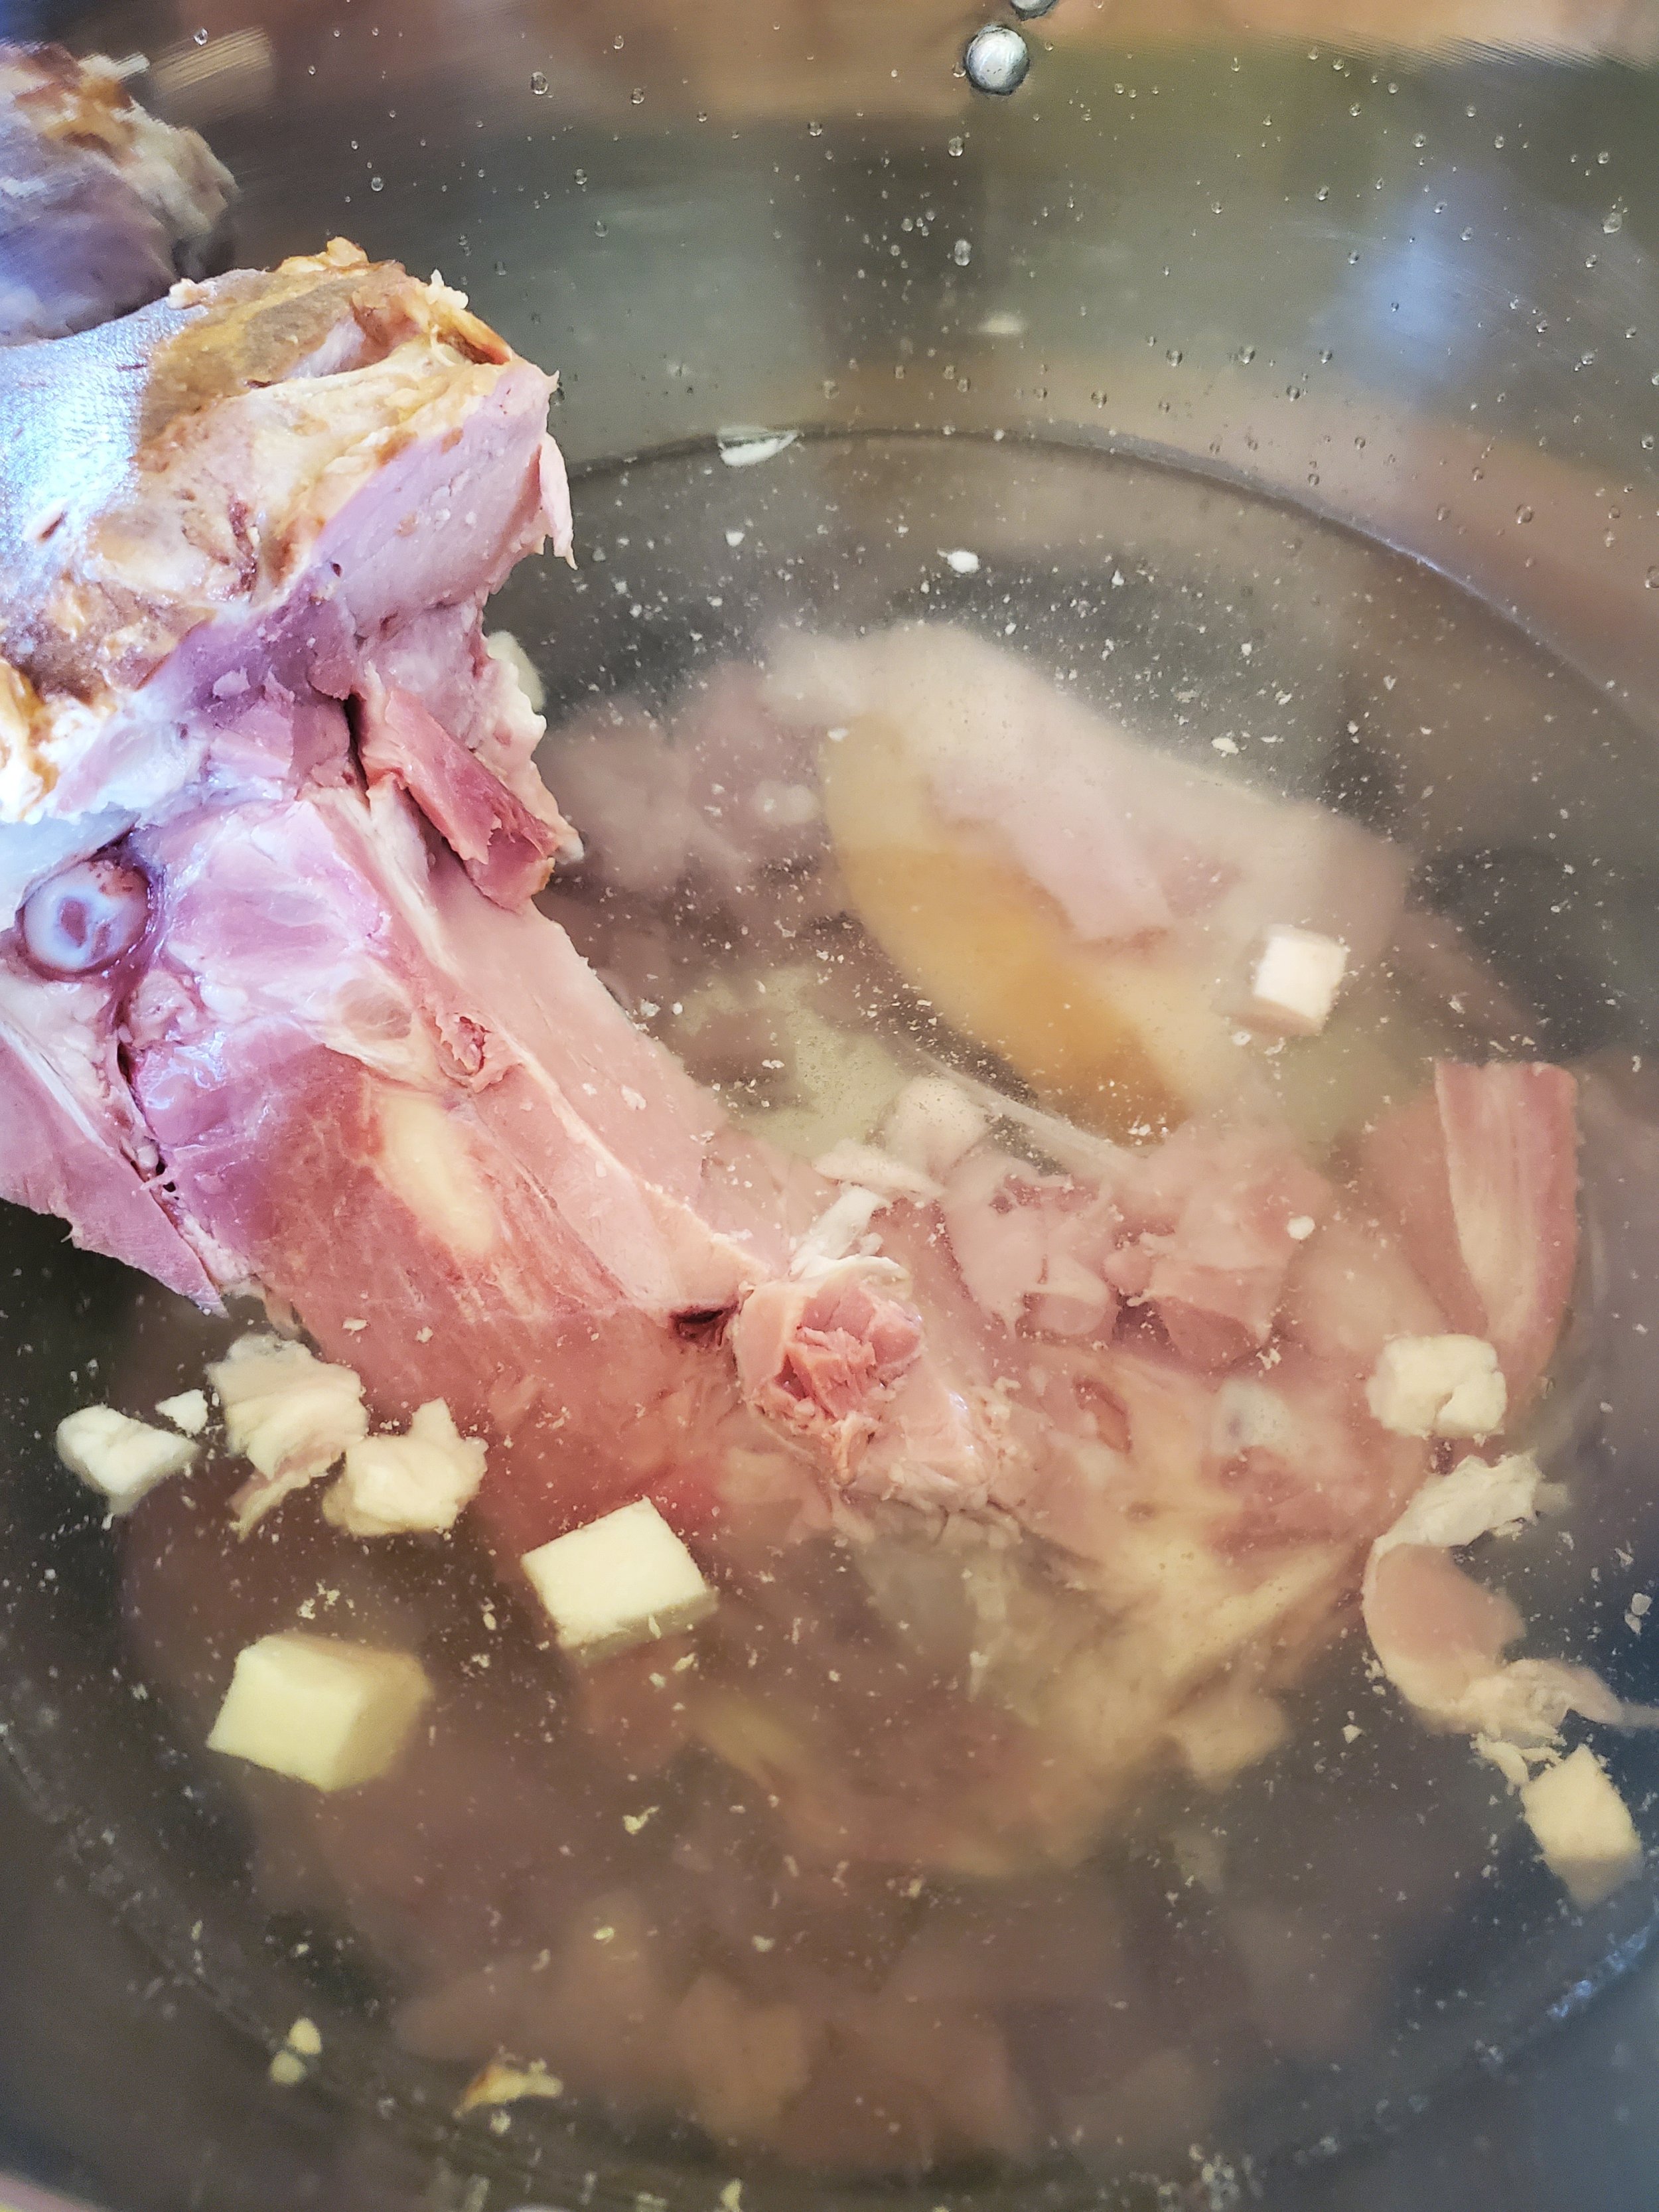
Plop that ham bone in there, and toss in whatever odd pieces are left on the carving board or serving plate. There are always shreds and chunks and juices left, so just make sure no one scrapes the plate into the trash before you get going on this soup.

We added 30 cups of water (just a little shy of two gallons) and that about half covered the ham bone. Set the burner high enough to get the water at least simmering. Put the lid on the pot and get ready to wait. You'll have at least half an hour before the next step. We want the bone to sit and simmer for a while, and release all the flavor into the water.

We weren't in a hurry, so we got it up to a good boil, reduced to a simmer, covered the pot again and let it go for about six hours. This is not necessary, as you'll get loads of flavor in about a third of that. We just had the time, so we allowed it to cook forever.

However long you want to let the bone simmer, have a fine mesh sieve or big slotted spoon handy. The next step is filtering out the super fatty pieces.

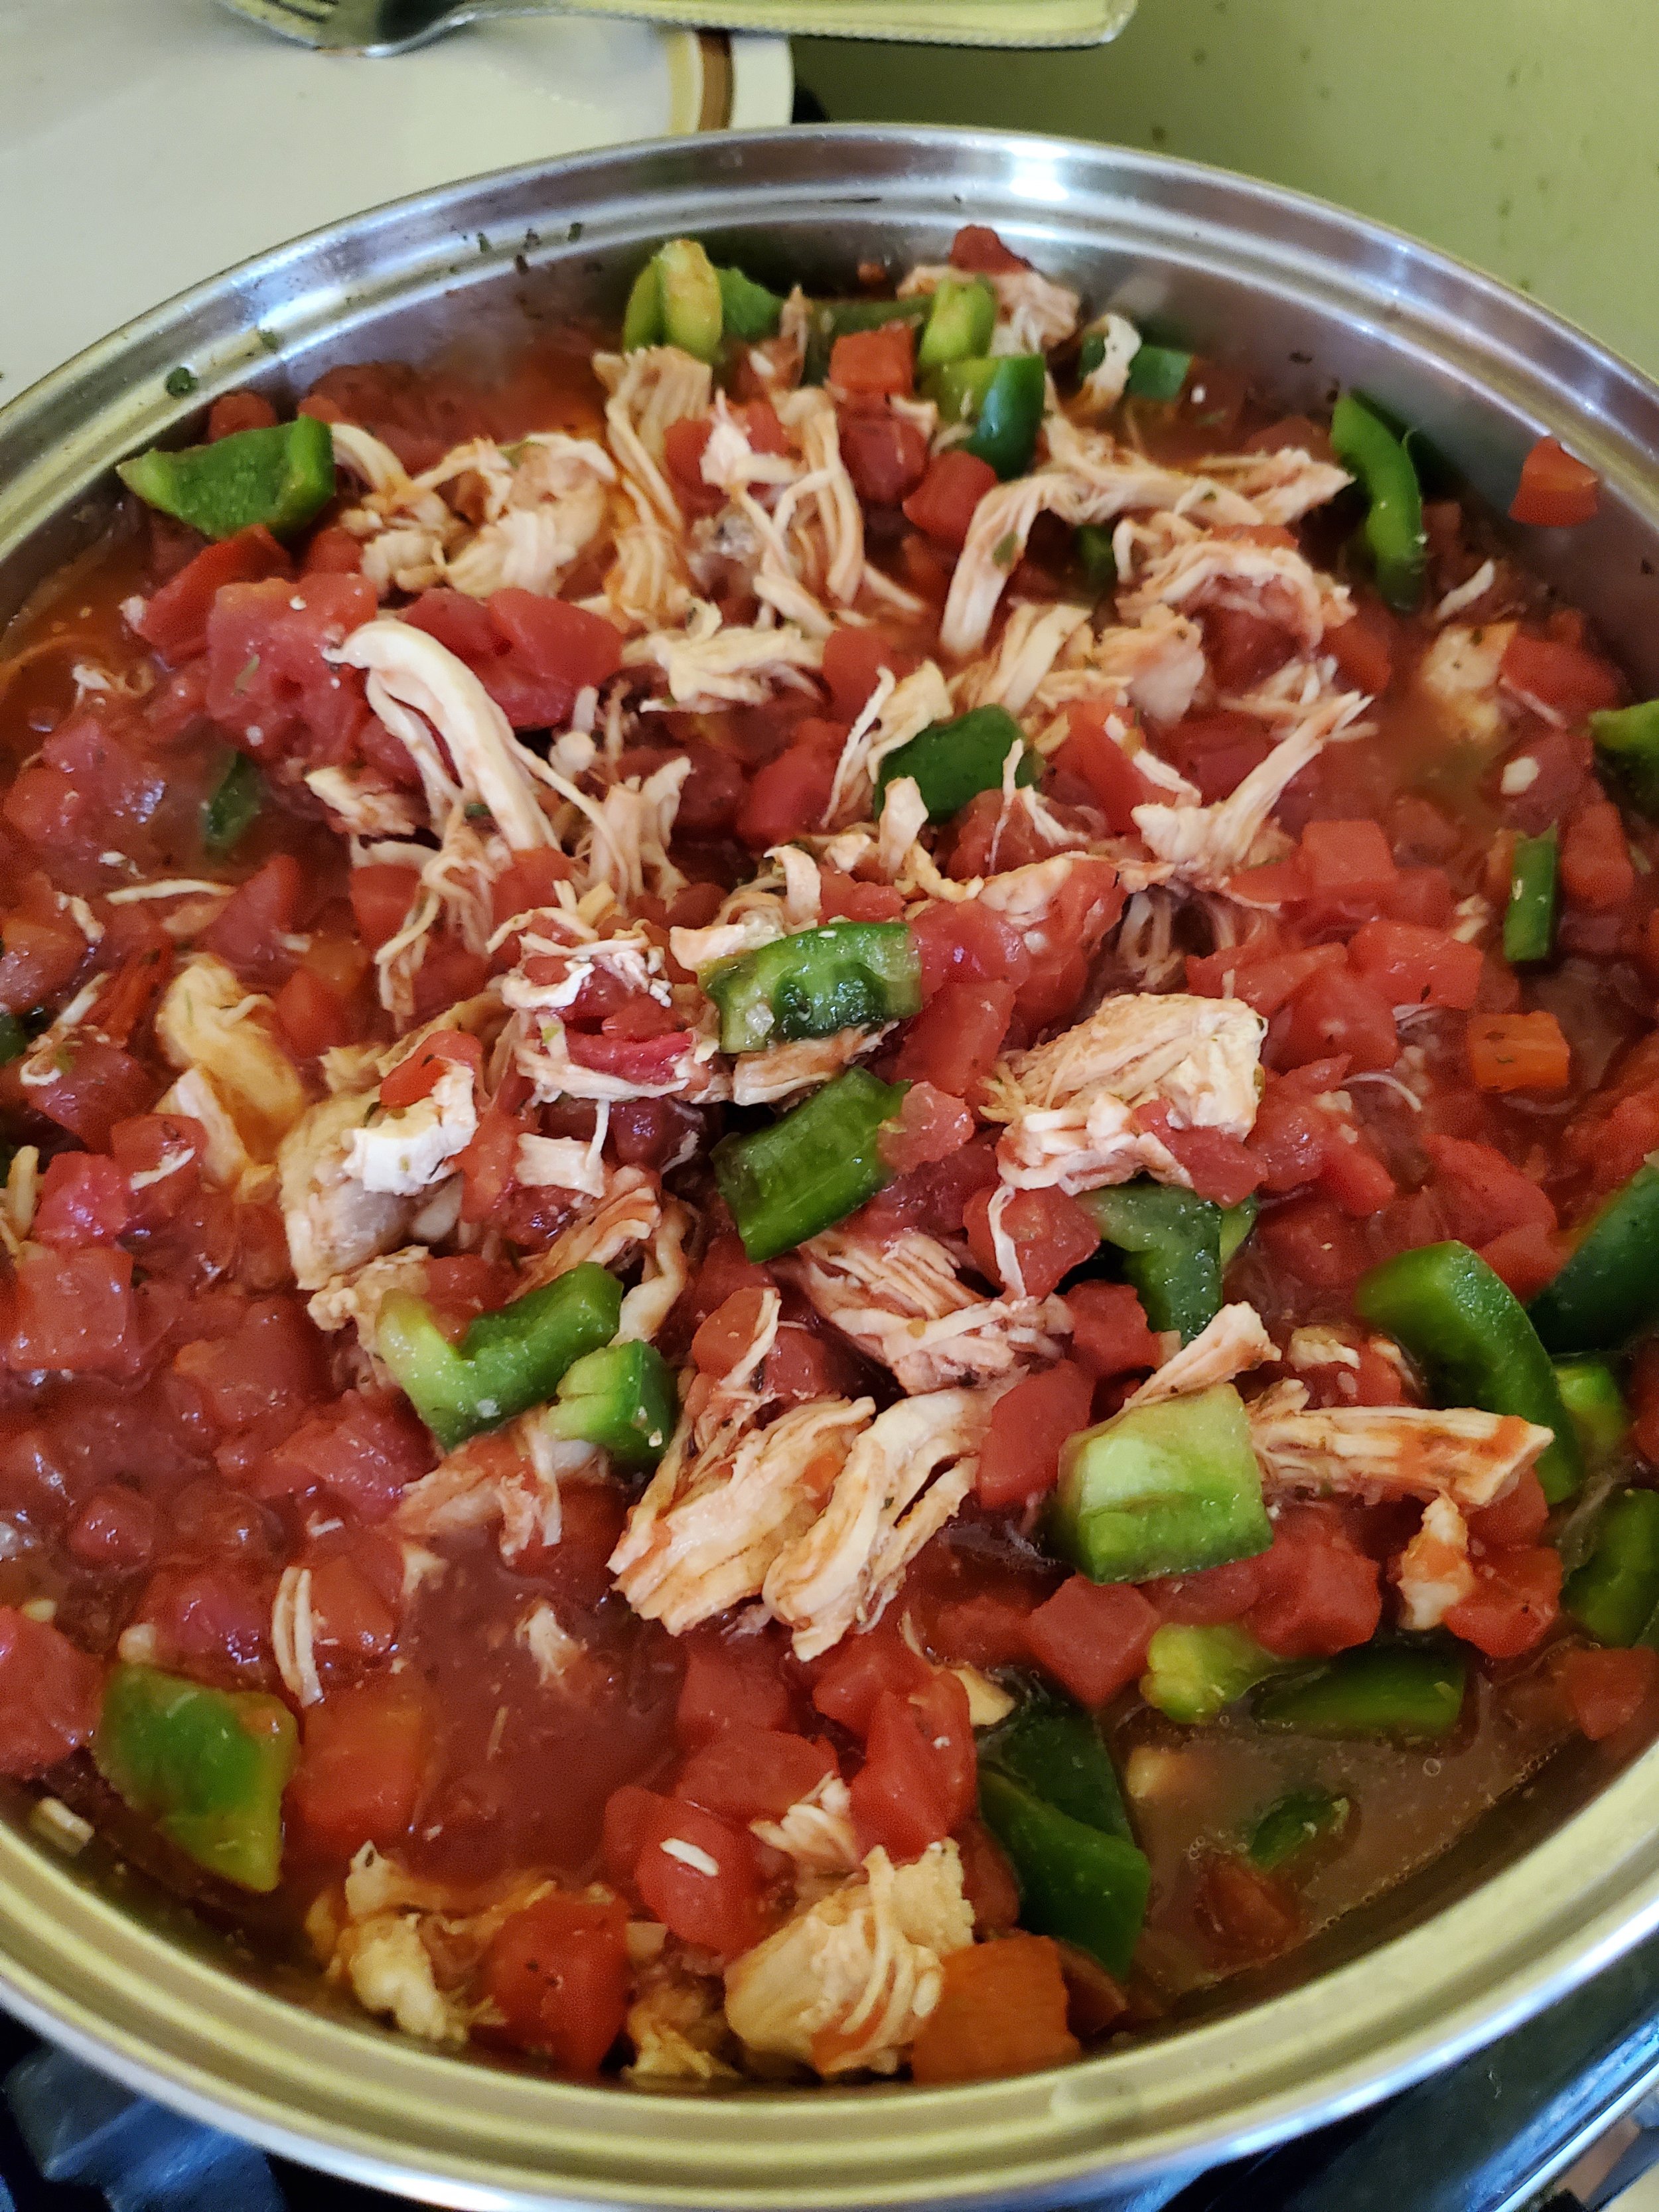
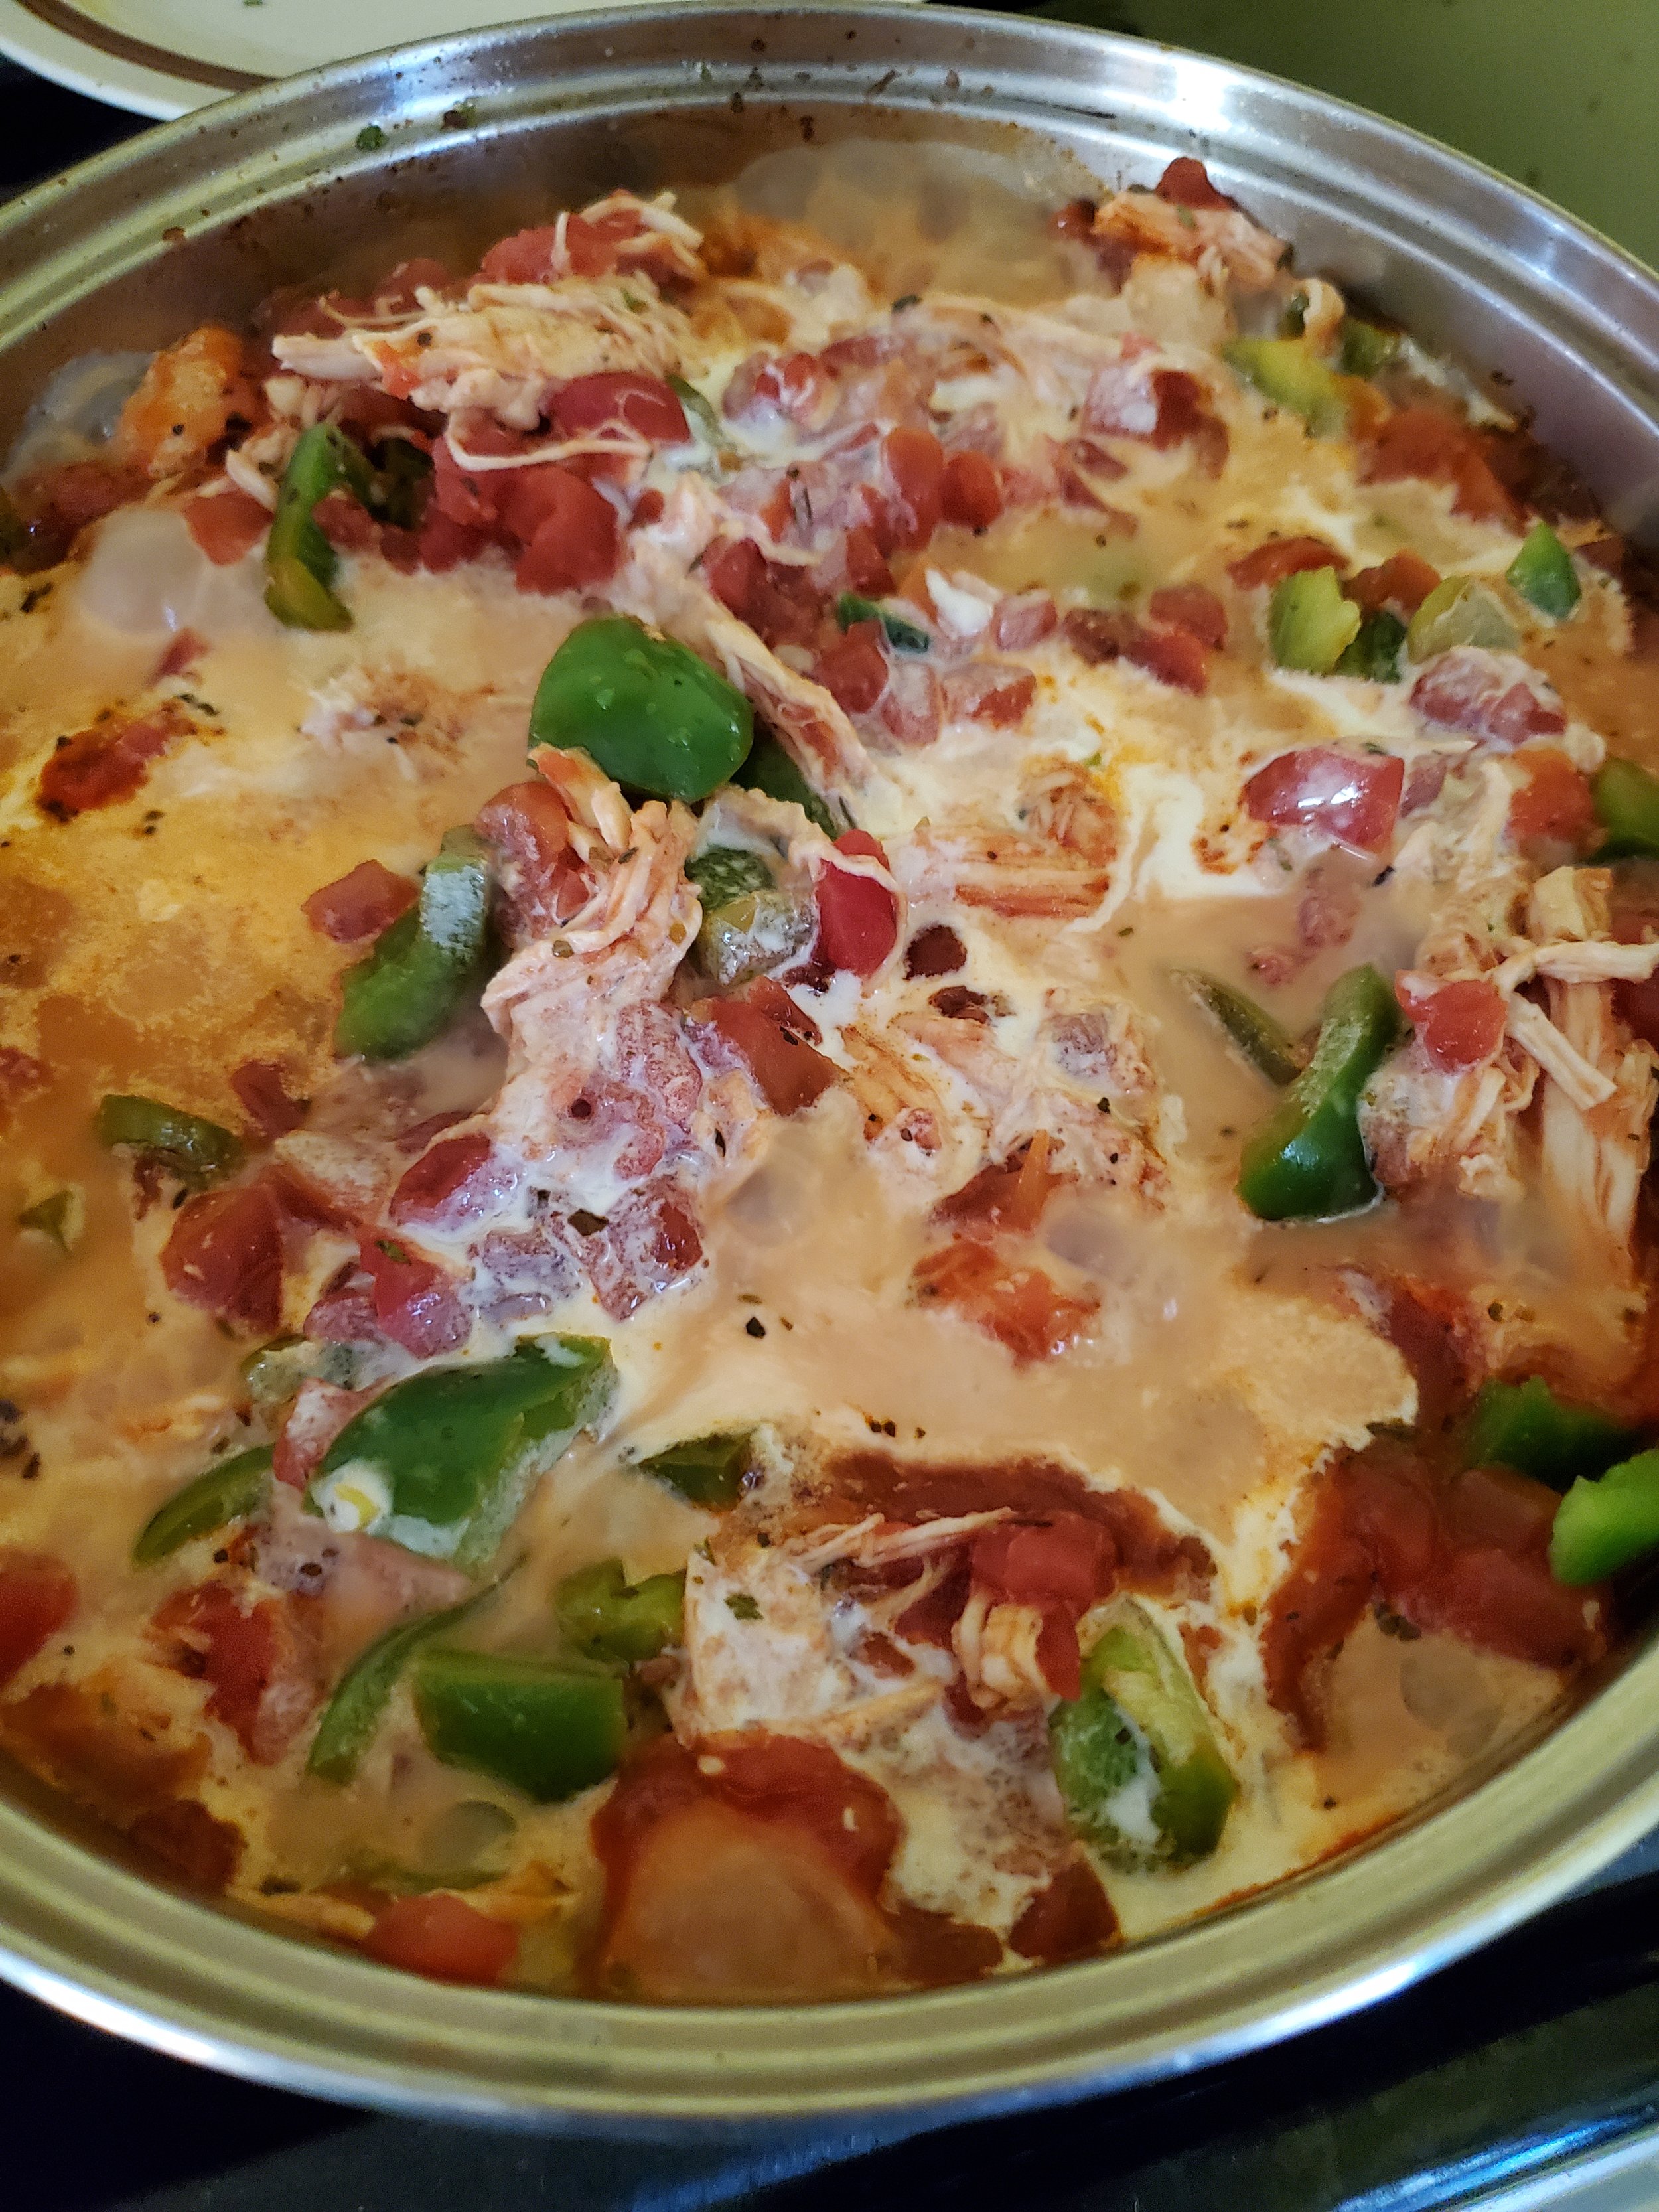
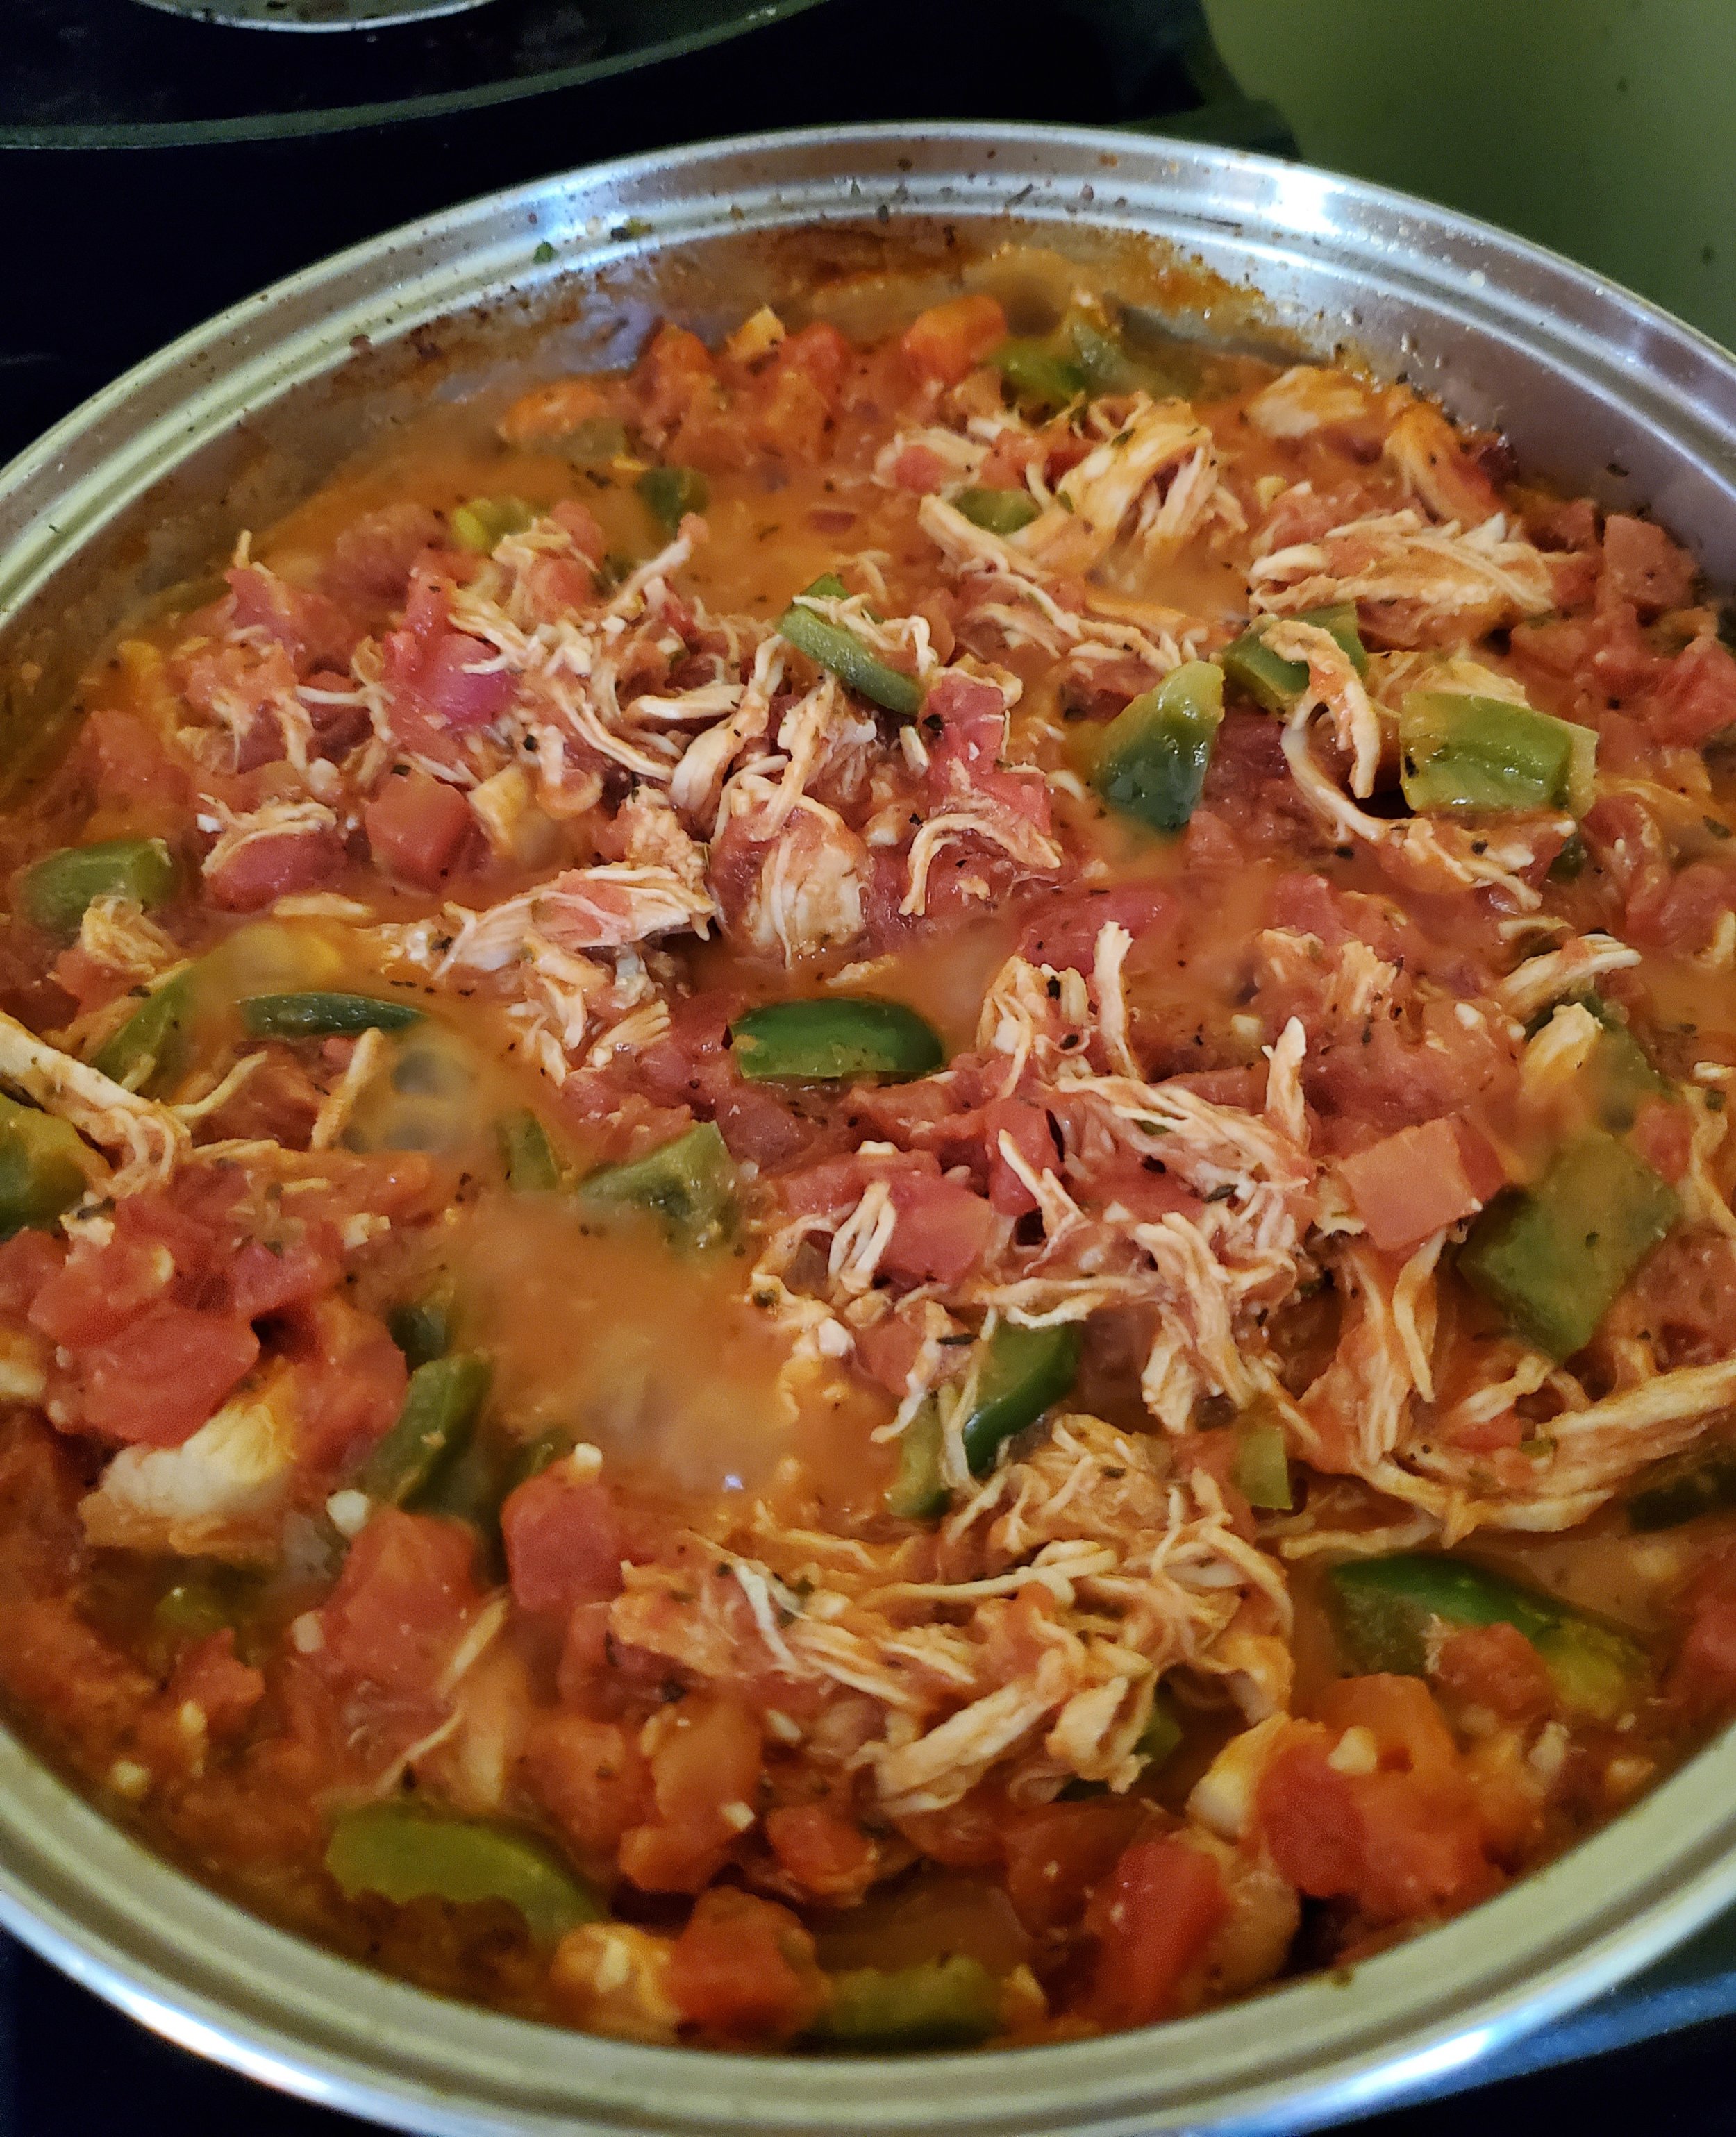
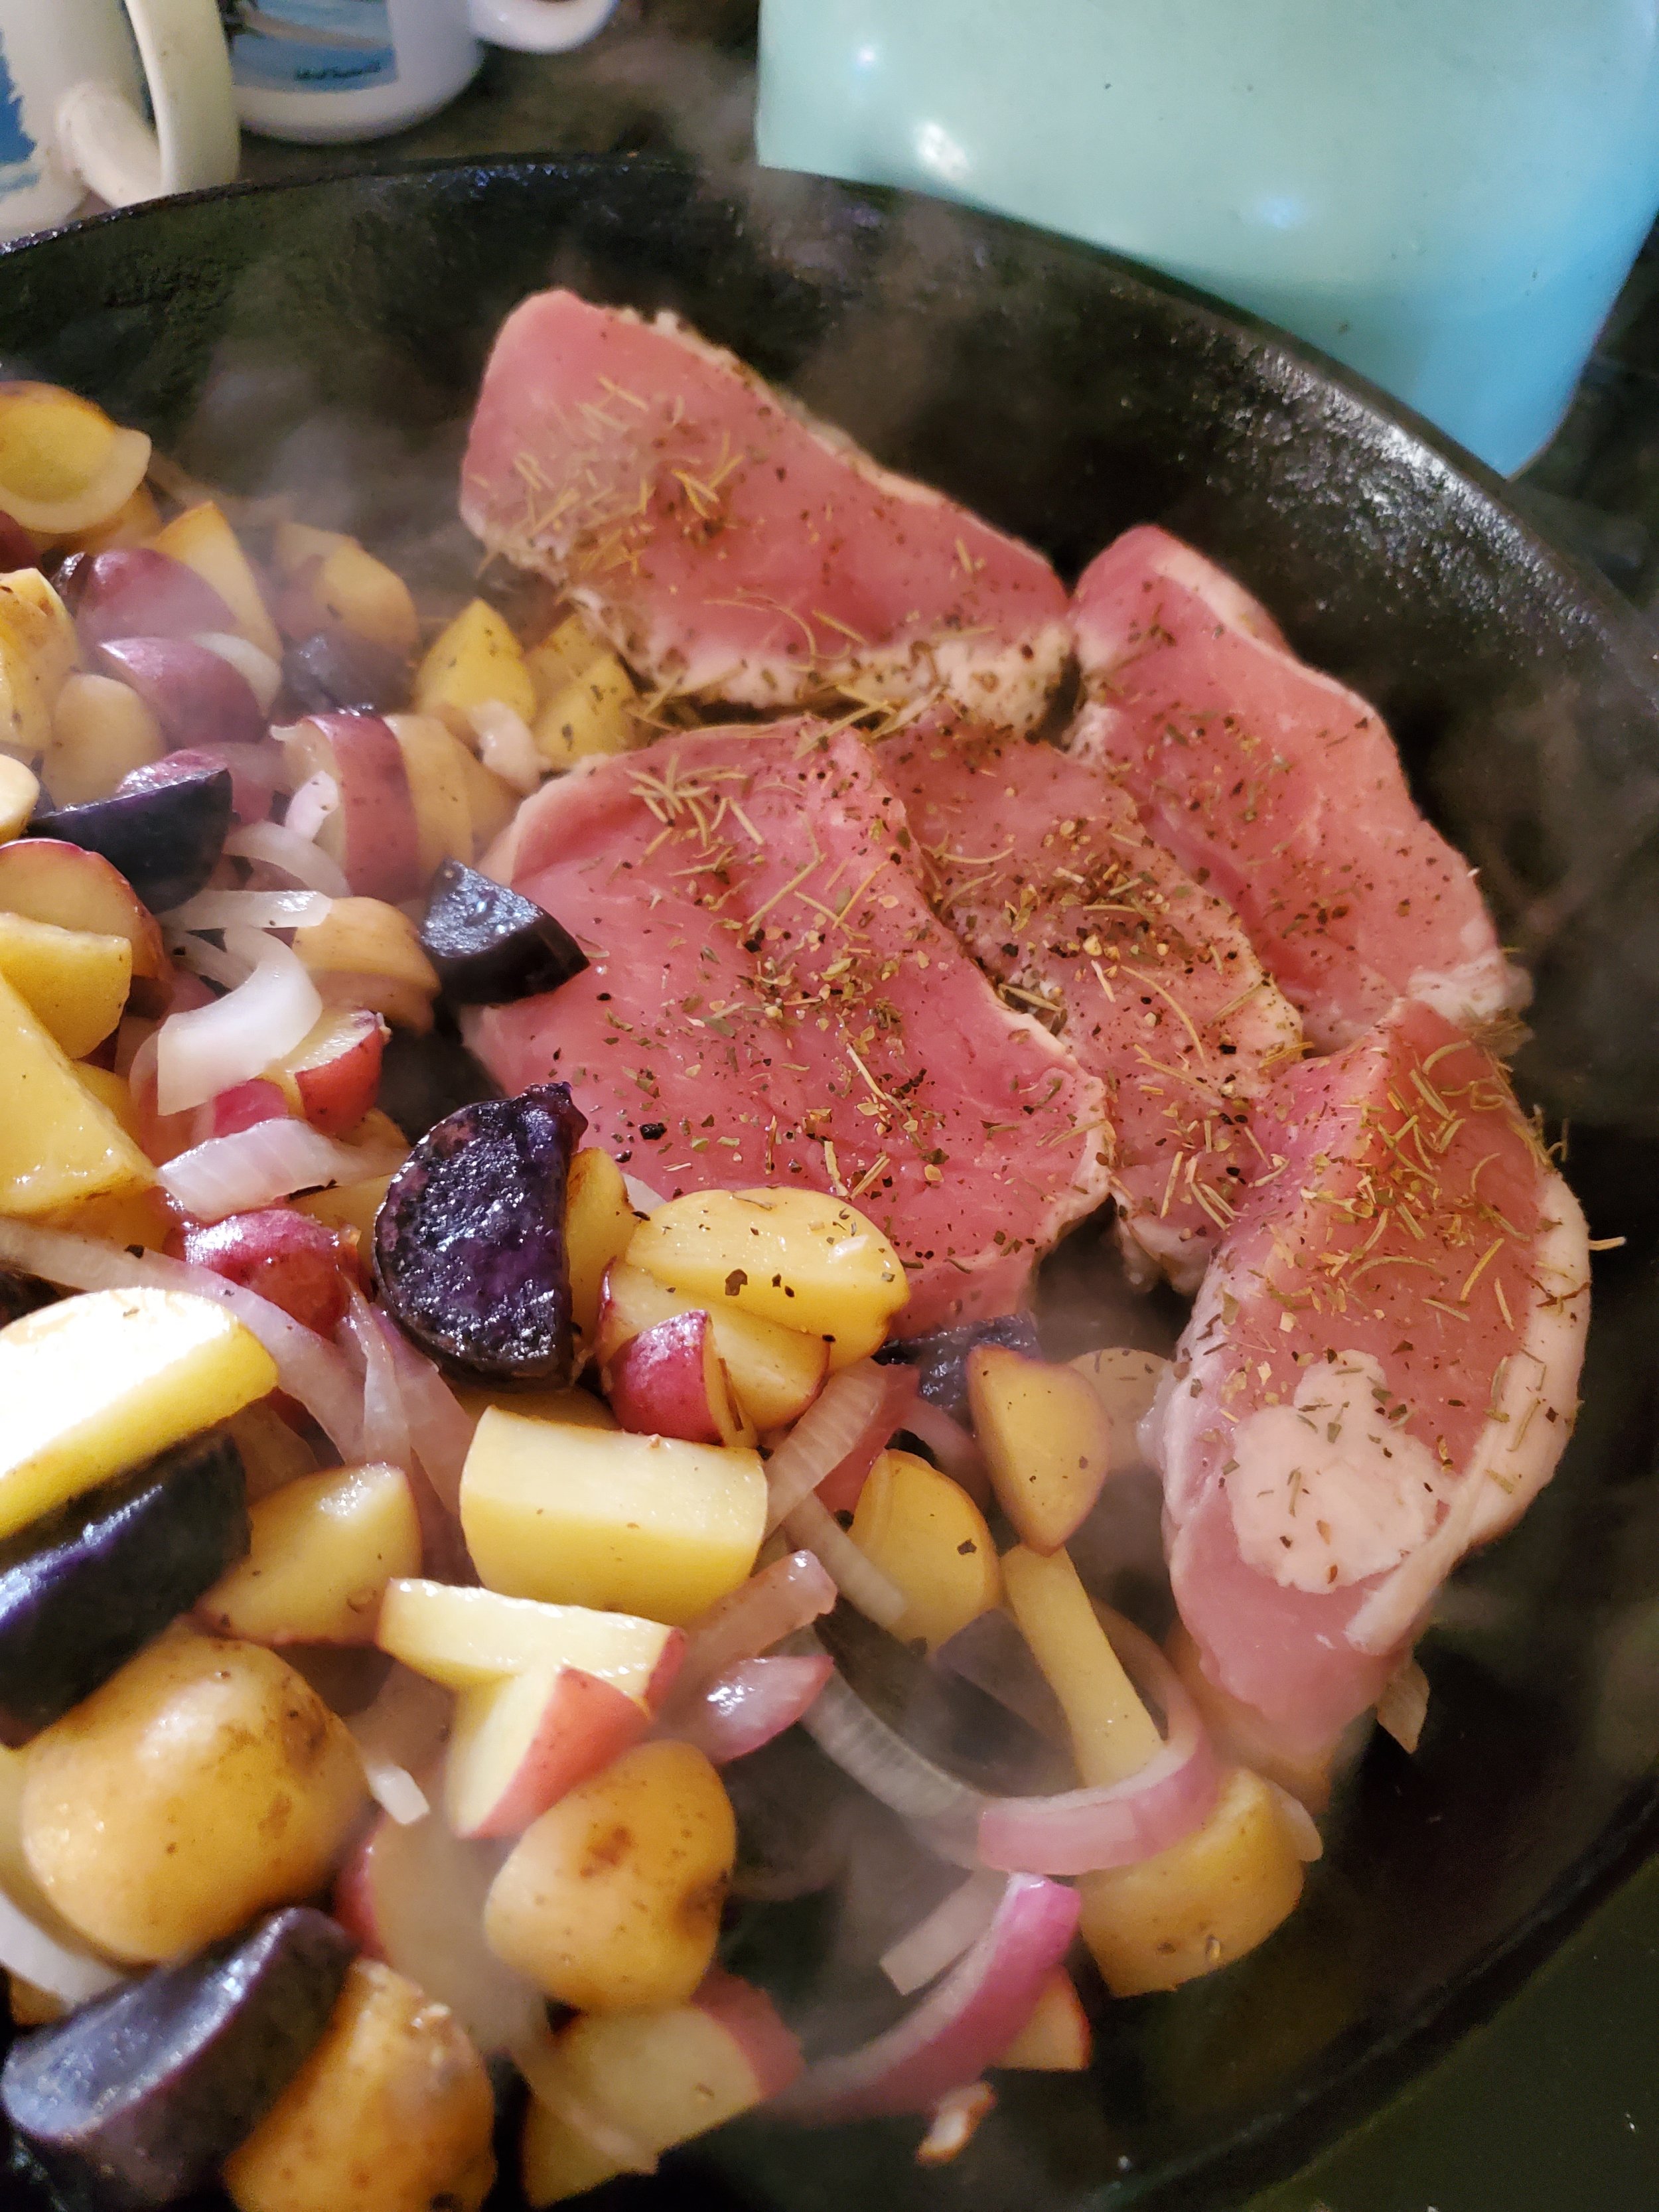
Once you feel the bone has simmered long enough, remove it from the pot. We used tongs, but needed two sets to accomplish it (again, big ham bone, deep pot). Set the bone on a serving plate or big cutting board - whatever you have that can accommodate it. If there's still meat left on the bone, give it a tug with the tongs or shred it off with a fork. Set it aside to go back into the pot. Scoop or strain out the big chunks in the broth, discard the pieces that are all or mostly fatty, and set the good stuff on the plate or board. Once you've gotten out as much of the fat as you feel you need to, add the meat but not the bone back to the pot and stir.

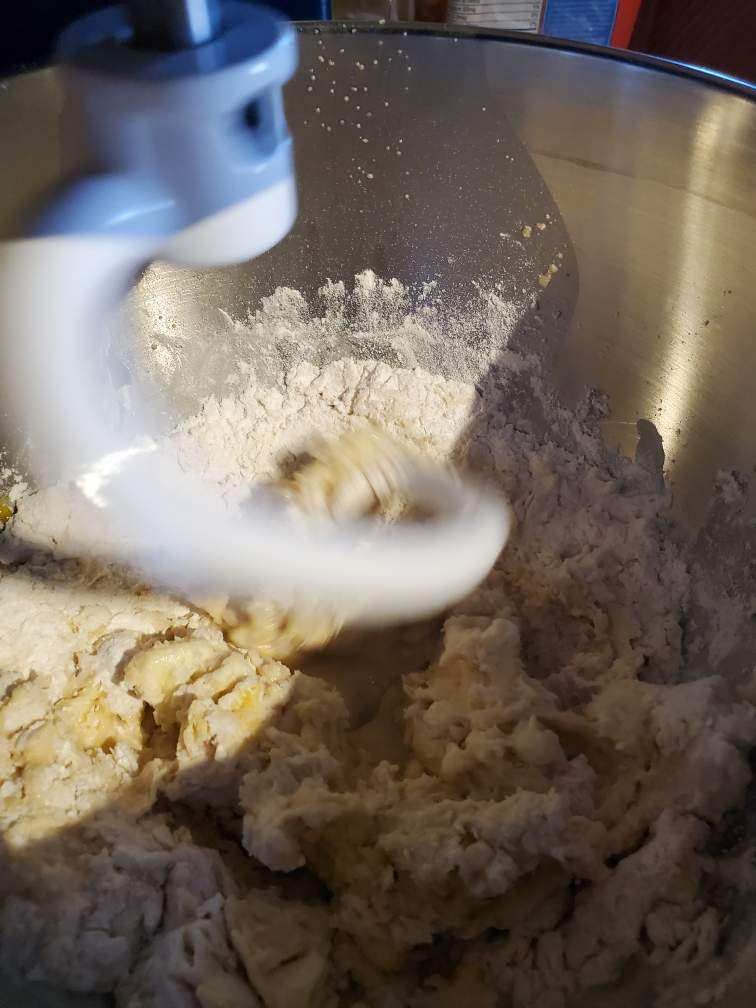
Now we can season and add all the other good stuff. (You may see in the photos that we didn't do this straining and sorting step before adding veggies. This was an oops. Having eight million tiny pieces of vegetables really complicated the process.) 

We know you know this already, but please wash your produce!

When cutting vegetables, we save the onion for last and stick it in the fridge or freezer while we work on everything else. Cold onions stink less than warm onions, and some of us get exceptionally teary around onions.

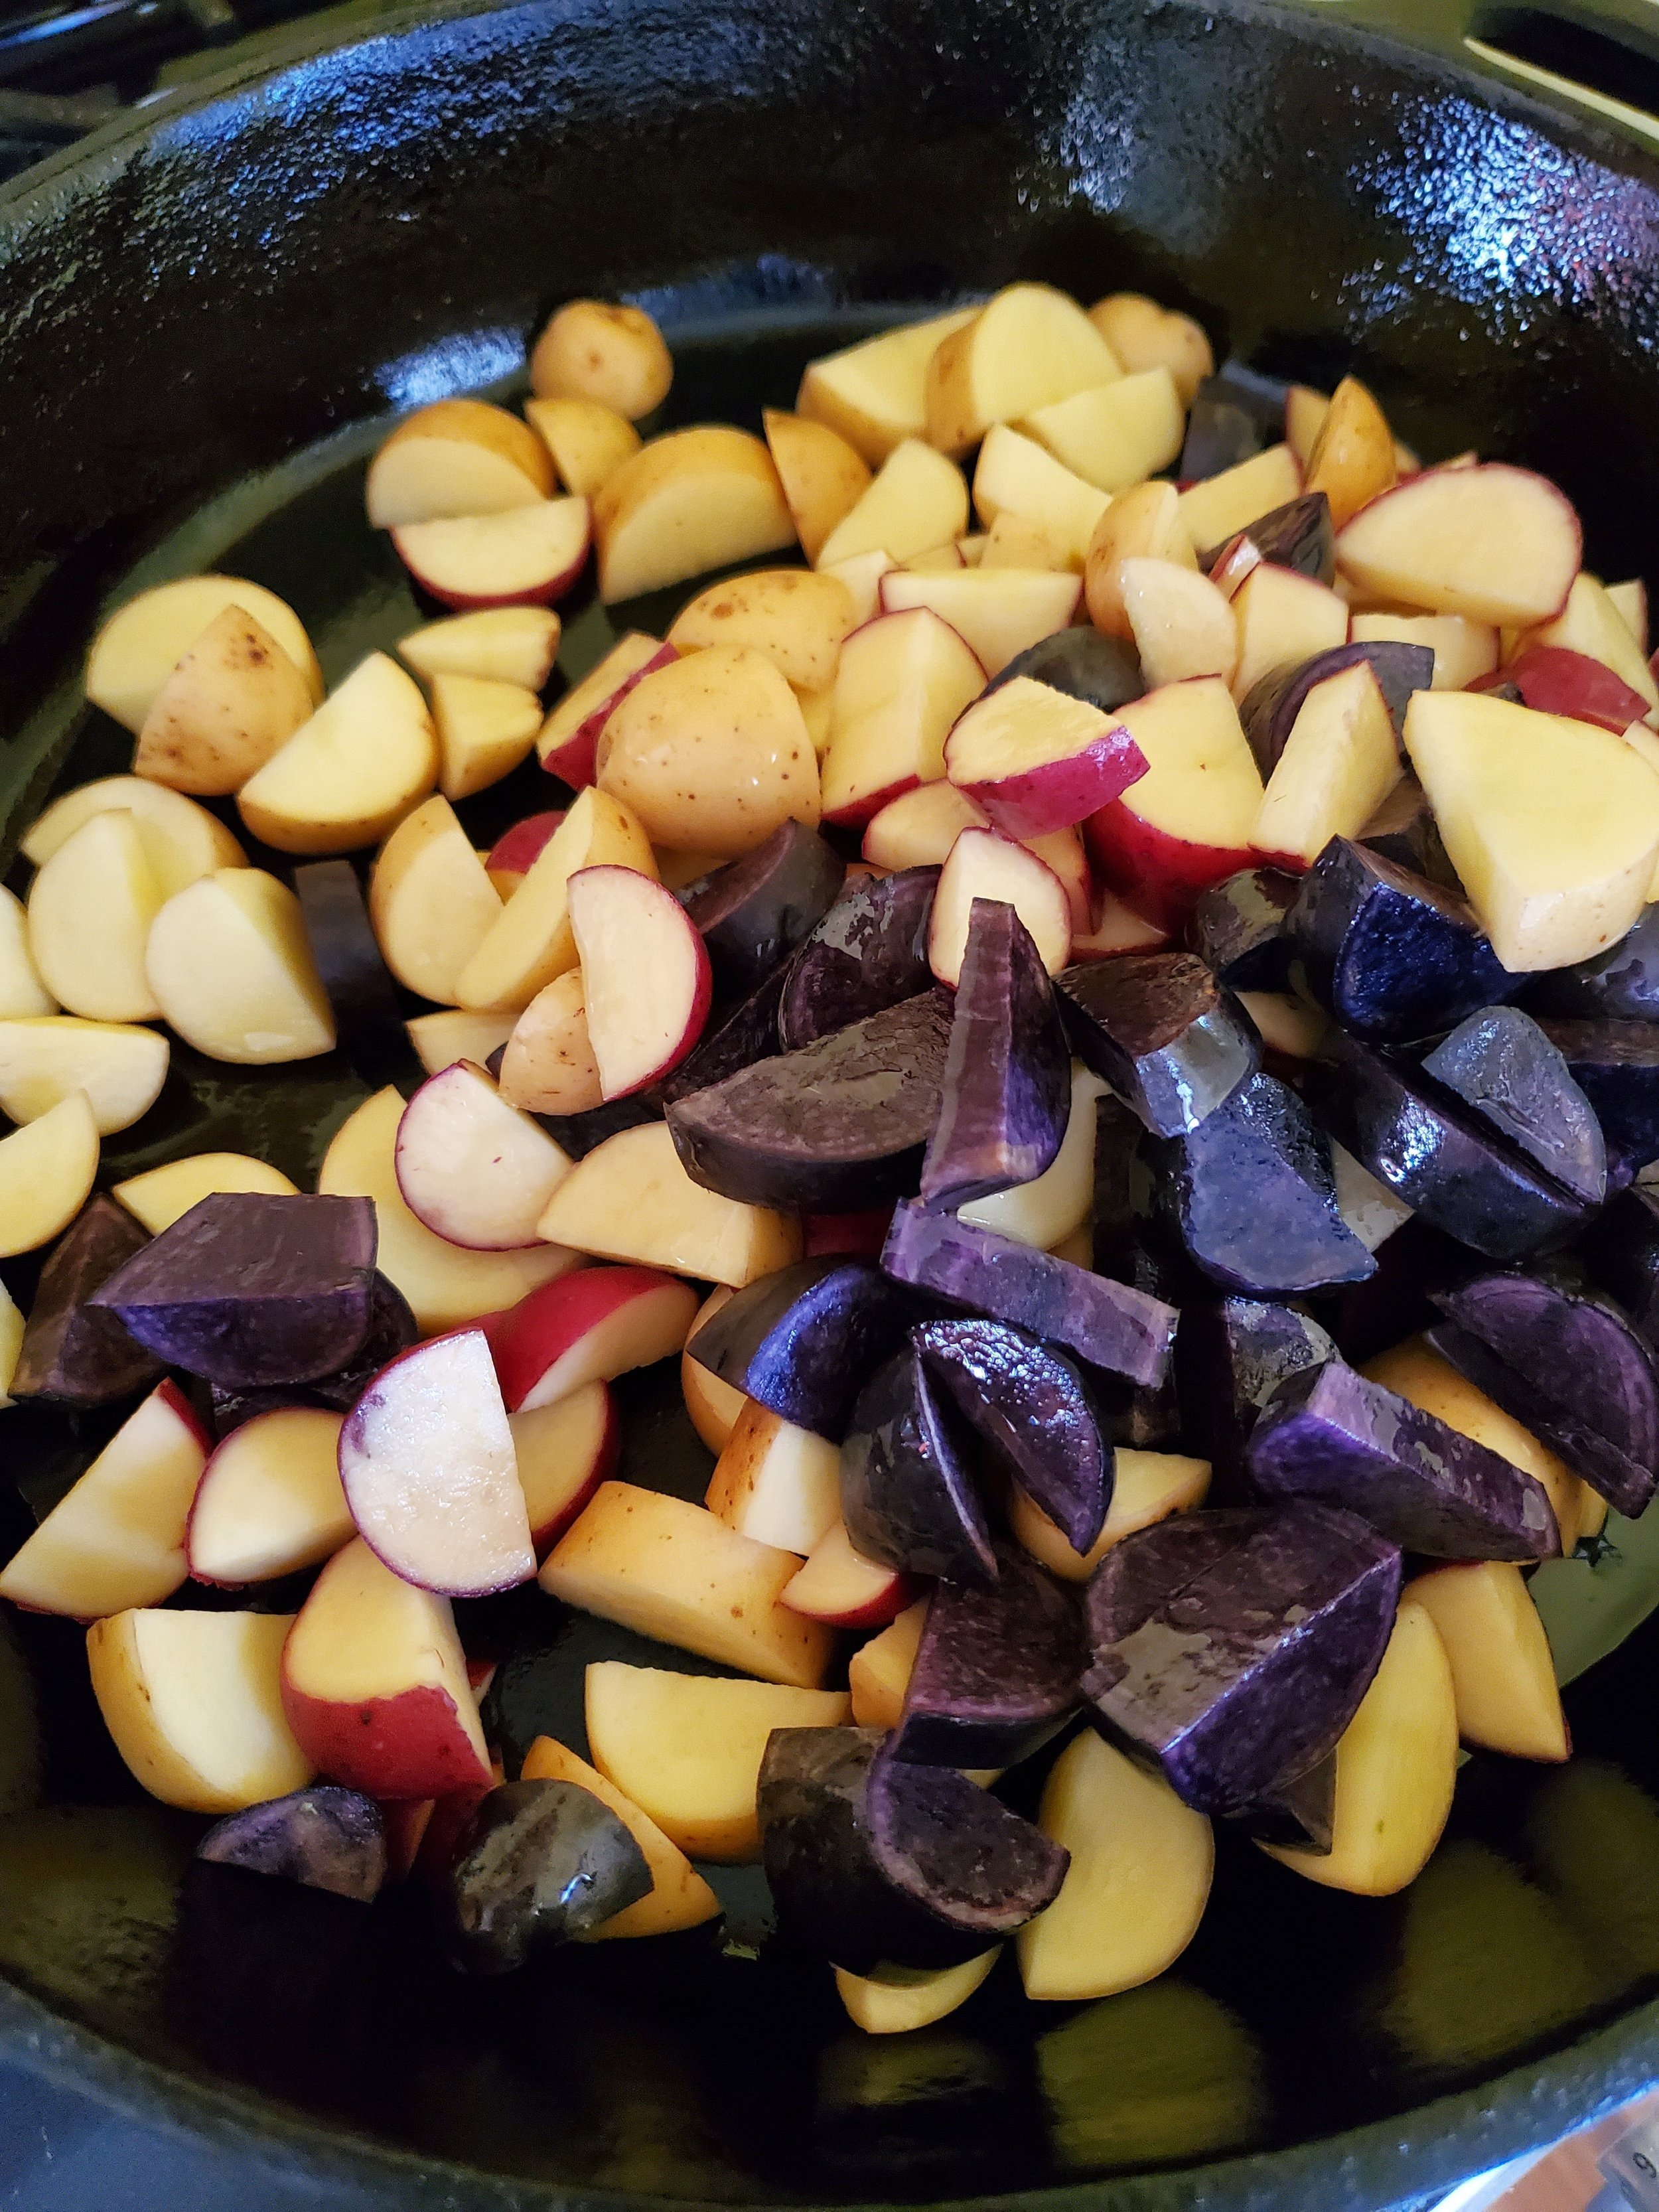
We started with the carrots and cut them into rough chunks, then scraped the cutting board into the soup before moving on to the celery in much the same fashion. Chop it all to whatever size you prefer.

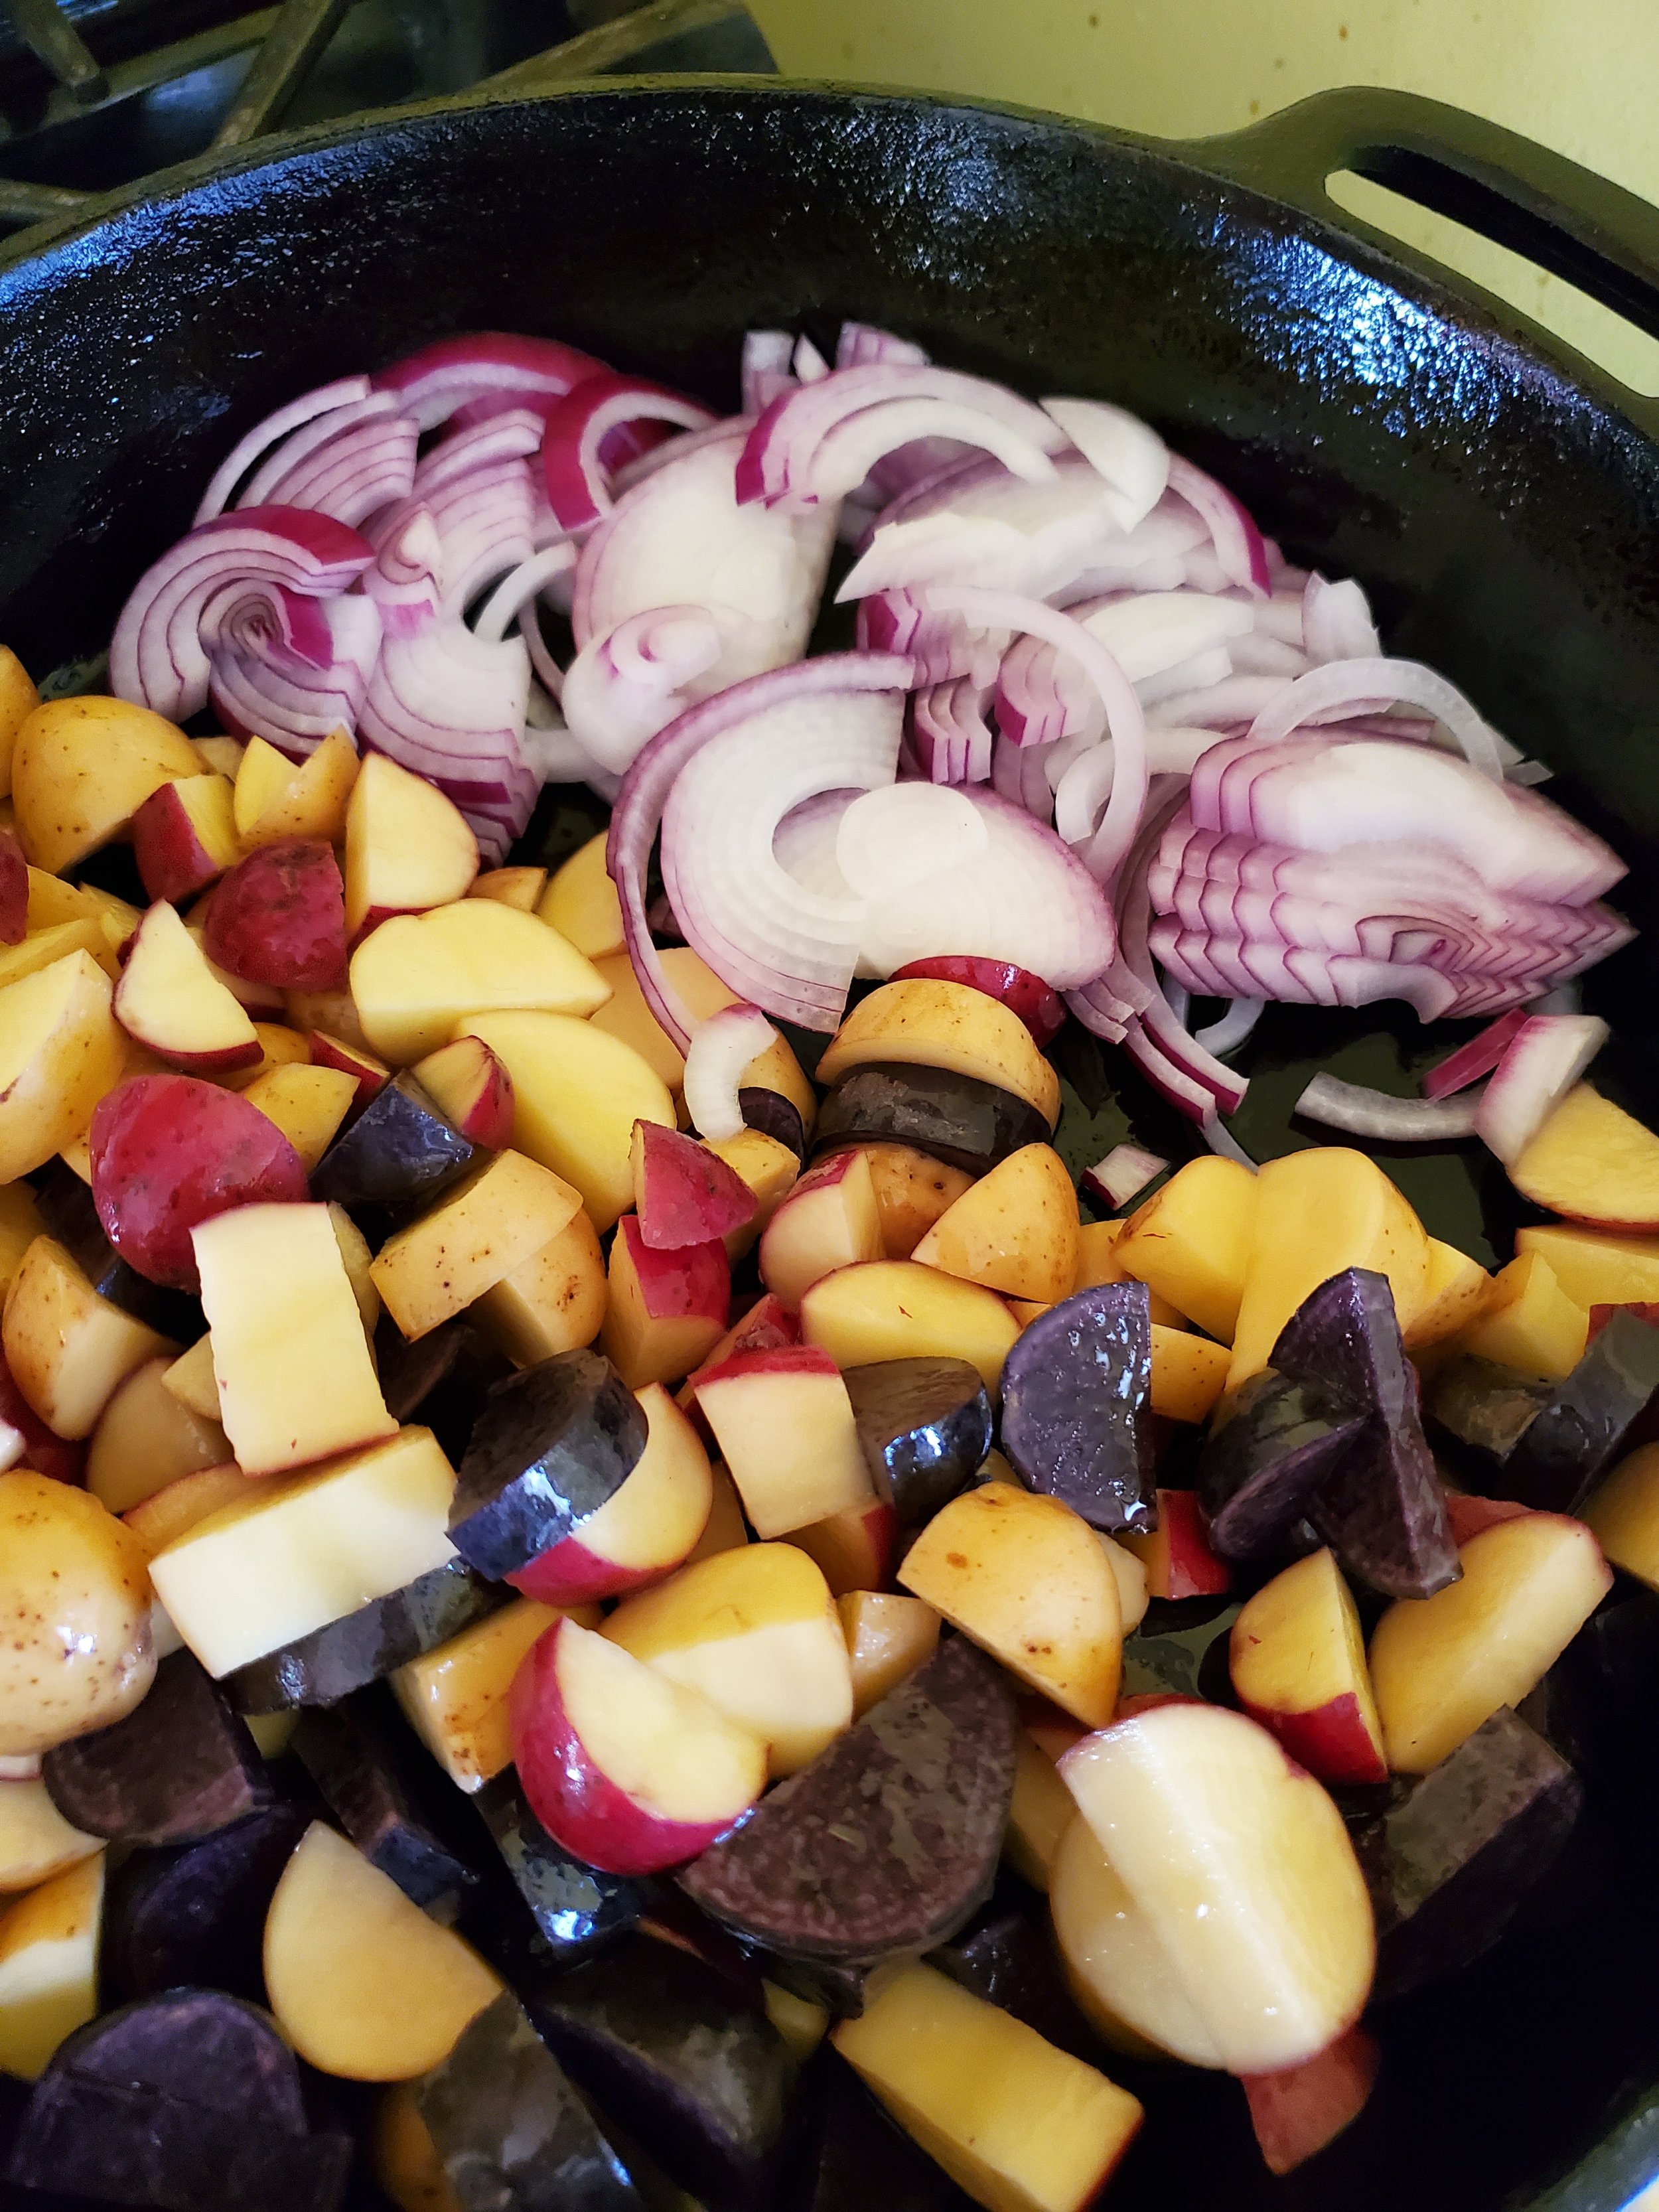
The carrots went in unpeeled, but the potatoes needed to be peeled in our opinion. This is entirely optional and at your discretion. But in our case, the potatoes were peeled and cubed and lobbed into the soup, then the whole bag of frozen corn followed. The beans can be rinsed and added to the soup pot here too. Give it all a stir to combine.

Last, the onion. Assuming you've tried the fridge/freezer trick, fish it out of the fridge, peel the outer layers, rough chop and add to the soup. We do this as quickly as possible because, well, tears. If you're one of the unaffected, cool, take your time. The rest of us: good luck.

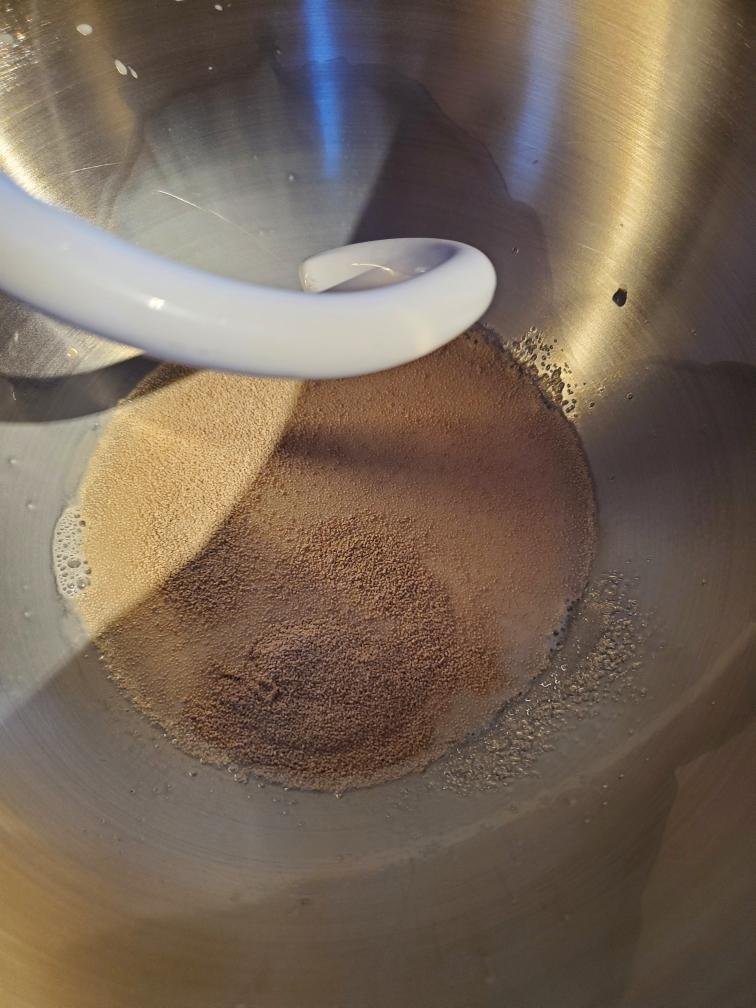
Now we get to add seasonings. Fennel, sage, marjoram and paprika are absolute musts in our opinion. Hot sauce, tomato-basil and mustard are what we chose to round out the flavor. The fun part about making food is making creative edits. If you have something you prefer, go for it! 

Feel free to share ideas over on our Facebook page. 

One of the great things about this recipe is just how easily it can be portioned out and frozen for the future. You can choose to do this at the stage after separating out the fatty bits, or after cooking all the veggies. The first will give you a stock you can use as the base for other foods, while the latter will give you a quick meal you can heat up as needed.

What about in the event your freezer is broken or malfunctioning though? That’s when you come to us. Appliance Rescue Service is here to help get your home running smoothly, whether it’s a freezer that won’t stay cold or a stove that won’t stay hot. Our main goal is to get your home running smoothly again.
Website
Office ((214) 599-0055) 

Additional Reading

Want some other options for soups? Check out these options from our archive.


From Pantry to Pot: Wholesome Hunter's Stew for the Resourceful Cook

Ladle Love: Wholesome Potato Leek Soup Recipe

New England Clam Chowder To Keep You Warm

Versatile and Delicious: Creamy Chicken and Veggies

Simple Ingredients, Spectacular Results

Transforming leftover chicken into a weeknight meal has never been easier! Say hello to this week’s recipe of creamy chicken and veggies. It’s the ultimate solution for a hassle-free weeknight dinner. It’s a great way to use a previous night’s chicken dinner, toss in the vegetables you have in your fridge and a handful of pantry staples to make an endlessly variable recipe.  It’s a delicious mix of flavors and textures, that’s quick to throw together and can feed a hungry family. Whether you’re looking to mix up your leftovers or just needing a comforting meal that comes together easily, this is the recipe for you. 


Ingredients:


2 cooked chicken breasts

2 tablespoons olive oil 

2 tablespoons minced garlic

1 green bell pepper 

Large can of diced tomato, drained

1/4 cup heavy whipping cream 

1 tablespoon white cooking wine

1/2 teaspoon dried basil

1 teaspoon dried oregano 

1 teaspoon dried parsley

1/2 teaspoon dried thyme

1/2 teaspoon dried rosemary

Black pepper and salt to taste 


Tools:

Measuring cups and spoons 

Large heavy-bottomed skillet

Colander

Can opener 

Cutting board

Knife

Spoon

Forks 


As always, please let your first step be to wash your produce!


Once clean, take the knife and cutting board and chop your bell pepper, discarding all the rib and seeds.


Take a can opener to your can of diced tomatoes (feel free to use fire roasted, or low sodium, or whatever tomatoes you have around! The point is to use stuff you have on hand, so don't fret if you don't have plain diced tomatoes).  Flip the can into the colander to drain. It'll take a while to finish dripping, so consider moving on to another task. Either assign a little helper to watch the tomatoes or just check back on them later. Don't press them, though; you want them to retain some moisture for creating the sauce.


Next up, let's get to the chicken - drop it on the cutting board and use a pair of forks to shred it to your desired size. We went with fairly large chunks, but you can change it up. 


Add the oil to the pan and turn the burner up to medium-low. As the oil heats, add your garlic and cook until fragrant. This usually only takes a couple minutes.


Increase the heat to medium. Splash in the cooking wine, then add your peppers, tomatoes, and chicken. Give everything a stir, then allow it to simmer while you measure your basil, oregano, parsley, thyme and rosemary into the pan. Add salt and pepper at this stage if you'd like, then stir again so no one gets a mouth full of just spices later.


Once the peppers begin to soften up, you're good to measure in the heavy whipping cream. Stir thoroughly. Sometimes it takes some elbow grease to get the cream to incorporate fully.


Allow to simmer, uncovered, without increasing the heat, for at least ten minutes before serving. In the event you'd like a heavier sauce, simmer over low heat until the sauce reduces to the consistency you prefer.


Serve over rice, or over pasta, or with a roll, or just by itself. One of the great things about this recipe is that you can use the recipe with almost any grain or side that you have available or want to throw in. 


If you opt to make this recipe, let us know on our Facebook page! We want to know how you mix it up, what you add in and what you pair it with. With how versatile this recipe is, we want to see what you do with it!

On the other hand, if you’re struggling with your stove, be it electric, gas, or induction, that’s an entirely different problem and we can help. At Appliance Rescue Service, we can service any type of stove you might have. Whether you’re struggling a stove that won’t light, or it’s cutting out during use, we can help. We service every model of stove, and every manufacturer, be it foreign or domestic. If your stove is malfunctioning, we want to help.

You can reach out to us via our contact page or by giving us a call at ((214) 599-0055). We’ll work with you to set up an appointment that works for your schedule and send out one of our experienced technicians. They’ll diagnose the problem and explain what’s going on before they let you know whether they can fix it then and there or need to order in parts. From there, we’ll let you decide what you want to do. At Appliance Rescue Service, our goal is to get your home running smoothly again; whether you’re in Dallas, McKinney or Richardson, we’re here for you.


Additional Reading

Get Your Protein with This Buddha Bowl 


Jalapeno Chicken Bowtie Pasta


The Art of Homemade Garlic Rolls: From Dough to Delight

A Step-by-Step Guide to Crafting Warm, Flavorful Dinner Delights

Hey there, welcome back folks! This week, we're diving into the delicious realm of garlic rolls—because, let's be honest, is there ever a bad time for garlic rolls? As March marches on, what better excuse to indulge in these savory delights? Think of them as the dinner equivalent of cinnamon rolls—warm, comforting, and oh-so-satisfying. We're thrilled to guide you through the process because trust me, these rolls are worth every bit of effort. Get ready to tantalize your taste buds and make your dinner table a whole lot happier. Let's roll into it!


Ingredients:

2 cups all purpose flour

2 heaping teaspoons active dry yeast

2 tablespoons granulated sugar

1/2 cup milk or water, warmed to 110 degrees

2 eggs


20+ garlic cloves (to taste)

1 tablespoon olive oil

salt and pepper to taste

1/4 cup butter

Tools:

9x13 baking pan

measuring cups and spoons

rolling pin

thermometer

mixing bowl

small oven-safe dishes

aluminum foil

knife


Optional:

stand mixer with dough hook

food processor


Before getting too deep into things, toss your garlic cloves in a little olive oil and season them with salt and pepper, wrap them loosely in aluminum foil (allowing a little room for steam to vent) and nest the foil in a small oven-safe dish. Set the dish in the oven and bring the oven temperature up to 400 degrees, Let the garlic bake for 45 minutes like this.


Heat up the water or milk (we like to use milk, but it's totally optional) and test the temperature before adding any yeast. Too warm and the yeast will kick the bucket on you without doing its job, but too cool and it will fail to activate. Aim for about 100 degrees.


When you're sure the liquid is the right temperature, move it to the mixing bowl and pour the sugar and yeast in and stir gently. Let it all sit for about ten minutes.


After your ten minutes are up, you can add the flour and eggs and either knead by hand or utilize a stand mixer. Work the dough until it comes together, but avoid overdoing it. Knead too much and you'll be left with a tough, chewy bread rather than soft. You should have a slightly sticky, mostly smooth ball of dough,


Dump your dough ball into a clean, lightly greased mixing bowl. Cover it tightly in aluminum foil, then drape a kitchen towel over the top and set it somewhere warm to rise. Leave it alone for at least two hours.


During the rise, you can double back and check on your garlic cloves. Once they're removed from the oven, let them cool a few minutes so they'll be safe to handle. Dump the contents of the foil into the food processor and pulse, or onto a rimmed plate and mince with a knife. Melt the quarter cup of butter in a heatproof dish, then add the garlic mixture to it and stir well. Set this aside for a little while - you'll need it later.


After letting the dough rise, remove the towel and foil and turn it out onto a floured surface. Punch it down, then dust the top lightly with flour and roll it out to a little over a quarter inch thick.


Retrieve your garlic/butter mixture and spread a thin layer on the rolled out dough. Make sure to get close to the edges but not overfill any spots. Once you've used up all your filling, take the nearest long edge of the dough and begin rolling it over to enclose the filling. Repeat the rolling motion until you're out of single layer dough and have created one long log.


Trim the edges, as those are likely to be uneven and have little to no filling. Cut the rest of the log into eight or ten even pieces. (Since we work directly on a countertop, we accomplish the cutting step with a plastic knife. Please choose your tools appropriately to avoid damage to your kitchen.)


Line your baking pan with some foil, then move the rolls to your pan. They do not need to touch - in fact, it's much better that they don't. Leave a little space between them. Re-use the aluminum foil you had covering the mixing bowl, because it's time for a second rise. Leave the rolls alone, covered in a warm place, for another hour. 


When the second rise is done, your rolls will have expanded to the point they look like they're going to overflow the pan. Don't worry. They'll just be big and fluffy.


Preheat your oven (unless it's been heating this whole time because your kitchen is chilly) to 375.


Optional step: If you have any of your garlic filling mixture left over. brush it on the top of the rolls. If not, you can utilize a little olive oil (spray or liquid). Once the top of the rolls has been moistened, we like to add a light dusting of cheese (parmesan, mozzarella, or sometimes both), Italian seasoning (with extra oregano), and/or cracked black pepper. You're in charge here, add what you like best - if you choose to add anything at all.


Bake for 20-25 minutes until golden. Allow to cool before removing from the pan.


As always if you made this one, let us know over on our Facebook page, we’d love to hear how it turned out!

If you’re in the Addison area and your appliances are malfunctioning, we’d be happy to help! You can reach out to us via our website or by giving us a call at ((214) 599-0055).


Additional Reading

If you’re looking for more wonderful bread-y recipes, check out this set from our archives!


Punchy Potato & Cheddar Rolls 


Escapee From New York: Chocolate Bagels


Pepperoni & Canadian Bacon Stromboli 


Savor Every Bite: Mastering Pork Chops with Baby Potatoes and Onions

 Elevate Your Culinary Skills with a Flavorful Homestyle Dish

Indulge in a savory delight with our mouthwatering recipe for Pork Chops with Baby Potatoes and Onions. This simple yet flavorful dish is perfect for busy weeknights or casual gatherings. Packed with wholesome ingredients and seasoned to perfection, it's sure to become a family favorite in no time.


Ingredients

4 or 5 thin boneless pork chops

1 red onion

1 1/2 lb baby heirloom potatoes

3 tablespoons olive oil

2 tablespoons red wine vinegar

1/2 teaspoon rosemary

1/2 teaspoon parsley

1/2 teaspoon oregano

salt and pepper to taste


Tools

large skillet

knife

cutting board

measuring spoons

tongs or spoon


You know what we're going to say here, but we'll say it anyway: wash your veggies before you begin.


Chop your baby potatoes to half-inch wide chunks. You'll see in the photos we actually have some purple potatoes in the mix - we found "gemstone medley potatoes" in the store this week and decided to try them.They make a great visual pop, without altering the flavor. 


Drizzle the olive oil into the skillet and start the potatoes cooking on medium-low. We like to sprinkle them with a little salt at this stage, but you can omit the step if you prefer. Stir occasionally. 


While the potatoes cook, slice your onion, the thinner, the better. Flip it into the skillet when you're done, and open up the package of pork chops.


Season your pork on both sides with the rosemary, oregano, salt, and pepper. You don’t need to crust it with spices, but a good dash of seasons is important. 


 Don't add it to the pan yet - those potatoes will take quite a while to cook, and the pork will most likely be done quickly. Just let it rest where it's at, and go stir the potatoes and onions.


Once the onions are translucent, you can add the pork to the skillet. Nudge the potato and onion mixture to one side of the skillet and lay the pork chops in the open half. Once they're down, try not to disturb them for three minutes. You can continue to stir the potatoes and onions occasionally during that time.


When your time has elapsed, flip the chops and let them cook through on the other side. Splash the pan with the red wine vinegar, add a little more salt and pepper, and give the potatoes and onions a stir again. Let everything simmer for a few more minutes until the pork is done.


If you're unsure whether or not the meat is done, you can grab a meat thermometer and check. The safe temperature is anything over 145 degrees, although we normally shoot for 155 or higher.


Assuming your pork chops have reached the safe temperature, go ahead and remove them to a plate to let them rest a few minutes while the potatoes finish up (stubborn things that they are). The potatoes are done when they spear easily with a fork.


Elevate your weeknight dinners with our delectable Pork Chops with Baby Potatoes and Onions recipe. Simple yet satisfying, this dish embodies comfort and flavor in every bite. Whether you're cooking for family or friends, it's sure to impress even the most discerning palates. So why wait? Treat yourself to a culinary delight that's as easy to make as it is delightful to devour. Enjoy!


When your kitchen appliances falter, it's more than just an inconvenience – it's a disruption to your daily life. Imagine the frustration of a dishwasher that refuses to clean or a refrigerator that can't keep your food cold. At Appliance Rescue Service, we understand the urgency of these situations. With our team of skilled technicians specializing in the repair of major appliances like washers, dryers, dishwashers, ovens, stoves, refrigerators, freezers, and ice makers, we're here to restore functionality to your kitchen. Our commitment to prompt, reliable service means you can trust us to diagnose and resolve issues efficiently so you can get back to enjoying the convenience your appliances provide.


Discover peace of mind with Appliance Rescue Service, your trusted partner in appliance repair. We specialize in the maintenance and restoration of major household appliances, including washers, dryers, dishwashers, ovens, stoves, refrigerators, freezers, and ice makers. With our team of skilled technicians, we deliver prompt and reliable service to ensure your appliances operate at peak performance. At Appliance Rescue Service, we understand the inconvenience of a malfunctioning appliance, which is why we prioritize efficiency and precision in every repair. Whether it's a noisy dishwasher, a malfunctioning refrigerator, or a faulty dryer, our experts have the knowledge and experience to diagnose and resolve issues promptly. We take pride in our commitment to customer satisfaction, striving to exceed expectations with every service call. With transparent pricing and honest assessments, you can trust us to provide cost-effective solutions tailored to your needs. Don't let appliance troubles disrupt your daily routine. Trust Appliance Rescue Service to keep your home running smoothly. Contact us today to schedule your next repair appointment and experience the difference firsthand.


Contact Page

Call Us : (214) 599-0055