
A Step-by-Step Guide to Crafting Warm, Flavorful Dinner Delights
Hey there, welcome back folks! This week, we're diving into the delicious realm of garlic rolls—because, let's be honest, is there ever a bad time for garlic rolls? As March marches on, what better excuse to indulge in these savory delights? Think of them as the dinner equivalent of cinnamon rolls—warm, comforting, and oh-so-satisfying. We're thrilled to guide you through the process because trust me, these rolls are worth every bit of effort. Get ready to tantalize your taste buds and make your dinner table a whole lot happier. Let's roll into it!
Ingredients:
2 cups all purpose flour
2 heaping teaspoons active dry yeast
2 tablespoons granulated sugar
1/2 cup milk or water, warmed to 110 degrees
2 eggs
20+ garlic cloves (to taste)
1 tablespoon olive oil
salt and pepper to taste
1/4 cup butter
Tools:
9x13 baking pan
measuring cups and spoons
rolling pin
thermometer
mixing bowl
small oven-safe dishes
aluminum foil
knife
Optional:
stand mixer with dough hook
food processor
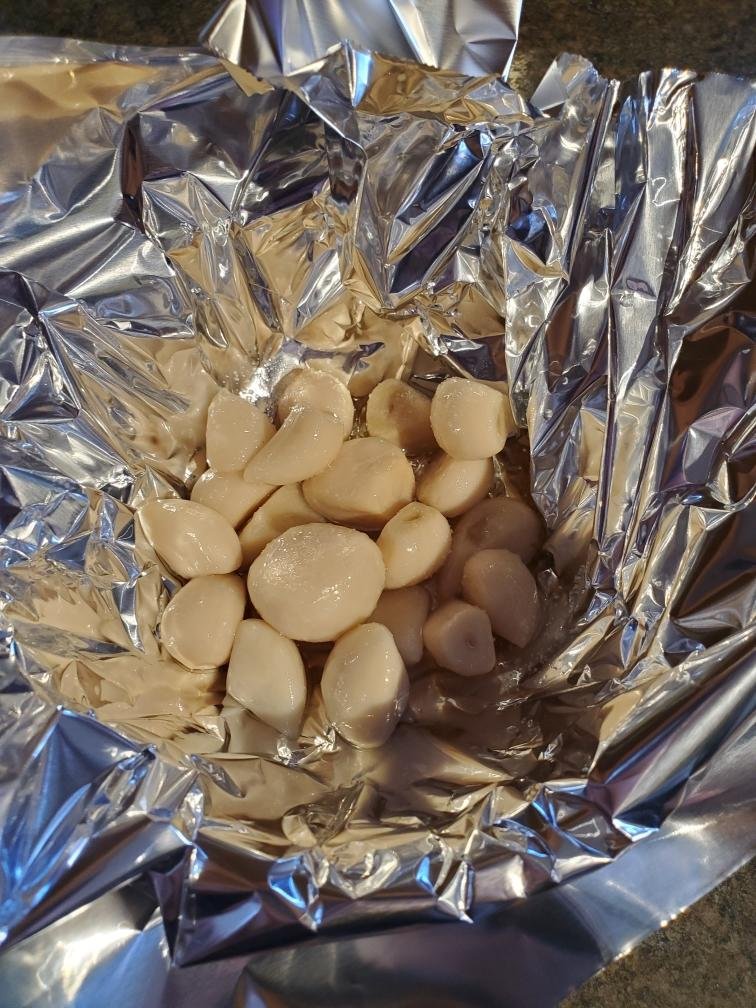

Before getting too deep into things, toss your garlic cloves in a little olive oil and season them with salt and pepper, wrap them loosely in aluminum foil (allowing a little room for steam to vent) and nest the foil in a small oven-safe dish. Set the dish in the oven and bring the oven temperature up to 400 degrees, Let the garlic bake for 45 minutes like this.
Heat up the water or milk (we like to use milk, but it's totally optional) and test the temperature before adding any yeast. Too warm and the yeast will kick the bucket on you without doing its job, but too cool and it will fail to activate. Aim for about 100 degrees.
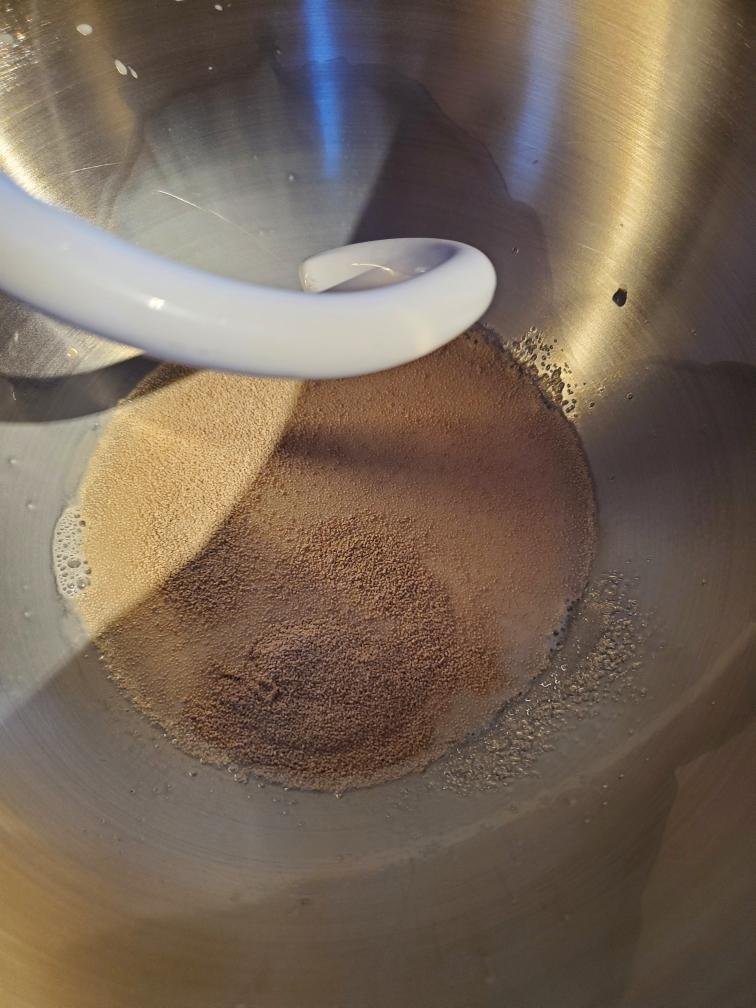
When you're sure the liquid is the right temperature, move it to the mixing bowl and pour the sugar and yeast in and stir gently. Let it all sit for about ten minutes.
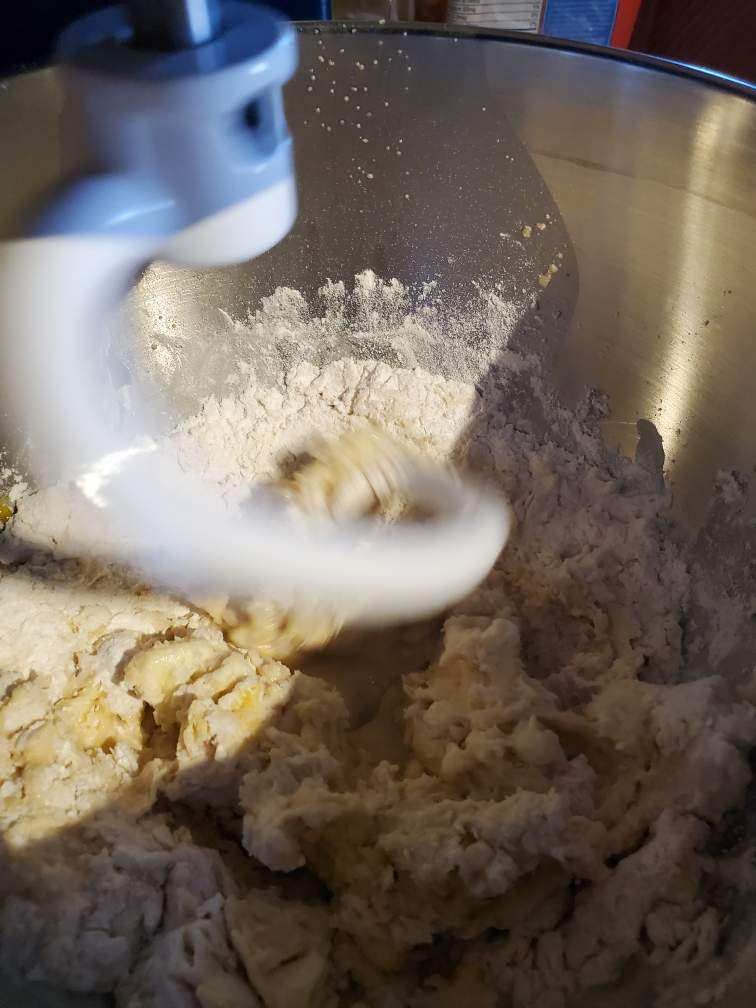
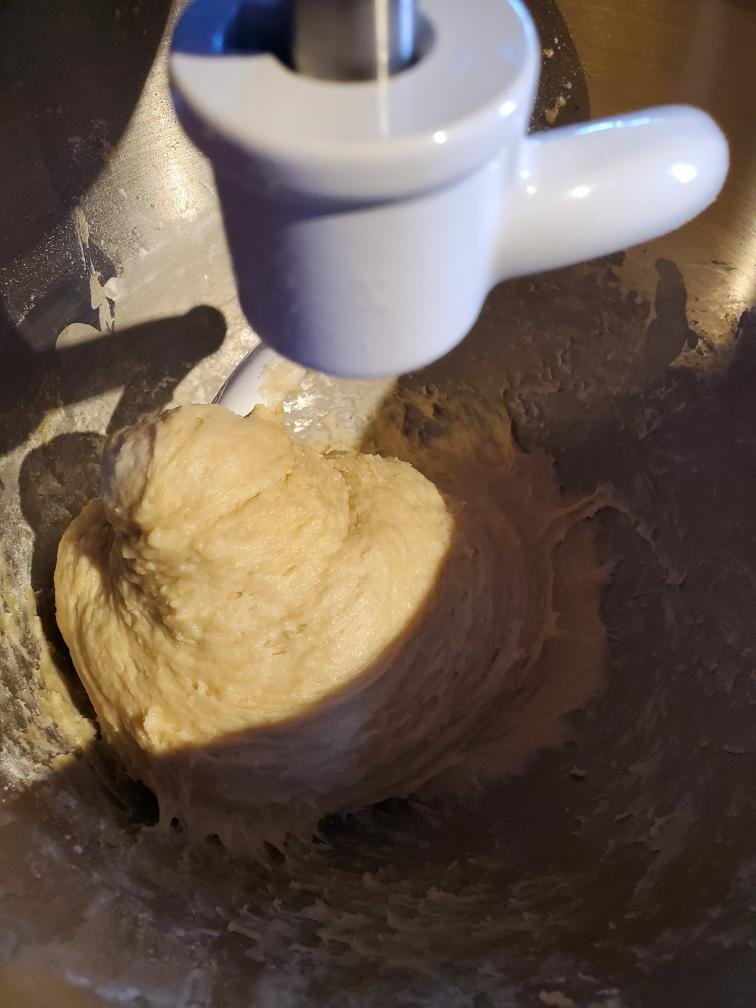
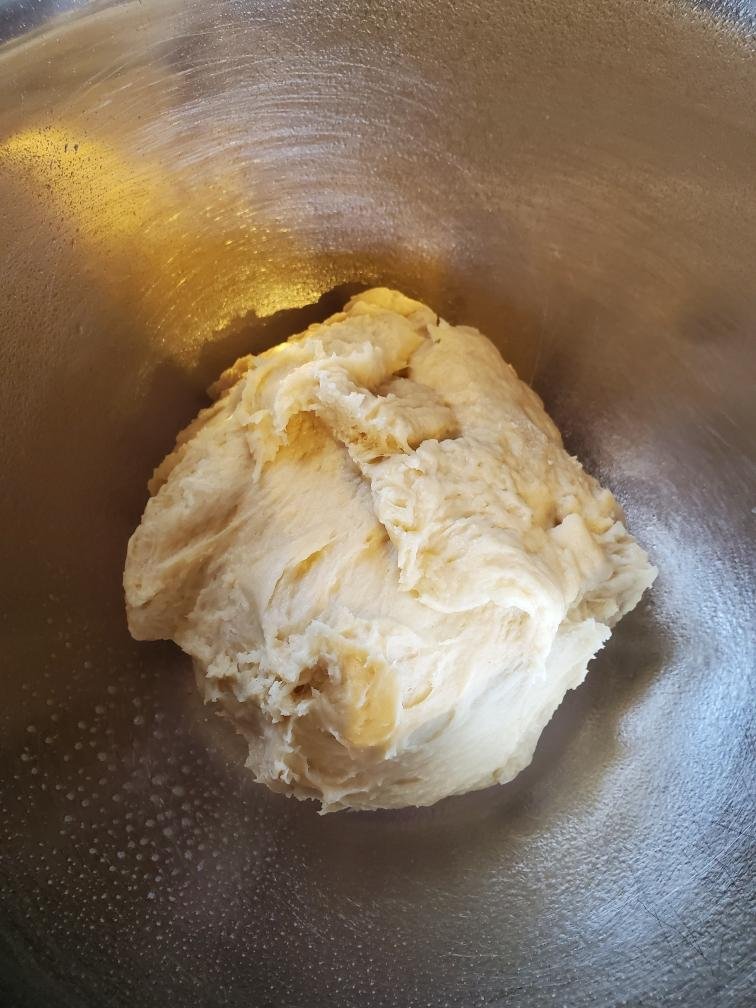
After your ten minutes are up, you can add the flour and eggs and either knead by hand or utilize a stand mixer. Work the dough until it comes together, but avoid overdoing it. Knead too much and you'll be left with a tough, chewy bread rather than soft. You should have a slightly sticky, mostly smooth ball of dough,
Dump your dough ball into a clean, lightly greased mixing bowl. Cover it tightly in aluminum foil, then drape a kitchen towel over the top and set it somewhere warm to rise. Leave it alone for at least two hours.
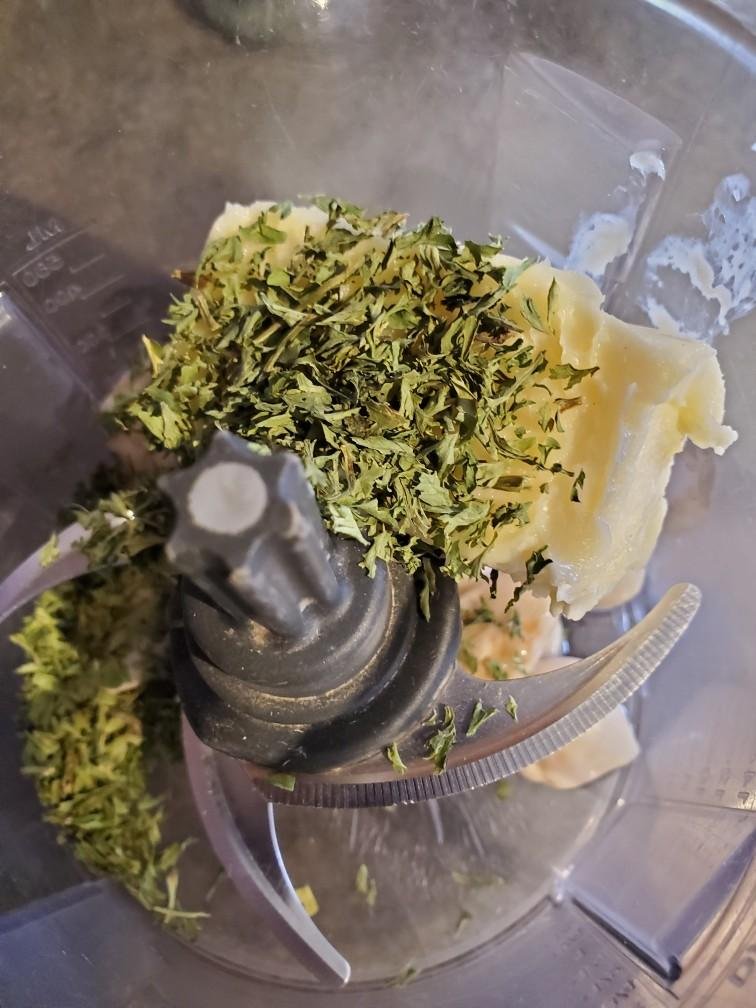
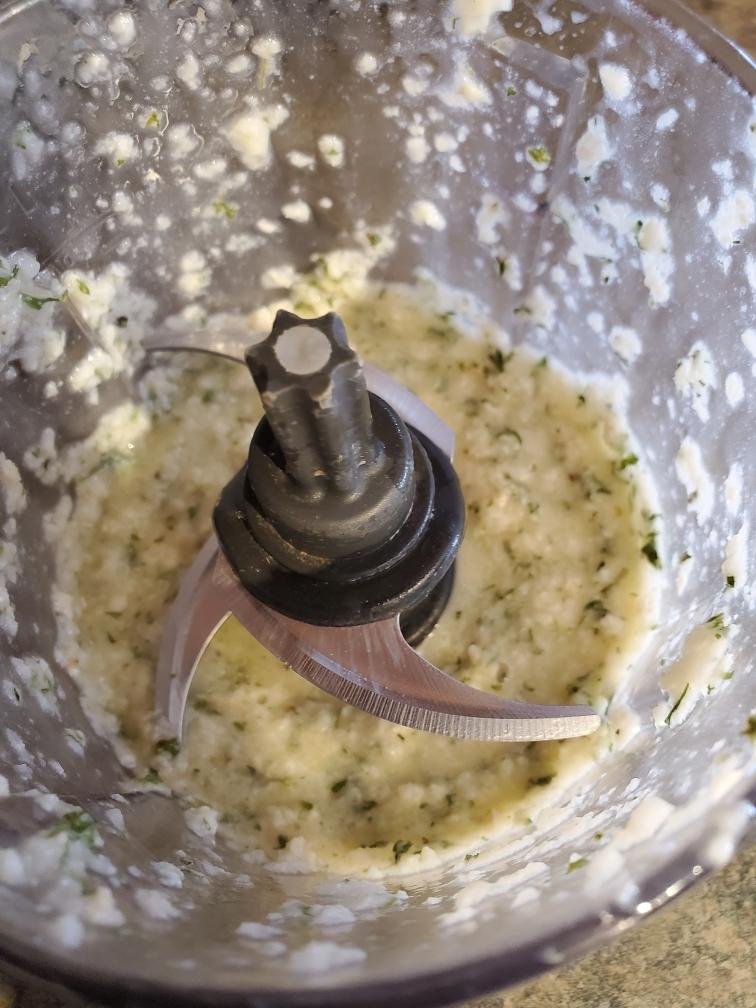
During the rise, you can double back and check on your garlic cloves. Once they're removed from the oven, let them cool a few minutes so they'll be safe to handle. Dump the contents of the foil into the food processor and pulse, or onto a rimmed plate and mince with a knife. Melt the quarter cup of butter in a heatproof dish, then add the garlic mixture to it and stir well. Set this aside for a little while - you'll need it later.
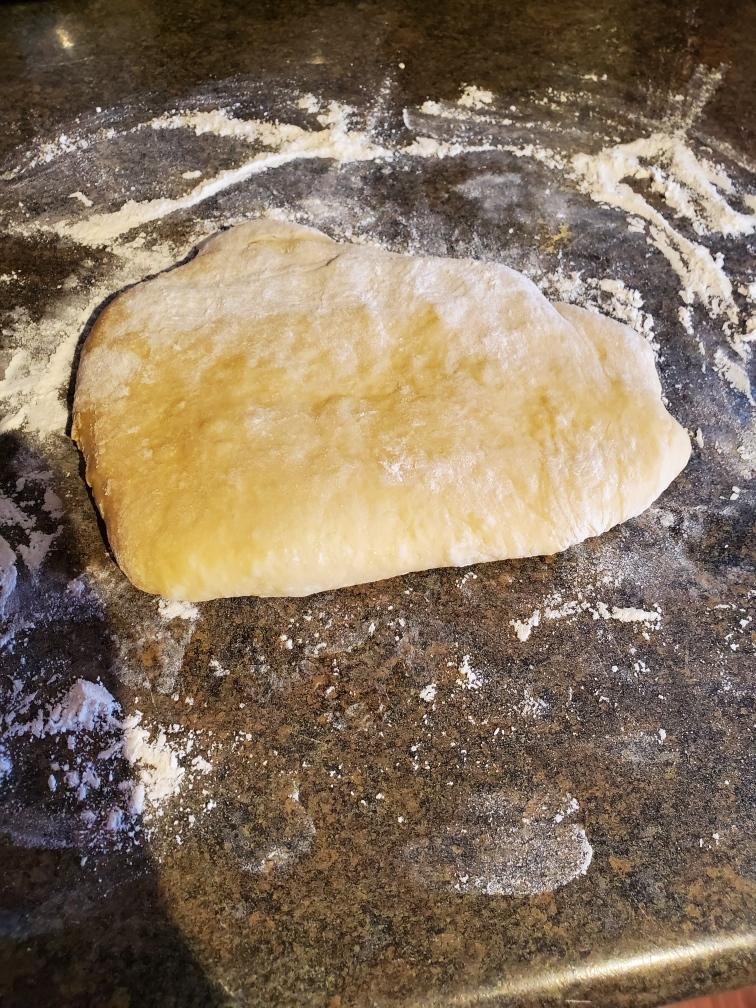
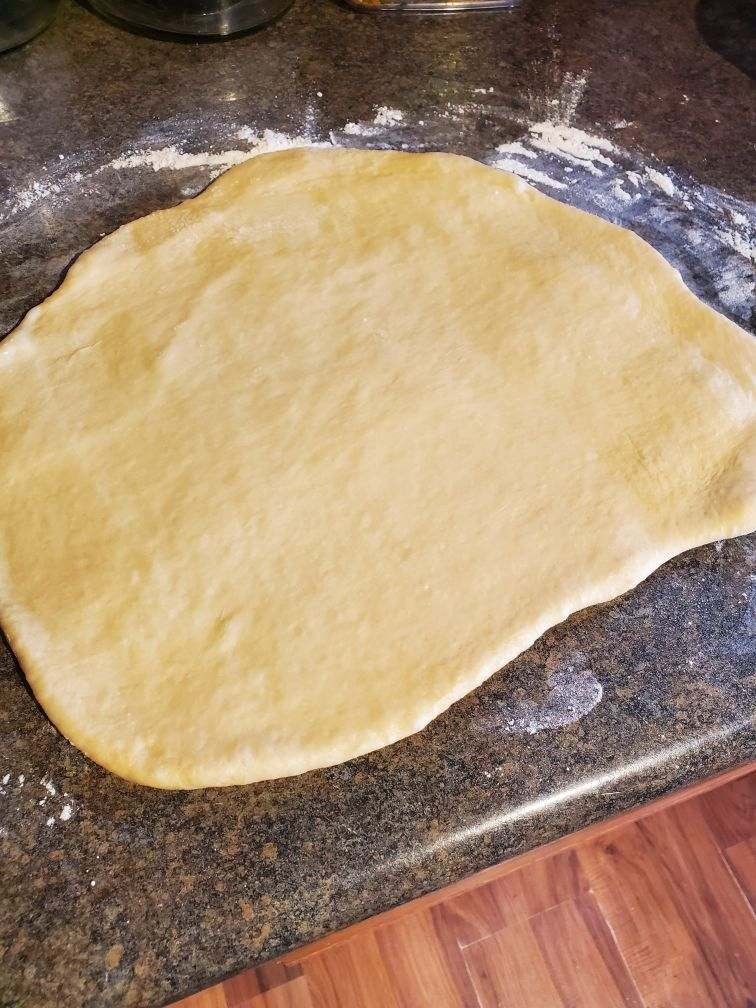
After letting the dough rise, remove the towel and foil and turn it out onto a floured surface. Punch it down, then dust the top lightly with flour and roll it out to a little over a quarter inch thick.
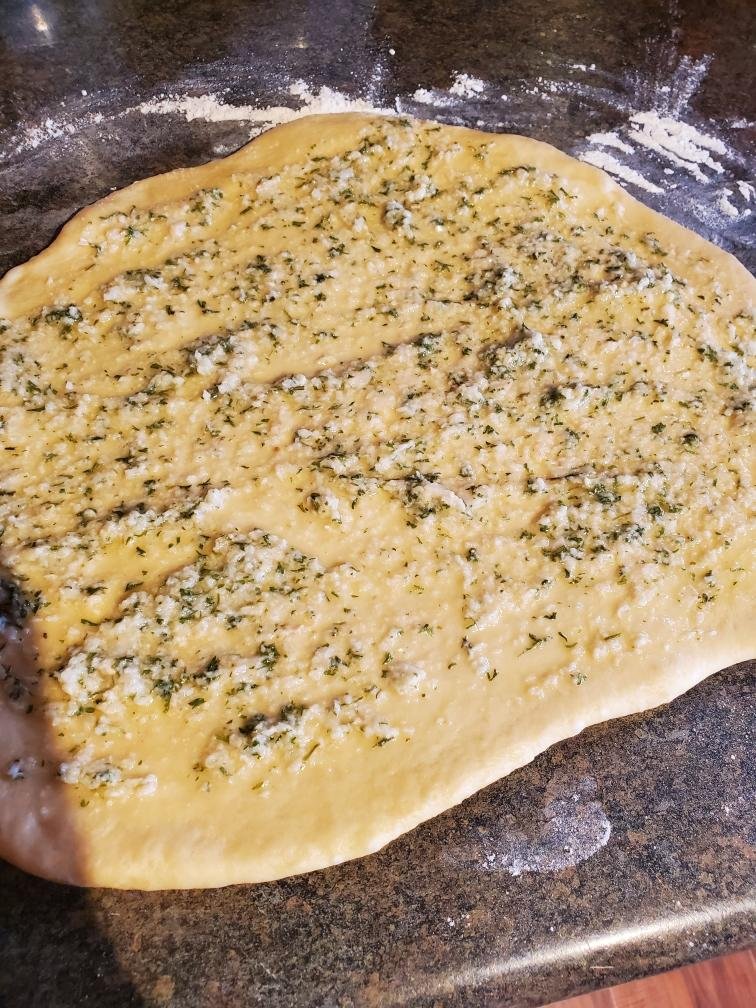
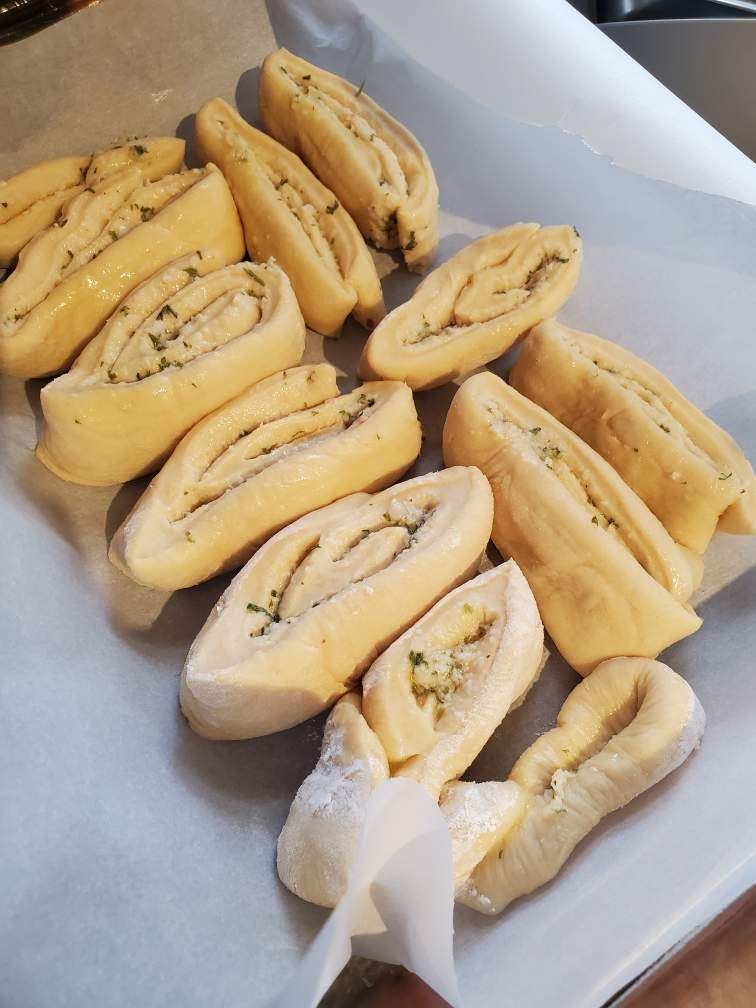
Retrieve your garlic/butter mixture and spread a thin layer on the rolled out dough. Make sure to get close to the edges but not overfill any spots. Once you've used up all your filling, take the nearest long edge of the dough and begin rolling it over to enclose the filling. Repeat the rolling motion until you're out of single layer dough and have created one long log.
Trim the edges, as those are likely to be uneven and have little to no filling. Cut the rest of the log into eight or ten even pieces. (Since we work directly on a countertop, we accomplish the cutting step with a plastic knife. Please choose your tools appropriately to avoid damage to your kitchen.)
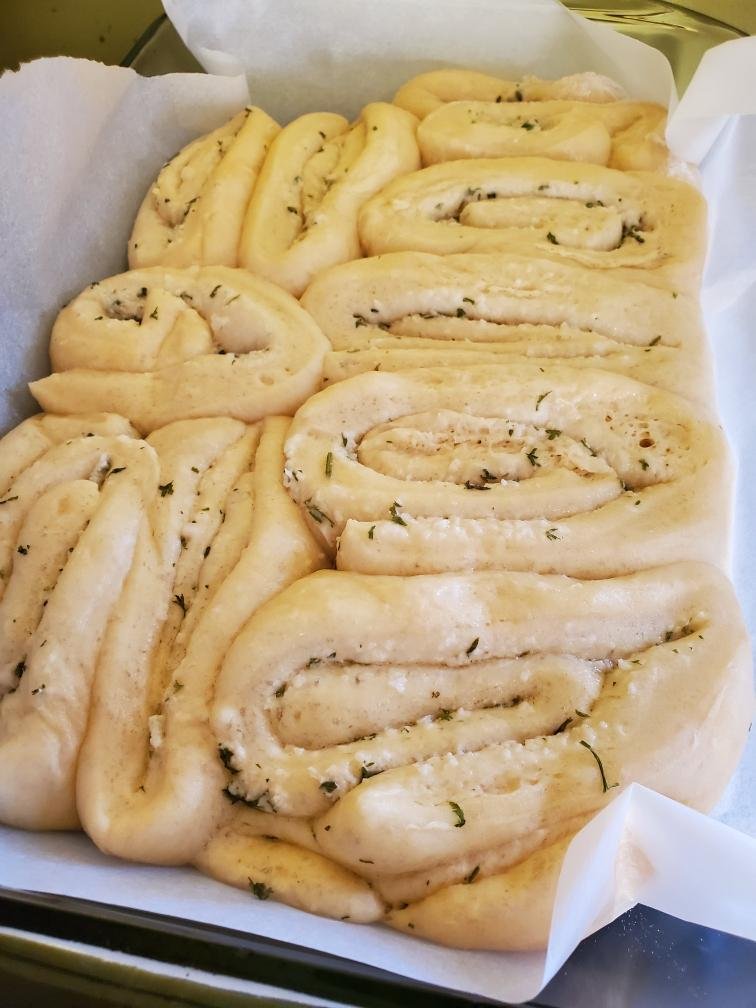
Line your baking pan with some foil, then move the rolls to your pan. They do not need to touch - in fact, it's much better that they don't. Leave a little space between them. Re-use the aluminum foil you had covering the mixing bowl, because it's time for a second rise. Leave the rolls alone, covered in a warm place, for another hour.
When the second rise is done, your rolls will have expanded to the point they look like they're going to overflow the pan. Don't worry. They'll just be big and fluffy.
Preheat your oven (unless it's been heating this whole time because your kitchen is chilly) to 375.
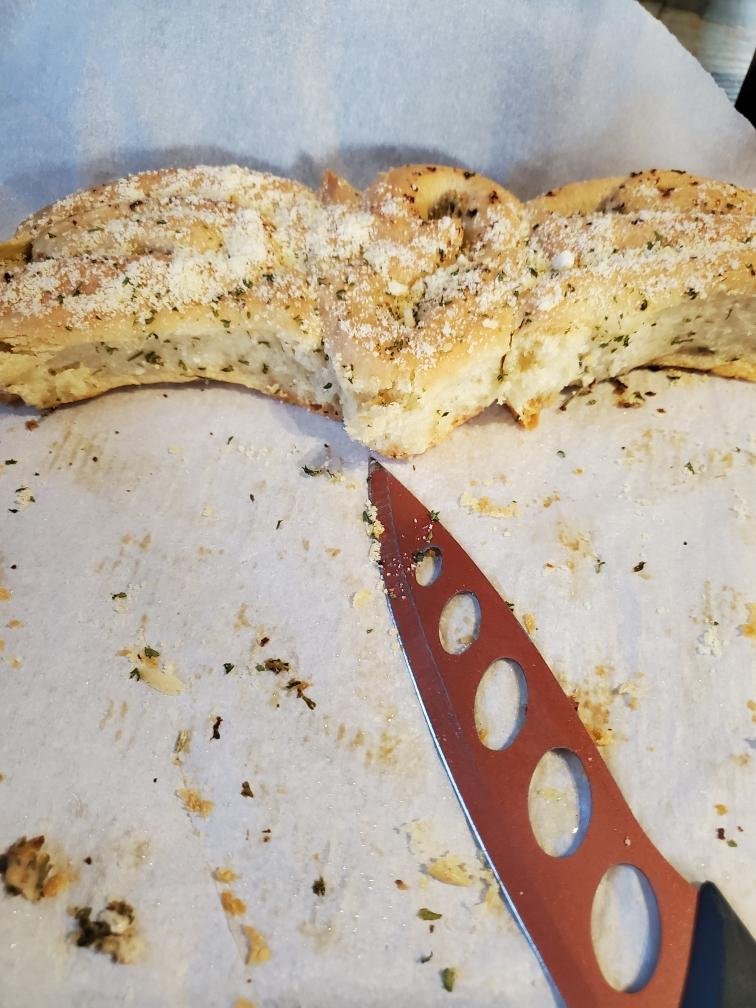
Optional step: If you have any of your garlic filling mixture left over. brush it on the top of the rolls. If not, you can utilize a little olive oil (spray or liquid). Once the top of the rolls has been moistened, we like to add a light dusting of cheese (parmesan, mozzarella, or sometimes both), Italian seasoning (with extra oregano), and/or cracked black pepper. You're in charge here, add what you like best - if you choose to add anything at all.
Bake for 20-25 minutes until golden. Allow to cool before removing from the pan.
As always if you made this one, let us know over on our Facebook page, we’d love to hear how it turned out!
If you’re in the Addison area and your appliances are malfunctioning, we’d be happy to help! You can reach out to us via our website or by giving us a call at ((214) 599-0055).
Additional Reading
If you’re looking for more wonderful bread-y recipes, check out this set from our archives!
Escapee From New York: Chocolate Bagels
Pepperoni & Canadian Bacon Stromboli