Sensational Apple Pork

Experience the Magic of Tender Pork and Crisp Apples, Perfectly Balanced

Are you ready to embark on a culinary journey that tantalizes your taste buds and leaves you craving more? Look no further than our delightful Apple Pork recipe—a harmonious blend of savory pork, crisp apples, and a medley of spices that will elevate your dining experience to new heights. Picture succulent pork loin infused with the sweet essence of gala apples, complemented by tender baby carrots and a splash of apple cider. As the aroma fills your kitchen and anticipation builds, you know you're in for a culinary masterpiece. Join us as we explore the art of creating savory delights and discover how simple ingredients can come together to create extraordinary flavors.
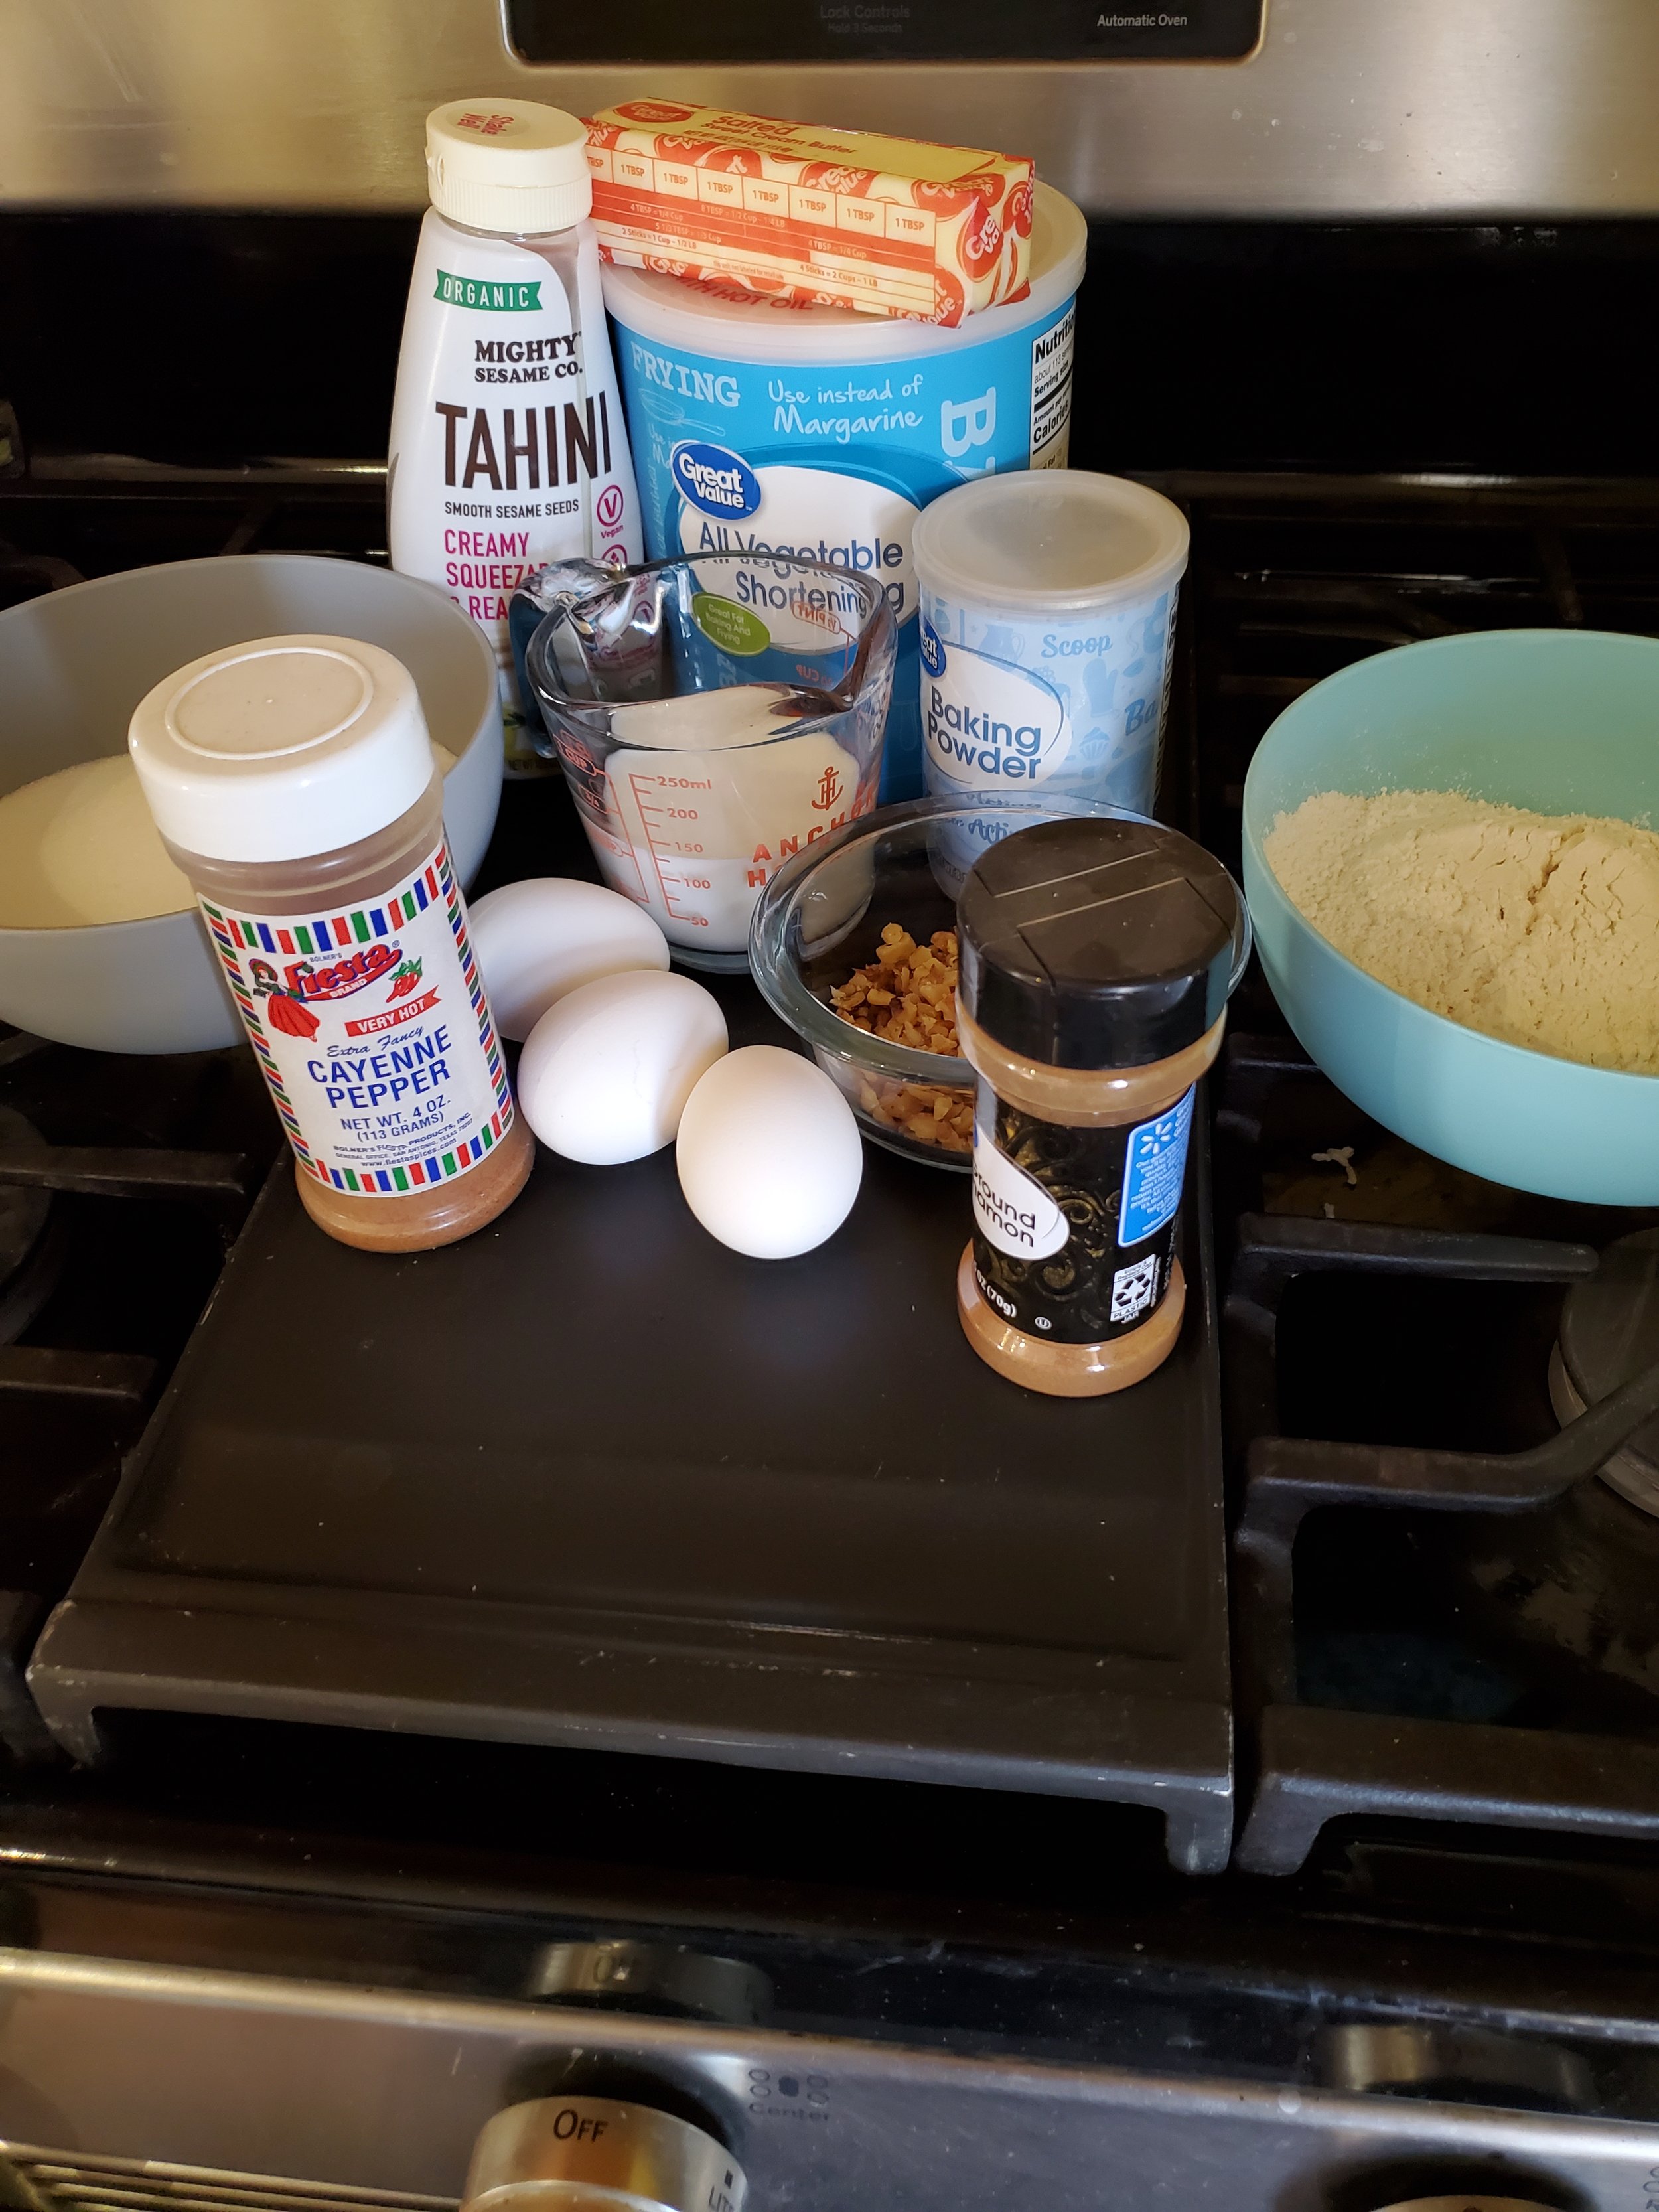
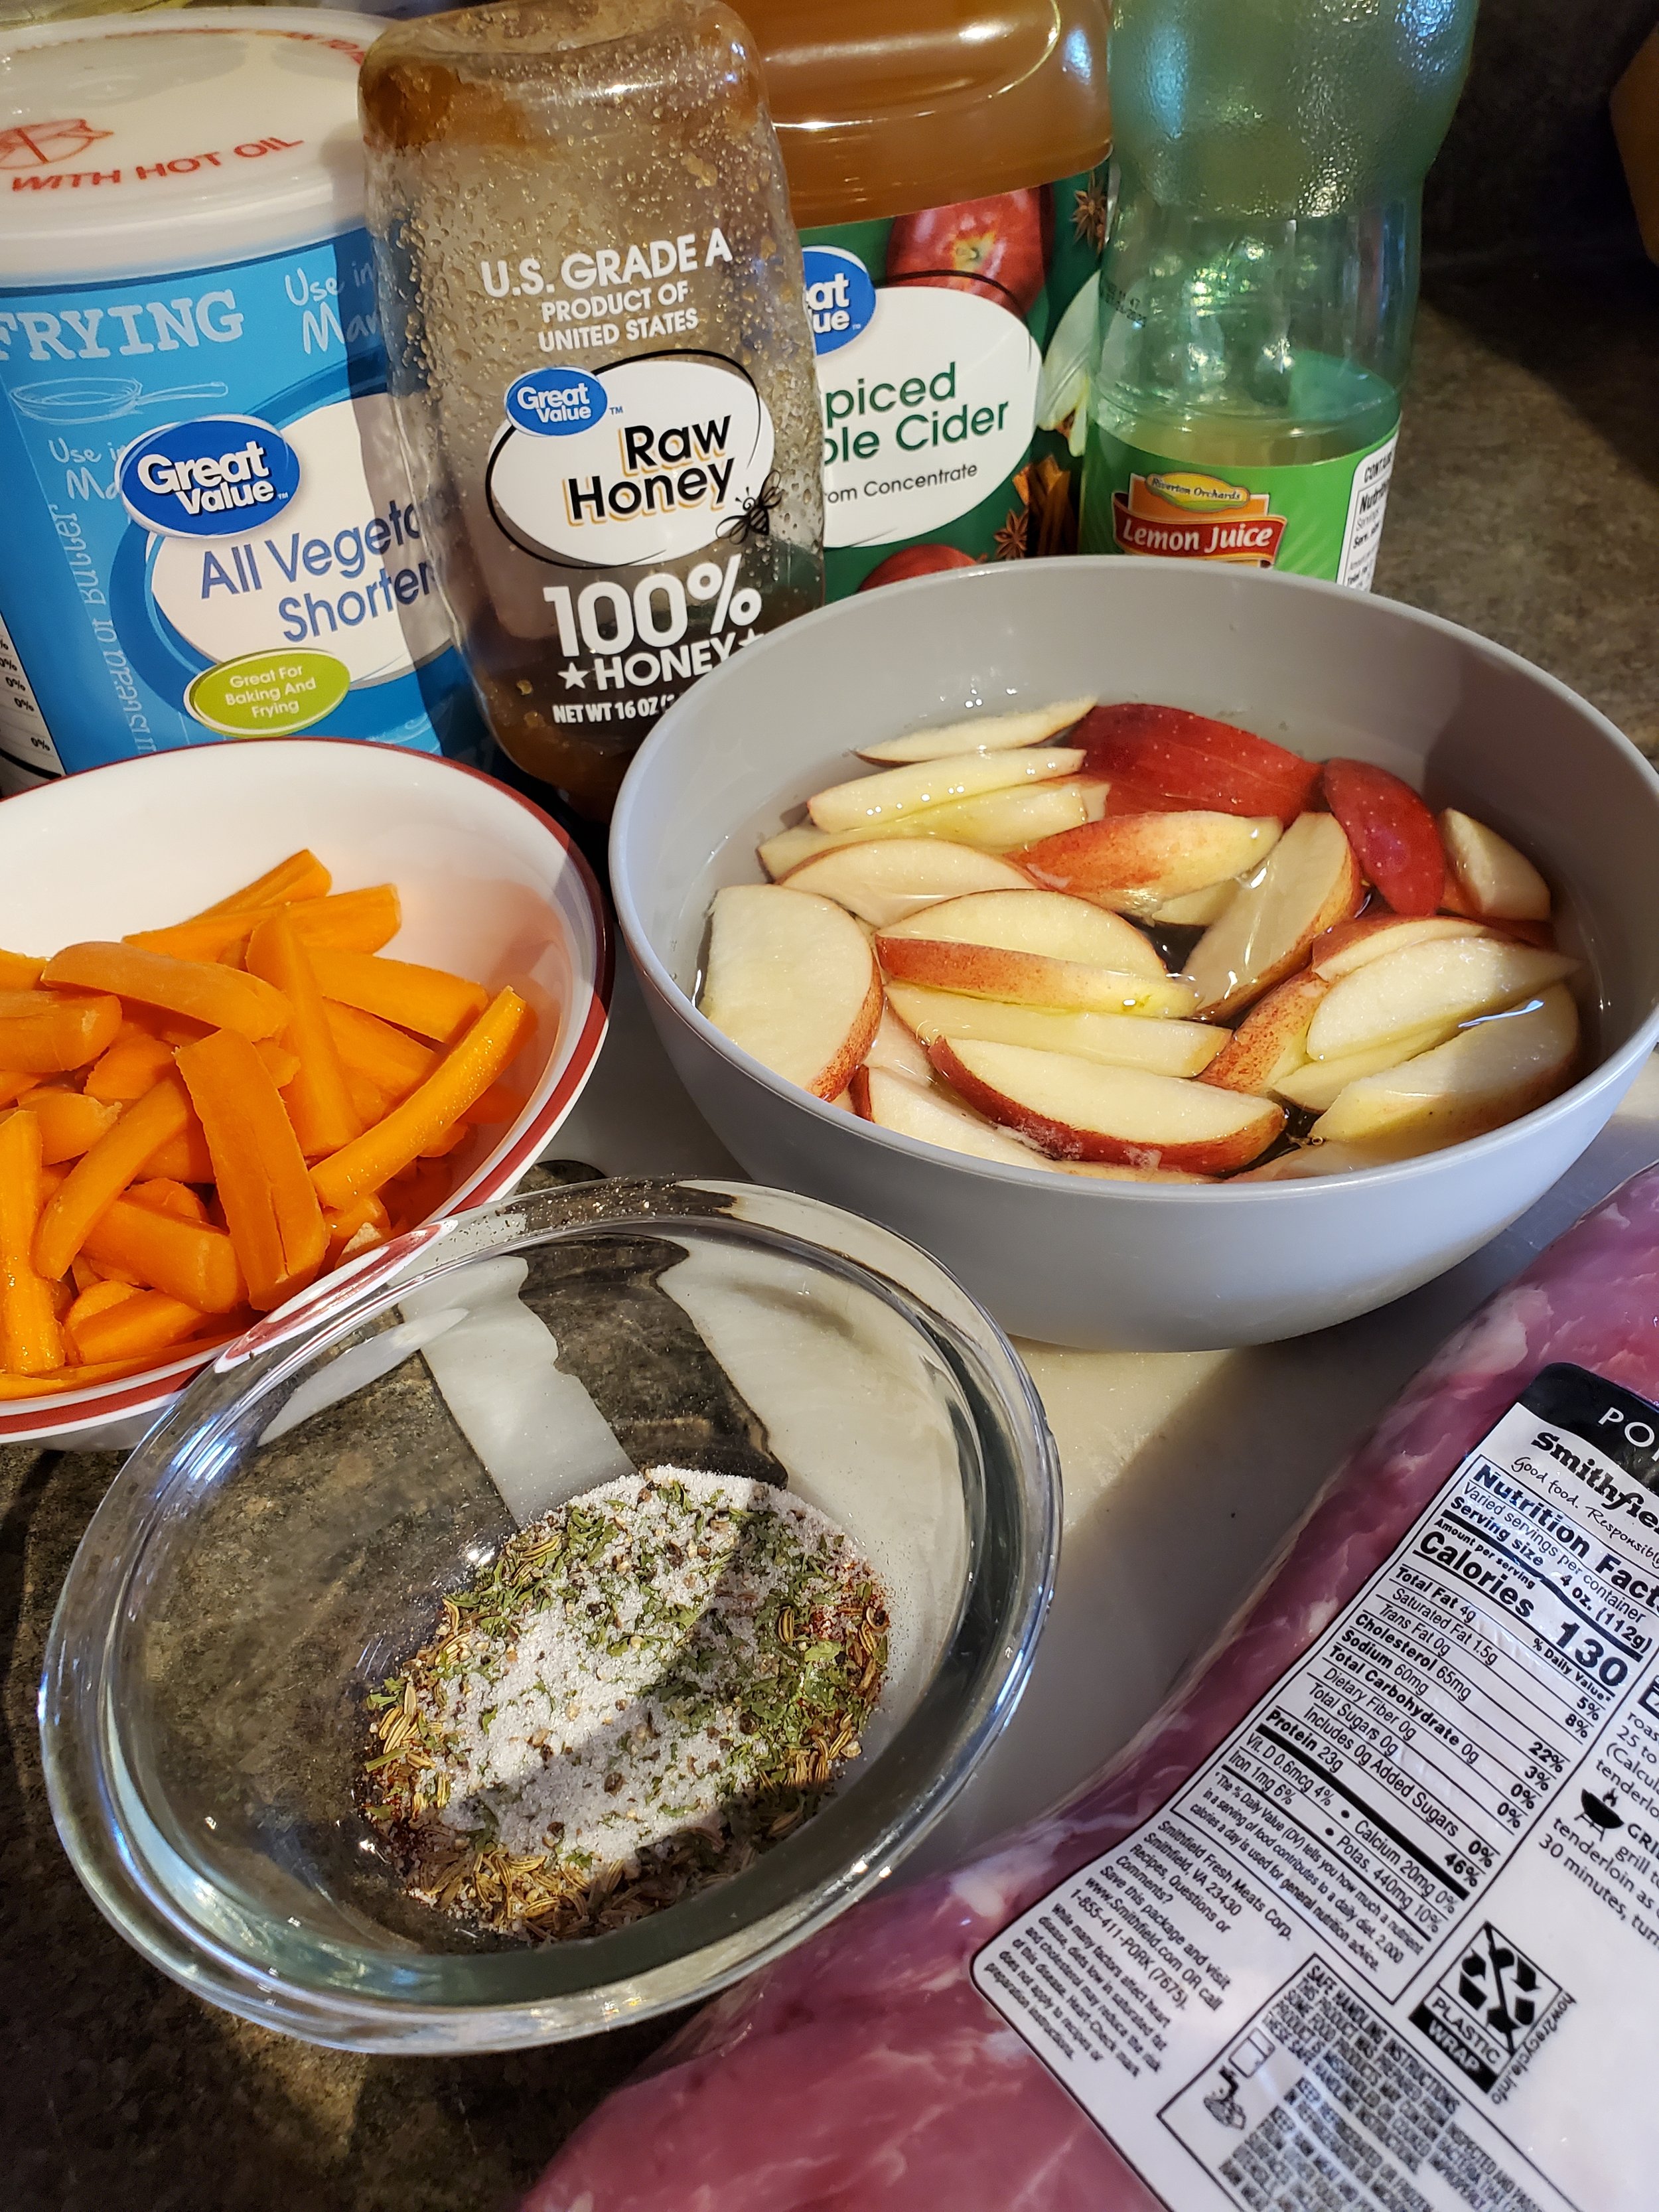


Ingredients

2 Tablespoons shortening

Pork loin (1.5 lb)

2 large gala apples, sliced

10-15 baby carrots, halved

2/3 cup apple cider (any brand, hard cider or non-alcoholic)

One tablespoon lemon juice

One tablespoon honey

Salt

Pepper

one teaspoon fennel 

one teaspoon smoked paprika

two teaspoons dried parsley 

one teaspoon dried basil


Tools

Measuring cups and spoons

Knife

Cutting board

Shallow dishes

Tongs

Heavy oven-safe skillet

Meat thermometer


We know you're probably tired of hearing this, but... wash your produce. We never know when we'll have a new reader, so it's better to be safe and add it at the beginning each time.


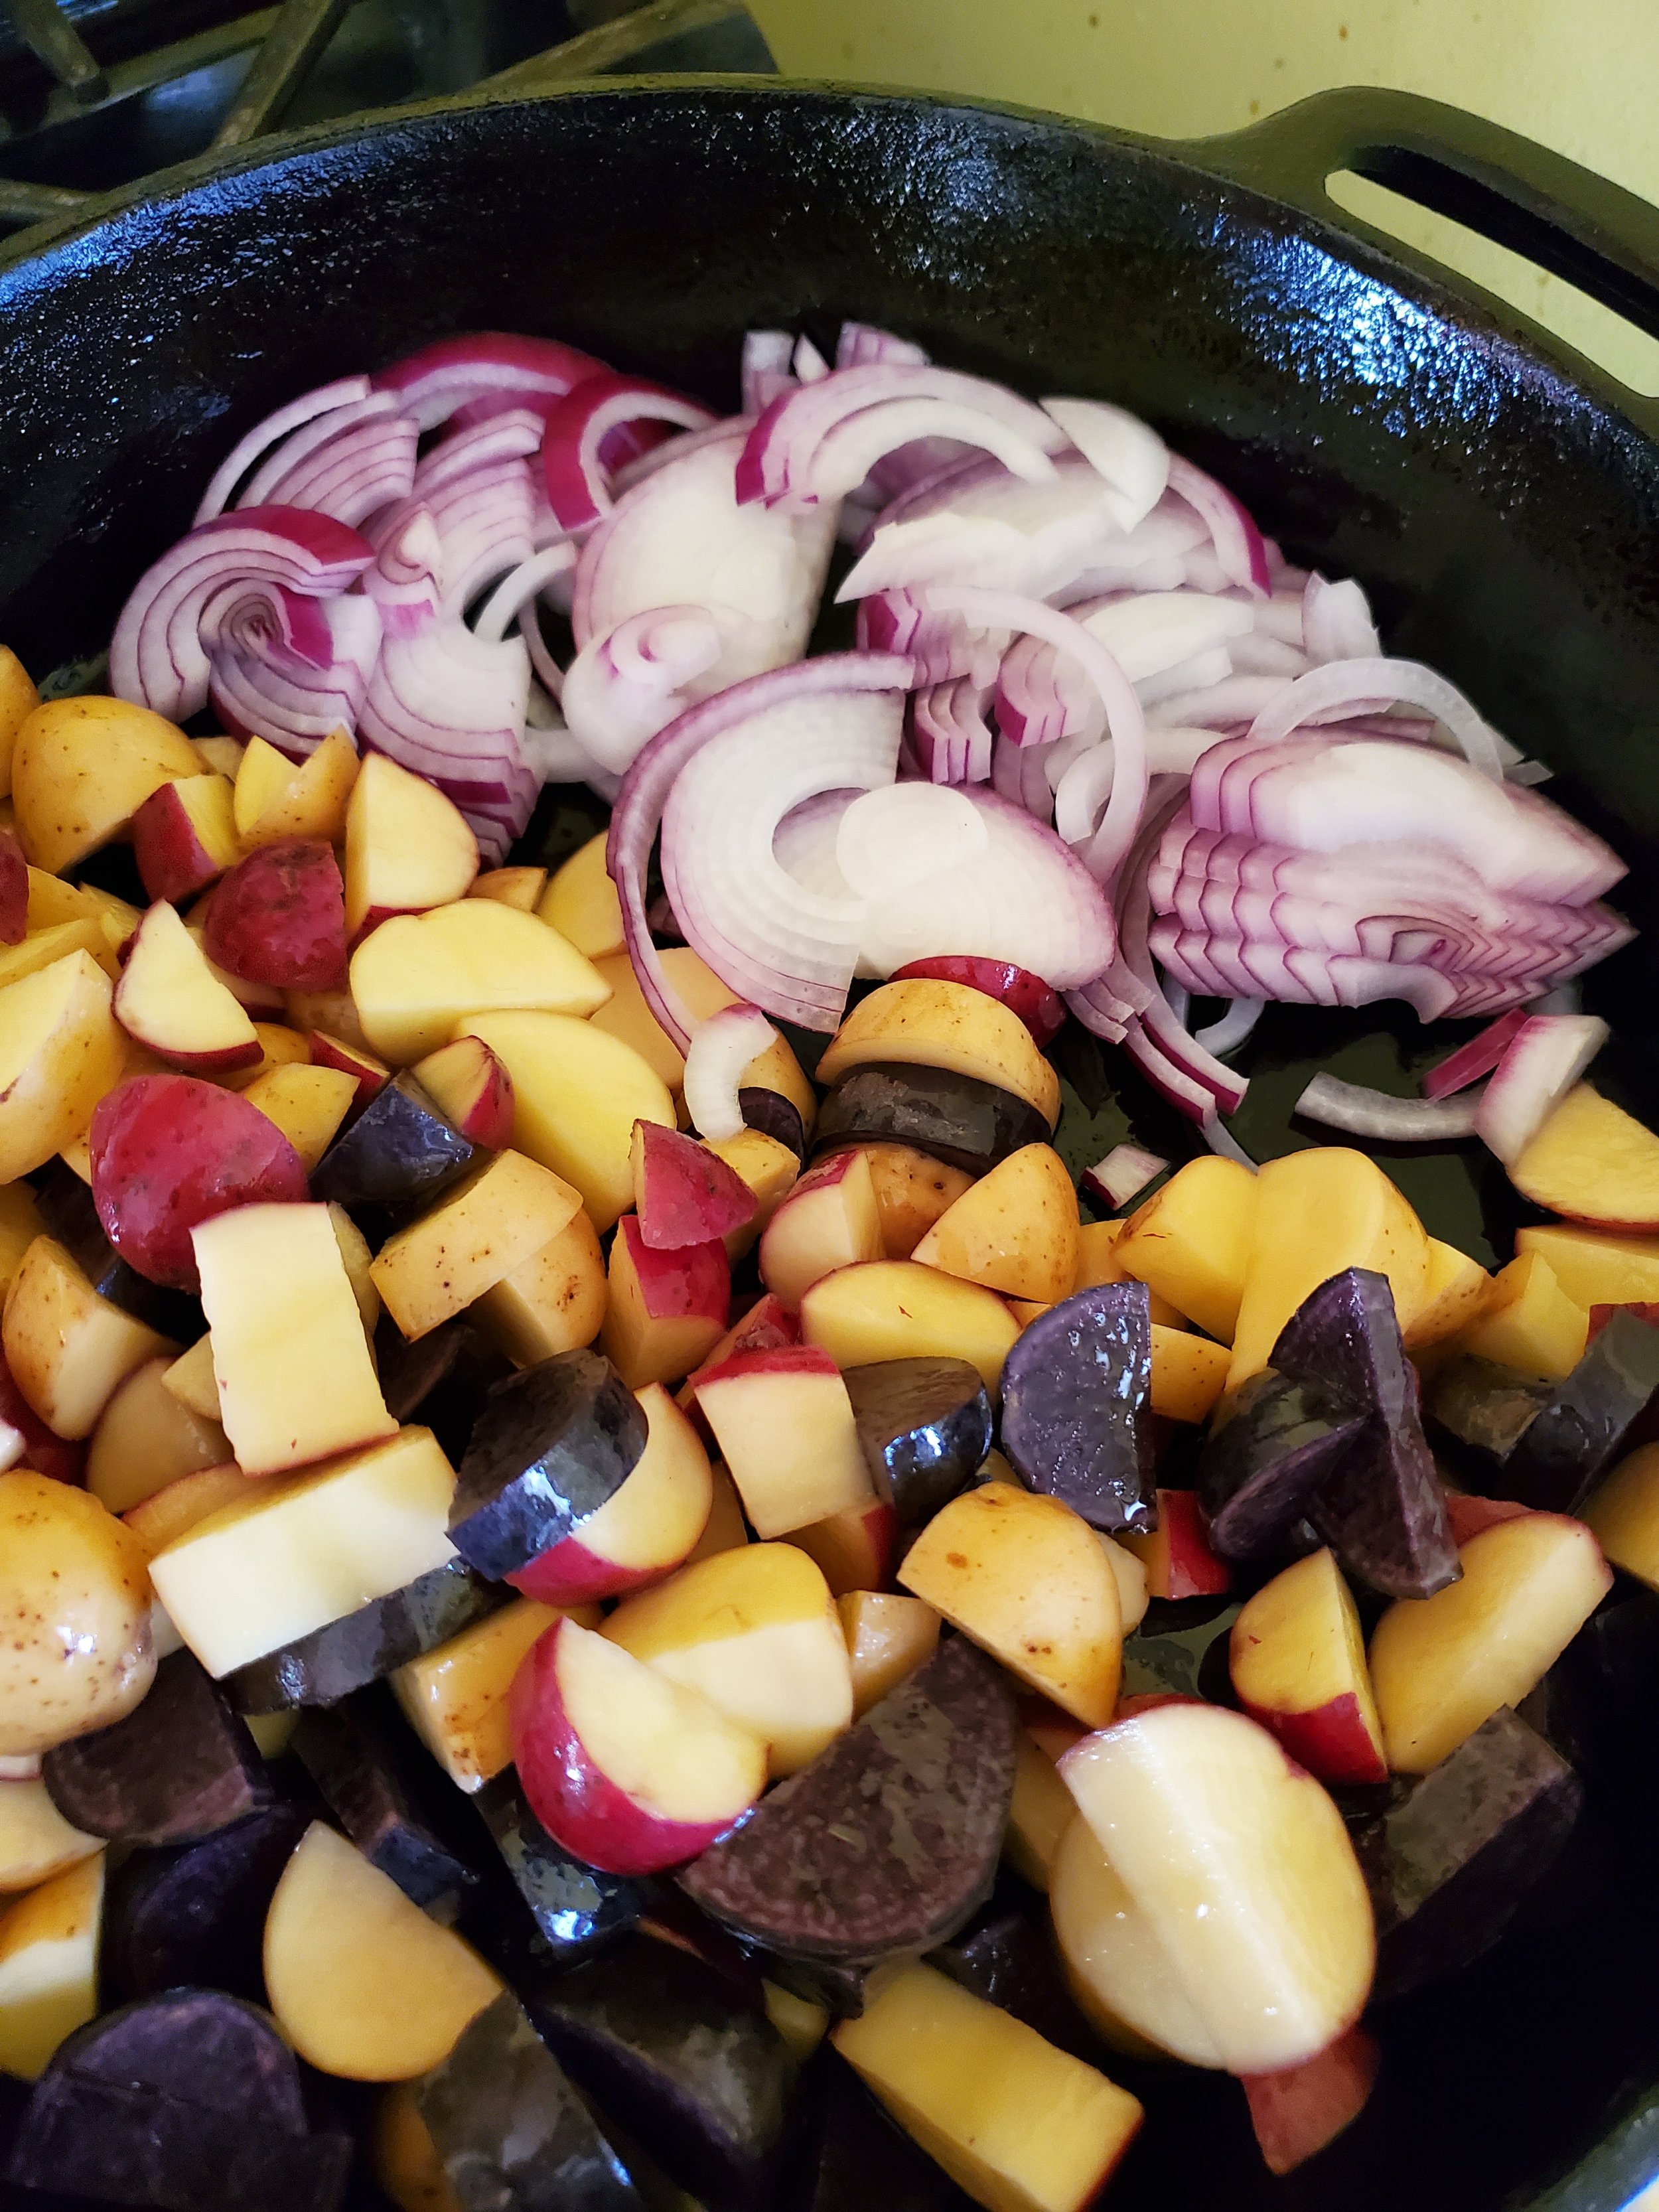
Do not peel the apples. Cut your lovely clean gala apples into half-inch slices and discard the core. Set them aside in a dish and sprinkle them with a very minimal amount of salt, then add enough water to cover them so they won't brown up on you while you take care of other things.


Take your baby carrots and halve them longways, and set them aside as well.


Preheat the oven to 450 degrees.


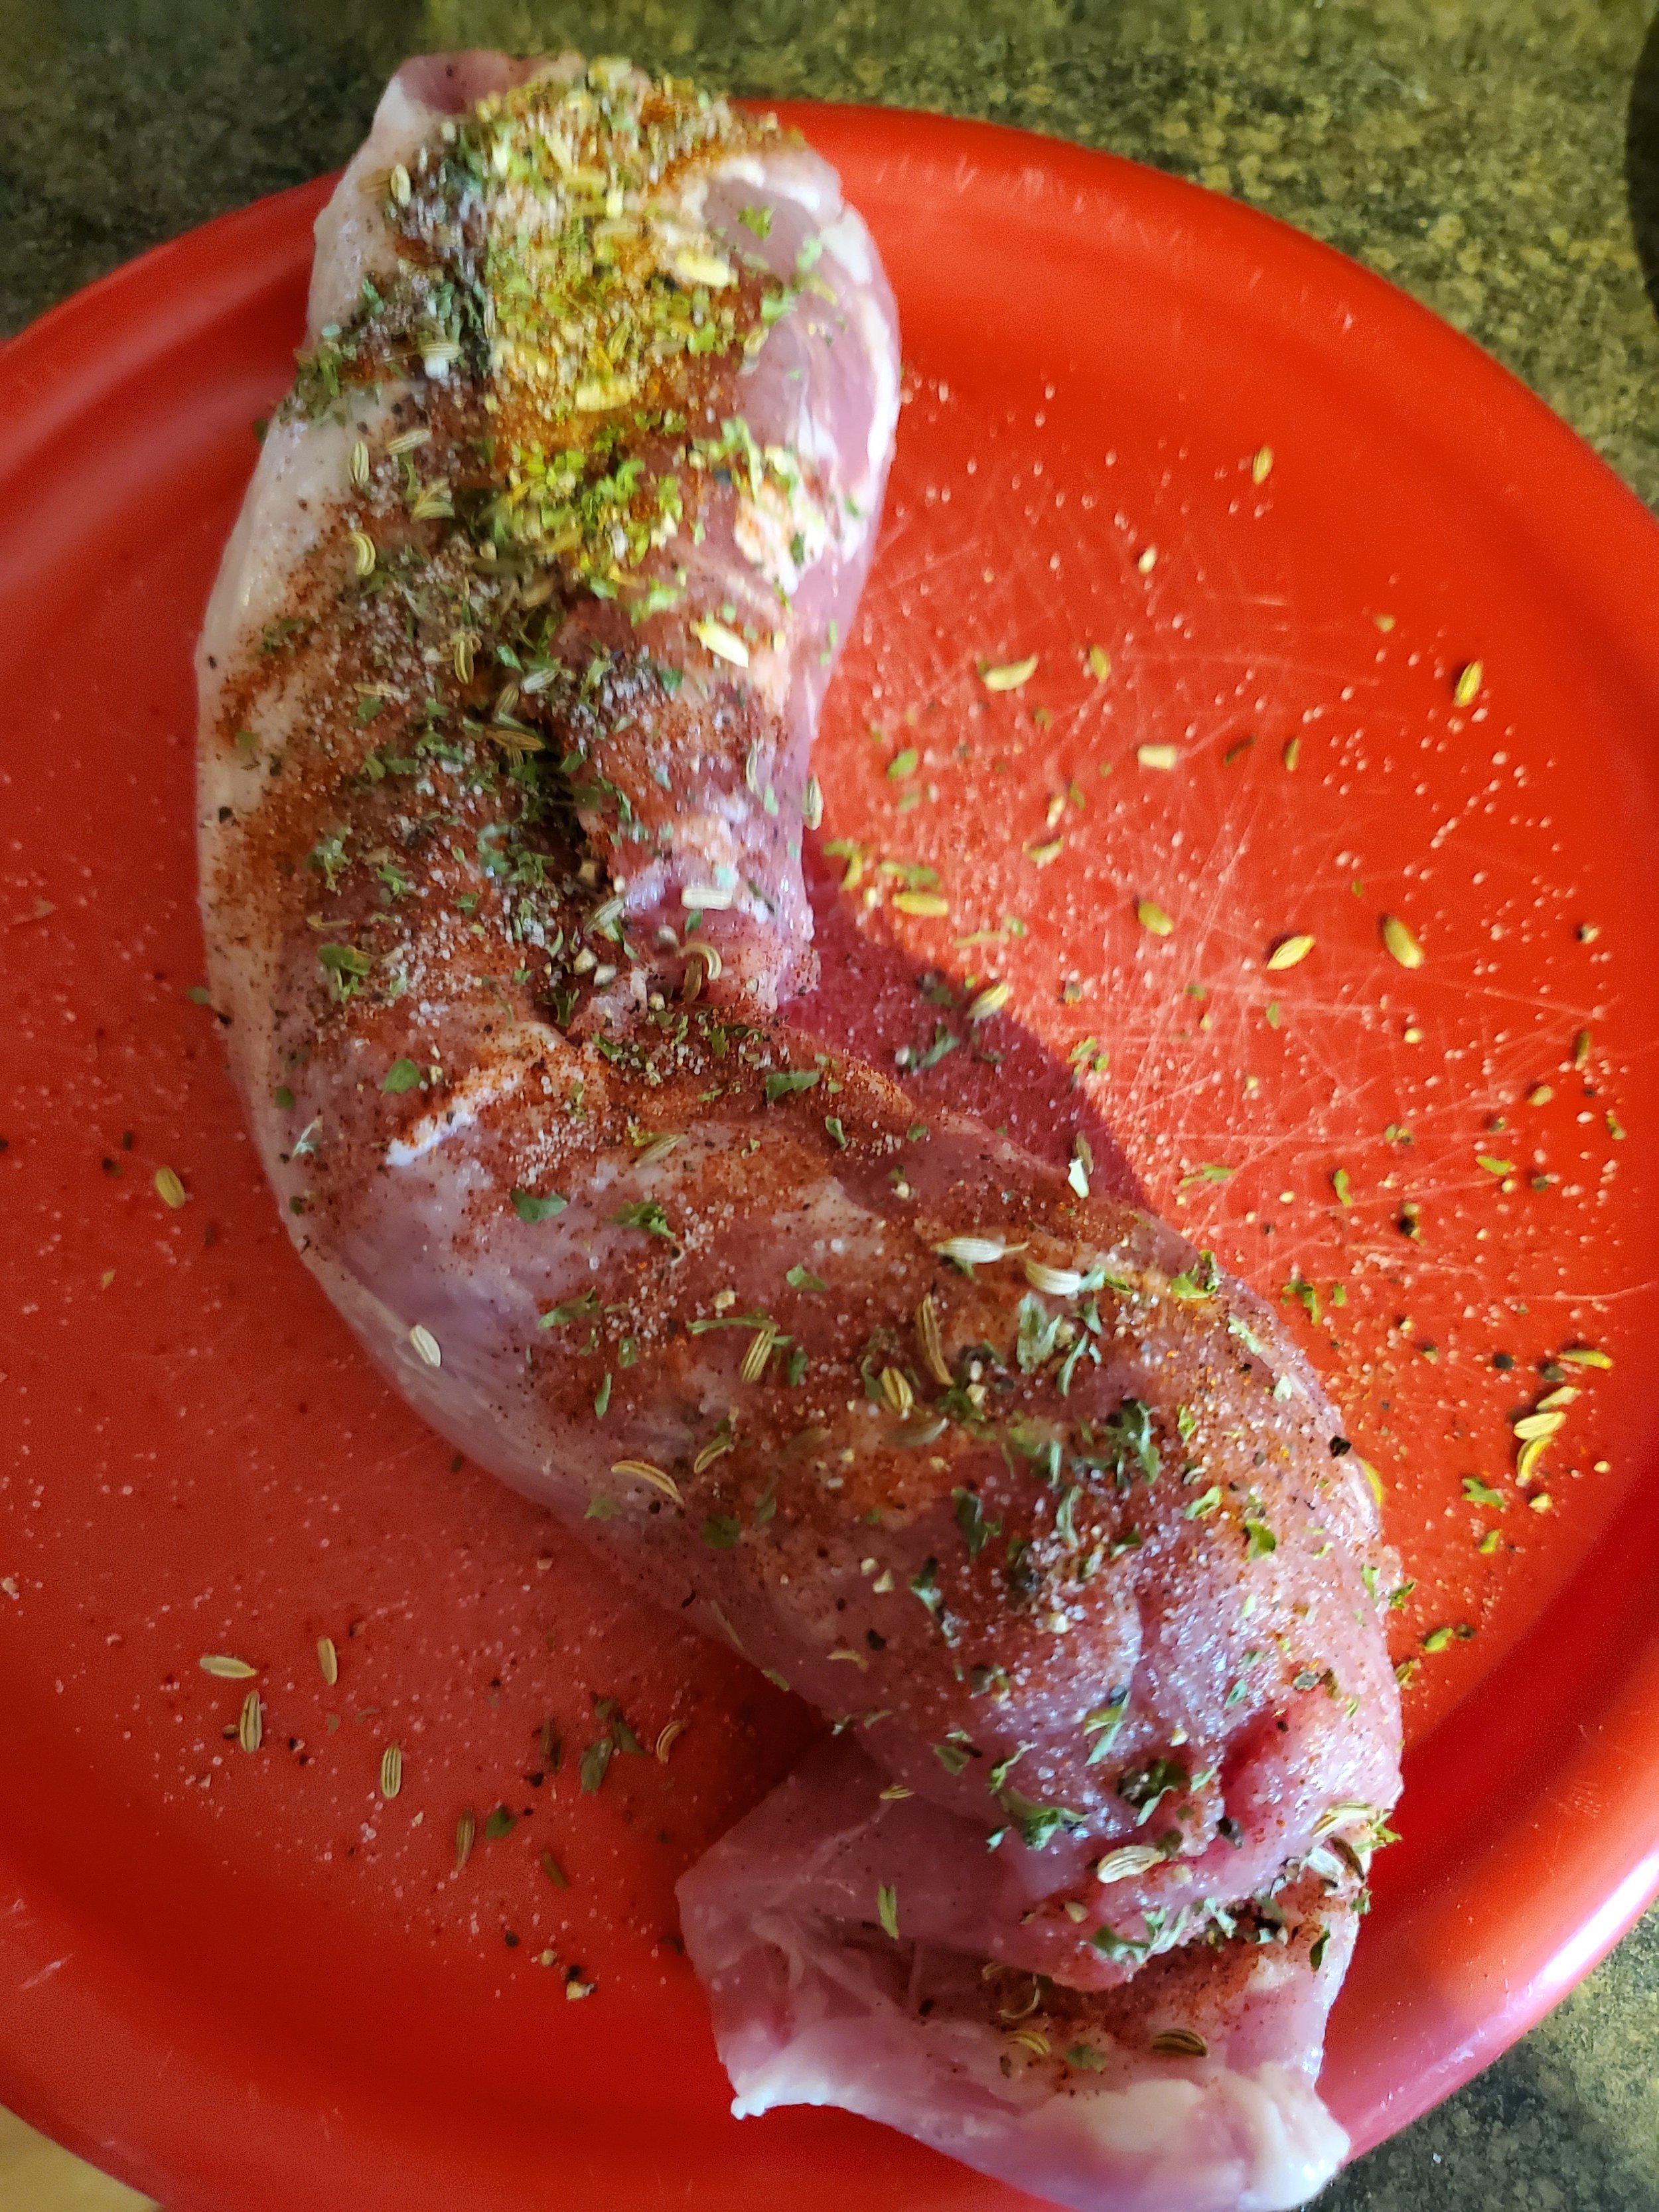
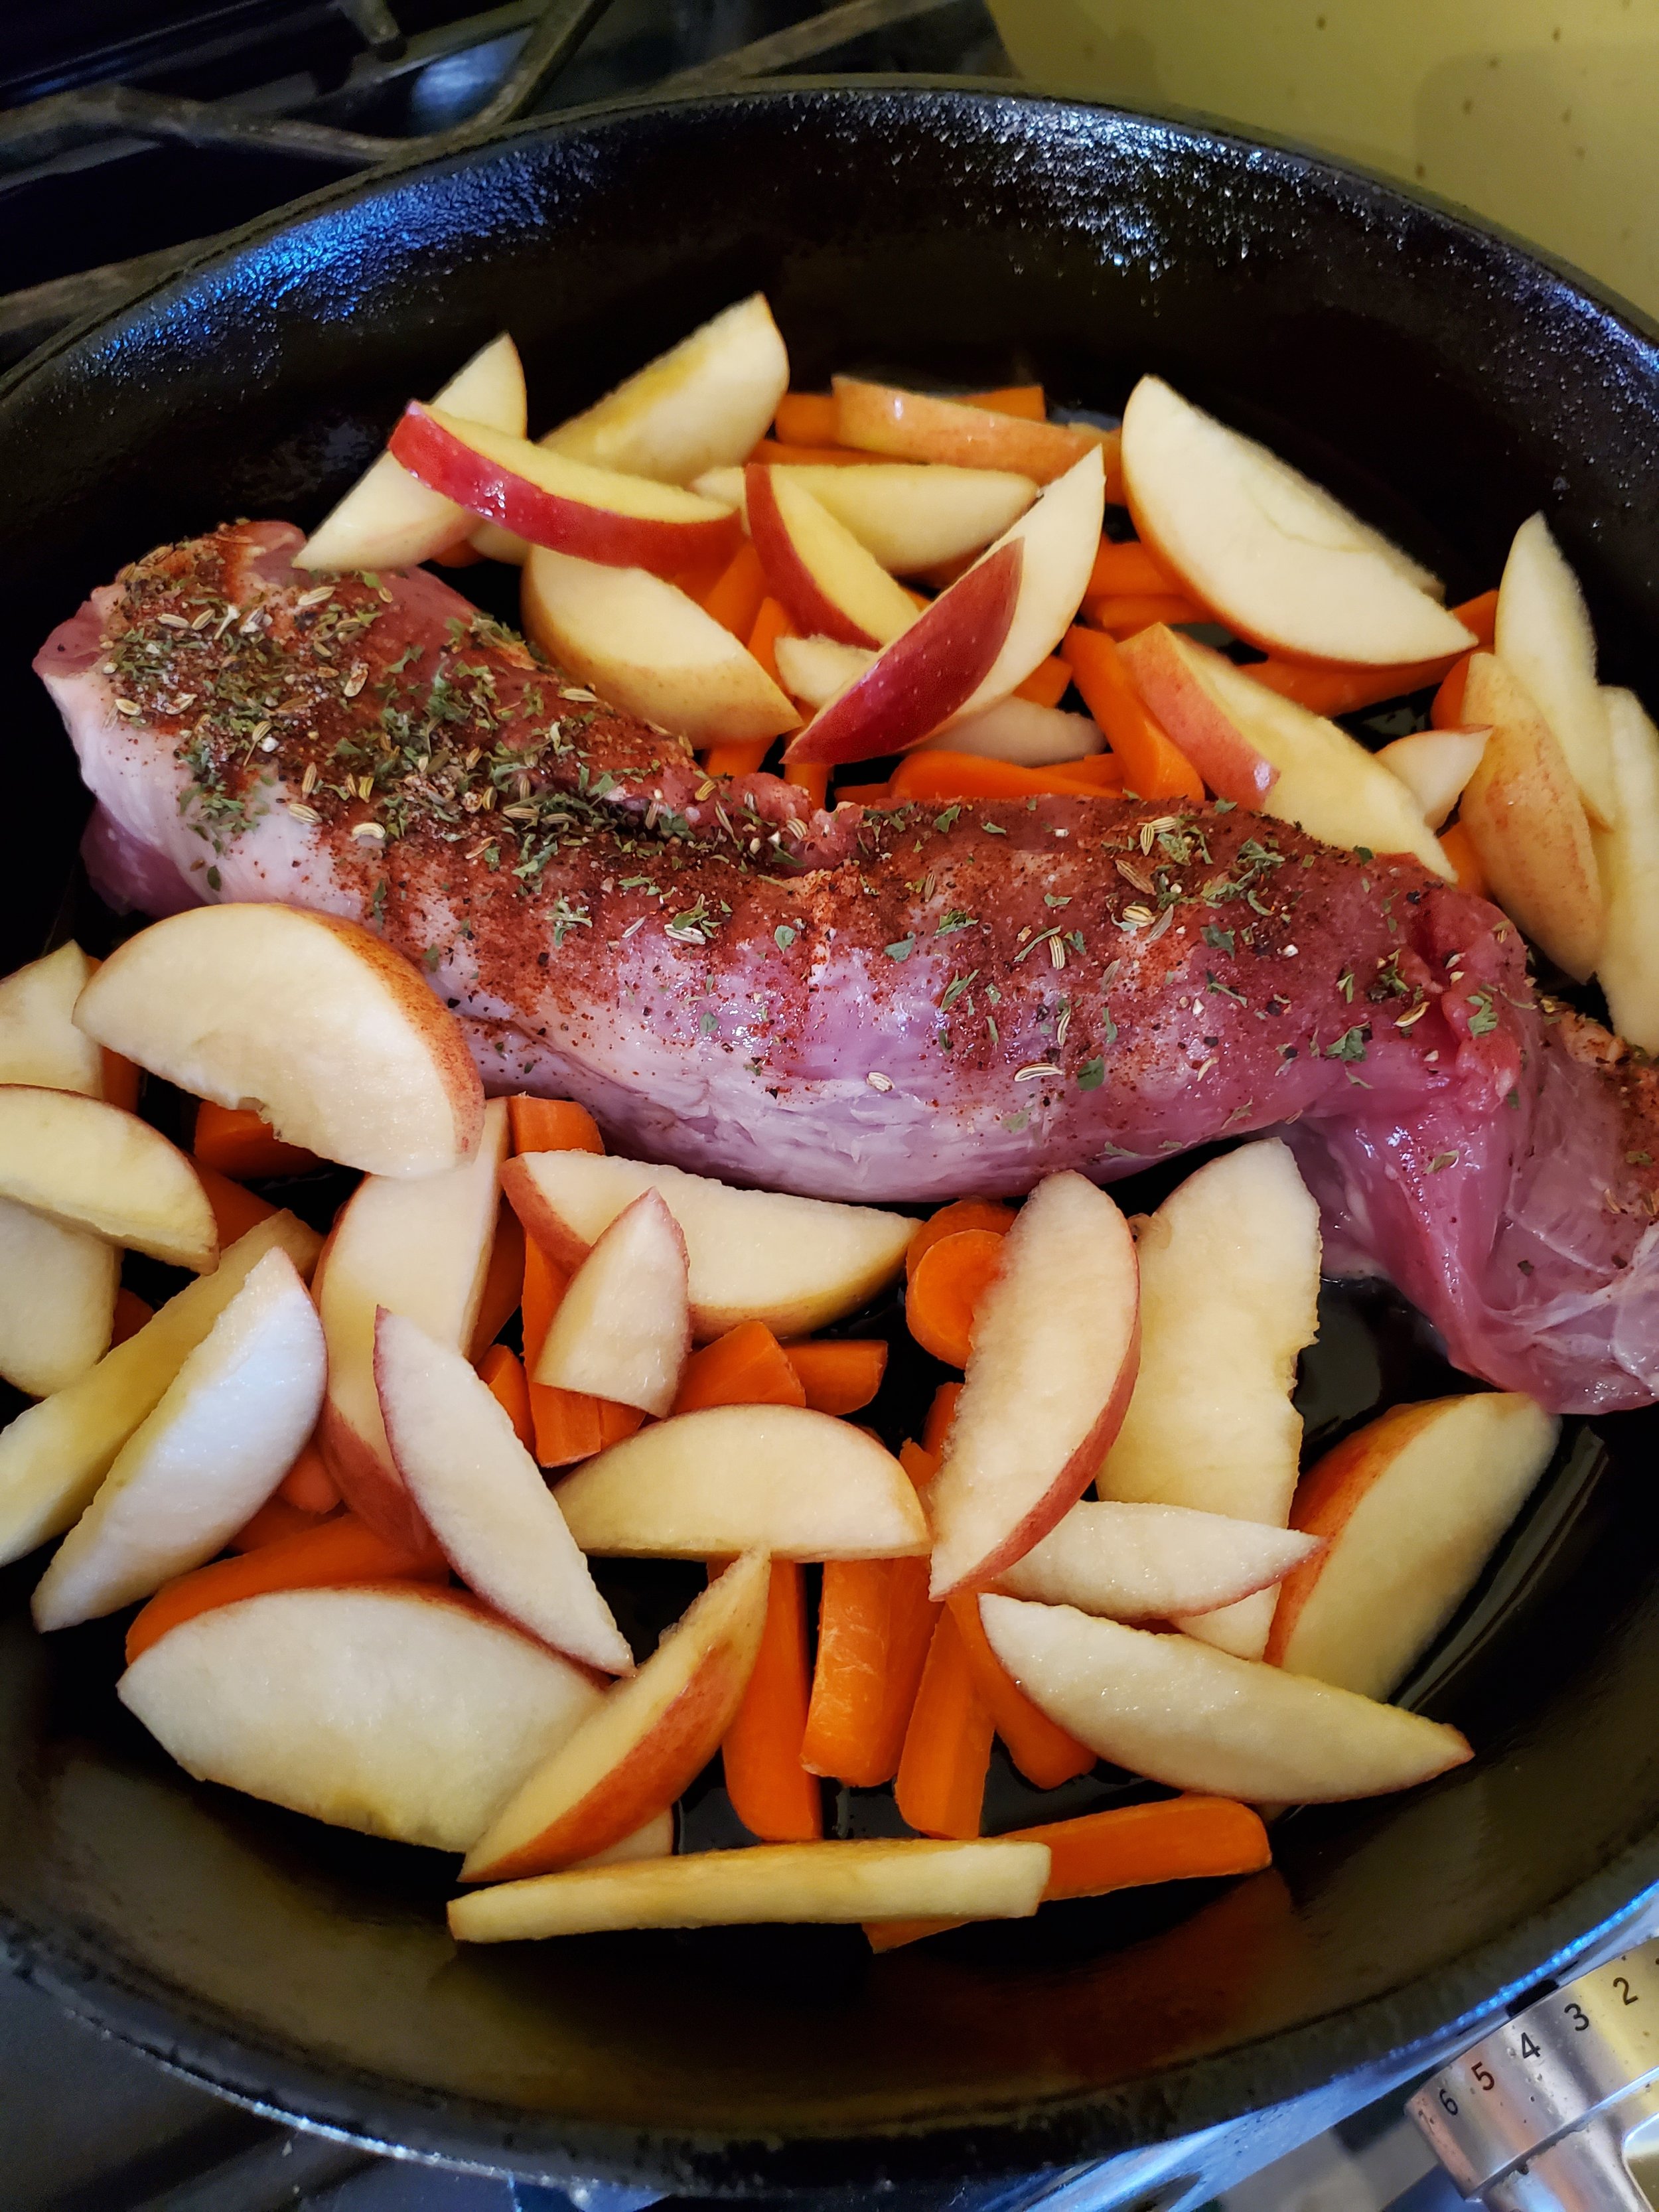
Mix together your measured paprika, fennel, and parsley. Add a little salt and pepper (to taste), then use this blend of spices to season the pork. Make sure you get some all the way around the loin. Let it sit with the spices while you move to your skillet.


Place the skillet on the stovetop and set the heat to medium. Drop in your shortening and allow it to melt. If you're working with an oversized skillet, you can add some extra shortening to ensure you'll have enough to coat the bottom of the pan.


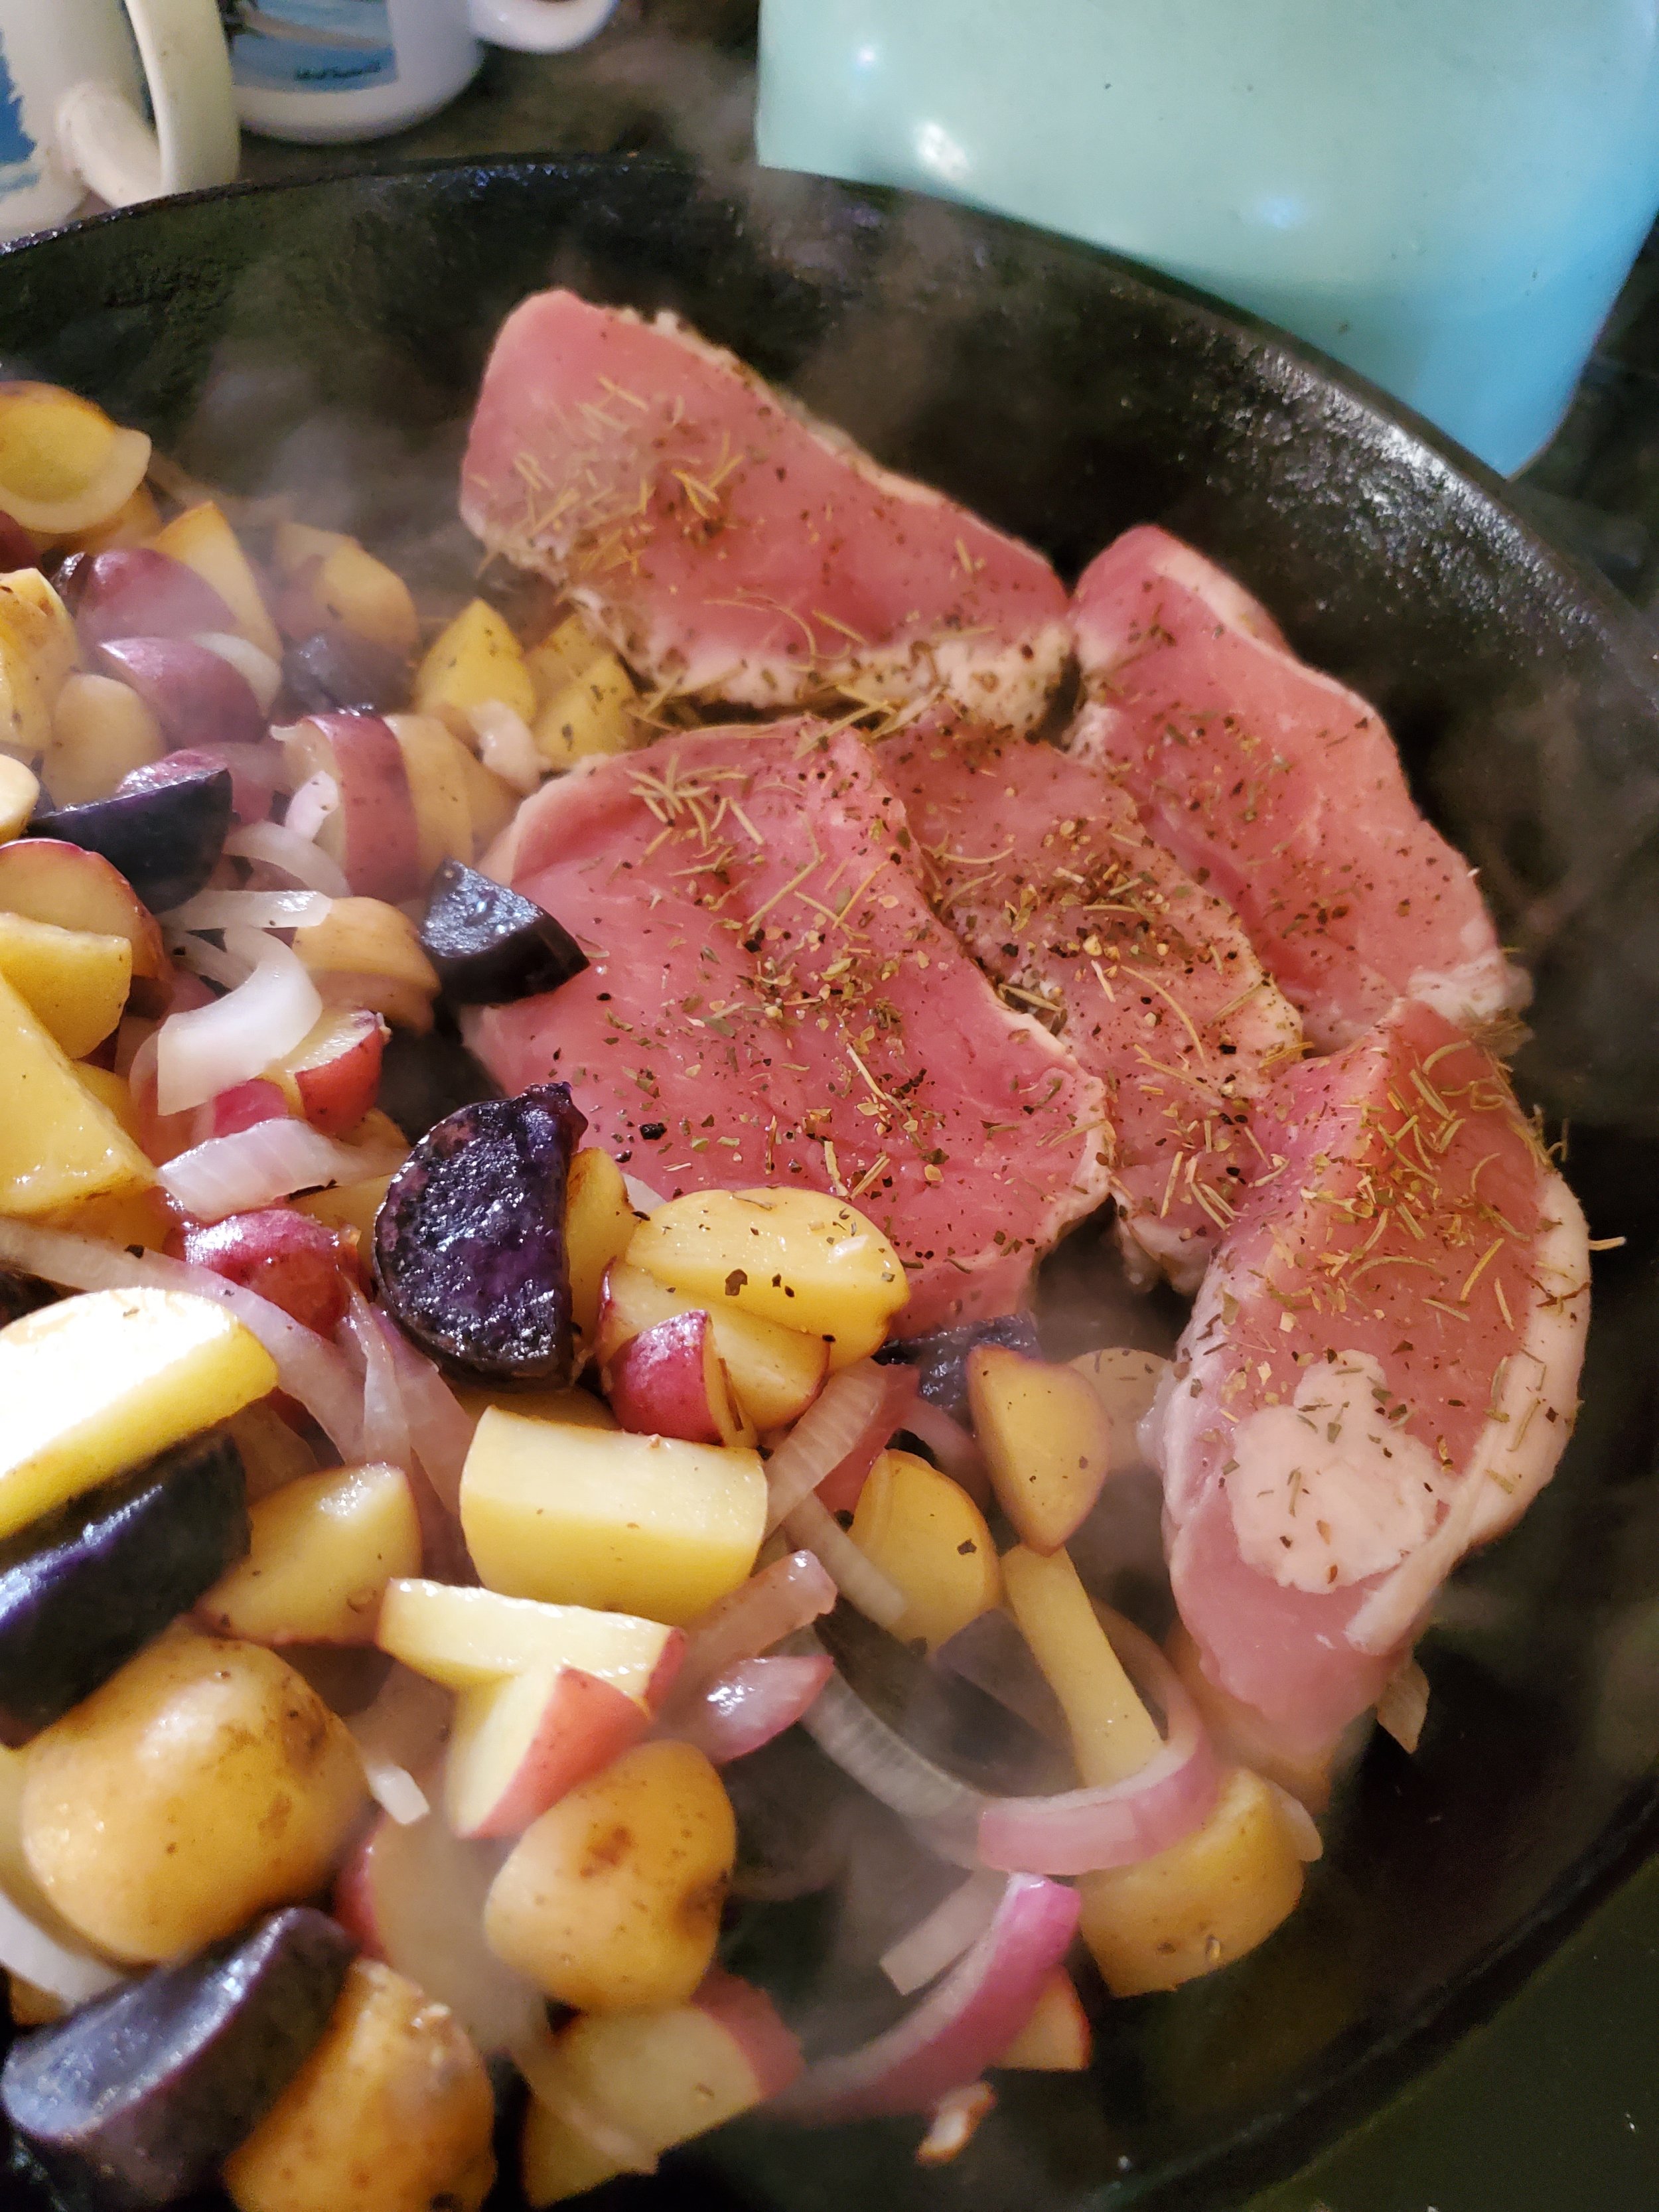
Once it's melted and you've got a good sizzle on, move the pork from the cutting board (or in our case, plate*) to the skillet. 


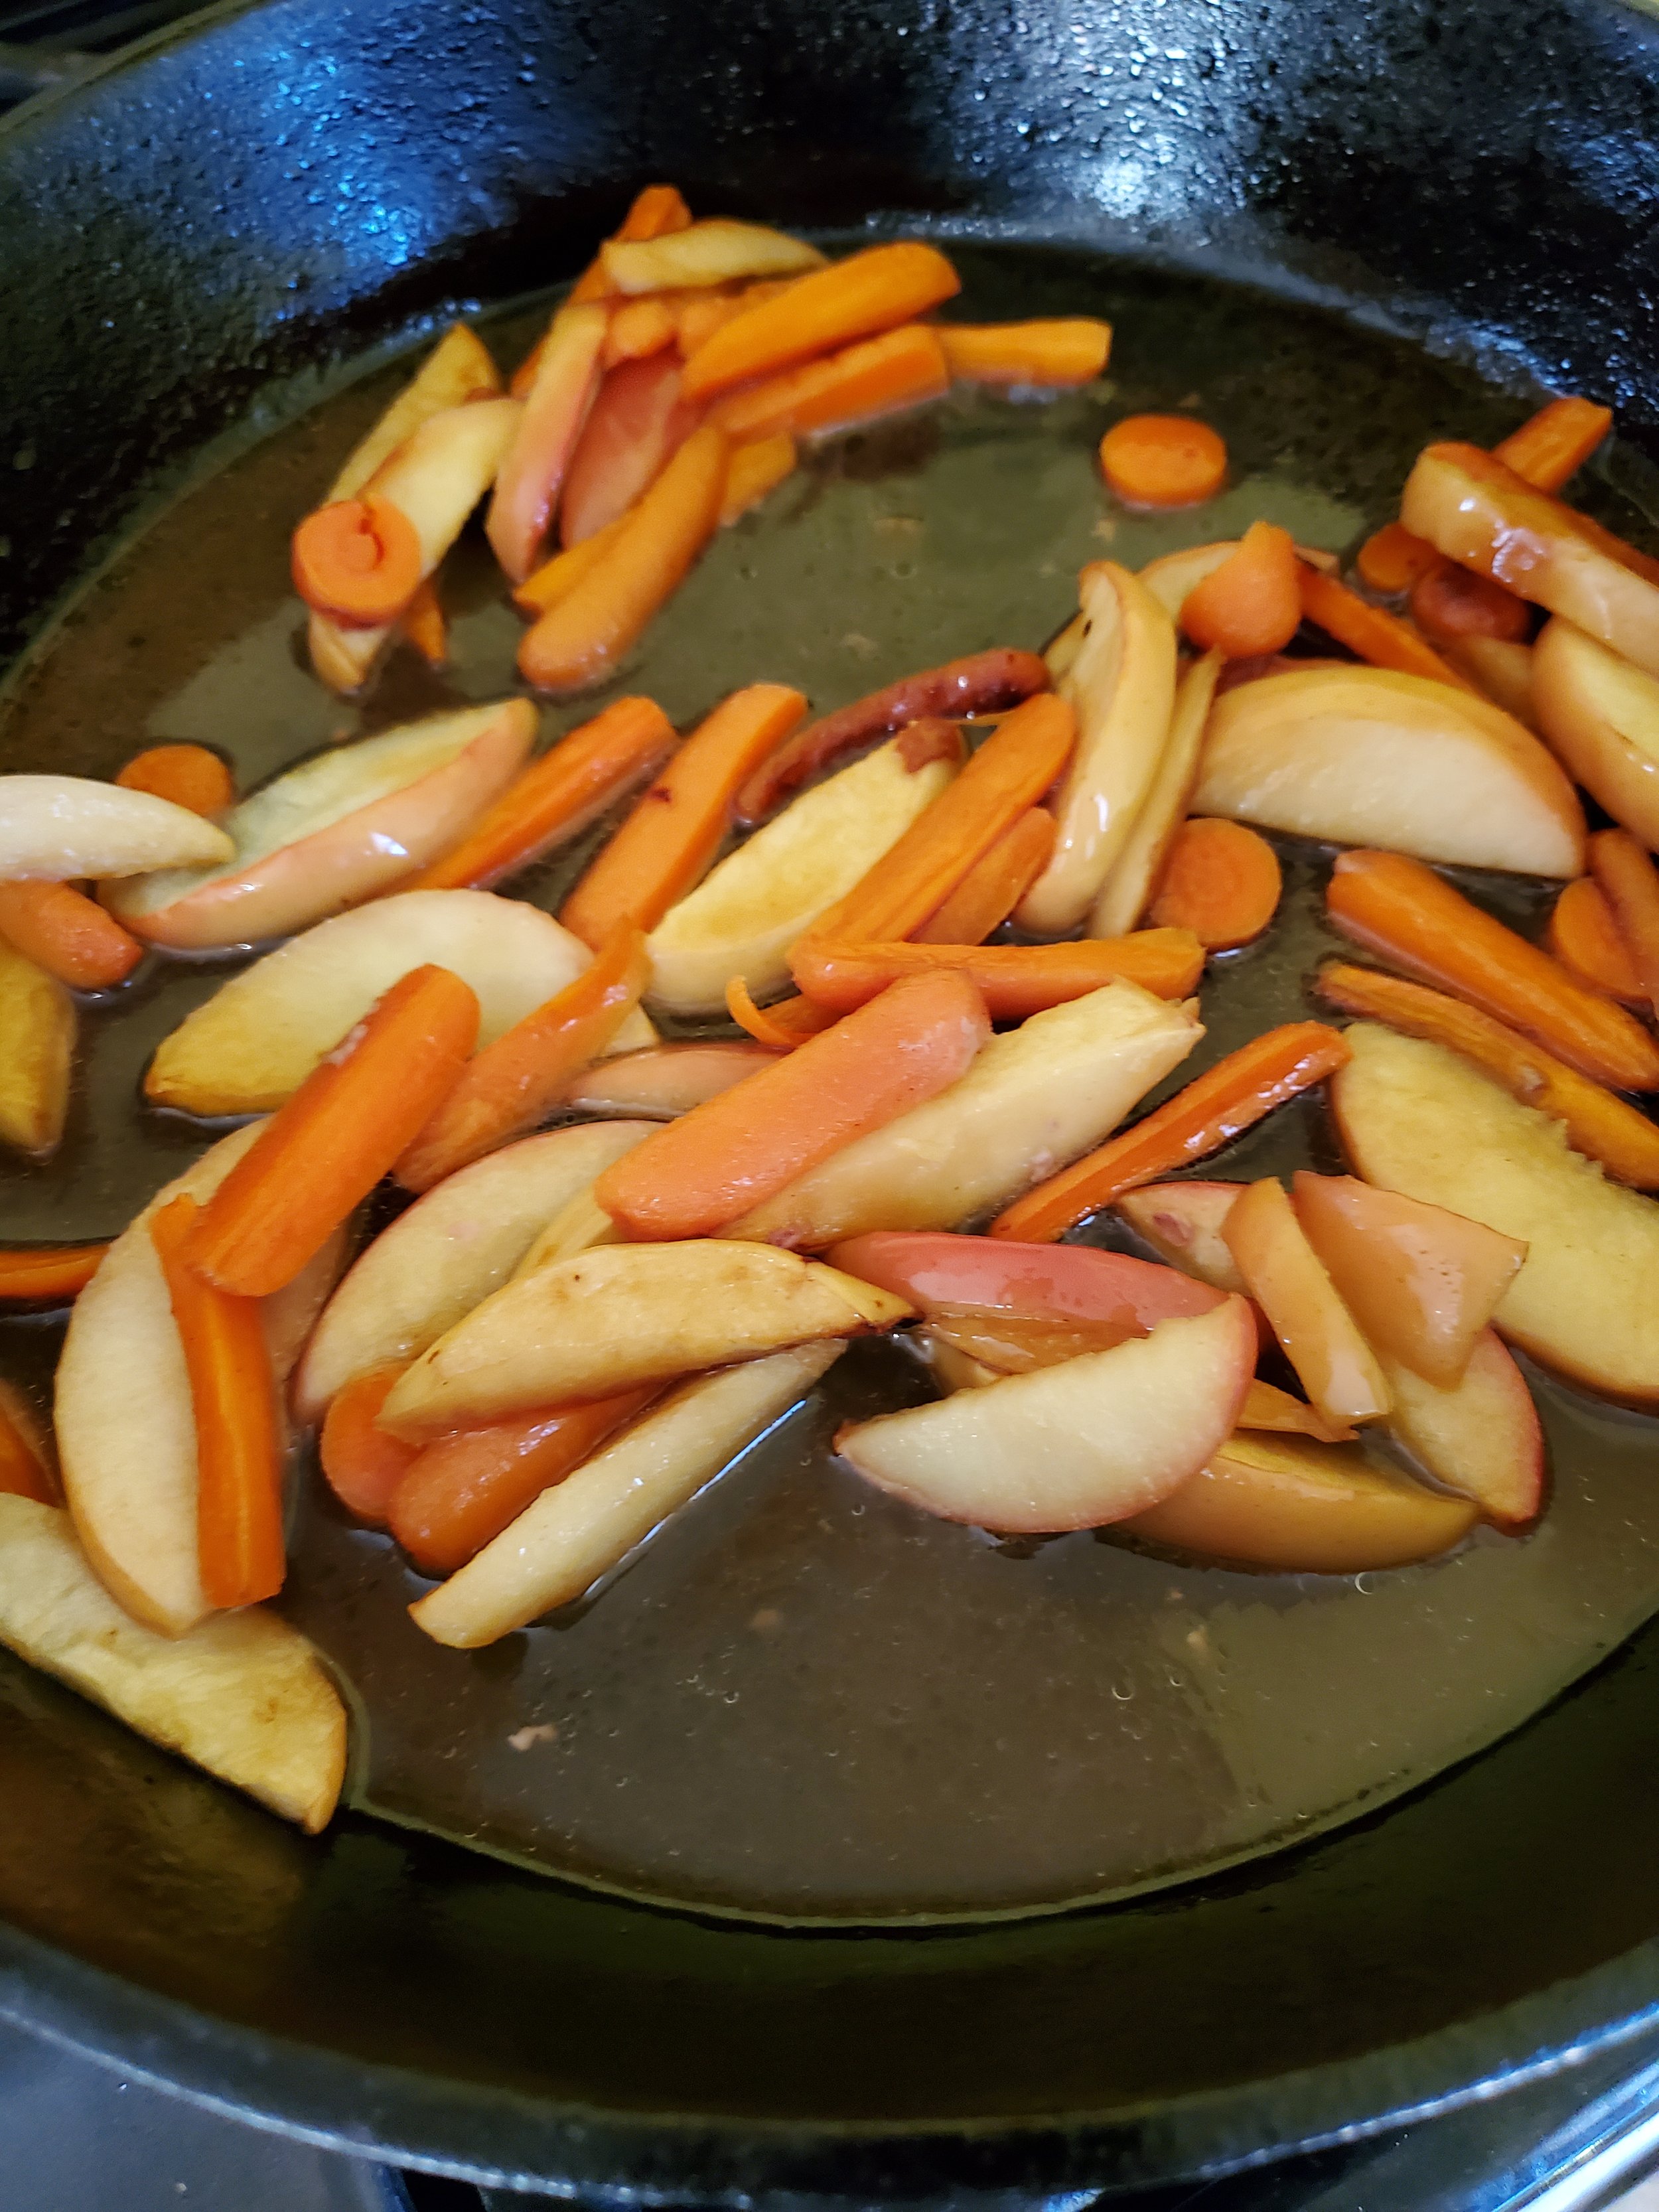
Add the carrots, distributing them around both sides of the pork, then drain your apples and place them in with the carrots. You can give them a little stir, but don't disturb the pork at this stage. Cut the heat.


Don some oven mitts and move the skillet from the stovetop to the oven. Set a timer for 15 minutes. We like to use this time to clean the cutting board so we can use it again when it's time to rest the cooked pork.


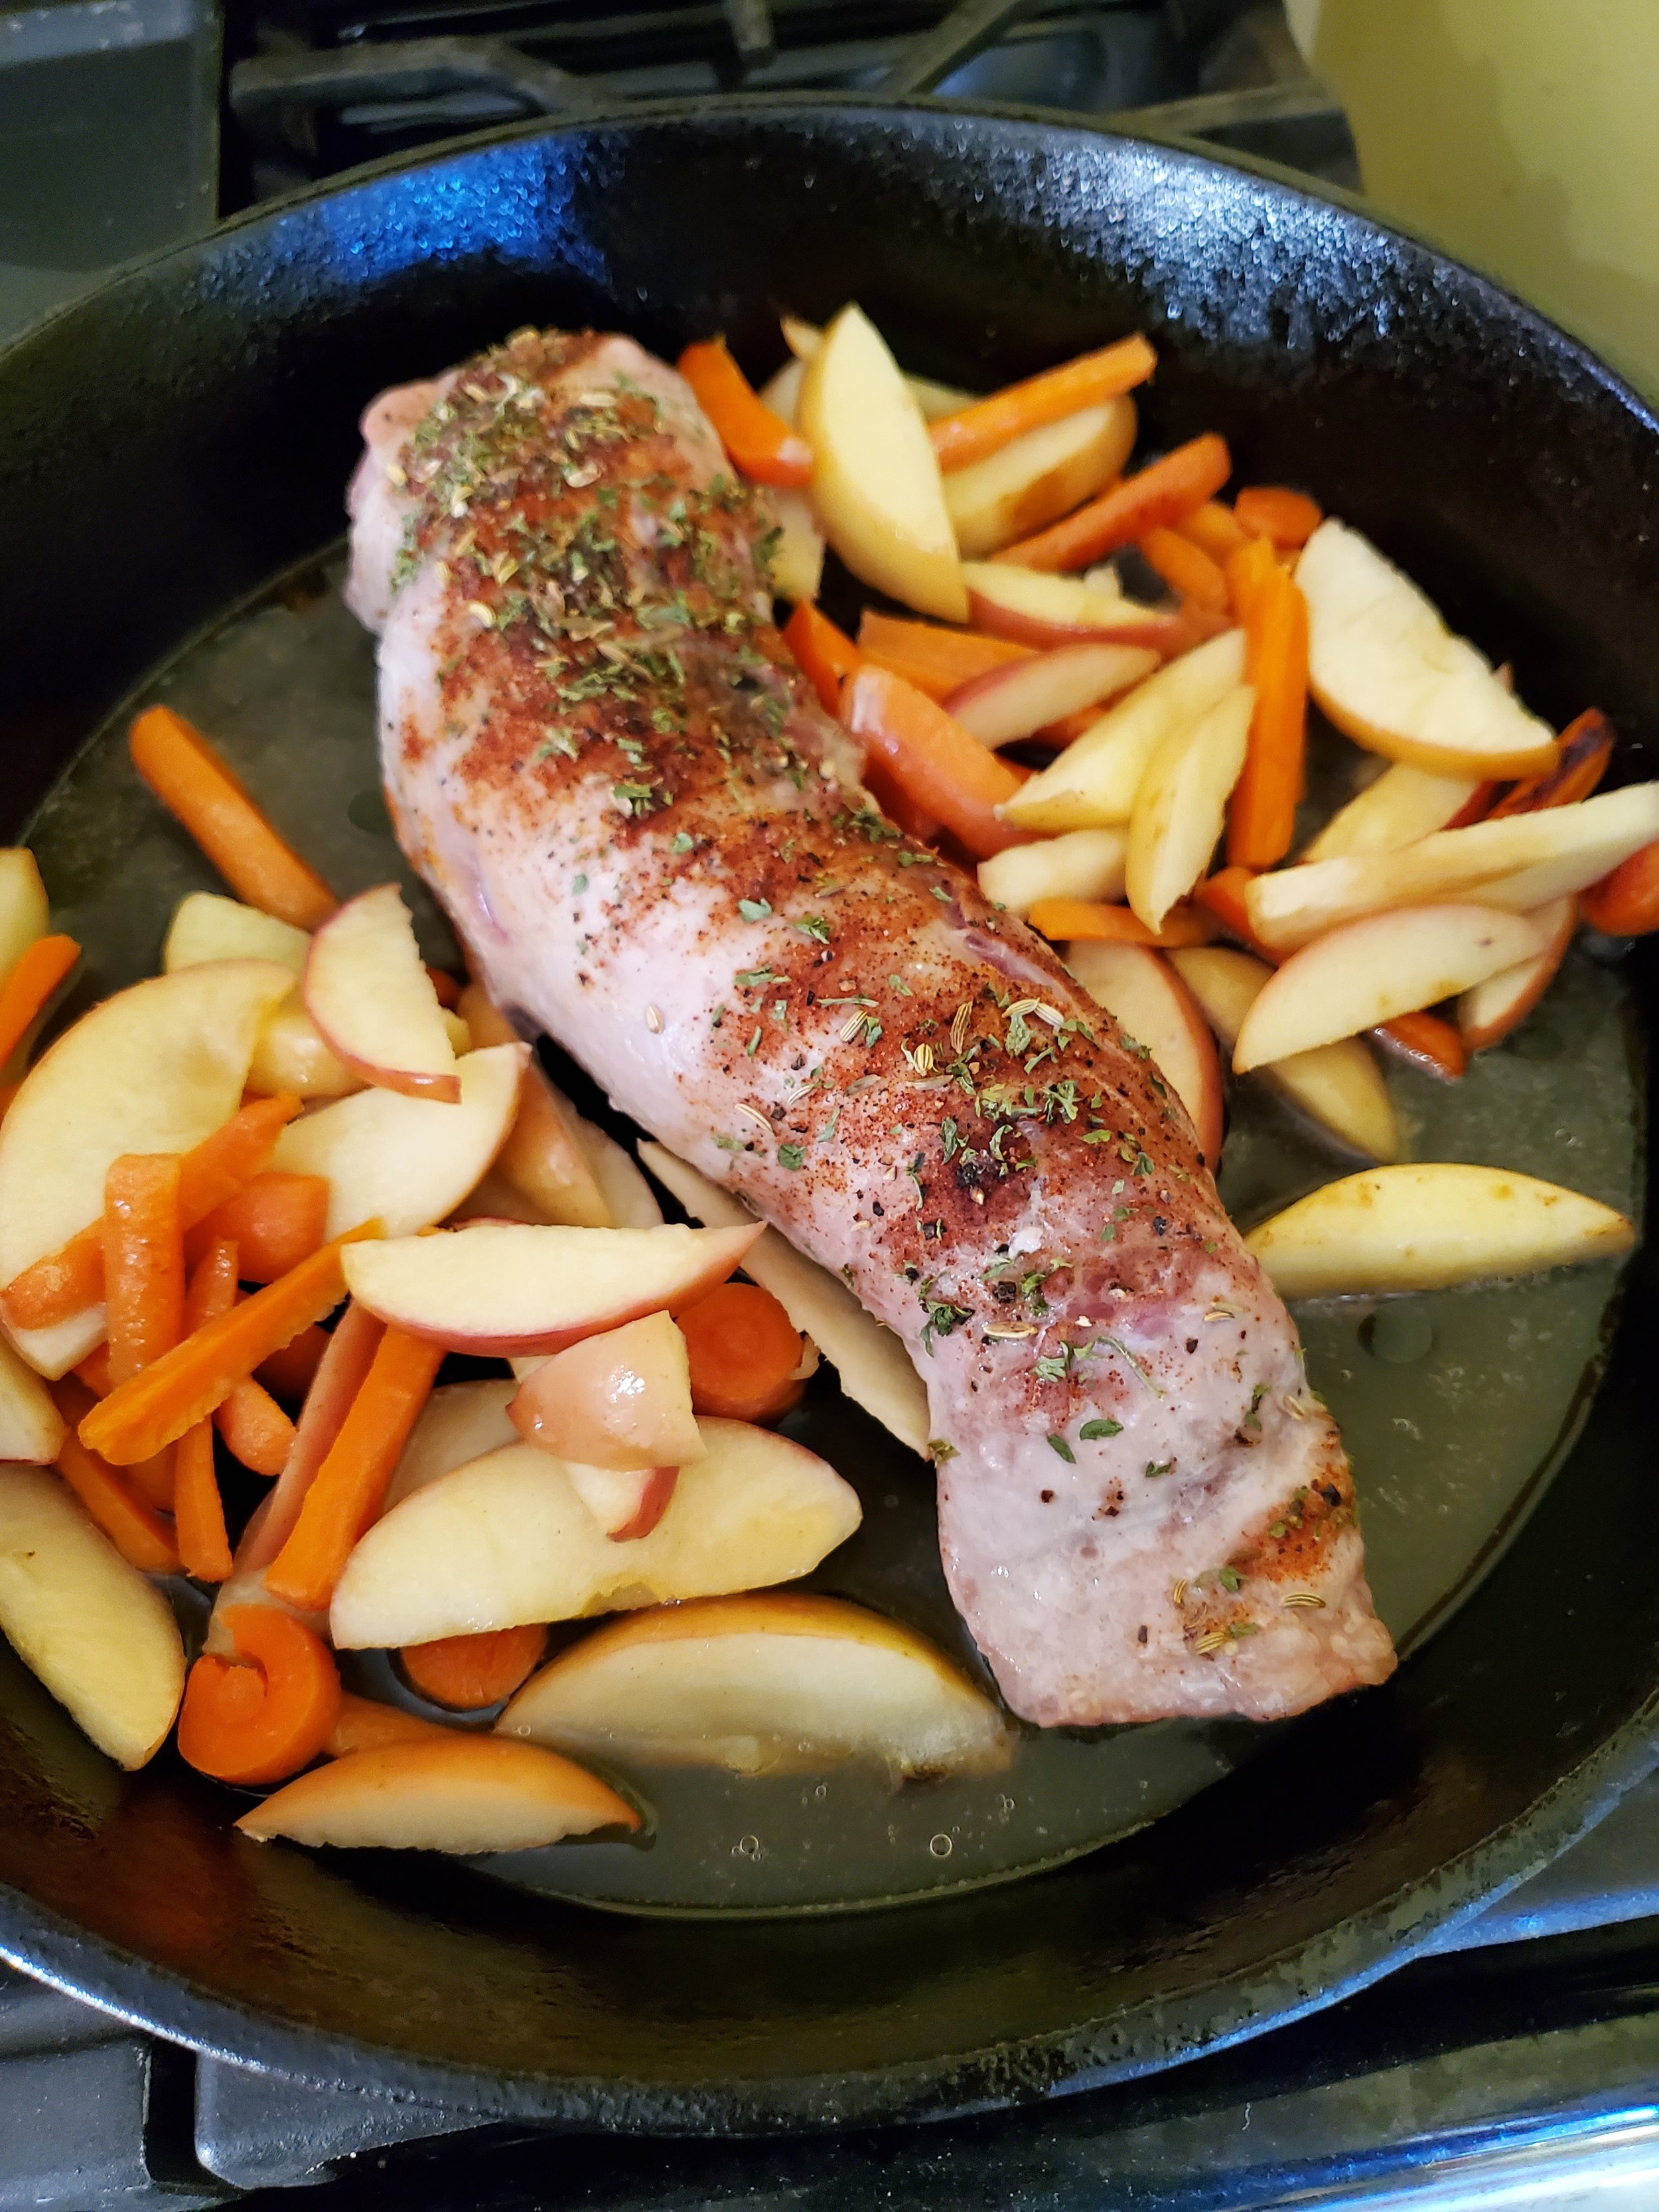
When your 15 minutes are up, remove the skillet from the oven, flip the pork and stir the apples and carrots. Slowly pour 1/3 cup of cider over the whole thing at this point, sprinkle with the dried basil, and return it to the oven for another 15 minutes.


After the next 15 minute window is done, take everything out of the oven again and use your meat thermometer to test the pork. Make sure the center of the thickest part of the roast is at least 145 degrees. If it isn't, put everything back into the oven and cook it a few minutes longer. No sense ruining everyone's week with food poisoning.


After the pork loin has definitely reached 145 degrees, remove it from the pan and let it rest.


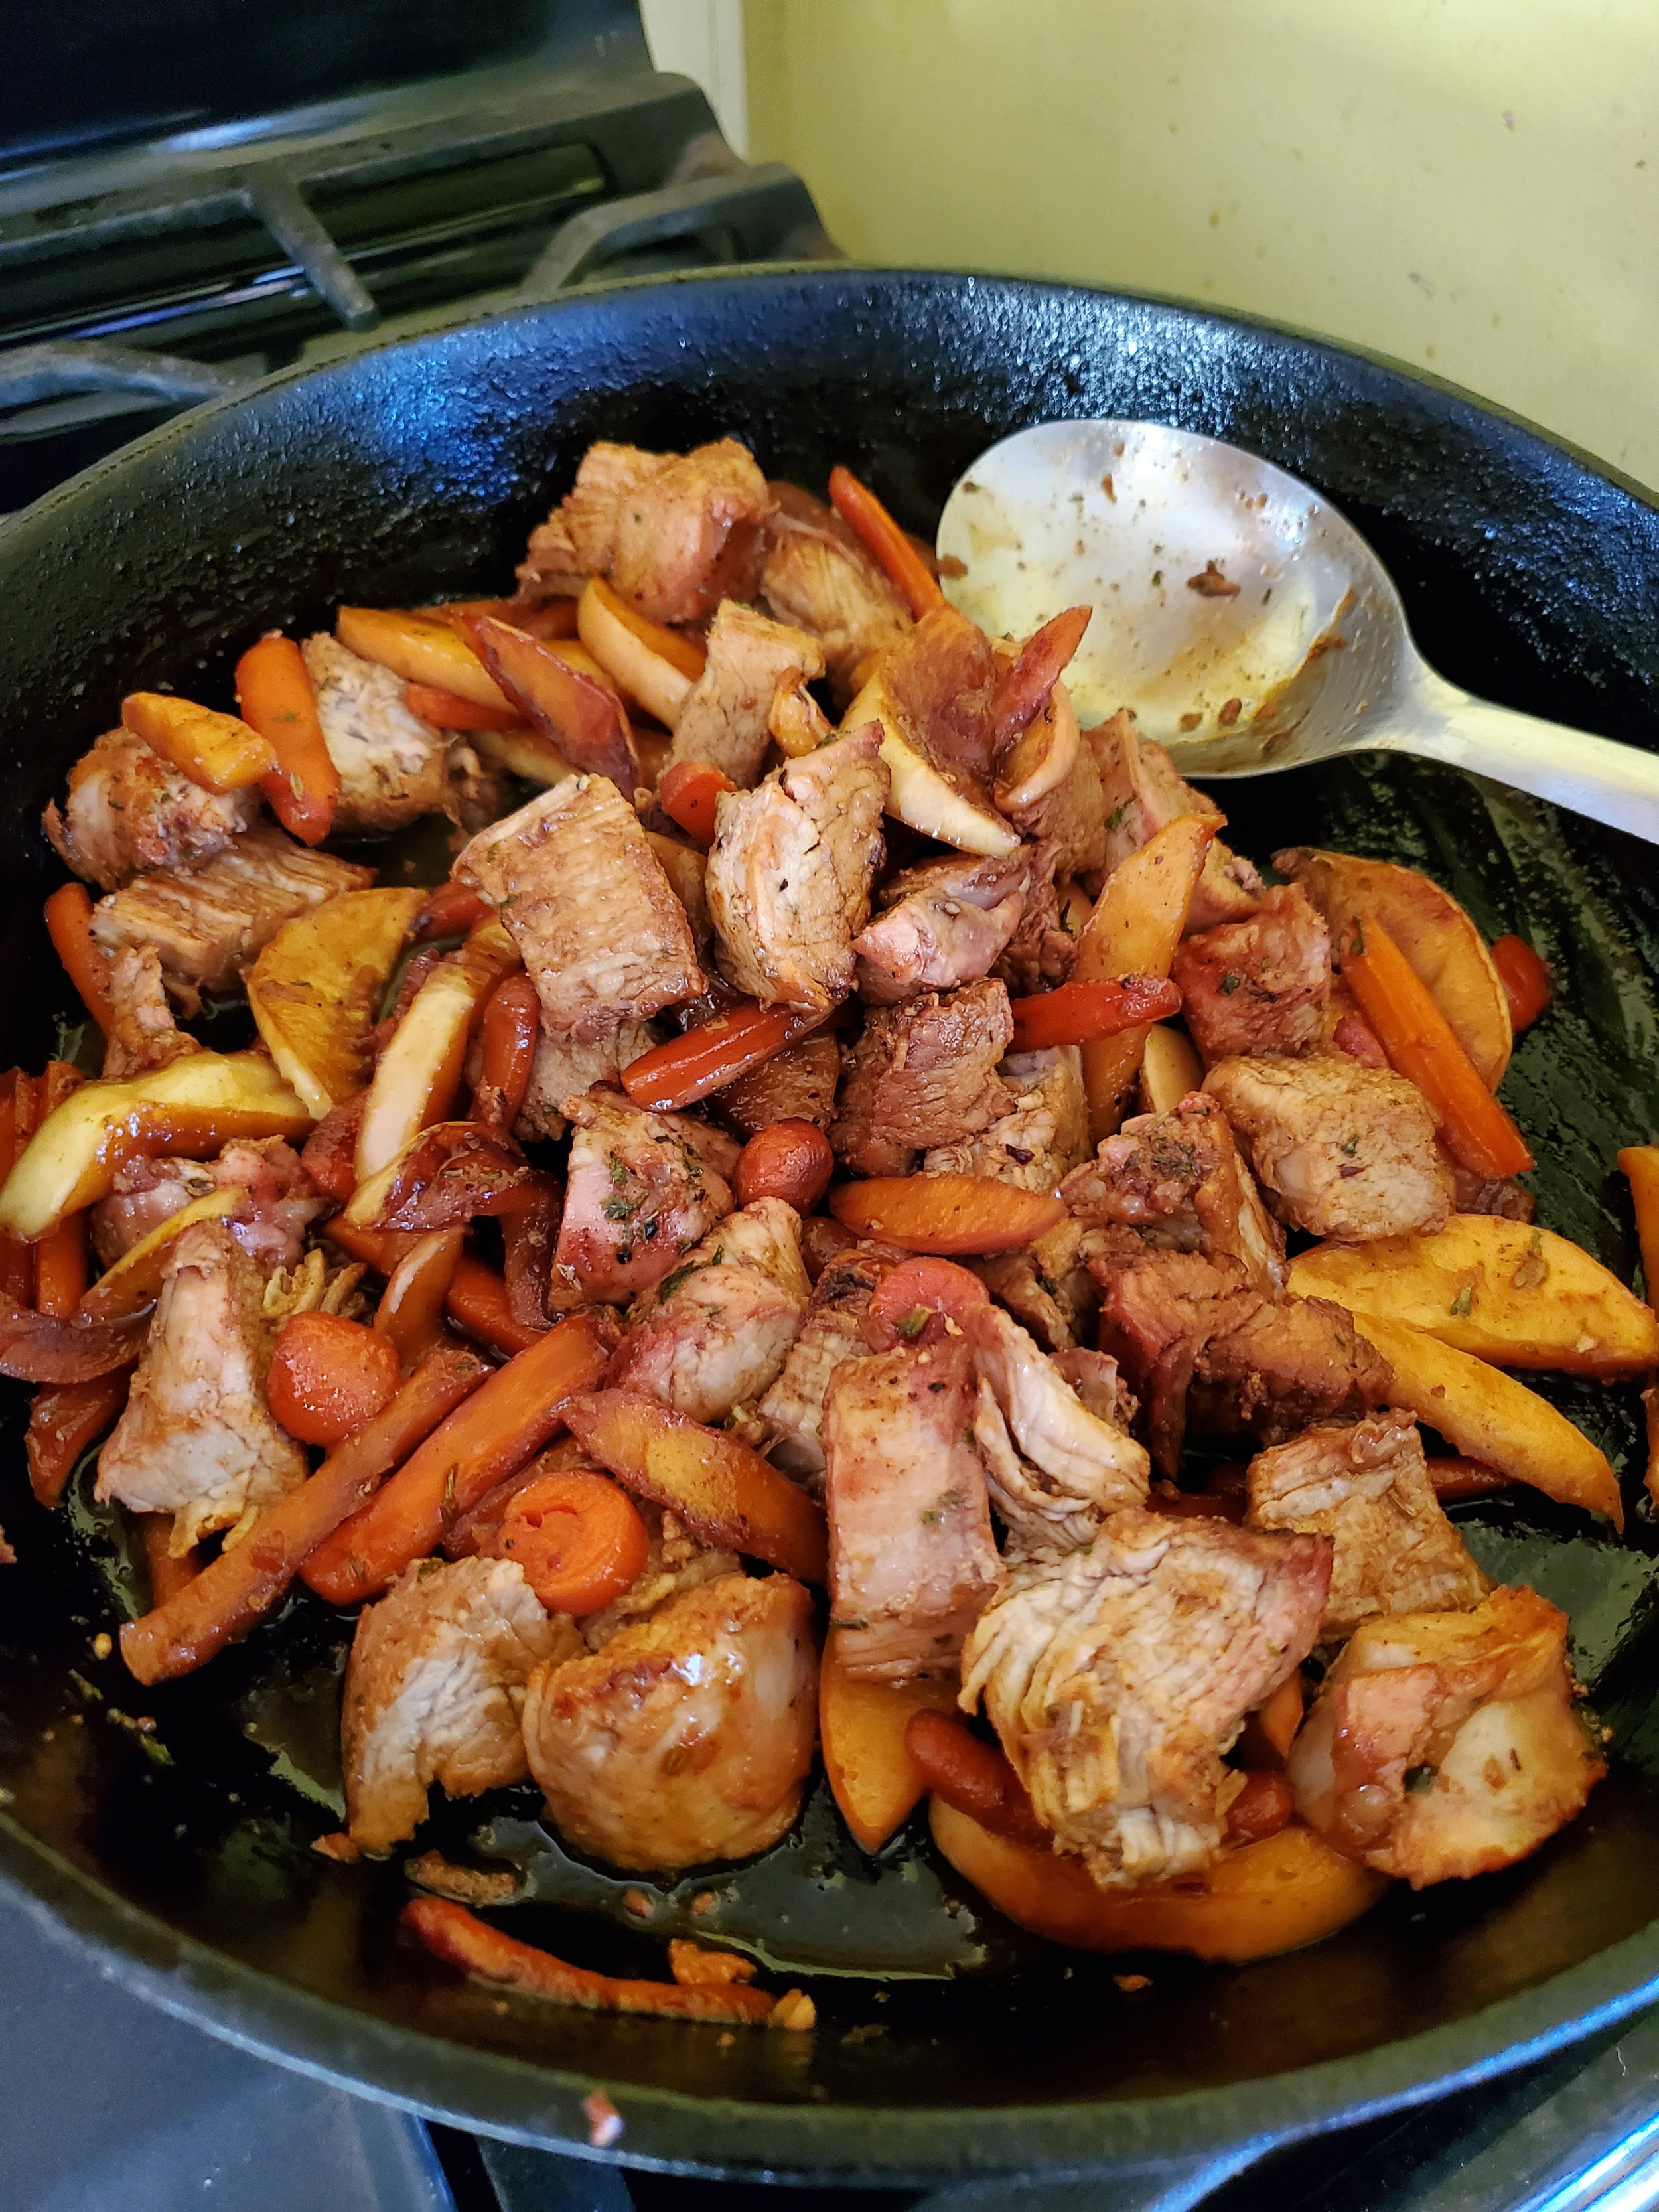
Put the pan full of apples, carrots and cider back onto the burner over medium-low heat. Add your remaining 1/3 cup of cider, the honey and the lemon juice. Stir to make sure everything is incorporated. Allow it to simmer for five minutes.


While the pan is simmering, return to your pork loin and chop it into pieces an inch or two across. Toss the pork in with the apples and carrots, stir everything to coat in the cider mixture, and be ready to enjoy.


* - we spill spices if we work on the cutting board and prefer to have the rim of the plate to slow us down)


As you reflect on the culinary adventure that was our Apple Pork recipe, remember that Appliance Rescue Service is your trusted ally in the kitchen. With our dedication to excellence and commitment to customer satisfaction, we're here to ensure that your cooking experiences are nothing short of exceptional. From washer repairs to freezer maintenance, we have the expertise and resources to keep your appliances in top condition, so you can continue creating delicious meals with confidence. Reach out to us today at our website or by phone at ((214) 599-0055) and let Appliance Rescue Service help you unlock the full potential of your kitchen.


Additional Reading


Sausage Bread to Get You Rolling

Turkey Tetrazzini Takeover!


Spice Up Dessert: Walnut Cayenne Tahini Cake

A Flavorful Twist on Classic Baking

Get ready to tantalize your taste buds with our Walnut Tahini Cake recipe! Brace yourself for a flavorful journey where nutty walnuts, creamy tahini, and a hint of cayenne collide in a symphony of taste sensations. Despite its fiery name, rest assured, this cake brings the perfect balance of sweetness and spice. So, roll up your sleeves and let's dive into baking bliss!


Ingredients

1/4 cup butter

1/2 cup shortening

1 1/2 cup sugar

3 eggs

1/2 teaspoon baking powder

1 1/2 cup flour

1/4 lb walnuts

1 tablespoon tahini

1/2 teaspoon ground cayenne

1/2 teaspoon ground cinnamon

1/2 cup milk


Tools

mixing bowls

spoon

measuring cups and spoons

mixer (hand or stand)

knife

cutting board

nonstick 8-inch pan

plastic butter knife

parchment paper

pencil

scissors


Yes, it says "cayenne" in the title. No, the cake is not spicy. No need to panic.


For best results, start with all ingredients at room temperature, and do not preheat the oven!


Set your round pan on a sheet of parchment paper and trace around the base with a pencil. Trim off the excess with the scissors. Set your parchment circle into the bottom of the baking pan as a liner to prevent sticking. The cake you're about to make gets awfully comfortable where it is and doesn't like to leave the pan again without an assist, so skip this step at your own risk.


Dump out a comfortable amount of walnuts onto your cutting board, grab your knife and chop them as fine as you like. Due to picky eaters in the household, we went extra fine with ours. Scrape the cutting board off into a mixing bowl and repeat the "comfortable amount of walnuts" thing as many times as necessary to get through a quarter pound. We used a small cutting board and did it in three waves. If you have a larger board - maybe one of those comically huge industrial ones - surely the whole quarter pound at once is no obstacle for you.


Measure your flour, baking powder, cayenne, and cinnamon into the mixing bowl full of walnut pieces and stir them all together until everything is fully incorporated.


In another mixing bowl, cream together your softened butter and shortening. Add the sugar slowly, mixing all the while. You'll get a granular, fluffy, pale concoction in a minute or two.


Add one egg and your tahini. Run the mixer until you have one uniform color, then proceed to add the other two eggs. Try not to overmix, but don't leave any yolky spots.


Add your dry ingredients slowly and stir them into the wet ingredients by hand until everything has been dampened. Now you're safe to add your milk - again slowly, and again mixing by hand.


Feel free to bring back the mixer now to finish it off and get rid of any lumps. (We just didn't want the high speed with the thin liquid sitting on top of lumpy mush.)


Pour your batter into your lined baking pan, pop it in the oven, shut the door, start the oven heating  to 350 and set a timer for one hour and ten minutes. Do not open the oven door - at all! Not even to check on it! Turn the oven off when the timer finishes, but leave the door closed another ten minutes before removing the cake so it can cool.


After it's had a chance to cool for 20 minutes or so, work around the edge with a plastic knife. Again, this cake likes where it is and will need to be convinced to move. The parchment should ensure the bottom just pops free after you've loosened the sides.


Serve warm.


As you savor the last crumb of our Walnut Tahini Cake, consider the magic that lies within your kitchen. Yet, even the most beloved recipes encounter hiccups along the way. Should you find yourself facing challenges with your major appliances, like your stove or oven, remember that Appliance Rescue Service is here to lend a helping hand. Don't let appliance woes disrupt your culinary endeavors. Schedule a maintenance appointment via our website or give us a call, and let our expert technicians ensure your kitchen runs smoothly. Until next time, happy baking!

Contact Page

(214) 599-0055

Savor Every Bite: Mastering Pork Chops with Baby Potatoes and Onions

 Elevate Your Culinary Skills with a Flavorful Homestyle Dish

Indulge in a savory delight with our mouthwatering recipe for Pork Chops with Baby Potatoes and Onions. This simple yet flavorful dish is perfect for busy weeknights or casual gatherings. Packed with wholesome ingredients and seasoned to perfection, it's sure to become a family favorite in no time.


Ingredients

4 or 5 thin boneless pork chops

1 red onion

1 1/2 lb baby heirloom potatoes

3 tablespoons olive oil

2 tablespoons red wine vinegar

1/2 teaspoon rosemary

1/2 teaspoon parsley

1/2 teaspoon oregano

salt and pepper to taste


Tools

large skillet

knife

cutting board

measuring spoons

tongs or spoon


You know what we're going to say here, but we'll say it anyway: wash your veggies before you begin.


Chop your baby potatoes to half-inch wide chunks. You'll see in the photos we actually have some purple potatoes in the mix - we found "gemstone medley potatoes" in the store this week and decided to try them.They make a great visual pop, without altering the flavor. 


Drizzle the olive oil into the skillet and start the potatoes cooking on medium-low. We like to sprinkle them with a little salt at this stage, but you can omit the step if you prefer. Stir occasionally. 


While the potatoes cook, slice your onion, the thinner, the better. Flip it into the skillet when you're done, and open up the package of pork chops.


Season your pork on both sides with the rosemary, oregano, salt, and pepper. You don’t need to crust it with spices, but a good dash of seasons is important. 


 Don't add it to the pan yet - those potatoes will take quite a while to cook, and the pork will most likely be done quickly. Just let it rest where it's at, and go stir the potatoes and onions.


Once the onions are translucent, you can add the pork to the skillet. Nudge the potato and onion mixture to one side of the skillet and lay the pork chops in the open half. Once they're down, try not to disturb them for three minutes. You can continue to stir the potatoes and onions occasionally during that time.


When your time has elapsed, flip the chops and let them cook through on the other side. Splash the pan with the red wine vinegar, add a little more salt and pepper, and give the potatoes and onions a stir again. Let everything simmer for a few more minutes until the pork is done.


If you're unsure whether or not the meat is done, you can grab a meat thermometer and check. The safe temperature is anything over 145 degrees, although we normally shoot for 155 or higher.


Assuming your pork chops have reached the safe temperature, go ahead and remove them to a plate to let them rest a few minutes while the potatoes finish up (stubborn things that they are). The potatoes are done when they spear easily with a fork.


Elevate your weeknight dinners with our delectable Pork Chops with Baby Potatoes and Onions recipe. Simple yet satisfying, this dish embodies comfort and flavor in every bite. Whether you're cooking for family or friends, it's sure to impress even the most discerning palates. So why wait? Treat yourself to a culinary delight that's as easy to make as it is delightful to devour. Enjoy!


When your kitchen appliances falter, it's more than just an inconvenience – it's a disruption to your daily life. Imagine the frustration of a dishwasher that refuses to clean or a refrigerator that can't keep your food cold. At Appliance Rescue Service, we understand the urgency of these situations. With our team of skilled technicians specializing in the repair of major appliances like washers, dryers, dishwashers, ovens, stoves, refrigerators, freezers, and ice makers, we're here to restore functionality to your kitchen. Our commitment to prompt, reliable service means you can trust us to diagnose and resolve issues efficiently so you can get back to enjoying the convenience your appliances provide.


Discover peace of mind with Appliance Rescue Service, your trusted partner in appliance repair. We specialize in the maintenance and restoration of major household appliances, including washers, dryers, dishwashers, ovens, stoves, refrigerators, freezers, and ice makers. With our team of skilled technicians, we deliver prompt and reliable service to ensure your appliances operate at peak performance. At Appliance Rescue Service, we understand the inconvenience of a malfunctioning appliance, which is why we prioritize efficiency and precision in every repair. Whether it's a noisy dishwasher, a malfunctioning refrigerator, or a faulty dryer, our experts have the knowledge and experience to diagnose and resolve issues promptly. We take pride in our commitment to customer satisfaction, striving to exceed expectations with every service call. With transparent pricing and honest assessments, you can trust us to provide cost-effective solutions tailored to your needs. Don't let appliance troubles disrupt your daily routine. Trust Appliance Rescue Service to keep your home running smoothly. Contact us today to schedule your next repair appointment and experience the difference firsthand.


Contact Page

Call Us : (214) 599-0055


Berry Bliss: A Delectable Mixed-Berry Clafouti Recipe

Explore the art of culinary rebellion with our unexpected twist on clafouti.


Picture this: a classic recipe, a cupboard full of mixed berries, and a touch of culinary rebellion. That's where our journey begins—a playful twist on tradition, a deviation from the expected.


In the realm of clafouti, cherries typically steal the show. But armed with fresh blueberries and a stash of thawed, drained mixed berries, we set out to create a berry-packed spectacle that dances to its own tune.


Here's to embracing the delightful unpredictability of the kitchen, where ingredient swaps and adventurous spirits collide. Join us as we uncover the charm of our mixed berry clafouti—a testament to the joy found in breaking culinary norms and reveling in the delightful surprises that grace our plates.


Ingredients

1 pound assorted berries

1/4 cup butter

4 whole eggs

1 cup granulated sugar

3/4 cup flour

2 teaspoons vanilla extract 

1 cup whole milk

Pinch salt


Tools

Large oven-safe baking dish

Mixing bowls

Measuring cups and spoons

Whisk or mixer


While a clafouti is traditionally made with cherries... guess who has no cherries? Us! So we decided to have a little fun with it and make a mixed berry clafouti.


We had some fresh blueberries on hand, and maybe a half cup or so of frozen mixed berries that we thawed and drained. If you're starting with all fresh, obviously, there's no need for that step, but you'll absolutely need to take the extra minute or two to wash your produce.


We chose to use a 2-quart round baking dish. That's not a hard rule - you can use whatever you have handy. If you use something less dense (say a large Pyrex dish), adjust your cook time down accordingly and check frequently. 


Once your ingredients are gathered and produce washed, grease the pan you plan to use. We used some butter, simply because it was already out for the rest of the recipe.


In a small dish, melt the quarter cup of butter and set it aside for now.


Beat the eggs, then add the pinch of salt and sugar together to the eggs. Whisk well. Once thoroughly combined, add about half of your flour and stir it in.


We started this recipe with a whisk but kind of made a mess... so we raided the cabinets and got out the hand mixer. We used it with only one beater and had a much easier time of things. We highly recommend using a hand mixer if available; your arm will thank you later.


Pour the melted butter into the mixture slowly, stirring constantly as you add. (This is where that hand mixer really shines.)


Measure out your milk - whole milk works best - and add just a little to the batter.


Go back to your flour and add the rest now. Try to avoid any big clumps of flour, that way you won't spend too much time trying to break them up. After the last of the flour is stirred in, you can add the rest of the milk.


The milk will look like it's trying to stay separate, but don't worry, you'll be able to get it mixed in shortly.


Once you've got your batter ready, dump your berries into the baking dish. Make sure they're an even layer, not all mounded up on one side. 


Pour the batter over the berries and resist the urge to stir. We know, we've been telling you to stir everything this time... and now we're telling you not to. It's unexpected. 


Stick the baking dish, uncovered, into the oven. Bake at 350 for an hour and ten minutes (again, that's for a deep round dish - start around 45 minutes for a shallower dish). Use the toothpick test to make sure it's done; if you're getting anything other than berry juice when you test, put it back for five more minutes at a time until you get a clean test.


Allow it to cool 20-30 minutes before attempting to serve.


Optional step: dust with powdered sugar before serving.


If this berry-filled escapade has nudged your curiosity or inspired your own kitchen rebellion, let it be a testament to the joy found in embracing culinary unpredictability. After all, the best recipes often emerge from a dash of creativity and a sprinkle of daring experimentation.


Now, while we revel in the delights of culinary exploration, let's not forget that a smoothly running kitchen often relies on trusty appliances. From the oven that breathes life into your culinary creations to the trusty fridge keeping ingredients fresh, Appliance Rescue Service stands by to ensure your kitchen runs seamlessly. We understand that just like in cooking, sometimes, a dash of expert care and maintenance can keep everything running like clockwork.


So, as you bid adieu to this berry-filled journey, remember that our team is here not just for recipes but also to rescue any hiccups in your appliance symphony. Whether it's a stove in need of some love or a dishwasher on strike, trust us to be your partners in appliance care and maintenance.


Ready to keep your kitchen humming? Schedule an appointment through our user-friendly website or give us a call at ((214) 599-0055). Let's ensure your appliances continue to be your kitchen's silent heroes, making way for more culinary escapades and delightful discoveries.


Additional Reading

Sweet Veggie Tropical Curry


Chocolate Raspberry Thumbprints


From Pantry to Pot: Wholesome Hunter's Stew for the Resourceful Cook

Embrace the joy of kitchen spontaneity with a recipe that celebrates resourcefulness and flavor.

Ever found yourself standing in the kitchen, contemplating dinner with a mix of ingredients that seem to be the last survivors in your pantry? Welcome to the land of culinary improvisation. Today’s star: a recipe that began with three forlorn chicken breasts, a can of petite diced tomatoes, and a handful of other odds and ends that somehow come together into something magical—a hearty, veggie-laden chicken soup that defies the ordinary.


So, grab your Dutch oven, gather those essential tools, and let's dive into a flavorful expedition where a splash of white wine, a heap of spices, and a generous dose of patience will transform these humble ingredients into a comforting masterpiece. We might bend a few rules along the way (who needs a meat thermometer, anyway?), but trust us, it’s all in the pursuit of flavor.


Ingredients:


3 chicken breasts or 6 chicken thighs, boneless and skinless

Large can petite diced tomatoes

1 onion, chopped

1/4 cup butter

1/2 lb white mushrooms, cut

1/4 cup white cooking wine

4 cups chicken broth

1/4 cup instant mashed potatoes

1 teaspoon marjoram

1 teaspoon parsley

1/2 teaspoon basil

1/2 teaspoon rosemary

Salt and pepper to taste


Tools:


Dutch oven 

Tongs

Serving spoon or ladle 

Measuring cups and spoons

Knife

Cutting board 

Can opener

Forks

Plates


We're going to break the pattern here and assume your produce has already been cleaned. Surely, by now, you're tired of us telling you to wash things...


Melt your quarter cup of butter in the Dutch oven over medium heat and drop the chicken in to brown a little. This recipe works better with chicken thighs, but when we shopped, there weren't any in stock. (We thought we were out of the age of shortages and supply issues, but what do we know?) So, instead of thighs, we just used the three sad, neglected chicken breasts we had left in the freezer.


It's important to note that you don't have to cook the chicken all the way through at this step. We'll be shoving it into the oven later on, so don't bother with the meat thermometer this time. We just want the outside to get a little color and flavor, since that will help build the base later on. 


Once the chicken begins to brown, use the tongs to pull it and set it to the side on a plate.


Toss the mushrooms, onions, and spices into the Dutch oven and put the lid on. Let them cook for four minutes or so, then lift the lid and stir. We ended up cooking them for closer to eight minutes, but we started with some pretty huge pieces of onion. You're using the onions as your marker for how long to cook everything, so if you want less time, chop your onions smaller. 


Once the onion is translucent, splash the cooking wine in. Let it simmer and reduce uncovered for two or three minutes, stirring occasionally.


Time to add the tomatoes and chicken broth. Don't drain the tomatoes. Just stir them in to make sure they're somewhat evenly distributed. Then, return the chicken to the pot, put the lid on, and move it all to the center rack in the oven.


Allow it to come up to temperature with the oven. Set it to 450, and then set a timer for three hours. At this point, you're free to find another task to take care of. 


When the timer goes off, move it back to the stove top. Take two forks, lift the chicken pieces out onto a plate, and let them cool down a little.


Sprinkle your quarter cup of instant mashed potatoes into the broth a little at a time, stirring gently to prevent the potato flakes from sticking to the veggies instead of melting into the broth. You want to thicken up the broth, not create a congealed mass. 


Go back to that chicken and shred it to bits, then stir it back into the pot.


You now have a veggie heavy, hearty chicken soup. Enjoy!


And there you have it—a robust, flavorful chicken soup born from a handful of ingredients and a dash of kitchen ingenuity. As you savor each spoonful, let this meal be a testament to the delicious possibilities that emerge when culinary creativity meets necessity.

Remember, while we revel in concocting delightful dishes, our kitchens rely on our appliances to bring these recipes to life. Should your stove, oven, or any major appliance find itself in need of a little TLC, ARS is here to ensure your culinary adventures never hit a snag. Whether it’s a simmering soup or a baking extravaganza, our team specializes in keeping your appliances in top shape so you can continue creating delicious moments.


Don’t let a malfunctioning appliance dampen your kitchen enthusiasm. Reach out to us today to schedule a maintenance appointment through our user-friendly website or by giving us a call at ((214) 599-0055). Let’s keep your kitchen humming smoothly, allowing you to focus on what you do best—crafting culinary wonders that warm the soul and delight the taste buds.


Until our next flavorful rendezvous, happy cooking!


Additional Reading
Healthy and Flavorful: A Caponata Recipe That You'll Love


Jalapeno Chicken Bowtie Pasta